Fuse Lights

Sergey Green

Active Member
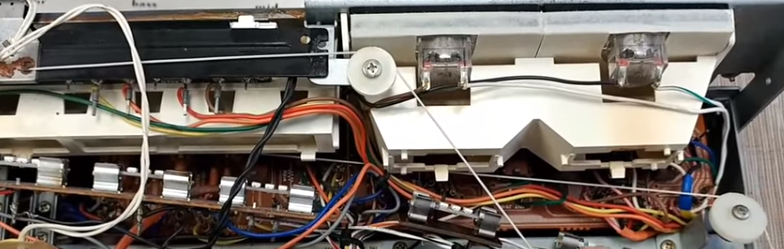
I opened up at least three Marantz 22xx units, and each one of them had broken off top clips that hold the fuse-lights board on. Tape works fine, but still .. I just picked up 2285B, and as it appears it had never been opened before, everything is intact and working. The cables tightly tied together, and are very close to the fuse-lights board. So when taking the fuse-lights board out, do those clips always get broken off, or is there a way to open that thing "nicely"?

I mean similar as on the edges shown here,
s-l225.jpg
 
My 2226B looked about the same state as your 2285B, the shroud was not distorted but brownish in a few places. And yes the tabs broke off VERY easily. I now have warm white leds in there.
I can't remember exactly how it's holding in place now. I think I put a couple of small metal brackets.
The plastic was flexible when new, now with the constant heat it has become brittle.
 
So there is no way to keep those tabs? Pity. From what I have seen there is usually some tape on top, which holds the board just fine, but still ...

-s
 
I have not worked on a 2285B, but on all of the earlier 22xx receivers, you can access the fuse bulbs from the front by removing the faceplate and dial. They pop right out the front and you don't have to mess with that plastic cowl. Again, not sure about the 2285, but it's worth looking into to keep from breaking that fragile plastic.
 
There is a seller on that auction site that makes 3D printed replacements. From the few reviews I've read the buyers claim a perfect fit.
 
I have not worked on a 2285B, but on all of the earlier 22xx receivers, you can access the fuse bulbs from the front by removing the faceplate and dial. They pop right out the front and you don't have to mess with that plastic cowl. Again, not sure about the 2285, but it's worth looking into to keep from breaking that fragile plastic.
That sounds like a good idea. I will give it a try, thank you.

-s
 
I have a 2225 and it uses plastic u shaped brackets that attach the shroud with screws that, like the tabs, seem to come pre cracked. if you still have the tabs, you could glue them back with a little JB Weld. Its a two part Epoxy Resin that when dried creates a strong bond.
 
Yes, they have always broken for me, but, since I'm putting in an LED and I'll probably be dead before it needs replaced, I slip the wafer under the bottom tabs, which almost always remain, and use that 5 second pen stuff to tack it down (this holds it in place so you don't have to) and then put a bead of glue along the top and a dot on the sides. Holds it secure. Rich
 
Last edited:
If it's just the ears that the screw goes through, you can repair them. Mr. Buckner uses brass, I use sheet styrene.
AK member 'lurp' makes the best repro lamp housings I have found, plus, he's a great fellow.
Tom
2275 Lamp Housing.jpg
 
^^^ Yep, just bought a housing for a 2325 from him. I had to prime it, spray a couple of coats of black, then a couple of coats of white to stop light leakage from the main dial lighting area to the function lamp compartments above them. Any 3D part is like this in my experience but Lurp's are the best engineered and made. I did zero mods for it to fit - nice!
 
Hmm, the housings I got from lurp required no painting or modification.:)

Repro housings printed by several others required modification and painting to fit and work properly.

Tom
 
Not when the stock 8V, 200mA bulbs will melt the styrene plastic used in the early (non-B) models.
 
Back
Top Bottom