

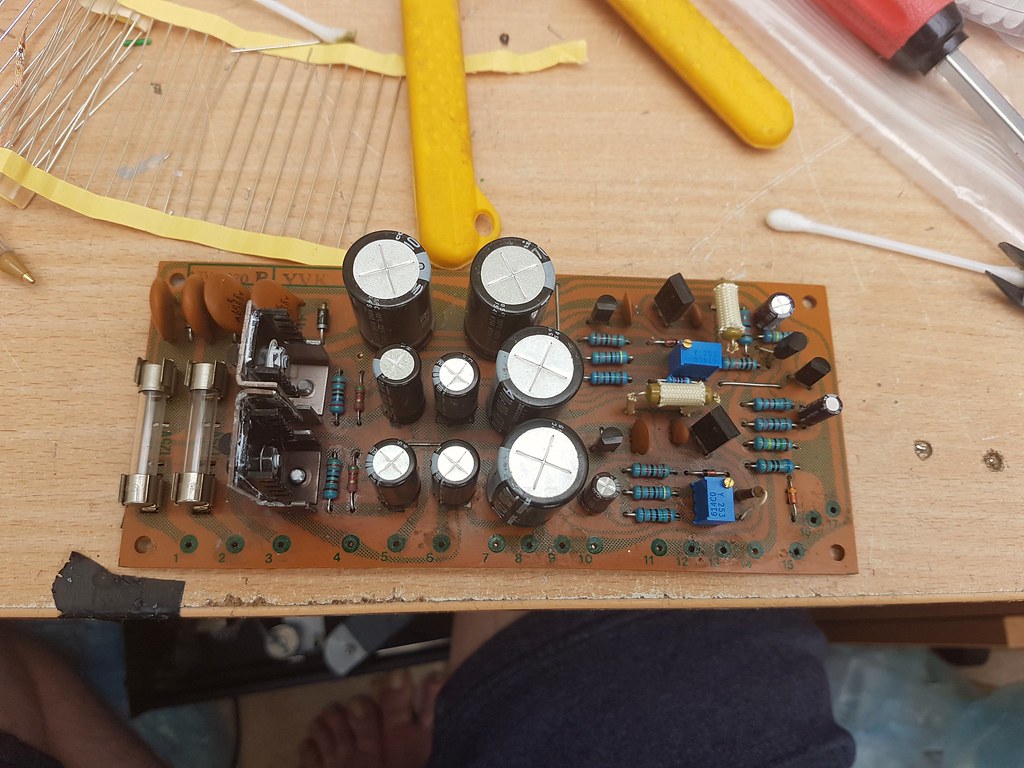
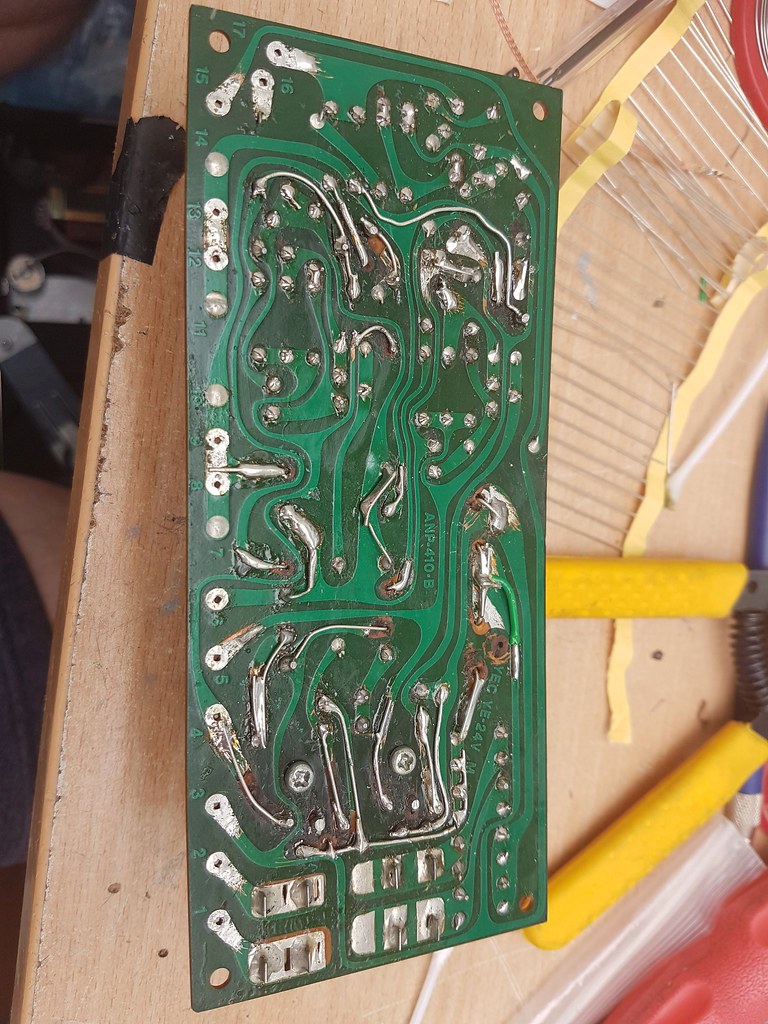
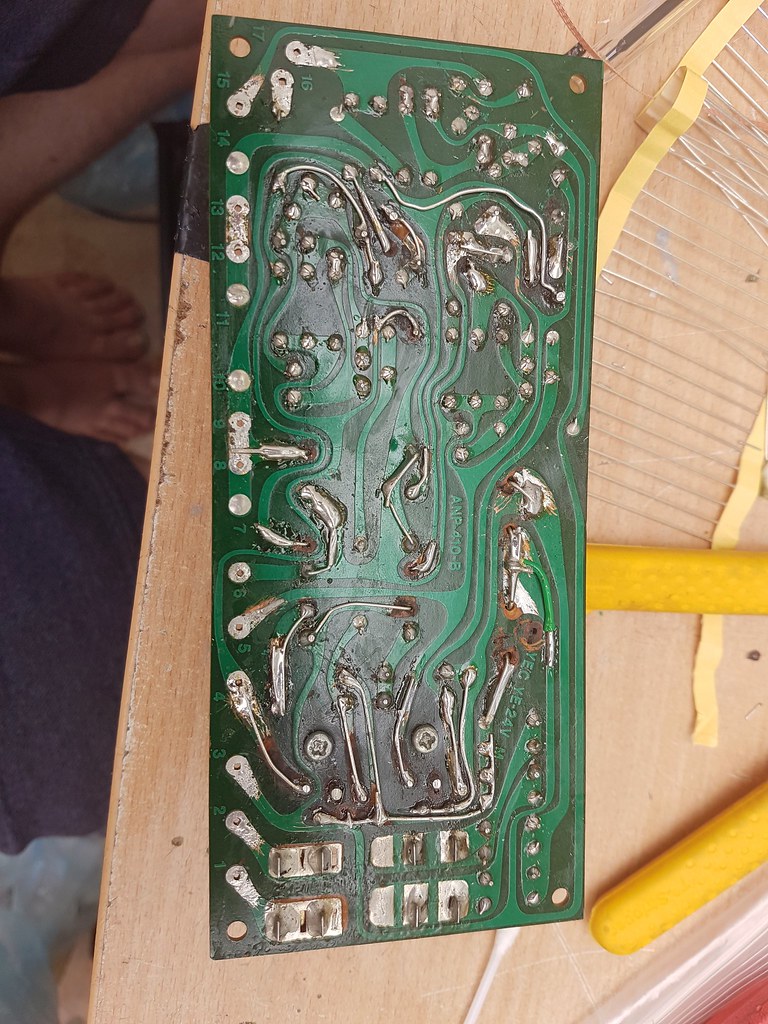
Here's the board pretty much finished, I tend to flit between projects so it's taken a while just to get this board finished. I ended up using the heatsinks that been bodged untill I find sutible ones as I needed an anchor point for the t0-126 transistors, it looks a little messy as I've had to point to point most of the traces around the pass transistors but it'll get the job done.
 2018-07-12_12-28-03 by chris reddish, on Flickr
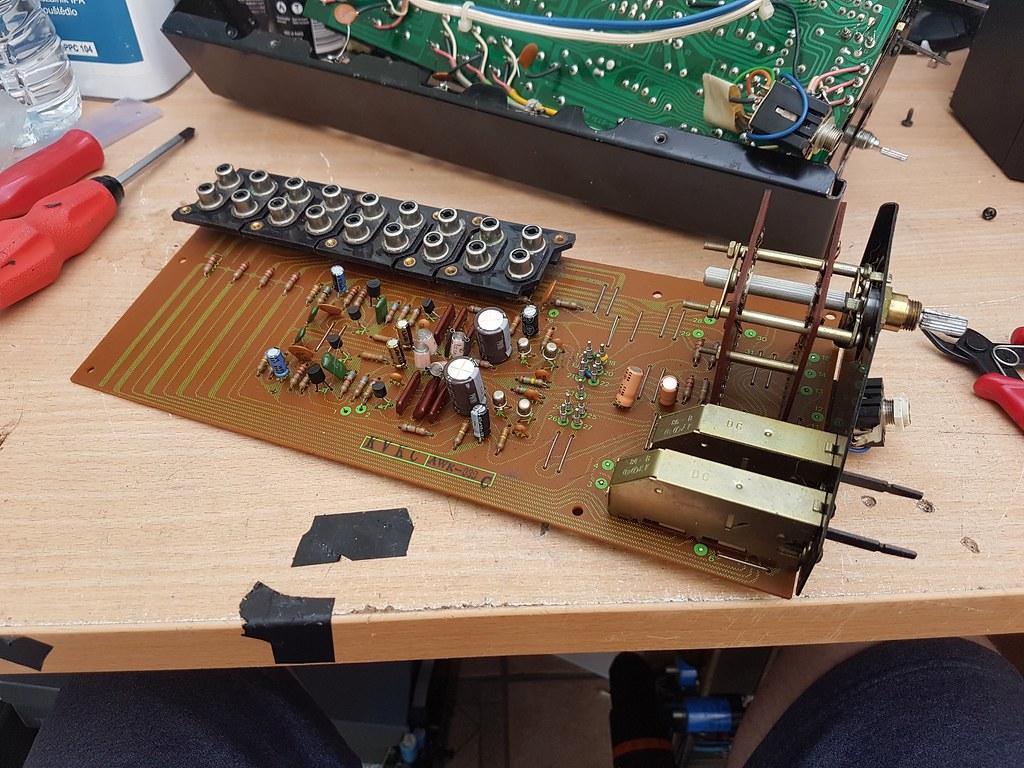
 2018-07-12_12-28-21 by chris reddish, on Flickr
 2018-07-12_12-29-09 by chris reddish, on Flickr
 2018-07-12_12-28-40 by chris reddish, on Flickr
2018-07-12_12-28-03 by chris reddish, on Flickr2018-07-12_12-28-21 by chris reddish, on Flickr2018-07-12_12-29-09 by chris reddish, on Flickr2018-07-12_12-28-40 by chris reddish, on Flickr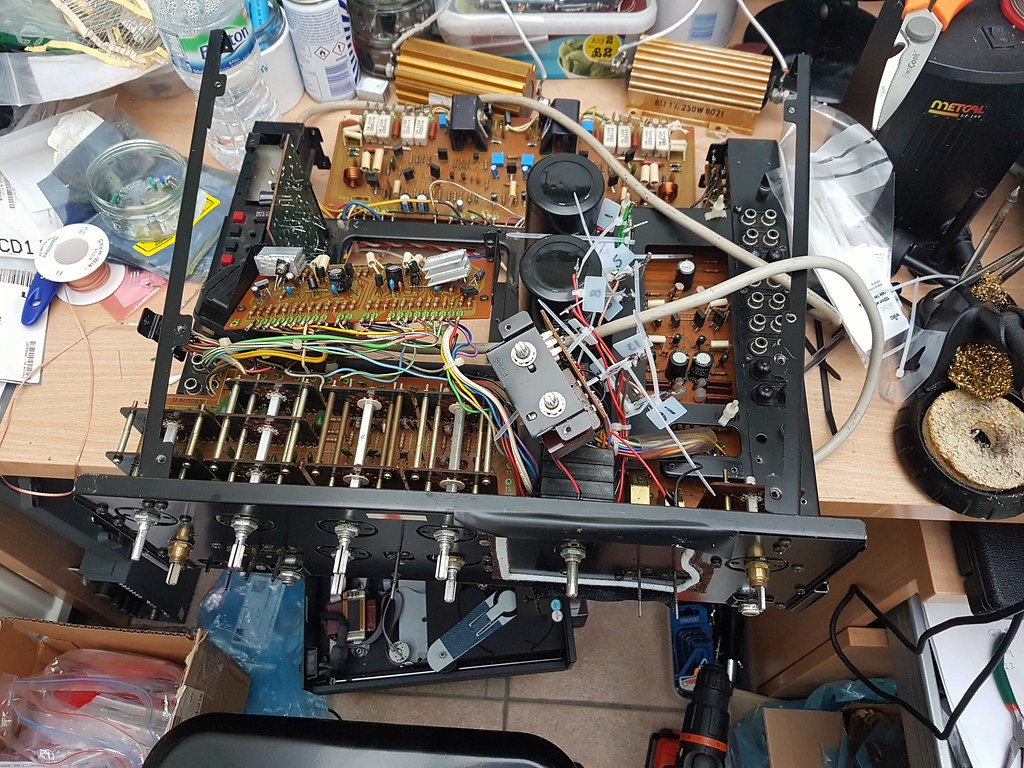 2018-07-17_08-25-17
 2018-07-17_08-25-43
 2018-07-17_08-26-01
 2018-07-17_08-31-20
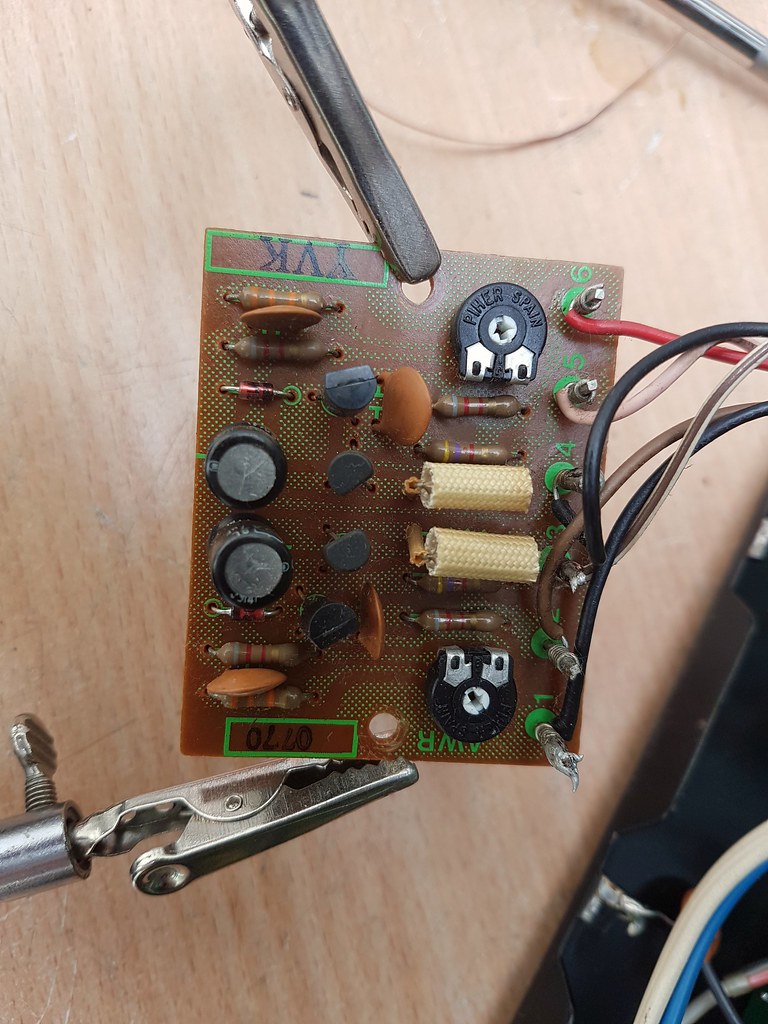 2018-07-22_09-01-21
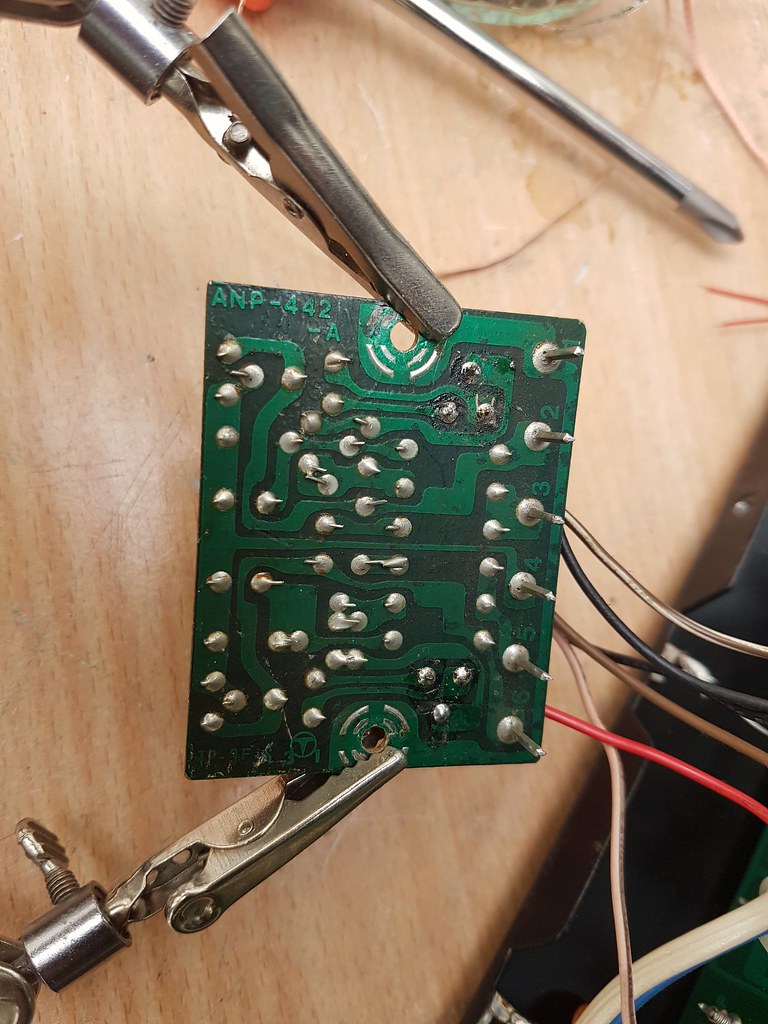 2018-07-22_09-01-41
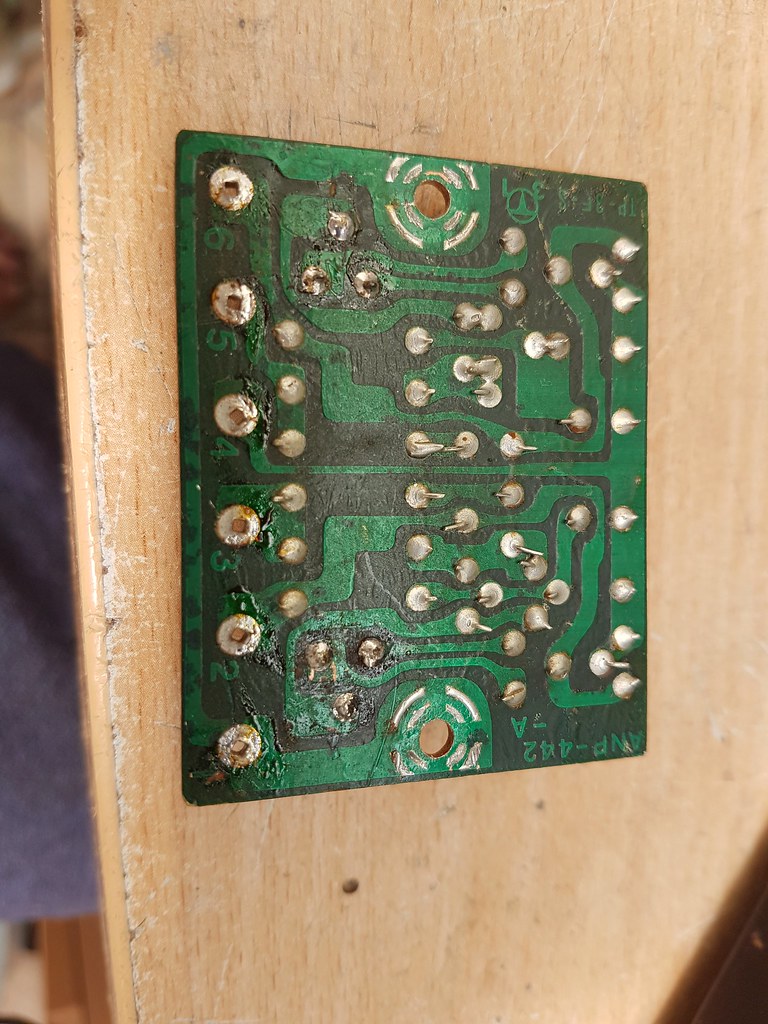 2018-07-22_09-01-03
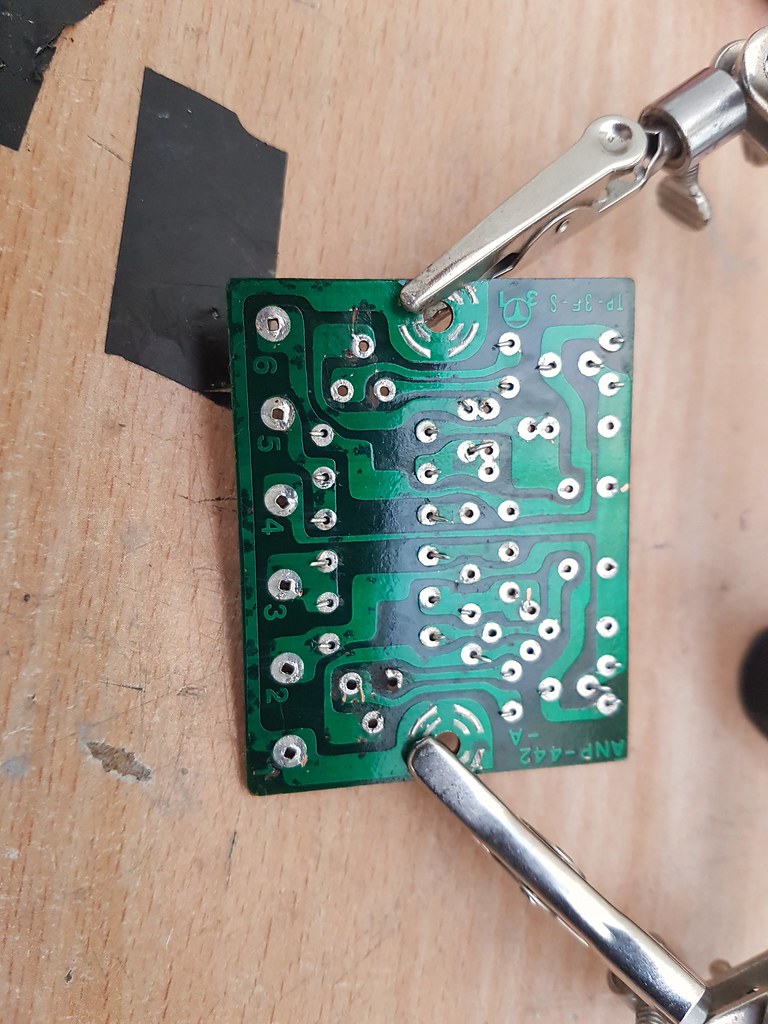 2018-07-22_09-00-48
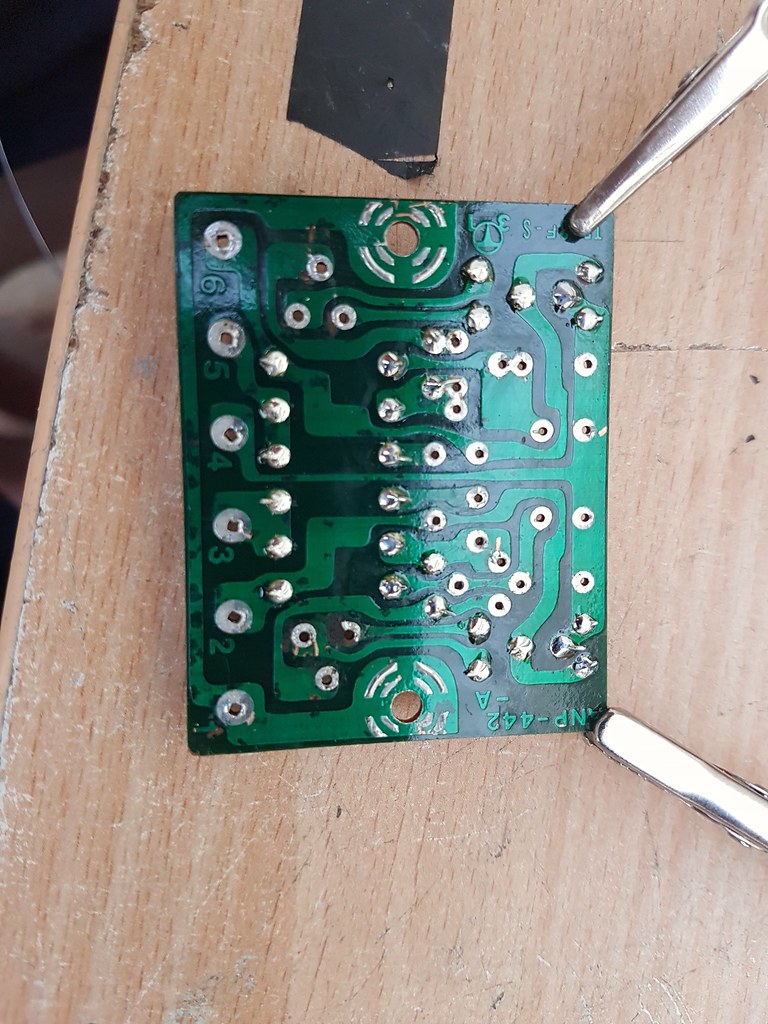 2018-07-22_09-00-34
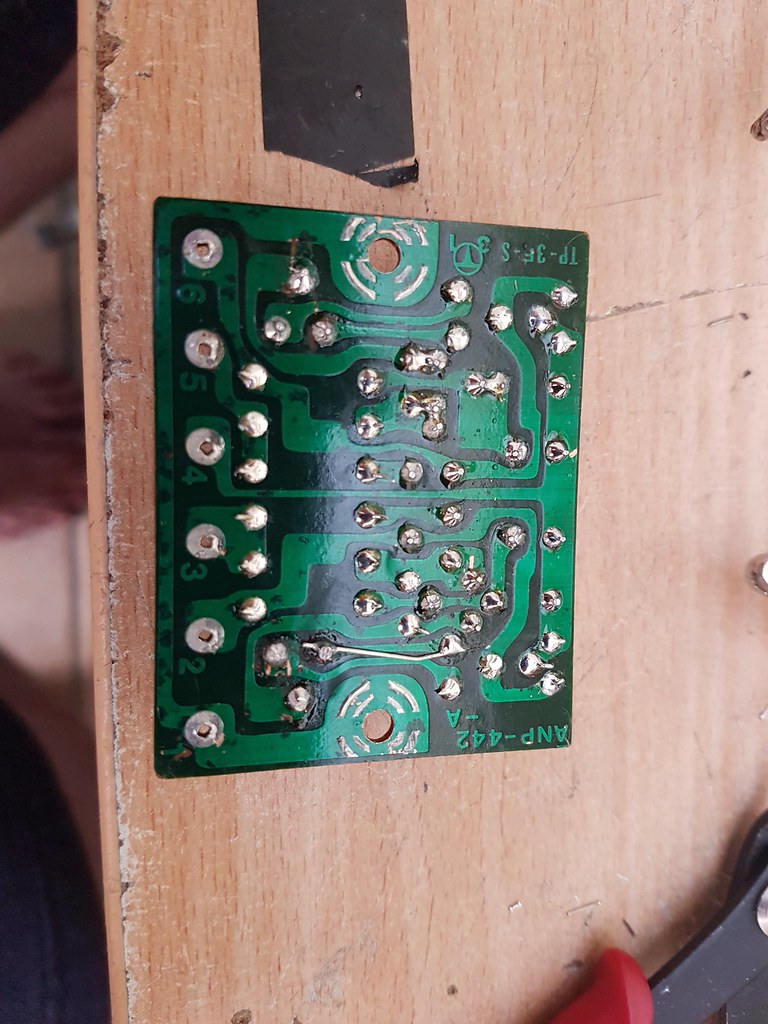 2018-07-22_09-00-09
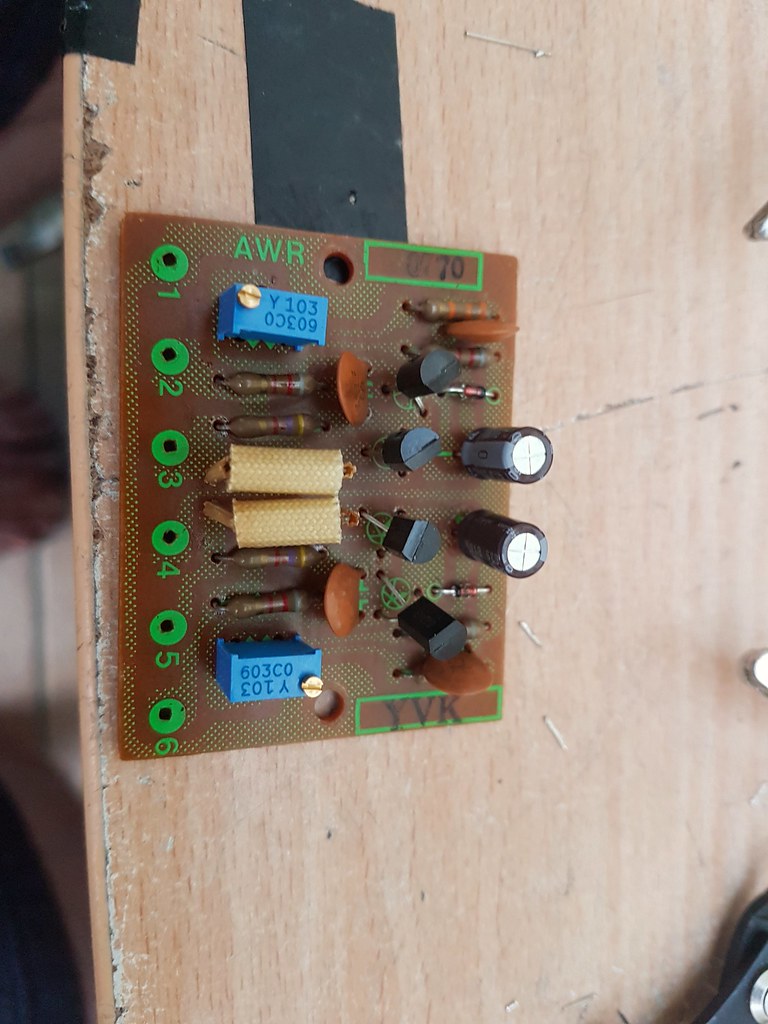 2018-07-22_09-00-20

 2018-07-25_01-07-42
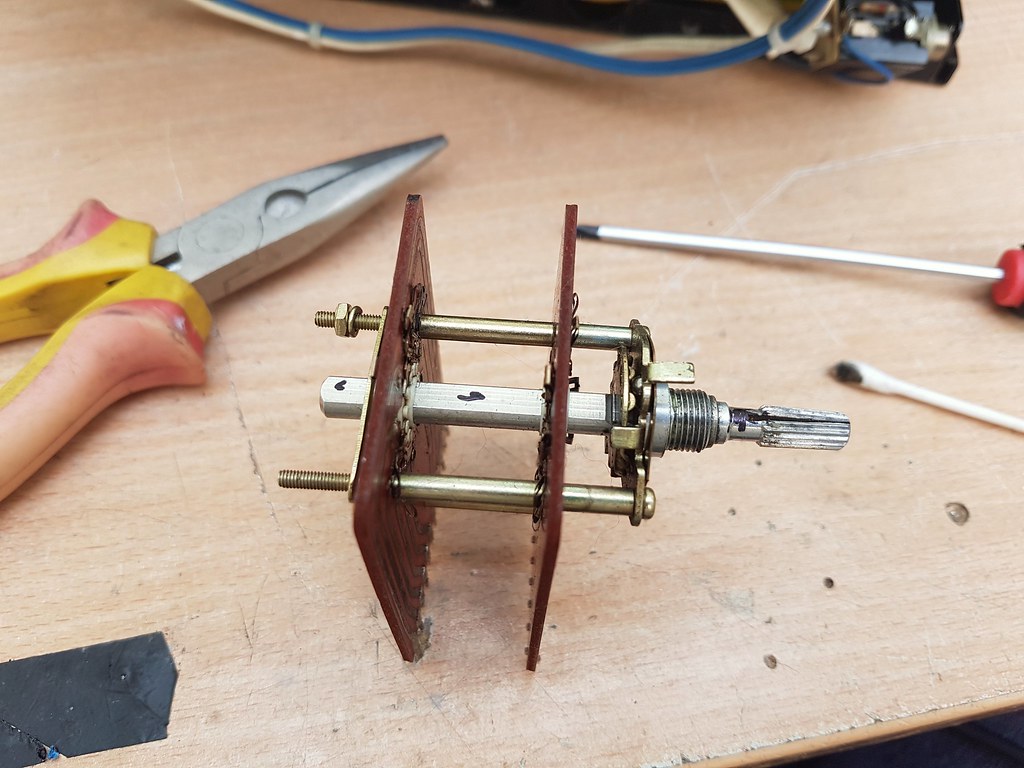 2018-07-25_01-08-08
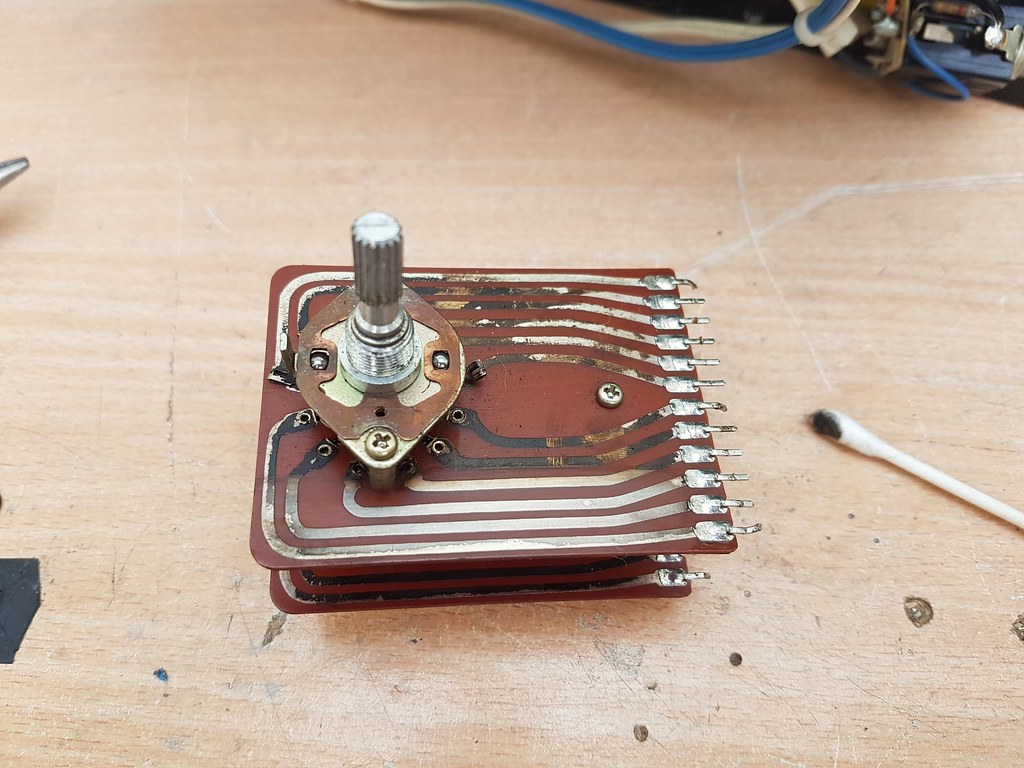 2018-07-25_01-08-33
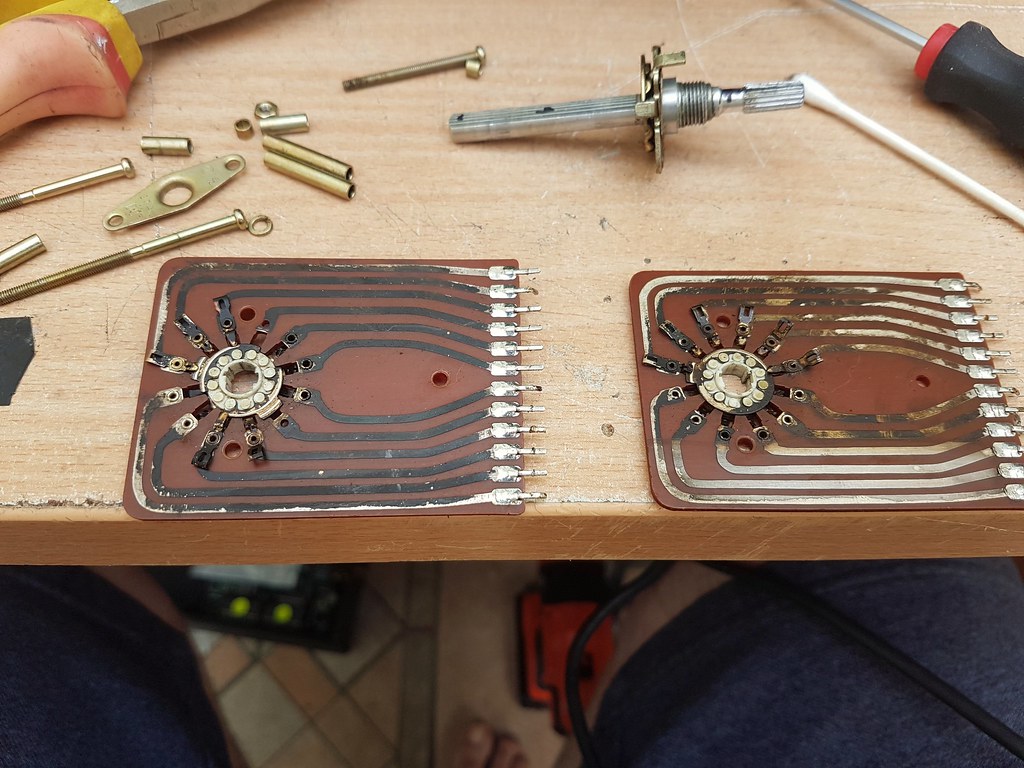 2018-07-25_01-09-06
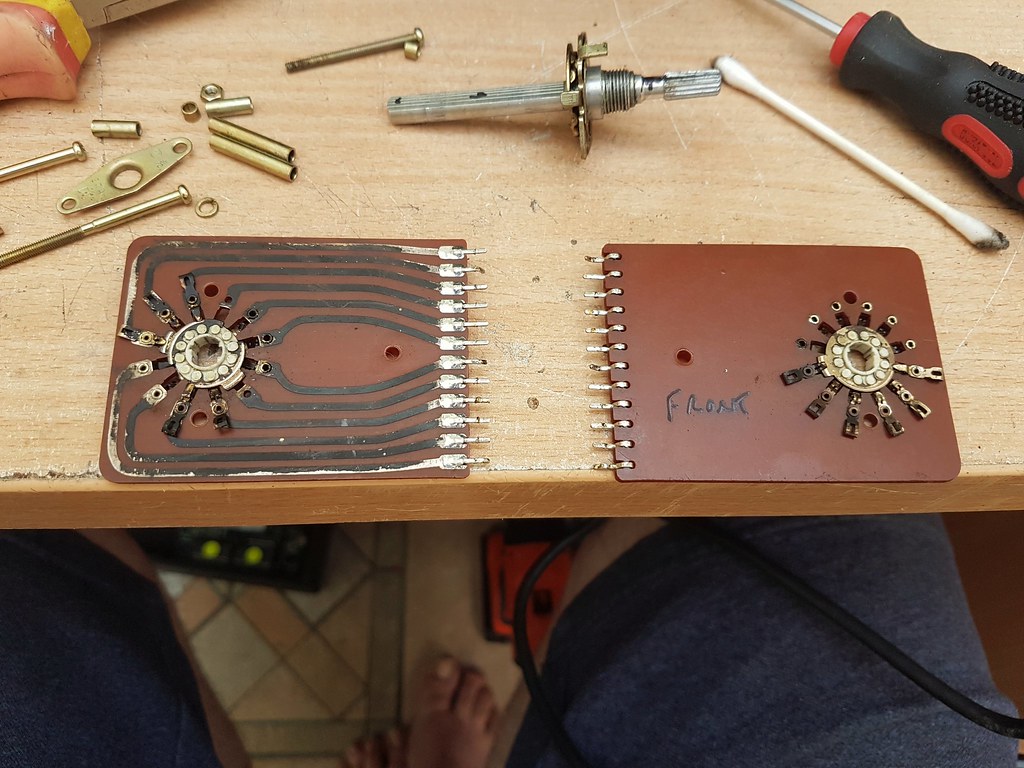 2018-07-25_01-09-32
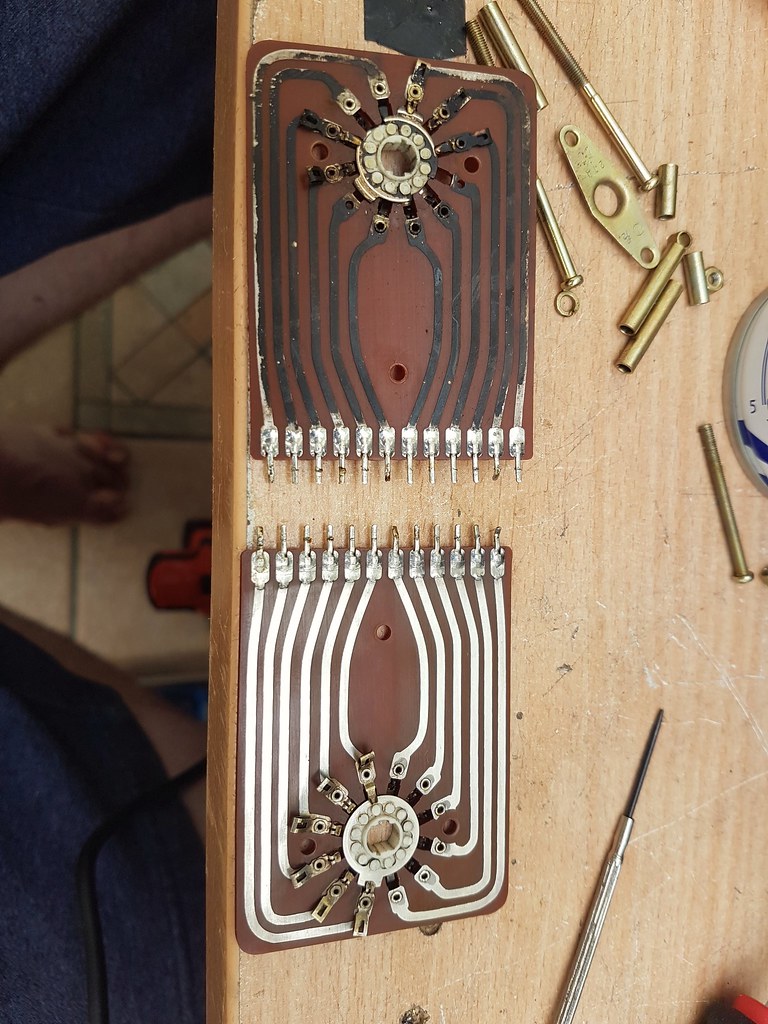 2018-07-25_01-10-09
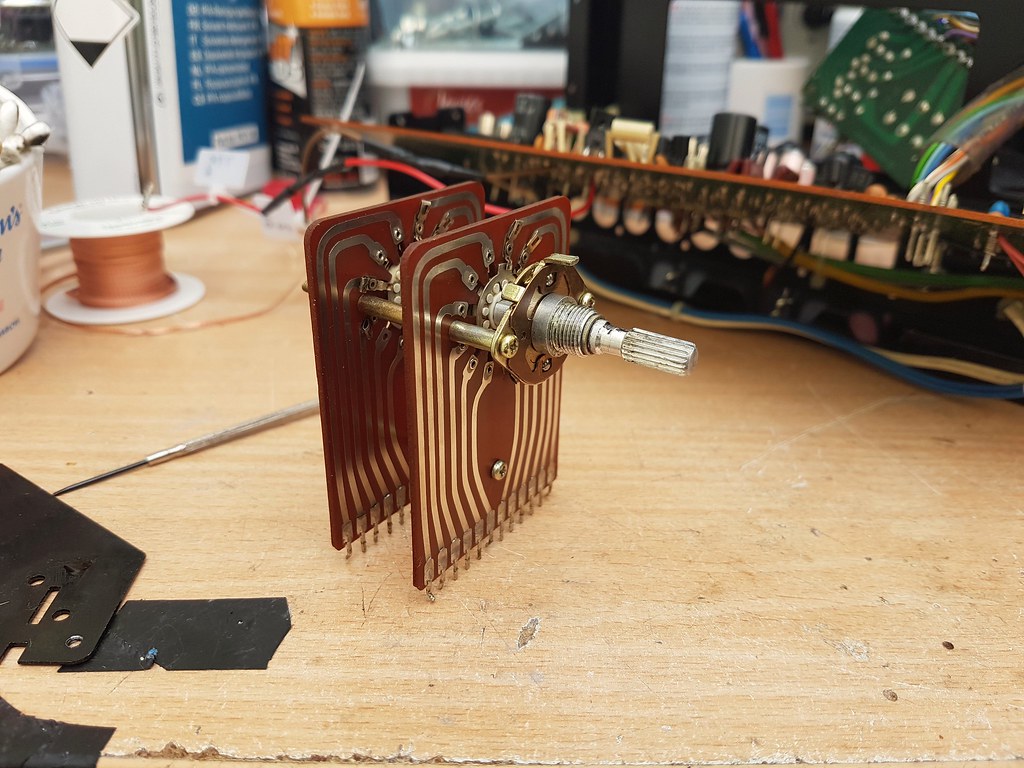 2018-07-25_01-10-31
 2018-07-25_01-11-23
 2018-07-25_01-11-43
 2018-07-25_01-12-17
 2018-07-25_08-02-01