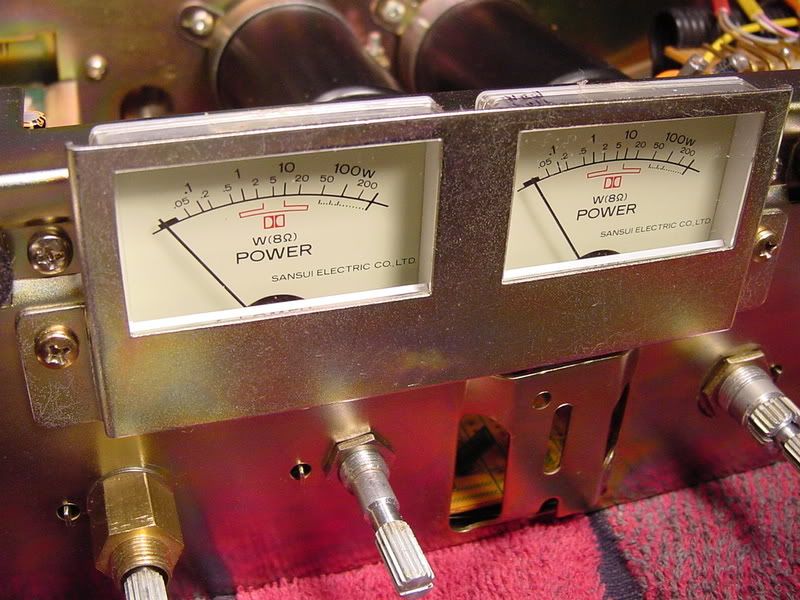
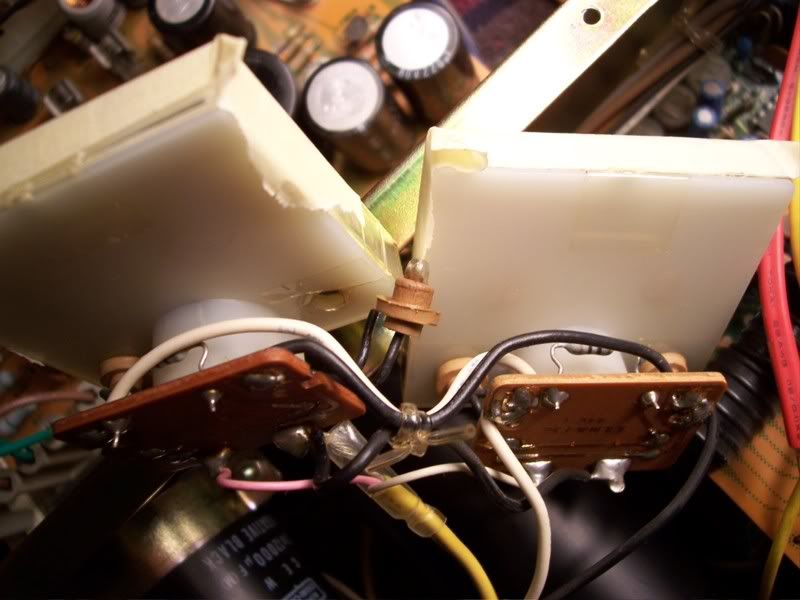
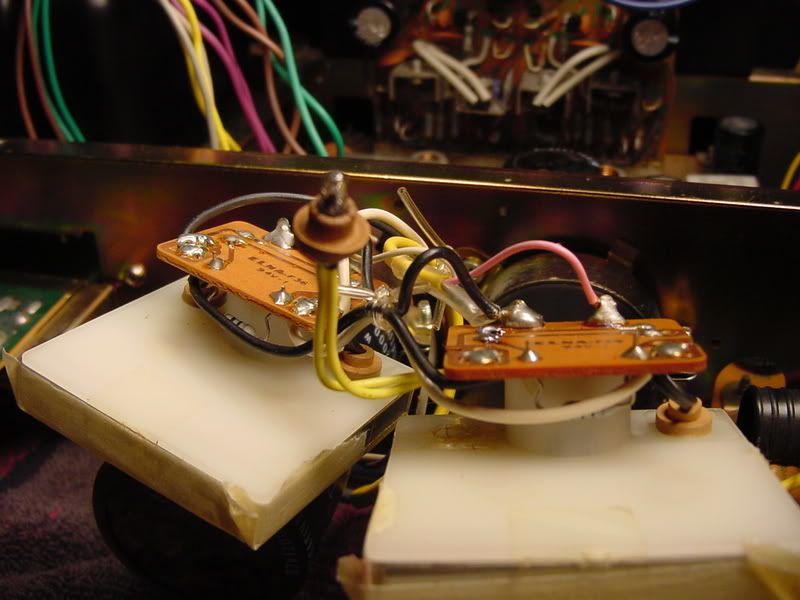
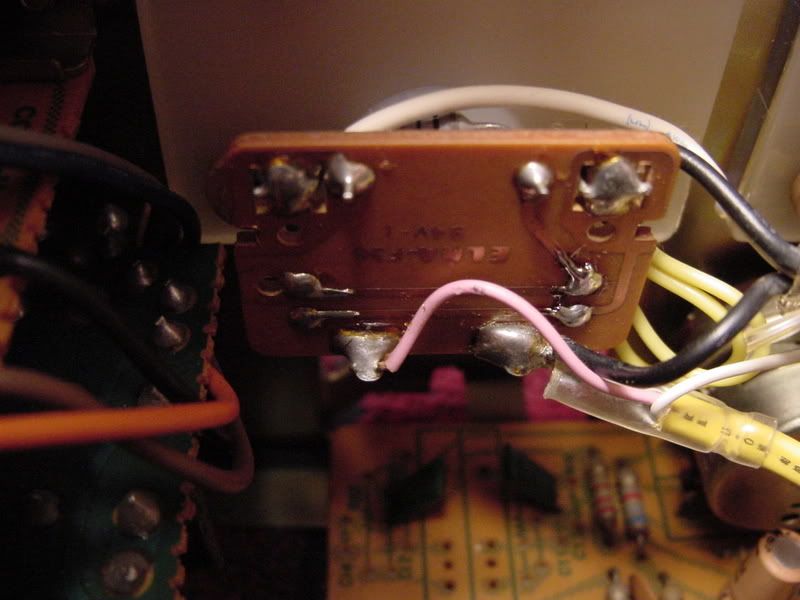
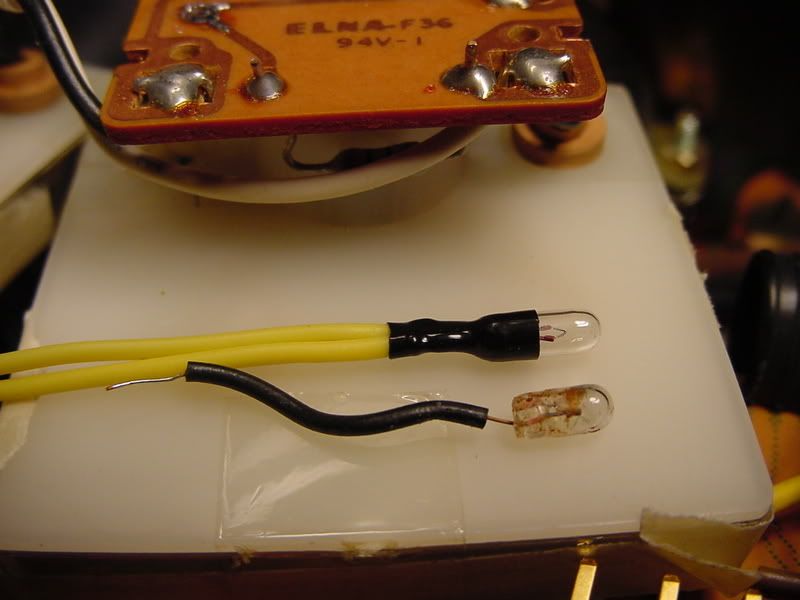
OK lets get all the information into one place. The original lamps are 6.3v 70mV 3mm diameter. Exact replacements are available from MCM electronics for about 25¢. The same lamp is used for the dial pointer. There is a 10Ω resistor on the little circuit board behind the meter that drops the effective voltage to around 5v.
There is no easy way to replace these bulbs. You guys that are separating e the meters from the frame to get better access, how to you re-attach the meters? I haven't found anything that works as well as the double sided tape that Sansui used so I don't mess with it. I generally replace the bulbs when I cleaning the unit and to do that effectively, I remove the faceplate, tuner assembly, and front rail of the chassis. That provides wide open access to all the controls for cleaning and gives the best access to the meters.
I find an LED conversion is actually a little easier than replacing the lamps with incandescents BUT I haven't found LEDs that match the original appearance of the incandescents. "White" LEDs have a bluish hue and "warm white" LEDs have a yellow-greenish hue. In my opinion either is a compromise. "Warm white" is closer to original look but "White" looks good if you also upgrade the Tuner dial lights to white LEDs.
I use flat topped 4.8mm LEDs with 170° dispersion. They drop right into the circuit board cutout. Wire the two LEDs for each meter in series and connect one leg to each side of the existing light circuit on the board. Change the 10Ω dropping resistor to a 1/4w 15Ω and you are done. I think I posted a picture of this conversion but my memory is not so good anymore.
I get my LEDs
Here.
- Pete