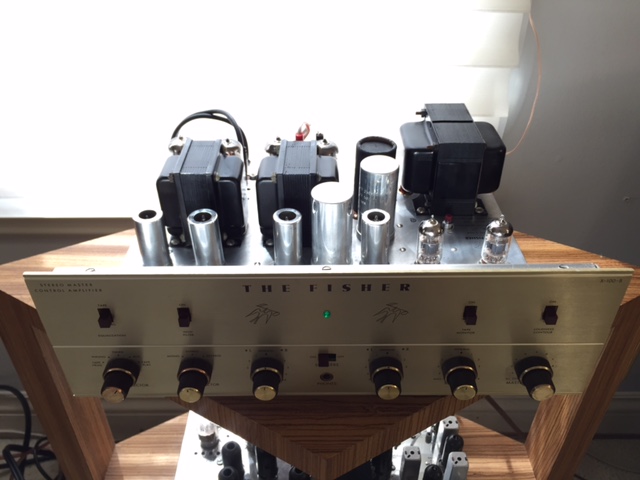
Hello! We thought it would be fun to share with you guys and gals a restoration of a Fisher X-100B that we recently did. This write up can apply to amps other than Fishers and hopefully you can get some ideas for your own vintage tube amp restoration. Any comments and/or questions are very welcome! Now on with the show:
Inspecting the Amp as Received:
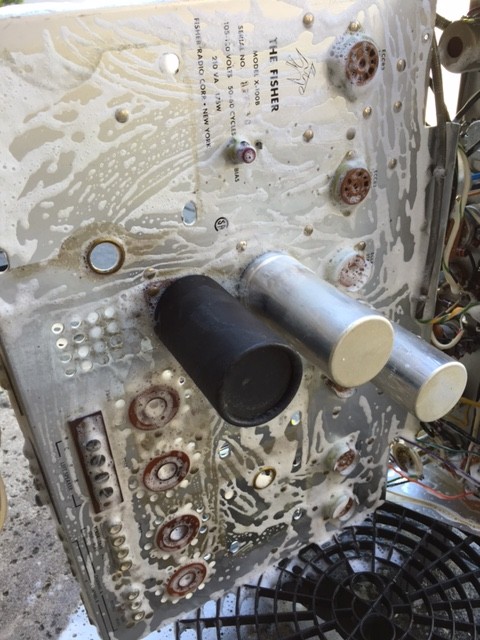
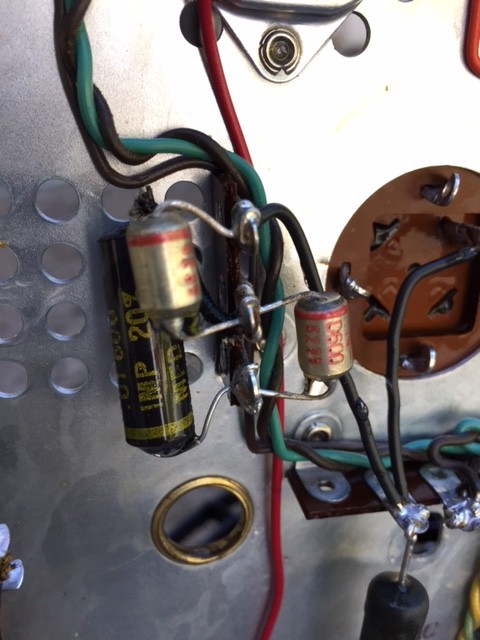
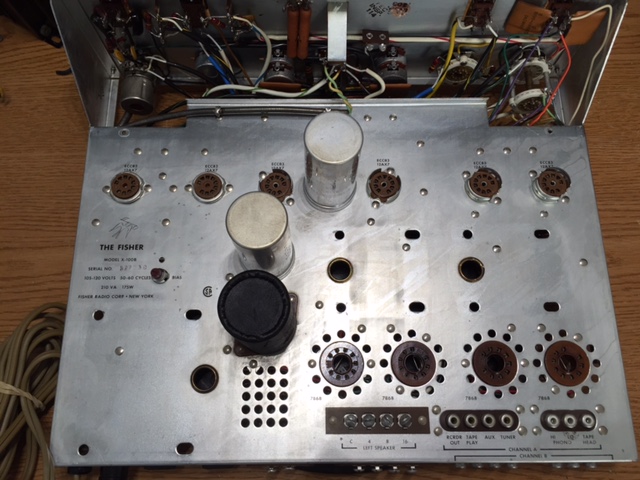
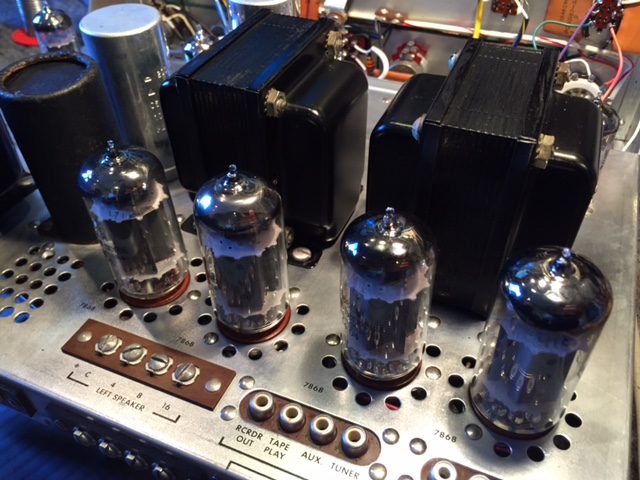
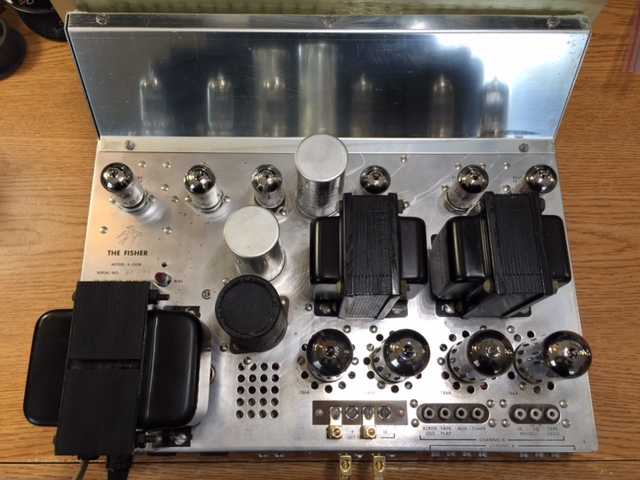
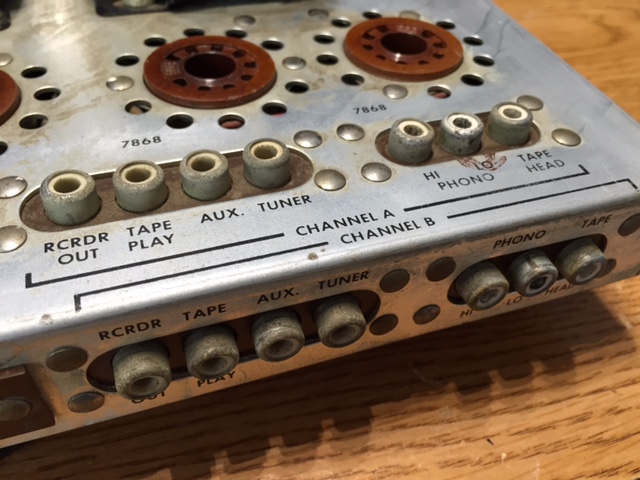
- It is important to take a minute and look over what you are working with. Some amps have rust that will need special attention to remove, missing components that need to be replaced, or blemishes that might be removable. I usually just mentally mark these areas and needed items. When I get to cleaning, I pay more attention to the spots I marked as a measure of how effective the cleaning process is going in general.
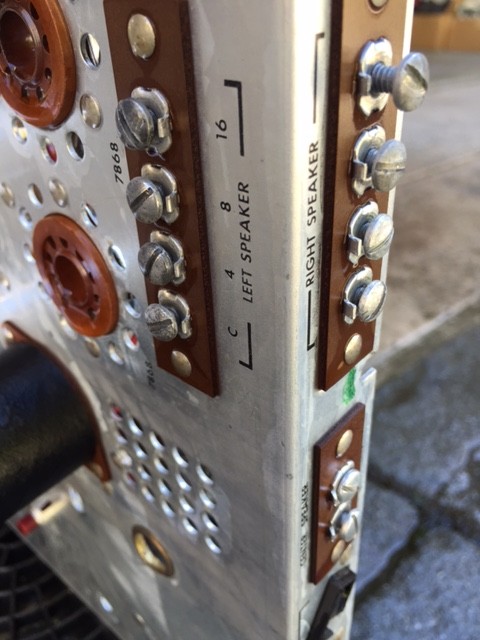
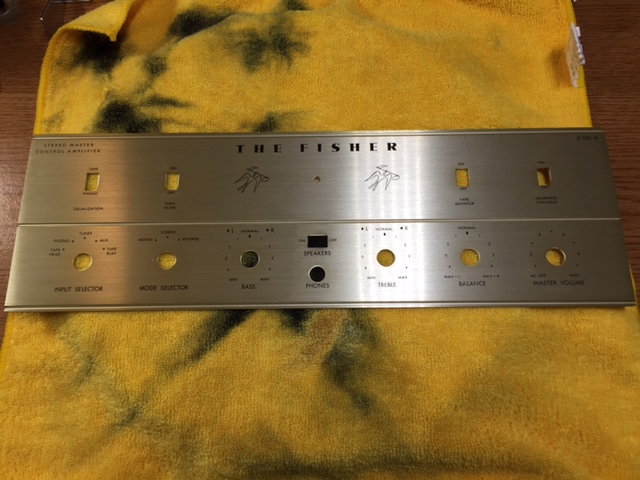
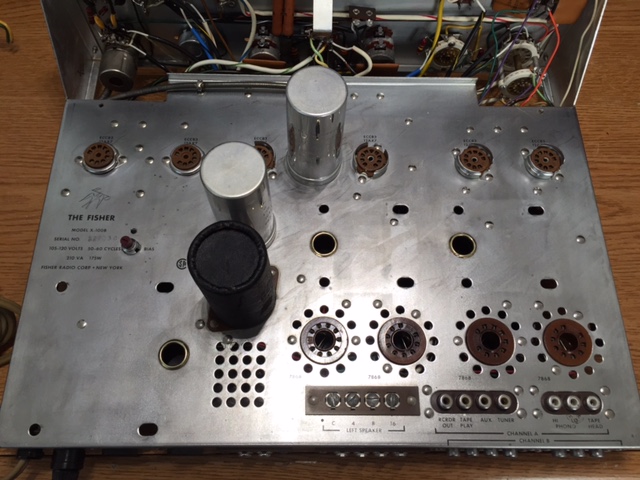
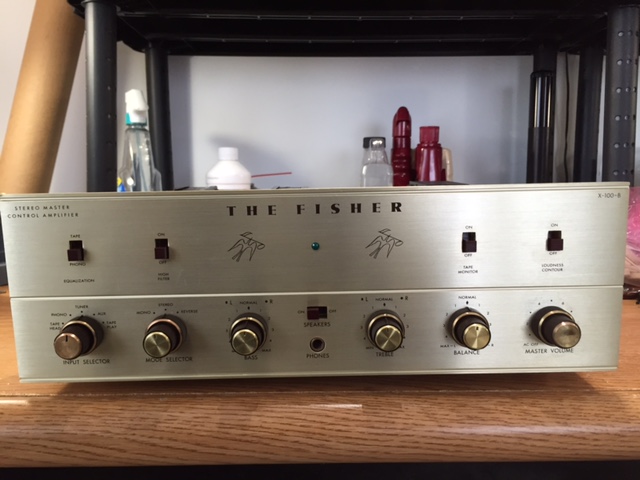
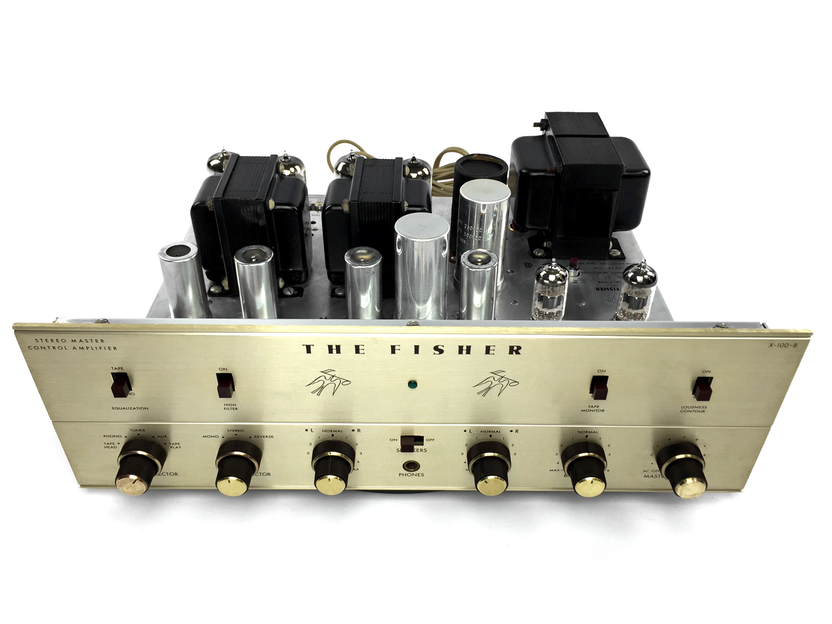
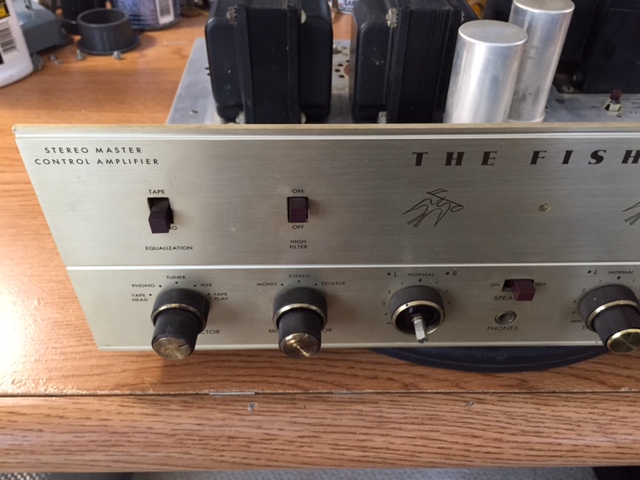
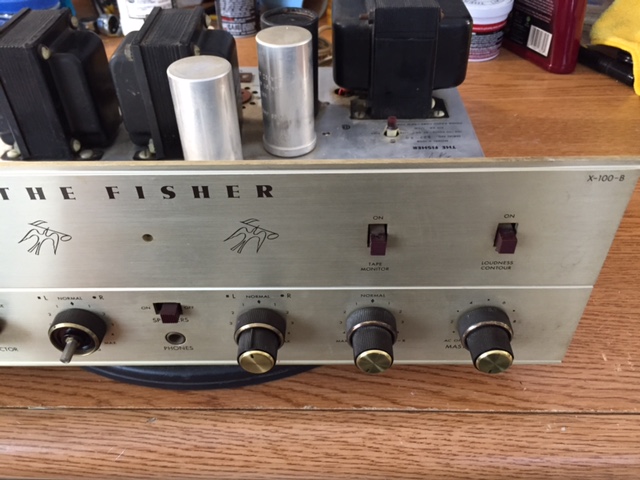
With this Fisher X-100B, there is only the face plate jewel and a knob missing. The rest of the amplifier, while very dirty and tarnished, is rust free and in nice shape. This type of unit should come out nicely without too much dirty work. Lucky me!

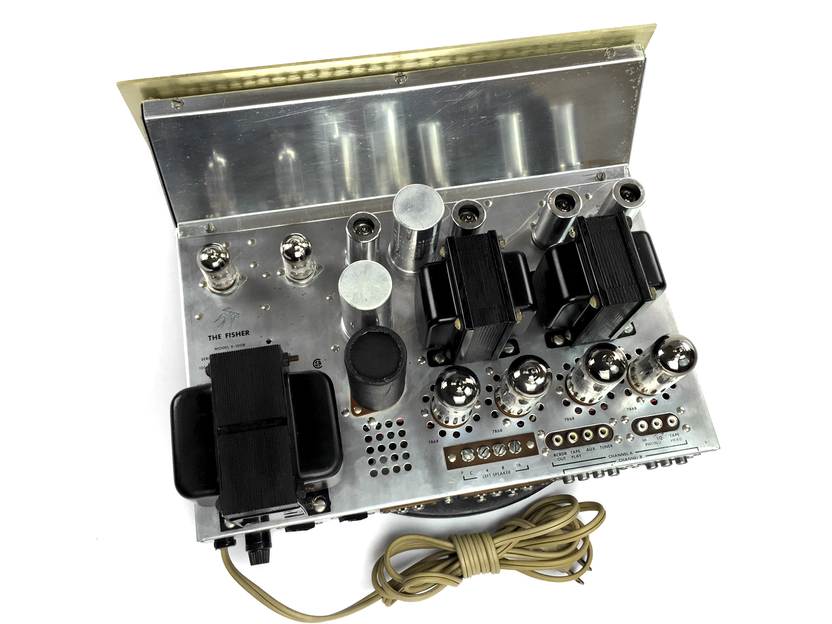
Prepping the Amp for Cleaning:
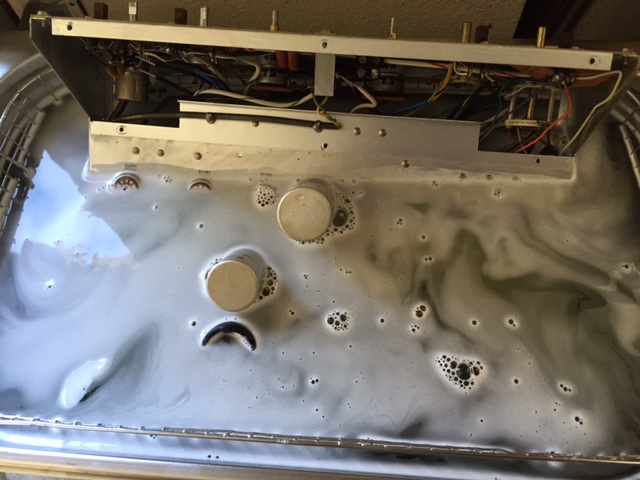
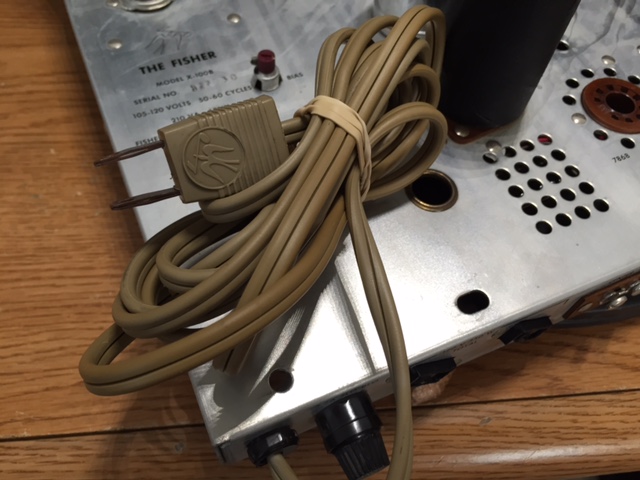
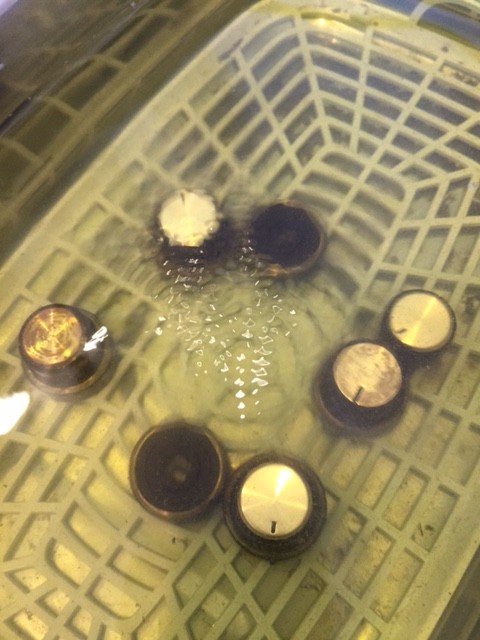
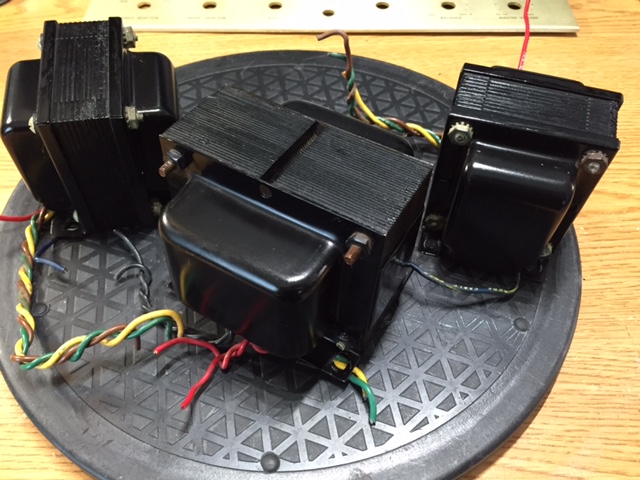
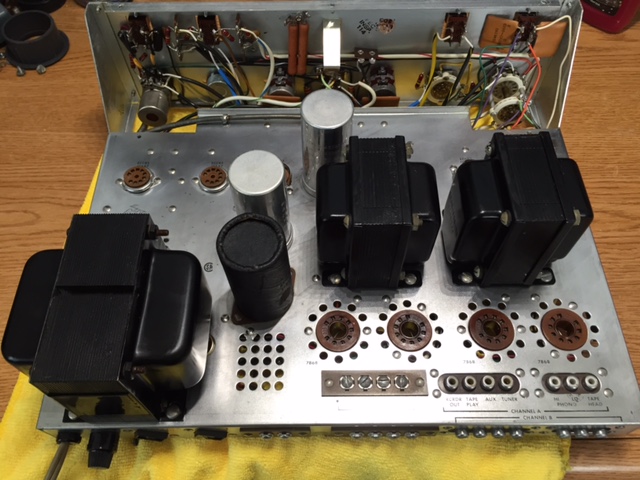
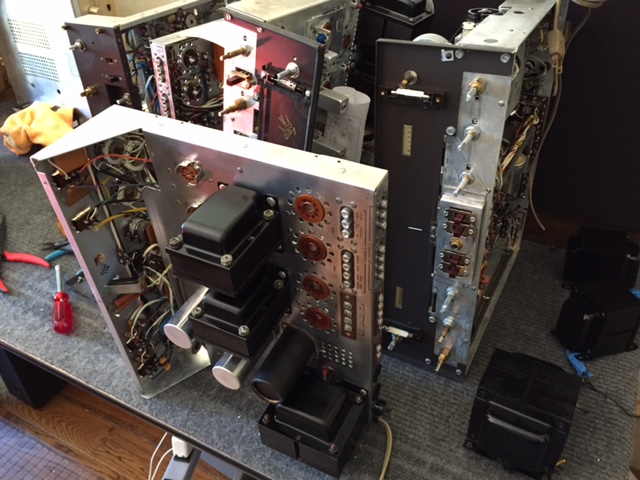
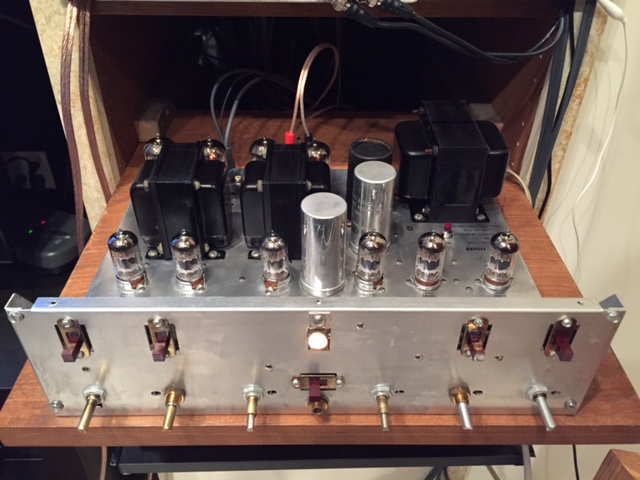
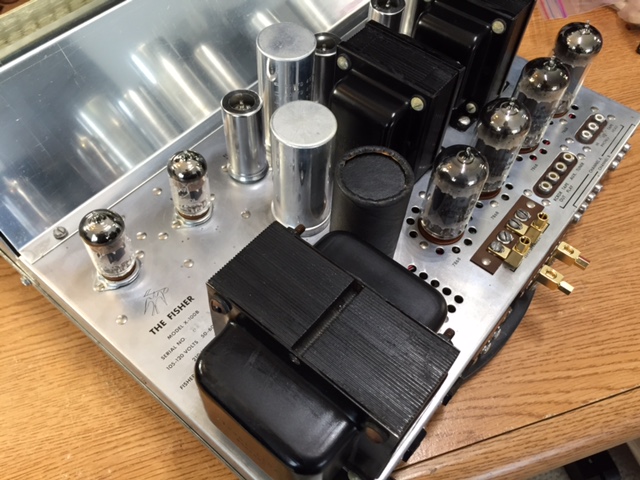
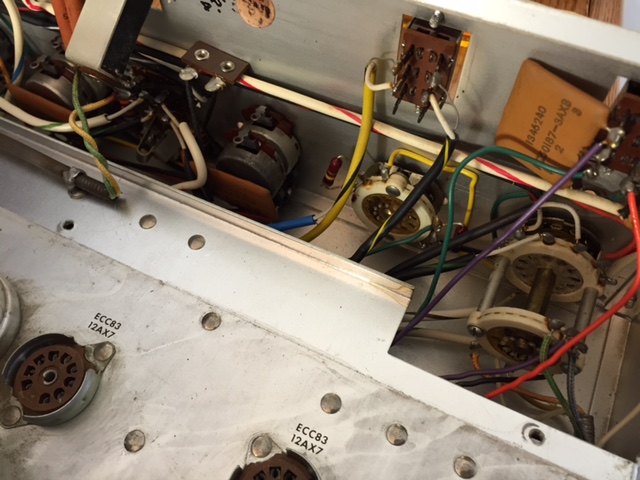
- Here we remove the knobs, face plate, chassis bottom cover, and the transformers. Why the transformers? It is an easy thing to do, keeps them safe from our cleaning chemicals, and allows us to fully clean the chassis and the transformers separately if needed. We can also test them on the bench if we have any doubts as to their condition. If you are going to clean your amp, pulling the transformers is the best way to go. Oh, it also makes handling the chassis so much easier without the bulk of the weight attached! Pro Tip: Be sure to take lots of photos of where each lead off of each transformer goes!
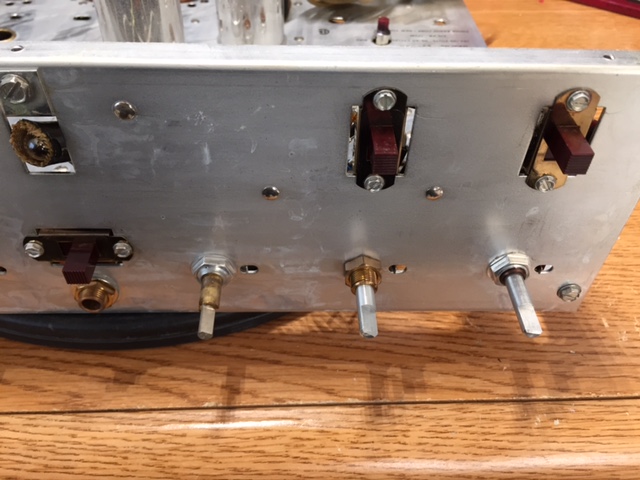
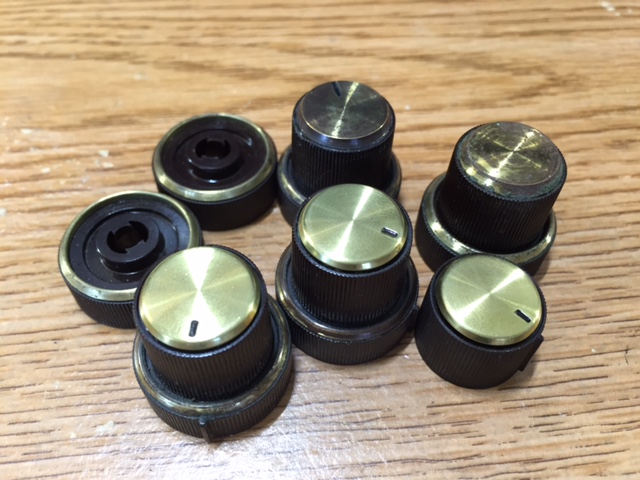
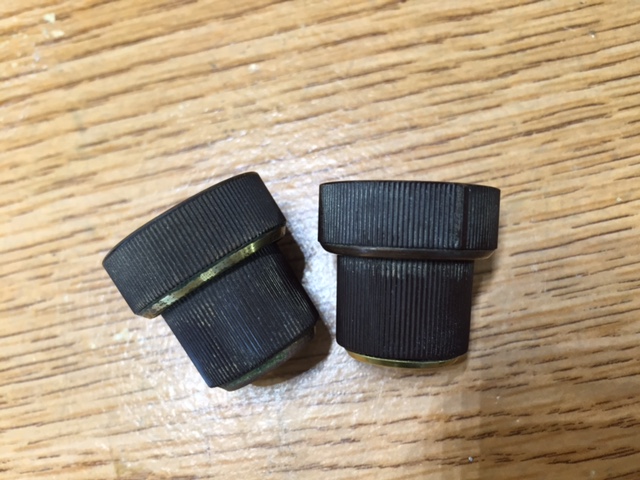
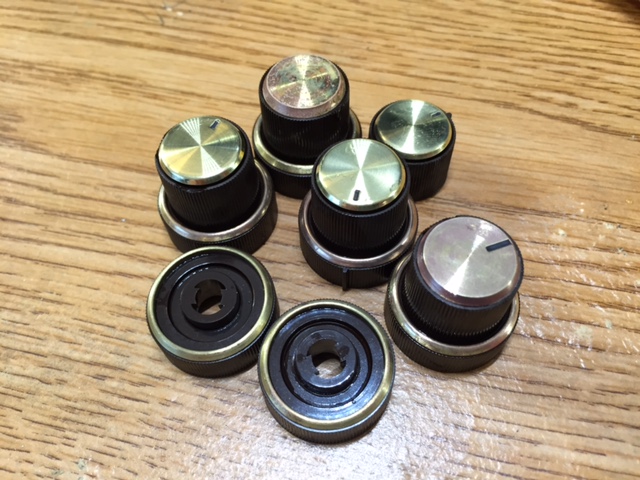
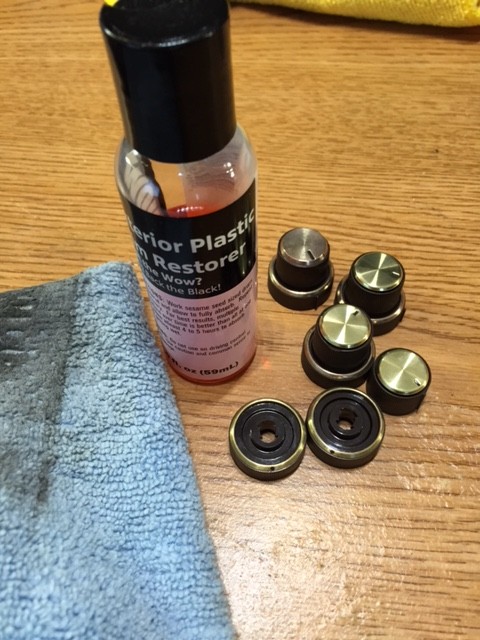
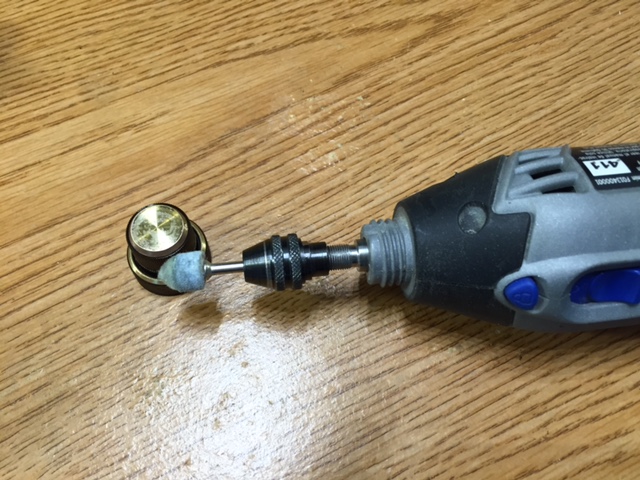
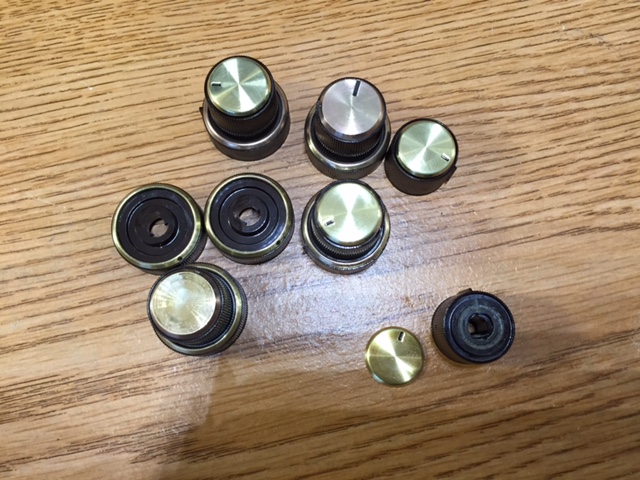
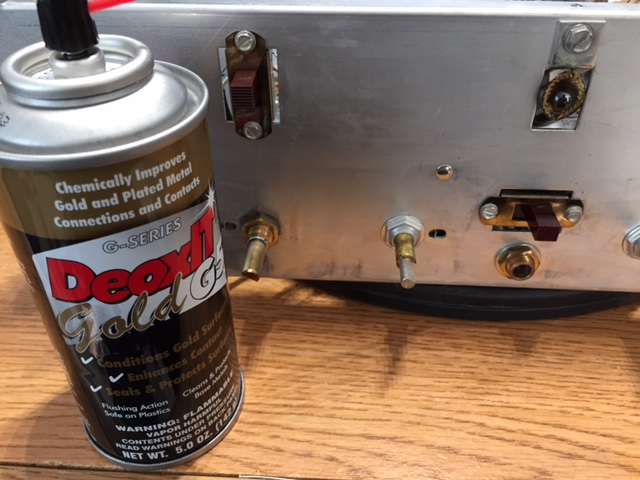
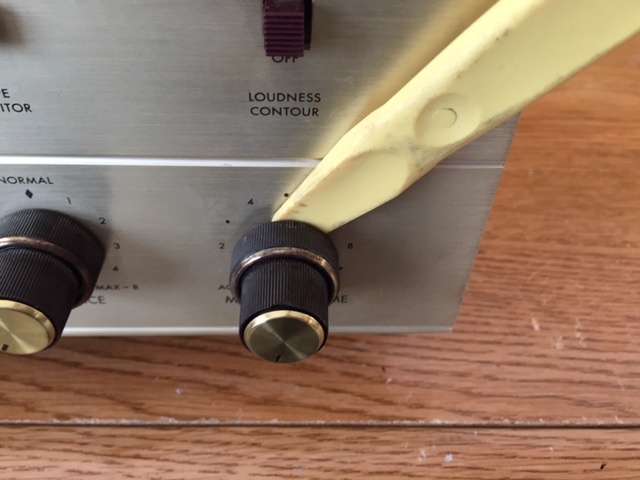
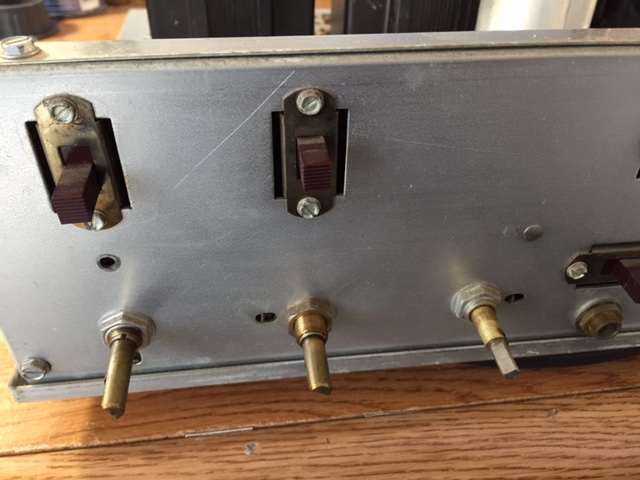
Take special care when removing the knobs, as they are sometimes a little brittle. The best way for push-on type of knobs is to pry them off from the back of the knob while working it forward with your hand, however there is the concern of scratching the faceplate if you use a screw driver or similar metal tool. Pro tip: buy a cheapo car interior removal plastic tool kit. The plastic pry tools are perfect for taking off your knobs while protecting your face plate. Something I brought over from my vintage car restoration hobby. Some knobs have tiny little retaining screws, so be sure to look which type you have, as you don't want to be pulling on your knobs without first loosening a retaining screw.
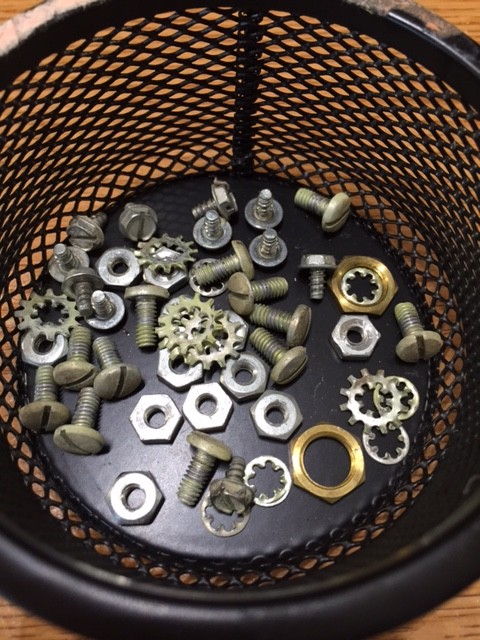
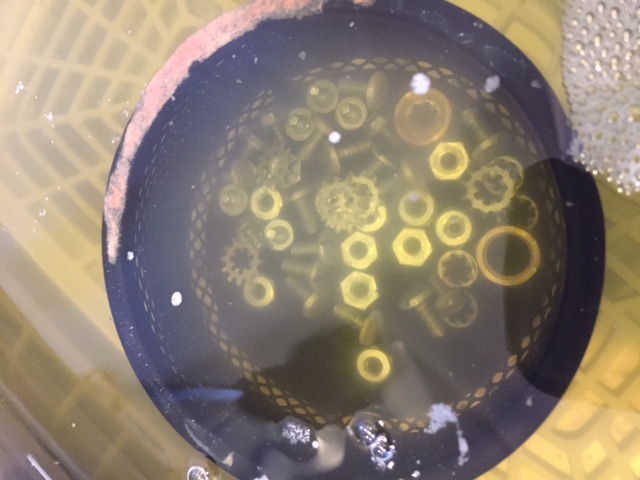
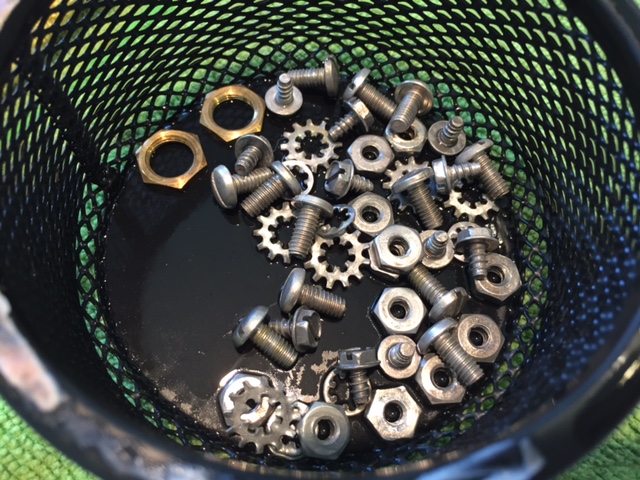
Also, keep all the nuts, bolts, washers, screws and knobs together. Simple way is to use a plastic sandwich bag, as you can zip it closed to prevent anything from getting lost.

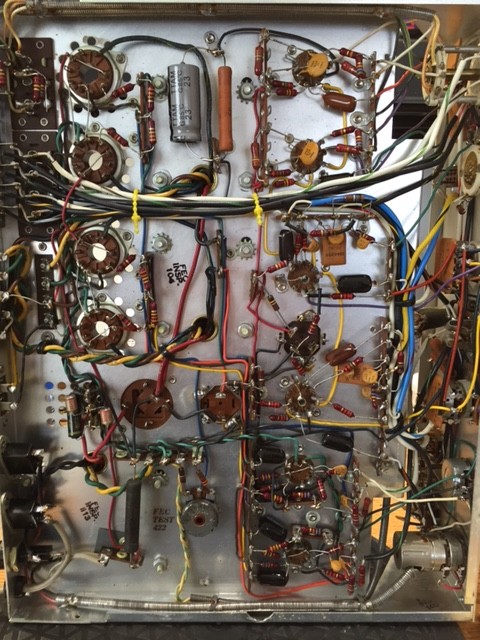
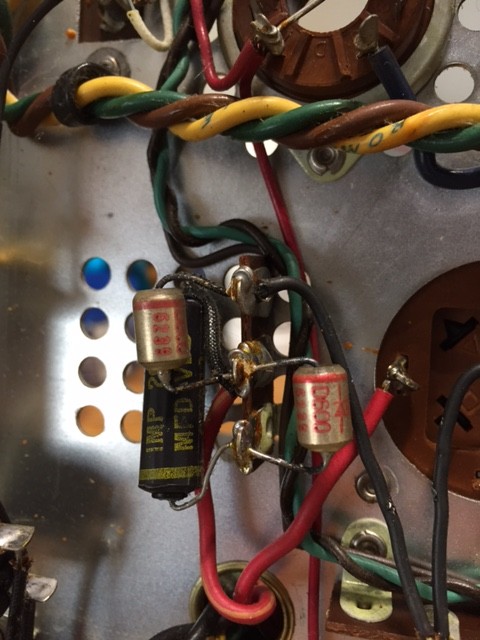
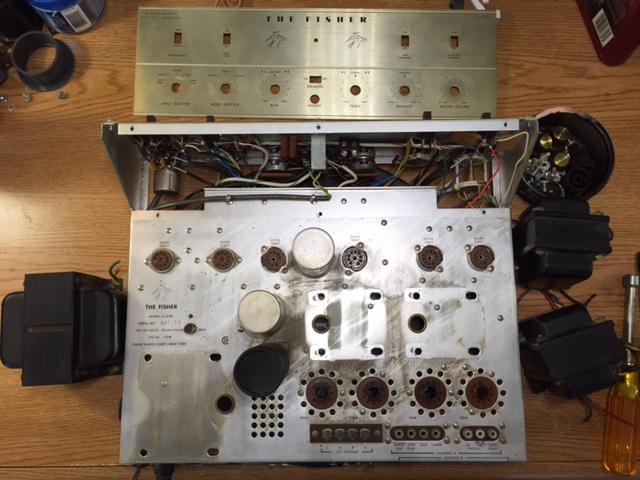
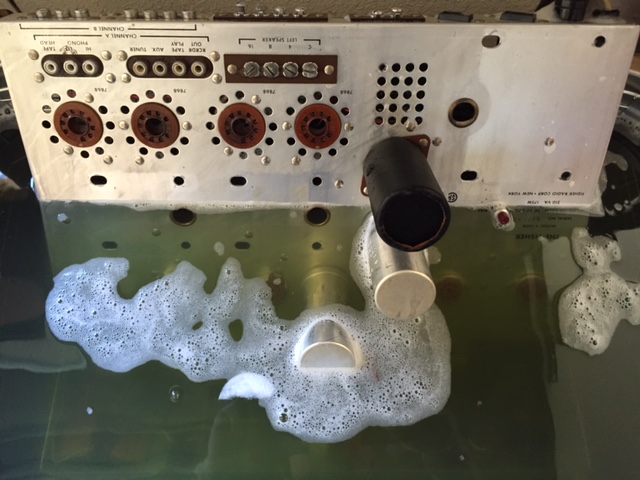
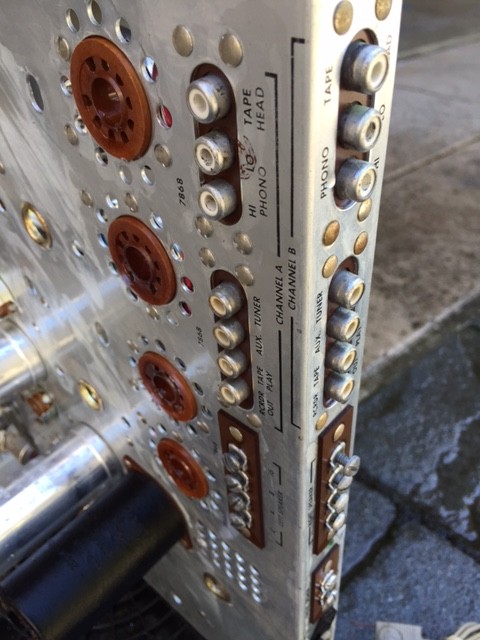
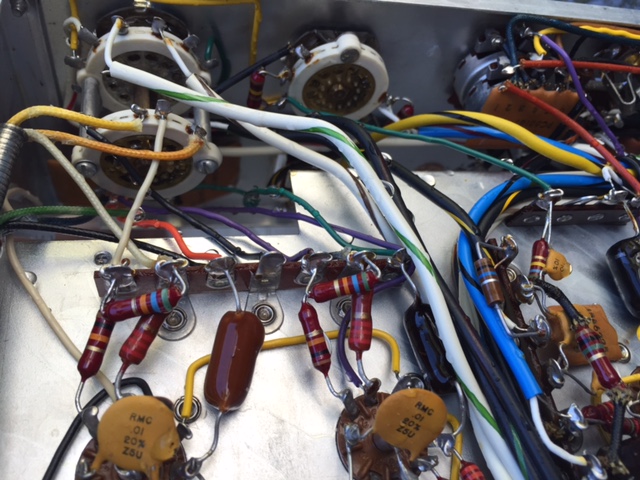
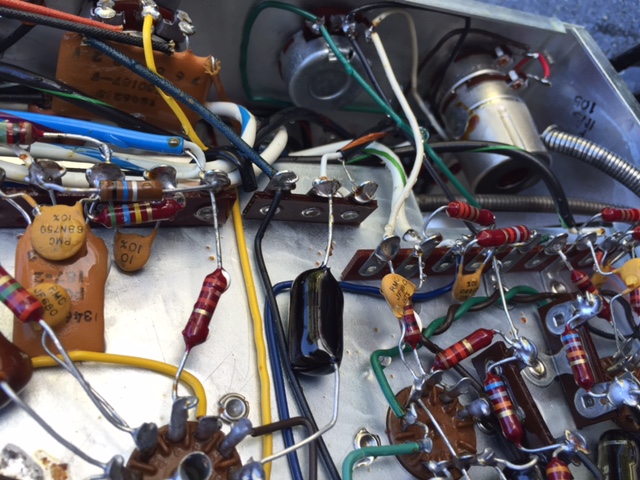
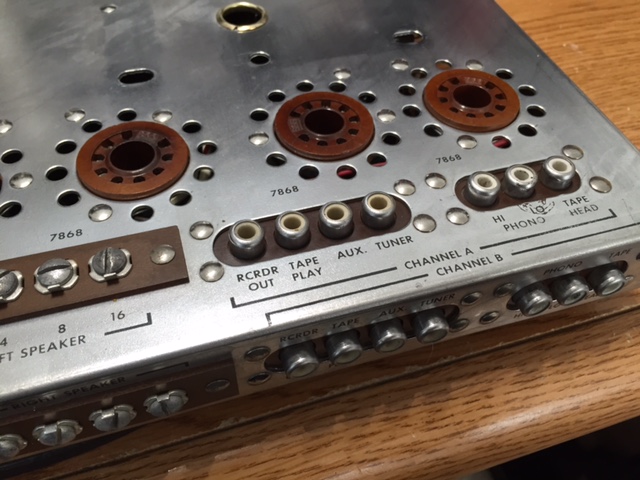
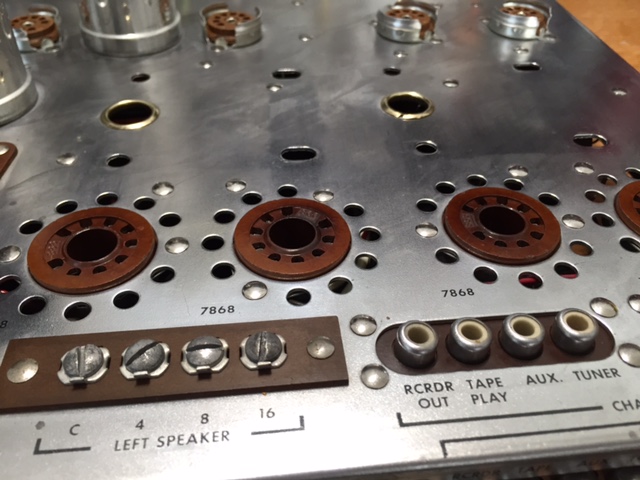
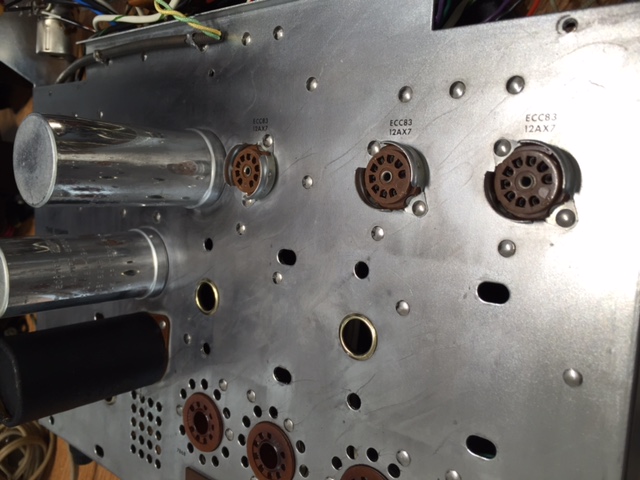
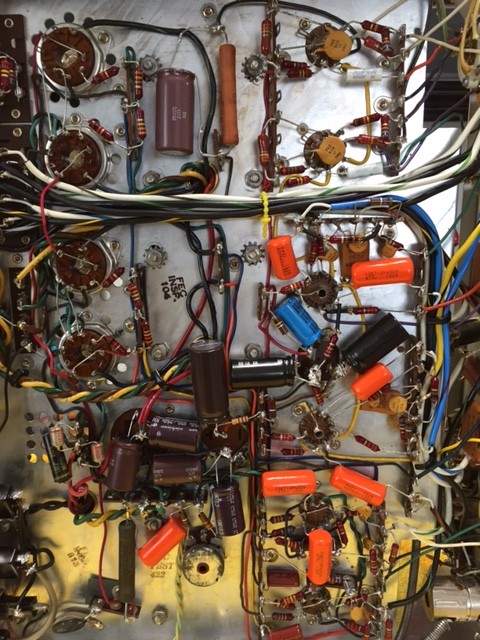
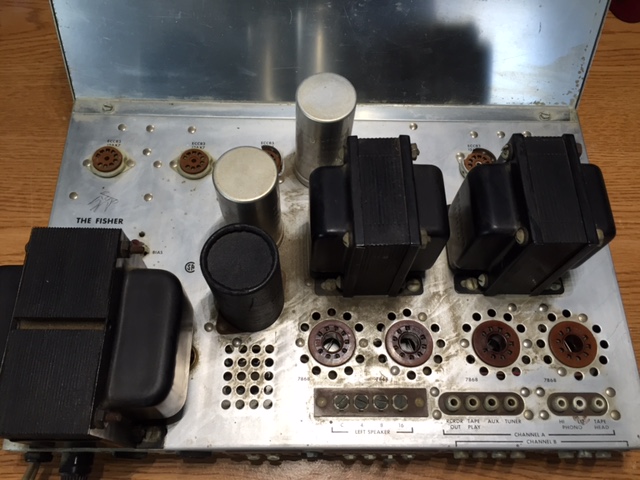
From here we concentrate on the bare chassis.
Inspecting the Amp as Received:
- It is important to take a minute and look over what you are working with. Some amps have rust that will need special attention to remove, missing components that need to be replaced, or blemishes that might be removable. I usually just mentally mark these areas and needed items. When I get to cleaning, I pay more attention to the spots I marked as a measure of how effective the cleaning process is going in general.
With this Fisher X-100B, there is only the face plate jewel and a knob missing. The rest of the amplifier, while very dirty and tarnished, is rust free and in nice shape. This type of unit should come out nicely without too much dirty work. Lucky me!
Prepping the Amp for Cleaning:
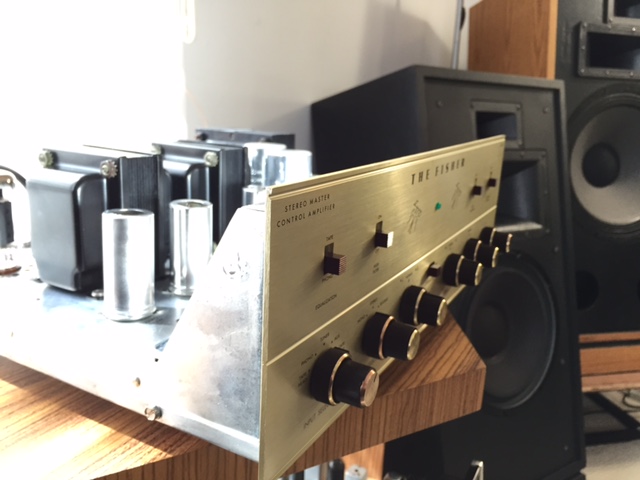
- Here we remove the knobs, face plate, chassis bottom cover, and the transformers. Why the transformers? It is an easy thing to do, keeps them safe from our cleaning chemicals, and allows us to fully clean the chassis and the transformers separately if needed. We can also test them on the bench if we have any doubts as to their condition. If you are going to clean your amp, pulling the transformers is the best way to go. Oh, it also makes handling the chassis so much easier without the bulk of the weight attached! Pro Tip: Be sure to take lots of photos of where each lead off of each transformer goes!
Take special care when removing the knobs, as they are sometimes a little brittle. The best way for push-on type of knobs is to pry them off from the back of the knob while working it forward with your hand, however there is the concern of scratching the faceplate if you use a screw driver or similar metal tool. Pro tip: buy a cheapo car interior removal plastic tool kit. The plastic pry tools are perfect for taking off your knobs while protecting your face plate. Something I brought over from my vintage car restoration hobby. Some knobs have tiny little retaining screws, so be sure to look which type you have, as you don't want to be pulling on your knobs without first loosening a retaining screw.
Also, keep all the nuts, bolts, washers, screws and knobs together. Simple way is to use a plastic sandwich bag, as you can zip it closed to prevent anything from getting lost.
From here we concentrate on the bare chassis.
Last edited: