

You are using an out of date browser. It may not display this or other websites correctly.
You should upgrade or use an alternative browser.
You should upgrade or use an alternative browser.
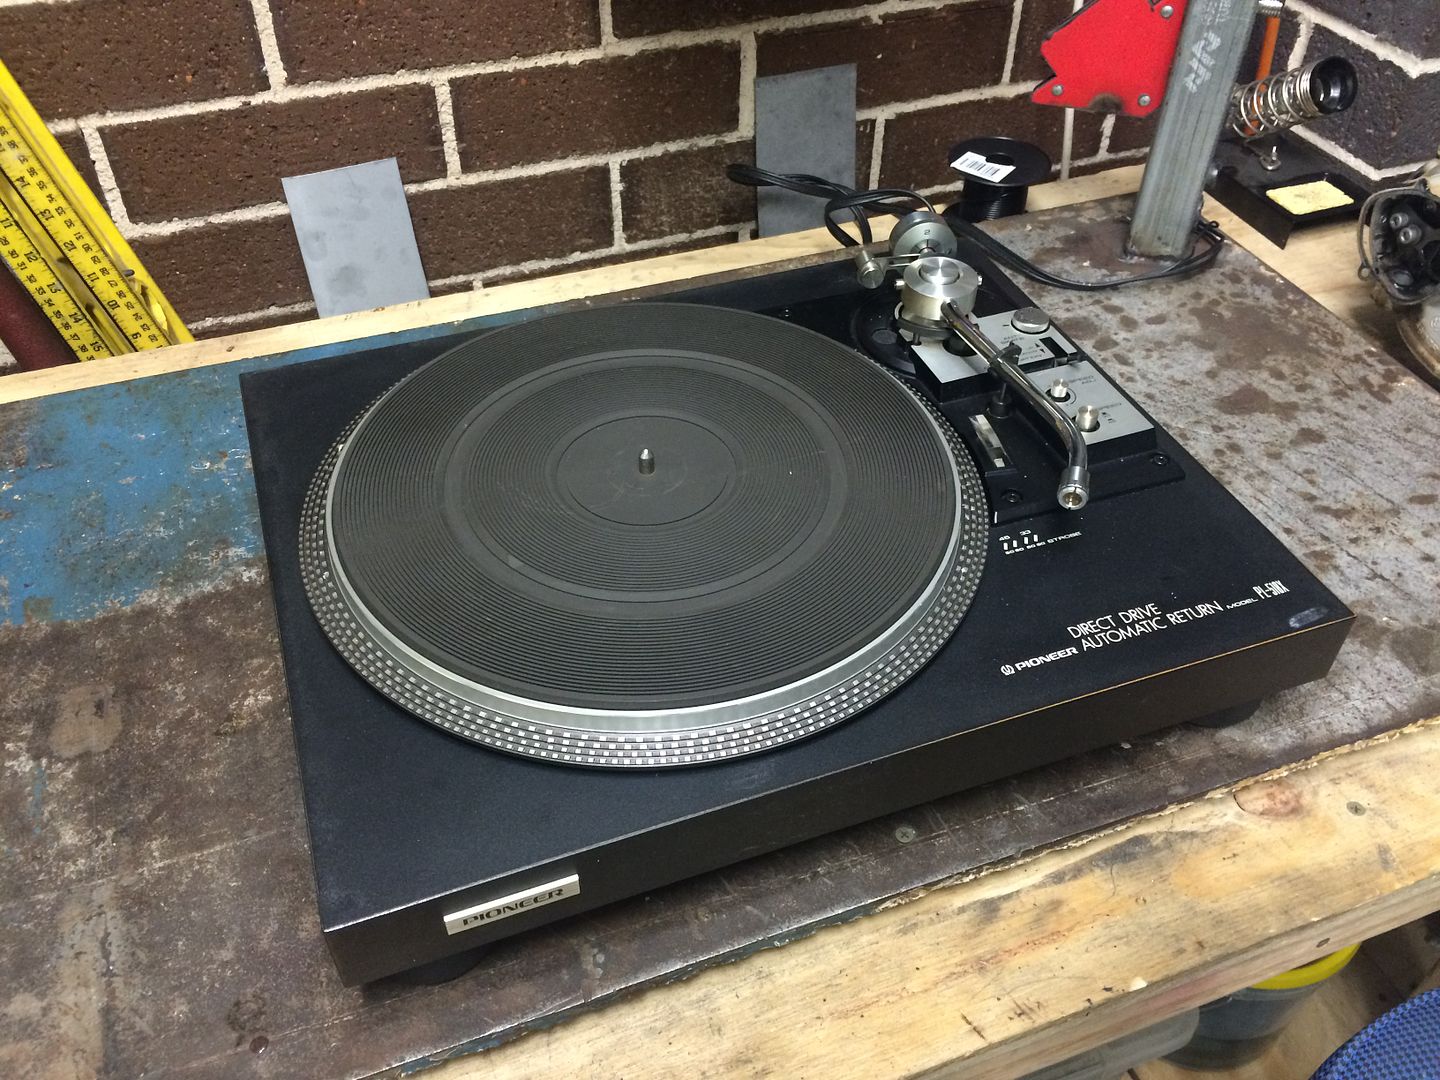
Can an amateur upgrade a PL-518?
- Thread starter neevo
- Start date
neevo
Super Member
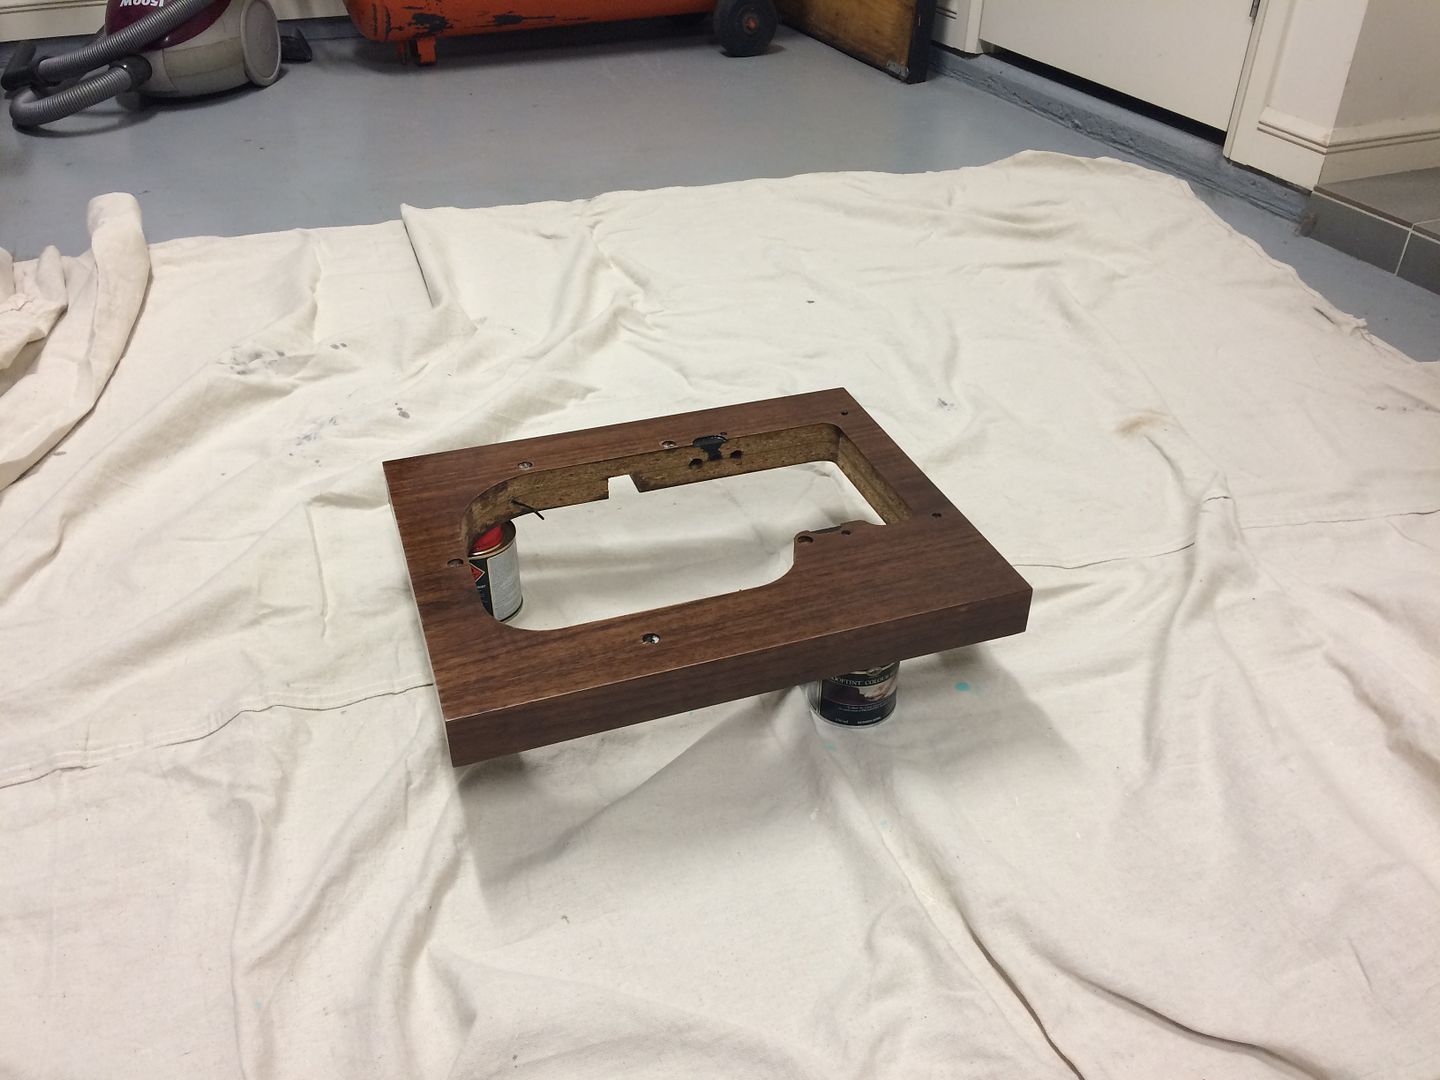
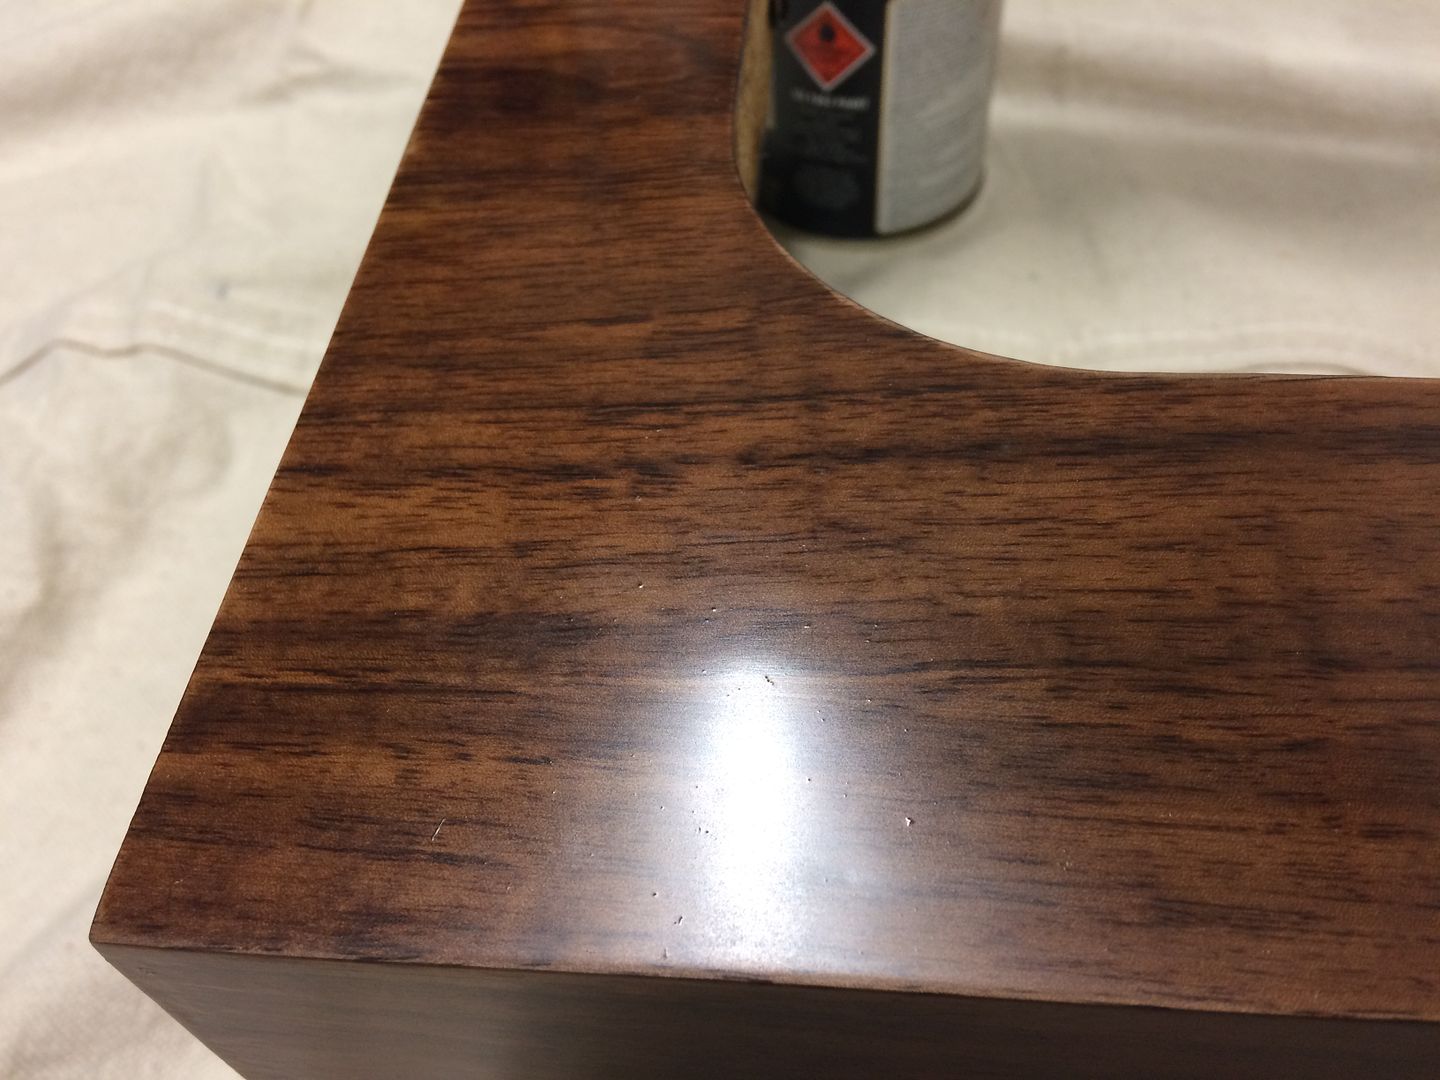
So I took my time on the last round of plinth prep. Sanding with 240 then 400 grit. I was best placed to get the best finish but unfortunately (even with thinning) I still am not happy with the final result.
As you can see I have some tiny bubbles left:
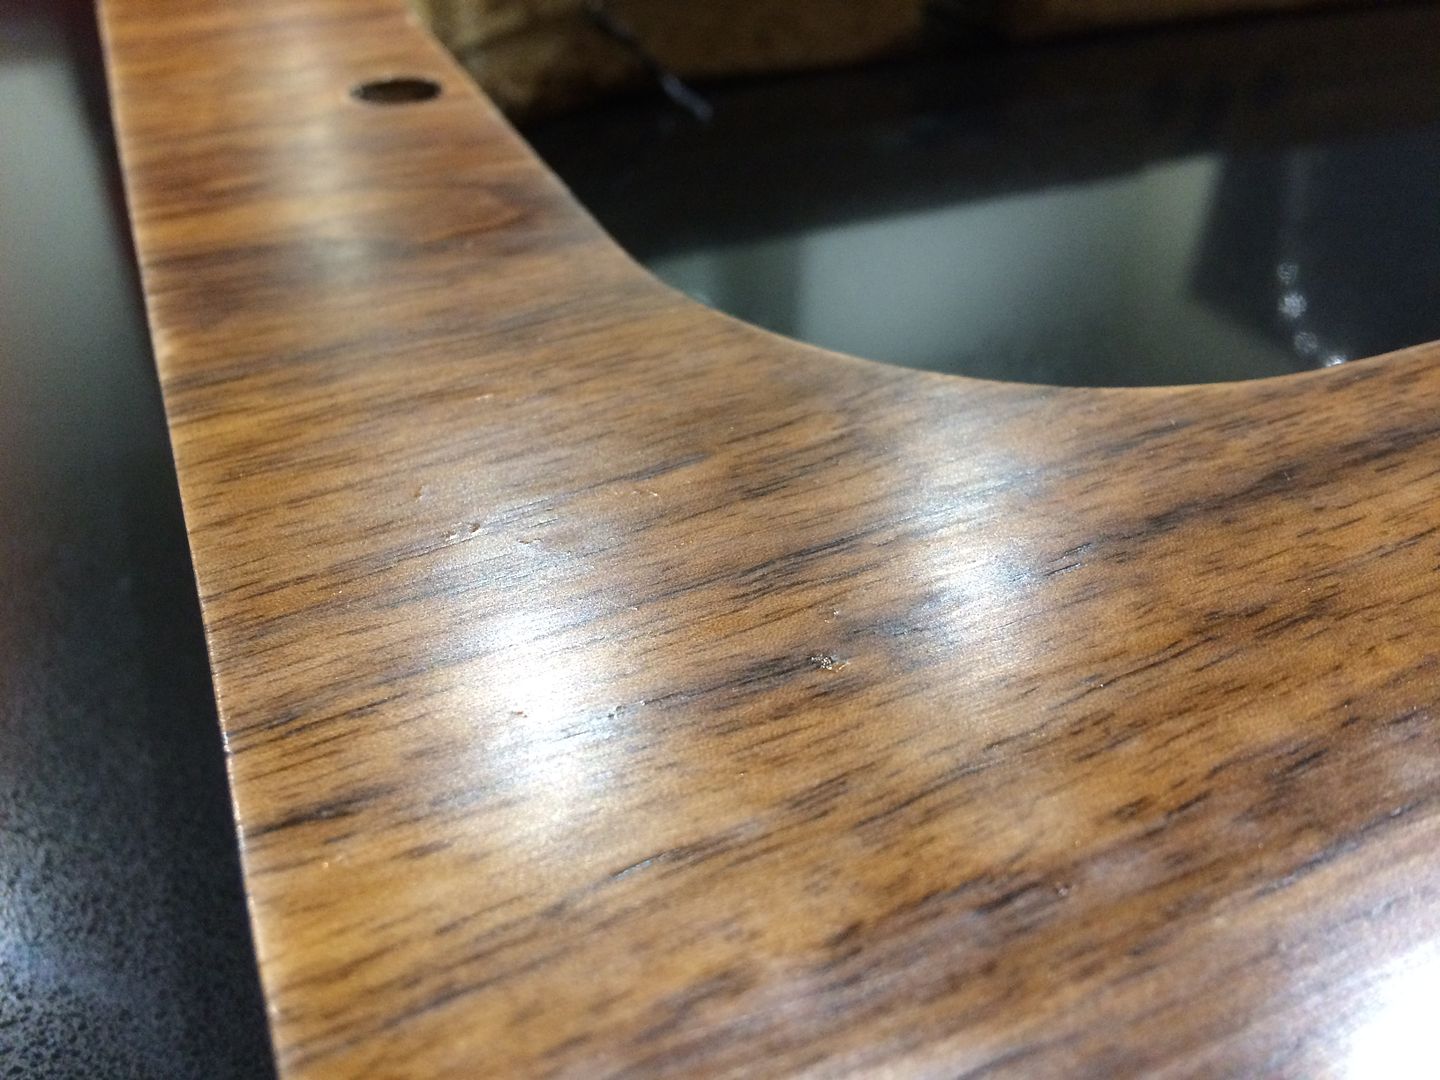
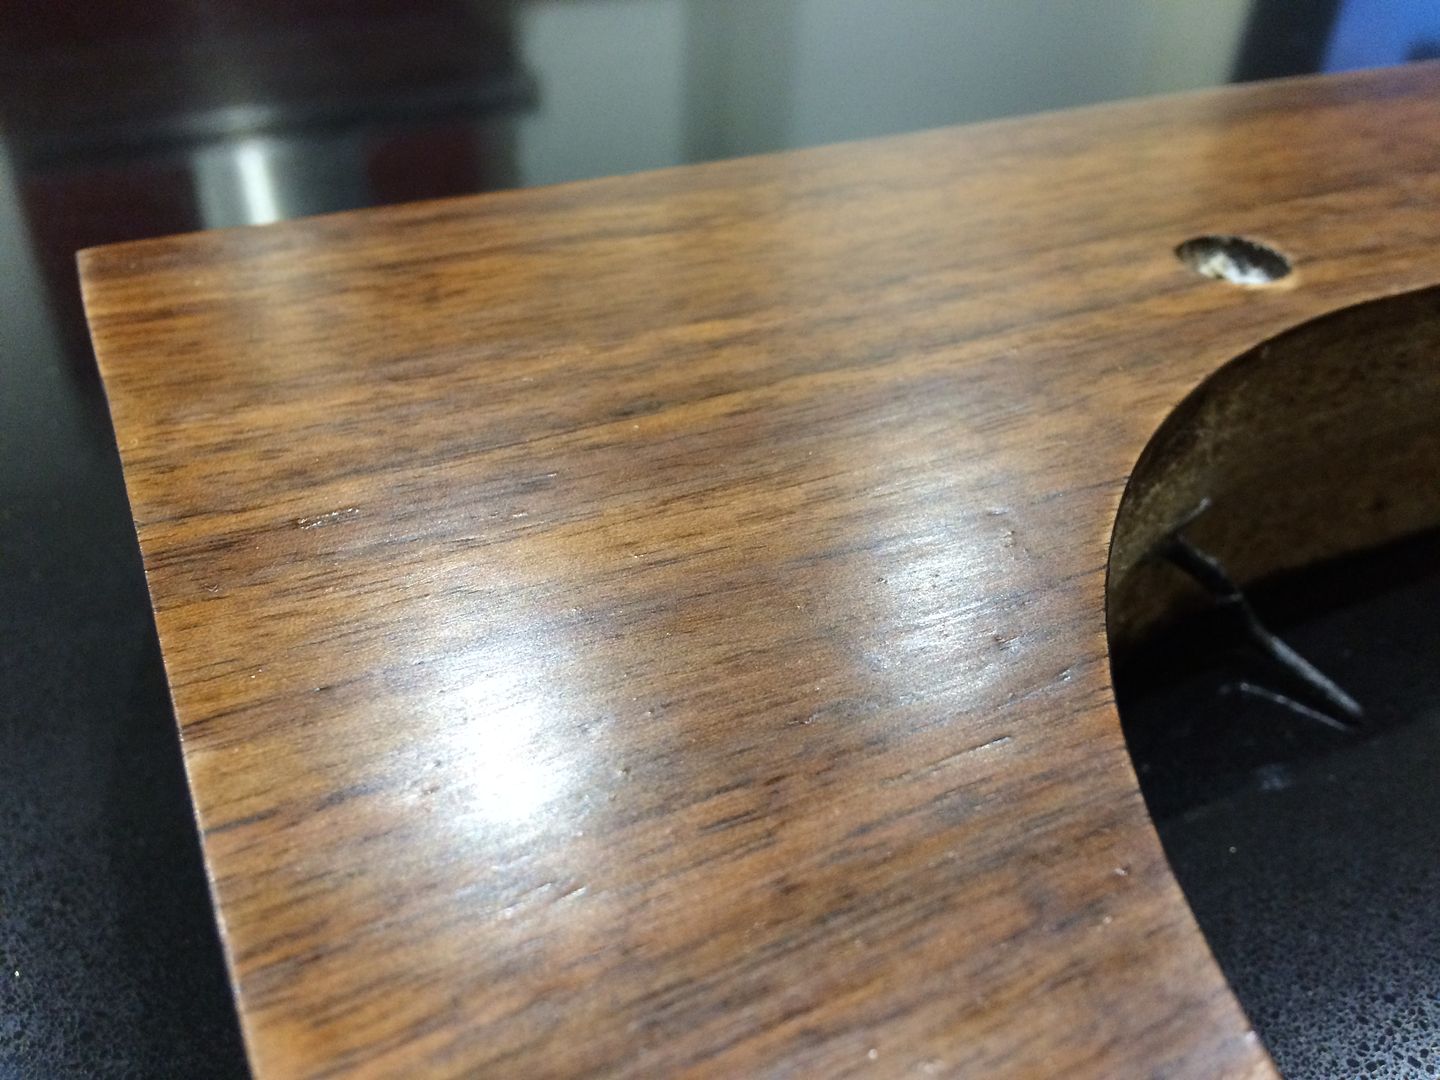
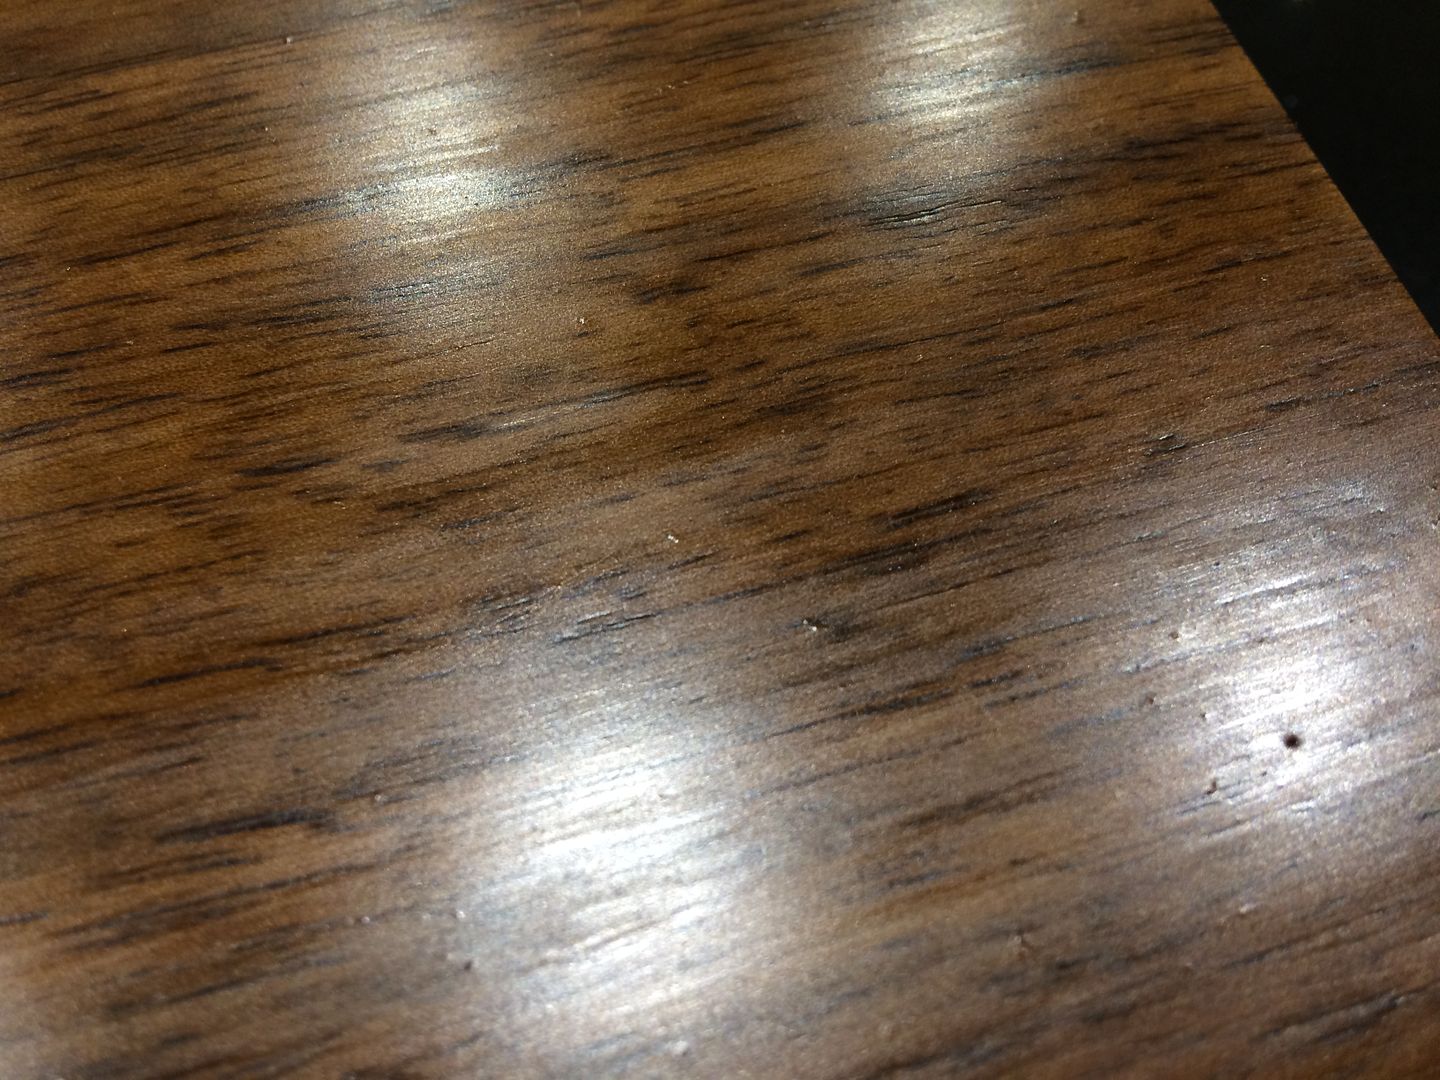
The last photo is the best way to see how it actually looks in the real world. Perfect from 2 ft away but small bubbles evident if you look in the light.
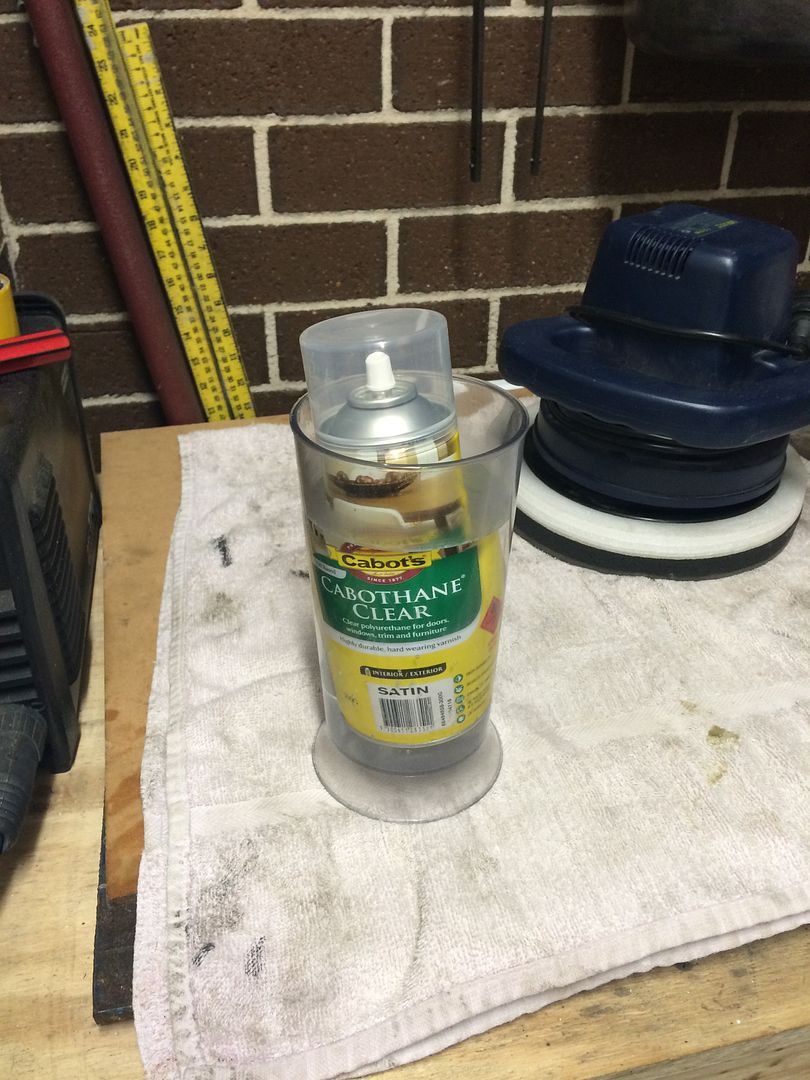
The solution? I'm going to wet sand again with 400 grit, then I'm going to lay 1 or 2 coats of this:
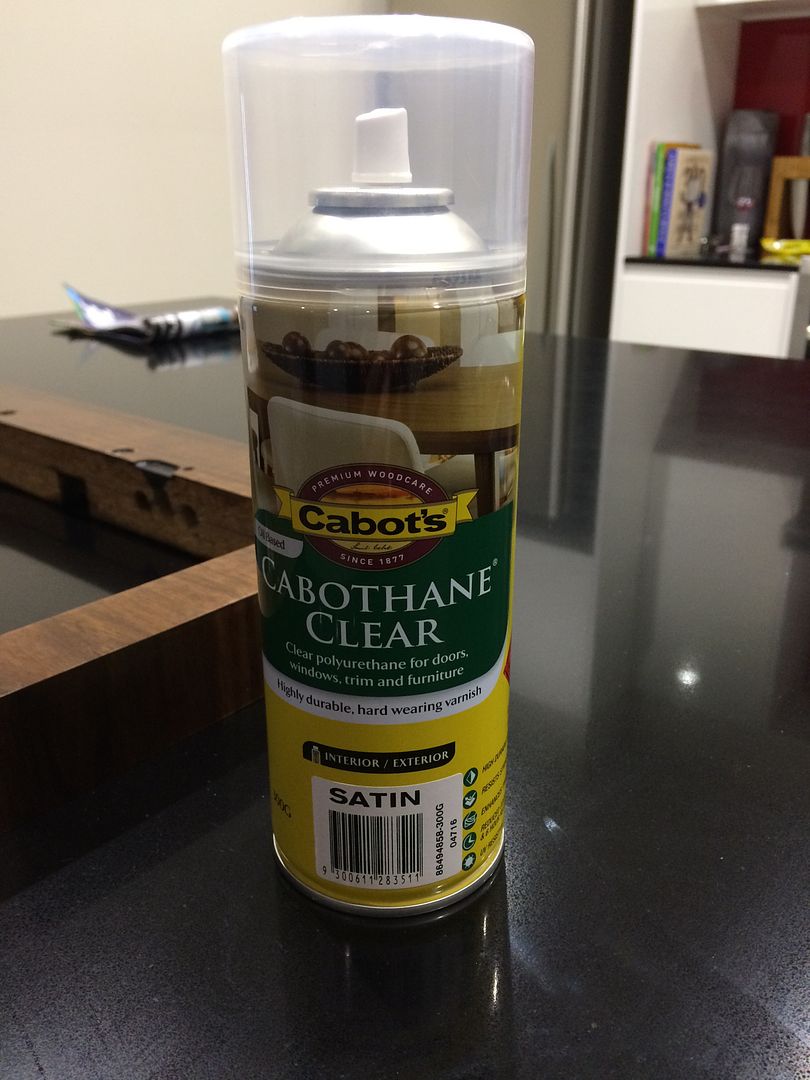
It's the same poly in a spray can and hoping it will lay a neat enough final coat without risk of tiny bubbles and imperfections.
Hopefully these are the final stages of top coat.
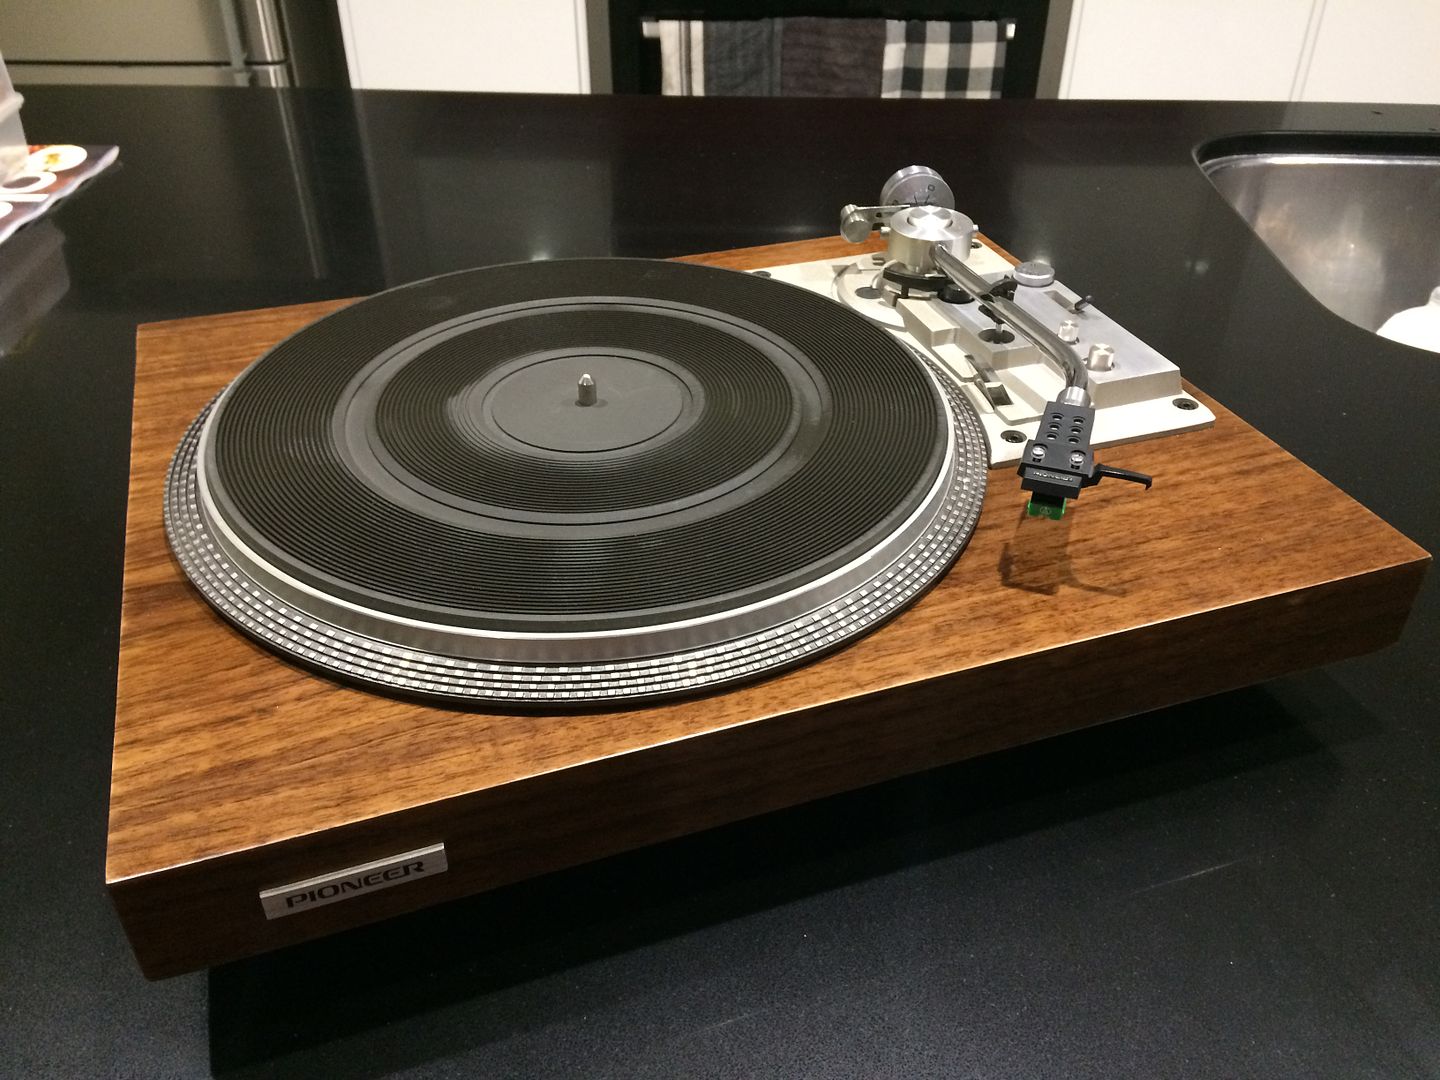
I'm excited to get it finished. It's not perfect as its been dropped and had some edges sanded a fraction to much, but it's my first go and I'm pretty chuffed with how it's looking vs where I started:
Hope to finish all the timber prep this weekend, get the wiring done, redo the Alu legs for the return mechanism and then have it ready to rock tunes out (I've sold the old TT, so need to get this one done asap).
Will be matching it up with an Ortofon 2M Red then the only thing to do will be to grab a lead for the RCA connects, try and replace the black hex cap screws in the arm base to silver, finish the Alu feet and get a replacement lid without cracks.
As you can see I have some tiny bubbles left:


The last photo is the best way to see how it actually looks in the real world. Perfect from 2 ft away but small bubbles evident if you look in the light.
The solution? I'm going to wet sand again with 400 grit, then I'm going to lay 1 or 2 coats of this:

It's the same poly in a spray can and hoping it will lay a neat enough final coat without risk of tiny bubbles and imperfections.
Hopefully these are the final stages of top coat.
I'm excited to get it finished. It's not perfect as its been dropped and had some edges sanded a fraction to much, but it's my first go and I'm pretty chuffed with how it's looking vs where I started:


Hope to finish all the timber prep this weekend, get the wiring done, redo the Alu legs for the return mechanism and then have it ready to rock tunes out (I've sold the old TT, so need to get this one done asap).
Will be matching it up with an Ortofon 2M Red then the only thing to do will be to grab a lead for the RCA connects, try and replace the black hex cap screws in the arm base to silver, finish the Alu feet and get a replacement lid without cracks.
Last edited:
neevo
Super Member
Quick sand tonight with 400 wet and dry. I was very careful to wipe down the whole plinth with a rag and turps.
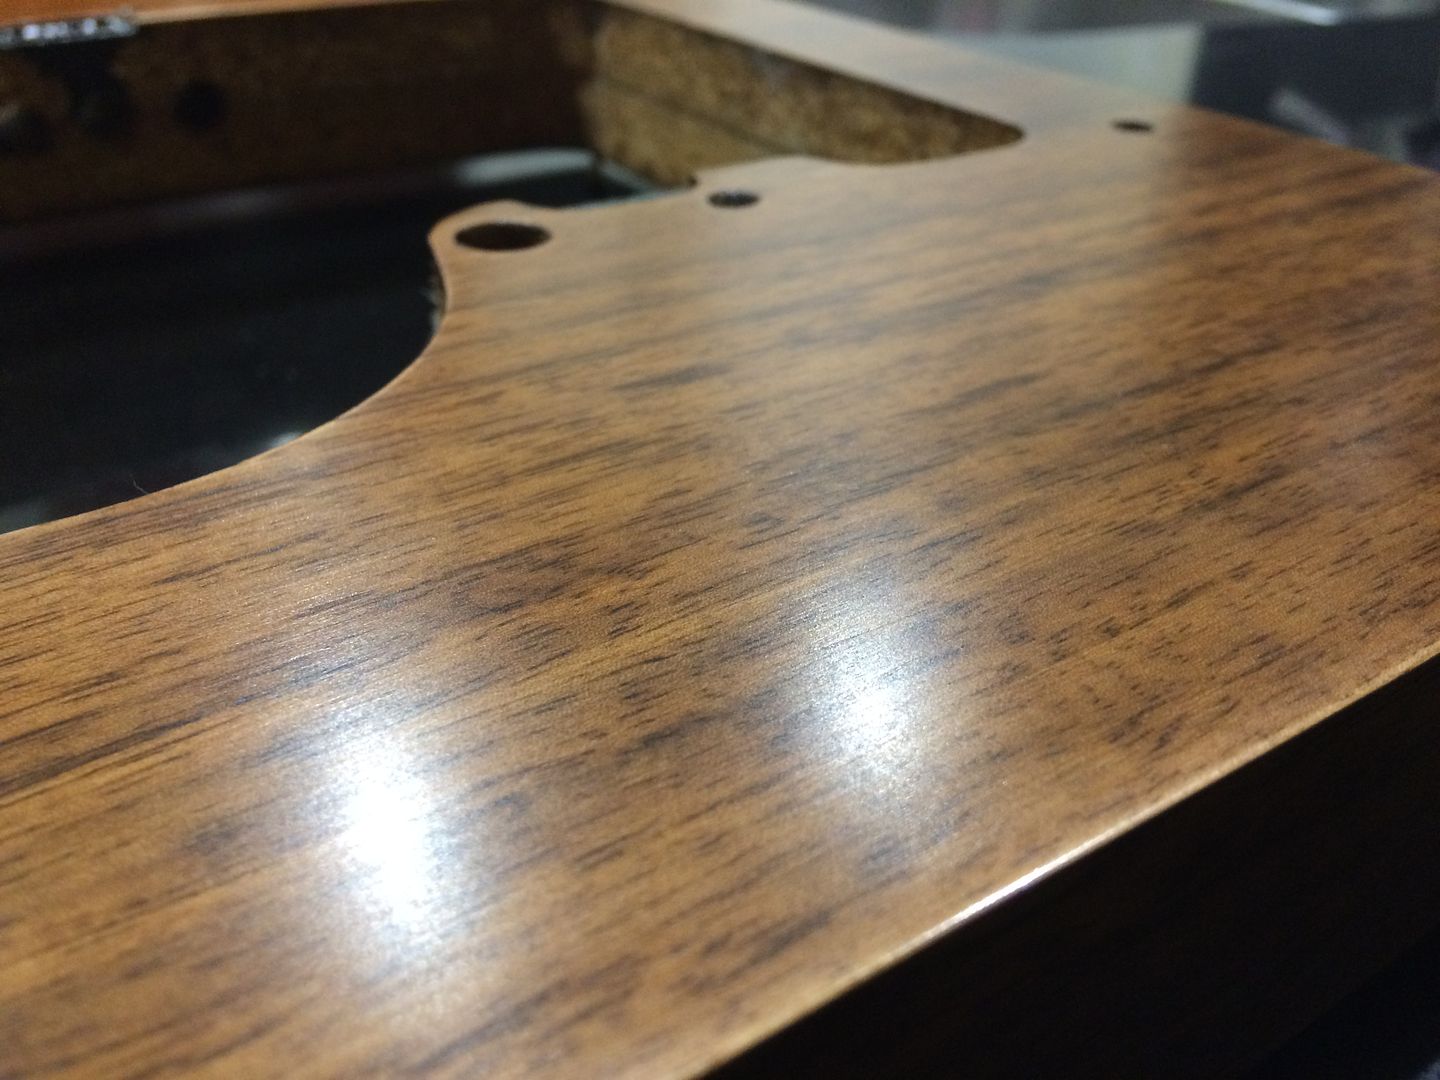
It's cold in the garage so I put the poly in a warm water bath to make it flow nice:
Worked a charm and layed beautifully:
However... More dust than ever:
1 step forward, 1 step back. The can lays the poly down flawlessly and I think I know what's going on with the dust, I suspect the culprit is the cloth I'm using as a final wipe down. I'm going to change that up for something a little more durable and less prone to dropping lint, another rub down with 400 grit, then hopefully I should be moving forward.
It's cold in the garage so I put the poly in a warm water bath to make it flow nice:

Worked a charm and layed beautifully:

However... More dust than ever:

1 step forward, 1 step back. The can lays the poly down flawlessly and I think I know what's going on with the dust, I suspect the culprit is the cloth I'm using as a final wipe down. I'm going to change that up for something a little more durable and less prone to dropping lint, another rub down with 400 grit, then hopefully I should be moving forward.
neevo
Super Member
Tack cloth to remove dust before you spray.
That's probably a good idea. I thought of spraying it down with compressed air but might have to source tack cloth instead.
neevo
Super Member
Thank god! I'm done.
Air blasted the plinth, tack cloth, raised spraying position. I was a bit peeved as I still have a few bubbles as I looked at the plinth, post spraying. But I'm happy to report its dried with a flawless finish.
I'm going to try and get the RCA's wired up tonight and new legs for the return mech so I can give it a test run tonight.
Feet are being turned down by a buddy of mine with heavier duty equipment.
Air blasted the plinth, tack cloth, raised spraying position. I was a bit peeved as I still have a few bubbles as I looked at the plinth, post spraying. But I'm happy to report its dried with a flawless finish.

I'm going to try and get the RCA's wired up tonight and new legs for the return mech so I can give it a test run tonight.
Feet are being turned down by a buddy of mine with heavier duty equipment.
neevo
Super Member
Time in the shed putting the finishing touches on the turntable. First up I cut the RCA wires so I could feed the through the holes i'd drilled in the plinth and then I soldered them to the RCA's and earth connector:
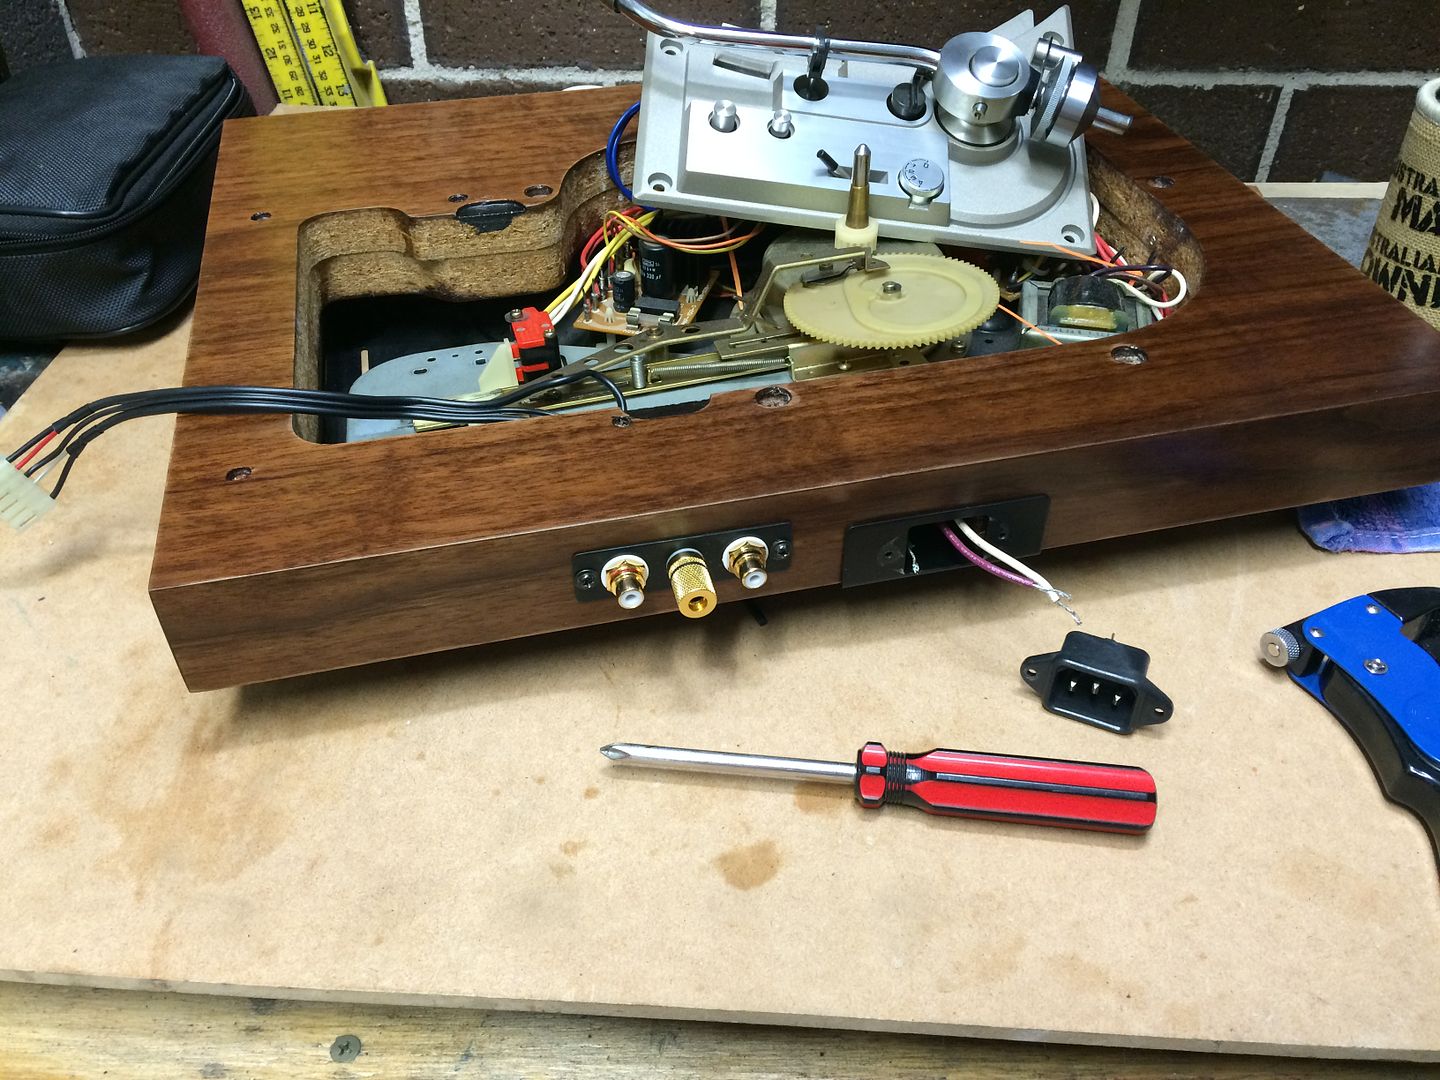
Next up I measured the old arm base to work out how far down/up the return mechanism should be. I then remade the Alu legs on the lathe and installed.
I was very nervous about putting the Pioneer logo back on but managed to get it bang on straight and bloody tight that I had to put it back on with a piece of wood and gentle taps with a hammer.
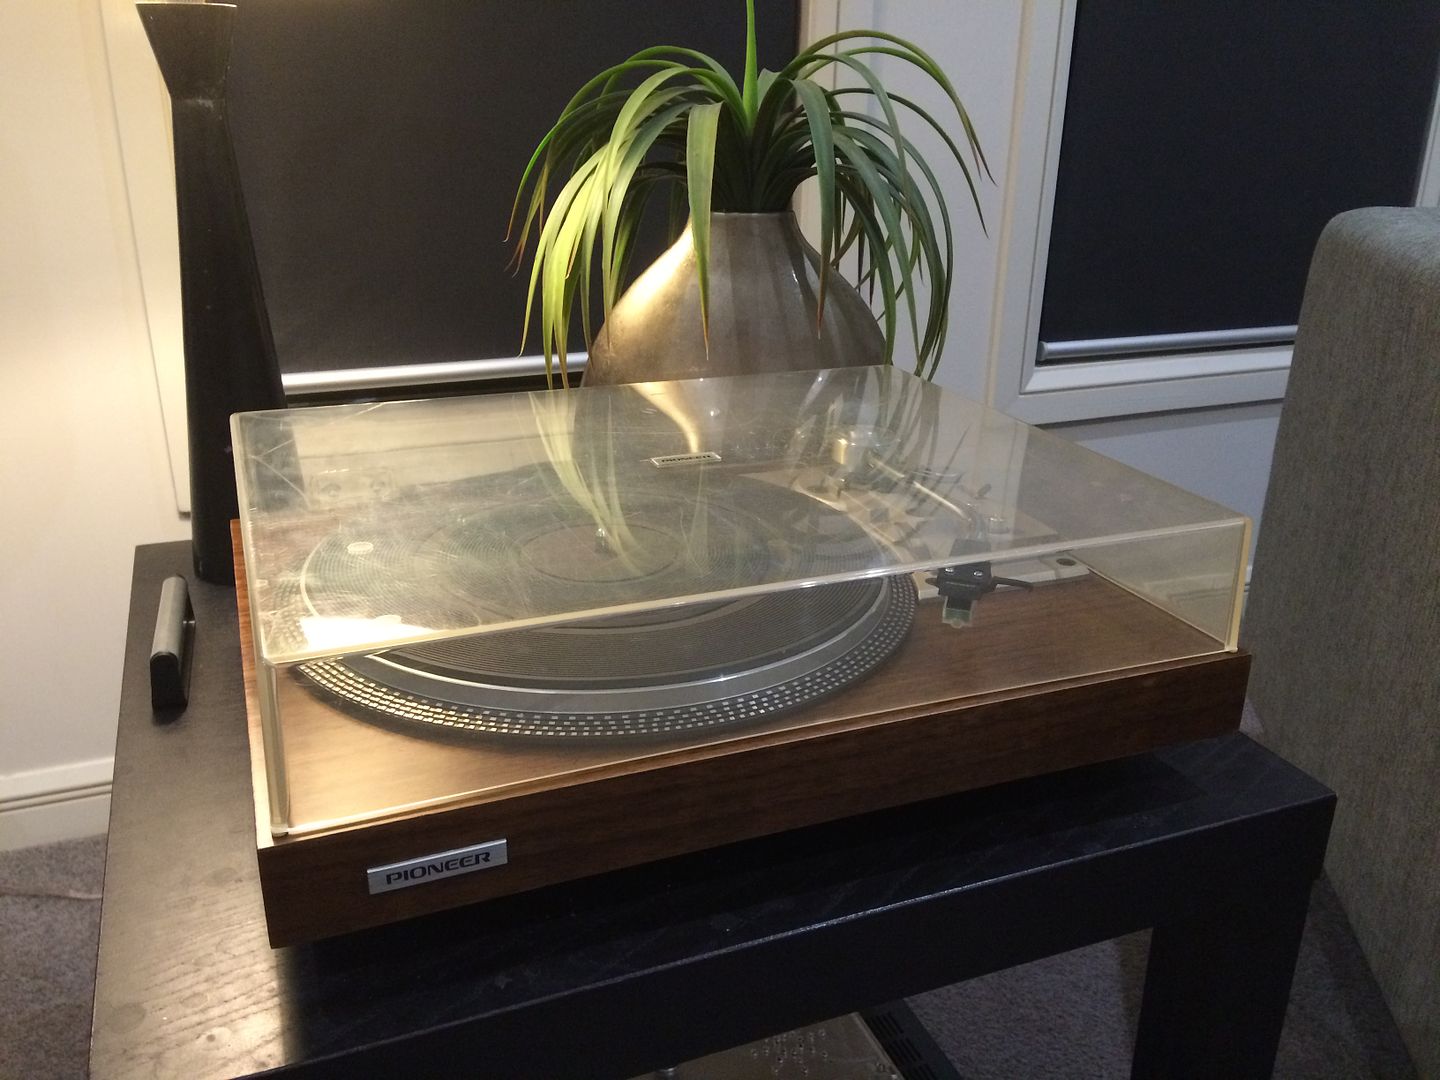
Still a bit to do but here she is so far:

I would love to have given it a spin tonight but I accidentally deleted my pic of the power plug wiring and didn't want to guess and blow the TT up (see above post, any help is appreciated from fellow 518 owners).
What's left?
1. Wire up plug
2. Test TT and make sure return mechanism works properly
3. Check the antiskate adjuster as its a bit notchy
4. Attach lid hinges
5. Fix old lid and polish it (I'm also on the look out for a new lid without cracks)
6. Play the bugger and hope it still sounds punchy

Next up I measured the old arm base to work out how far down/up the return mechanism should be. I then remade the Alu legs on the lathe and installed.
I was very nervous about putting the Pioneer logo back on but managed to get it bang on straight and bloody tight that I had to put it back on with a piece of wood and gentle taps with a hammer.
Still a bit to do but here she is so far:


I would love to have given it a spin tonight but I accidentally deleted my pic of the power plug wiring and didn't want to guess and blow the TT up (see above post, any help is appreciated from fellow 518 owners).
What's left?
1. Wire up plug
2. Test TT and make sure return mechanism works properly
3. Check the antiskate adjuster as its a bit notchy
4. Attach lid hinges
5. Fix old lid and polish it (I'm also on the look out for a new lid without cracks)
6. Play the bugger and hope it still sounds punchy
Beatnik
What's this ?
Here's the service manual if that helps.
http://www.kallhovde.com/pioneer/pl-518sm.pdf
I need to veneer a 530 myself, one day I'll get brave and disassemble it. My 518 needs feet also.
Looks great !
http://www.kallhovde.com/pioneer/pl-518sm.pdf
I need to veneer a 530 myself, one day I'll get brave and disassemble it. My 518 needs feet also.
Looks great !
neevo
Super Member


Here are the wiring diagrams. I cannot find a relevant colour in the plug part and I am nervous about putting it all together and frying something, or is it as simple as wiring it up and if its wrong it will turn backwards?
I'm inclined to think the violet is the live and white is the neutral because:
1. VLT traces back to the AC side of the power plug
2. VLT is also fused which makes me think its the power in
Thoughts? Anyone with a PL-518 that can take a pic of the power plug for me?
Last edited:


neevo
Super Member
Wow, what a load of mucking about last night to get the TT setup for a test fire. The power plug was done in a few minutes, however there was endless playing around to:
1. Redo the Alu legs to get the correct height on the return mechanism
2. Muck about with the off switch setup to stop the arm falling off the rest the whole time (its got some force as the switch comes in to effect, still not sure I've got it right)
3. Changing placement of an Alu leg as it was fouling the switch mechanism arm
4. Trying to find grease to redo the arm dampening
5. Chasing a massive him in the left channel which turned out to be a dodgy RCA cable
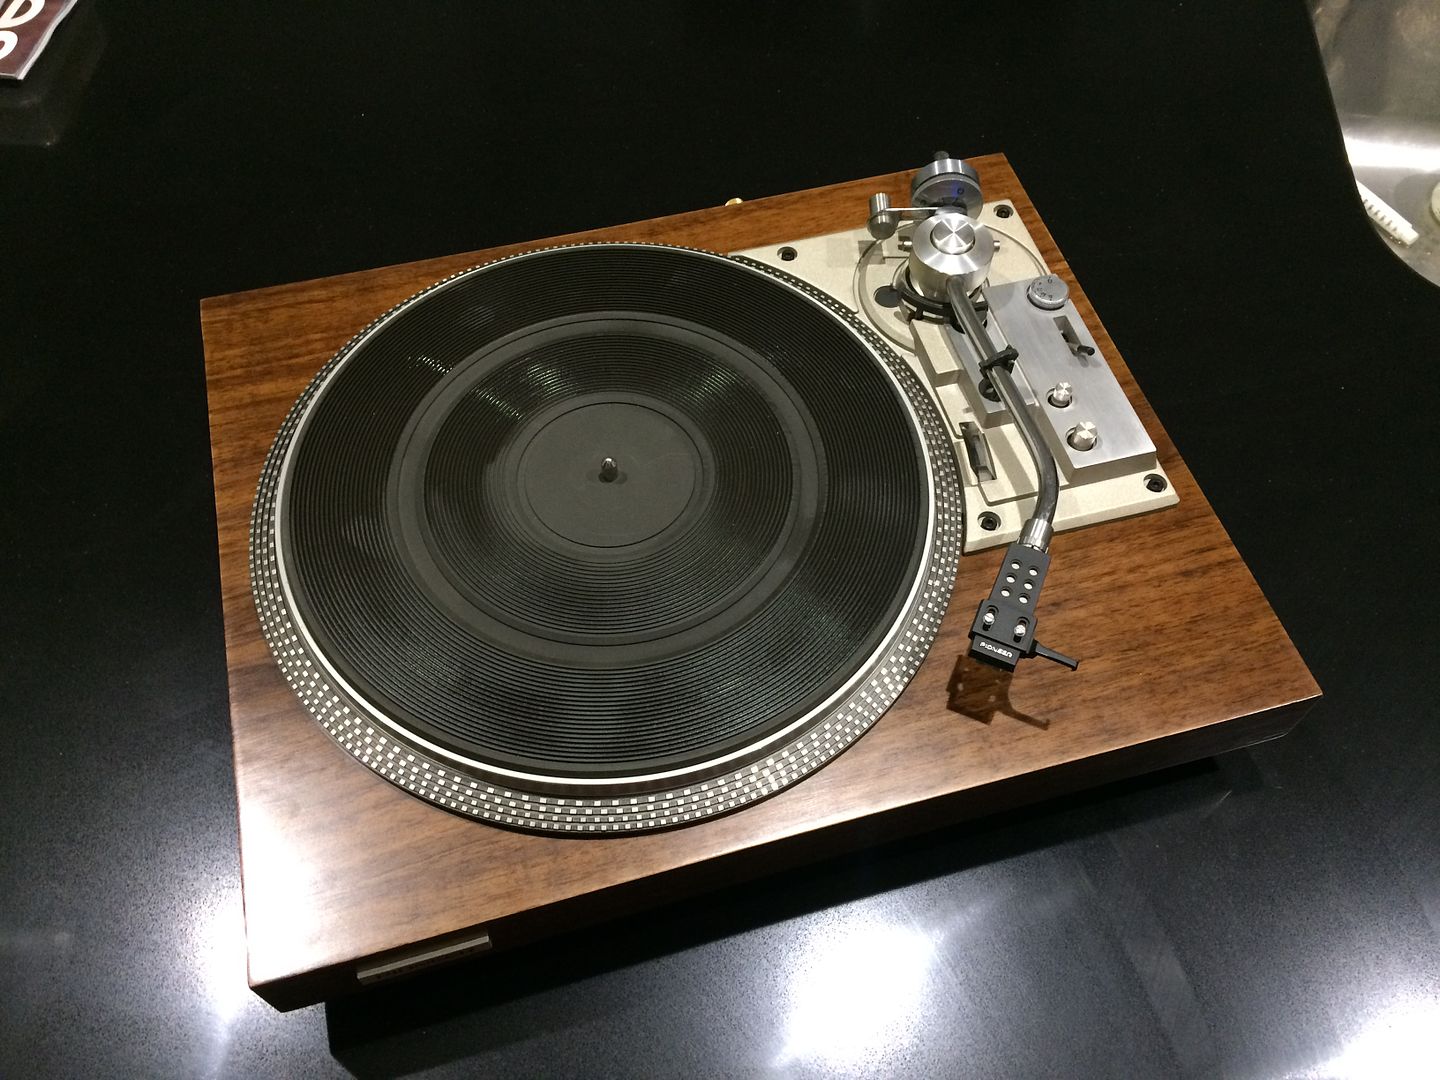
Plus many more things. In the end I got it roughly setup to give it a whirl:
What have I noticed?
There is more hum than before, however I'm pretty sure the RCA I'm using is not low impedance and shielded. I have ordered some new cables so will see how that one pans out. The TT is a fair bit louder than before, not sure if it was because I was still playing around at 11.30pm, but I had to turn the gain down on my preamp. The table still sounds as crisp and punchy as it did before.
Still need to fix the lid (any advice on which product to repair cracks with?), get the feet done and drill the holes for the hinges, make the cables when they arrive.
Then hopefully I can enjoy it instead of working on it.
1. Redo the Alu legs to get the correct height on the return mechanism
2. Muck about with the off switch setup to stop the arm falling off the rest the whole time (its got some force as the switch comes in to effect, still not sure I've got it right)
3. Changing placement of an Alu leg as it was fouling the switch mechanism arm
4. Trying to find grease to redo the arm dampening
5. Chasing a massive him in the left channel which turned out to be a dodgy RCA cable
Plus many more things. In the end I got it roughly setup to give it a whirl:

What have I noticed?
There is more hum than before, however I'm pretty sure the RCA I'm using is not low impedance and shielded. I have ordered some new cables so will see how that one pans out. The TT is a fair bit louder than before, not sure if it was because I was still playing around at 11.30pm, but I had to turn the gain down on my preamp. The table still sounds as crisp and punchy as it did before.
Still need to fix the lid (any advice on which product to repair cracks with?), get the feet done and drill the holes for the hinges, make the cables when they arrive.
Then hopefully I can enjoy it instead of working on it.
neevo
Super Member
Quick question to those with these tables (or similar). The only adjustment I couldn't get exactly as I wanted was the auto start/stop function. I read the manual and it mentioned you needed the switch arm (at the base of the tonearm) about 0-1mm on the plastic arm that connects to the switch. I have this setup exactly but the switch seems to move the tonearm quite a bit as the pressure of the switch is released. I have the switch setup so that this happens a bit away from the tonearm rest (so it doesn't jump off the rest, something I was experiencing when I had it set too close), but before the start of a record as to not have anything effecting the tonearm as I am about to drop the needle on the first groove.
Is this normal? There is quite a movement on the arm when the switch disengages (an inch or so with reasonable force on such a light tonearm).
Is this normal? There is quite a movement on the arm when the switch disengages (an inch or so with reasonable force on such a light tonearm).
revox-b77
Super Member
I am not sure the answer to your switch question. Mine has a bit of a jump in the last 2-3 inches of tone arm return. I assume that is the switch tripping? I have no problems at all with the auto return operation so I guess this is normal.
Congratulations on a job very well done. Your table is really a beauty. I wonder for all of the time you put into this if you should order a replacement dust cover. They are on EBay from a few vendors. The price is around 110.00 I recall. You can polish but you really can't fix a crack.
Nice work and do replace the RCA's with low capacitance shielded cable. Should cure the hum problem.
neevo
Super Member
Thanks revox, appreciate all the kind comments. Sounds like my arm operation is the same as yours which gives me some confidence I have it setup right.
I have my eye on some lids as I'm not happy with the one on there now. A brand spanking new one would certainly finish the table off, just around $200 by the time I have it shipped to Oz, hence why I'm on the prowl for one that's not cracked but needs some polishing.
Noted re RCA cables. I already have some shielded low capacitance cables on their way.
neevo
Super Member
Well this table continues to throw curveballs at me in the setup. I've discovered that these things are finely tuned and setup when you have an auto table. Today I was playing a record and got the needle wiped across my new Muddy Waters LP because it appeared the auto return arm lift mechanism wasn't working.
I think I now have it all setup but for those doing this from scratch in the future here is my guidance on ensuring your table is setup correctly:
1. If you are replacing the tonearm base like I did (using legs to attach it to the base), then make sure your mounts don't foul anything on the underside of the tonearm setup. Make sure the return mechanism replicates the depth below the tonearm base as per the original setup and this will ensure your return mechanism and tone arm lifter are best position to work properly.
2. Make sure the arm (tonearm) for the power switch is sitting on the outside of the arm (power switch) and set it up to be 0-1mm from the end of the arm before it angles at the rear (in the manual)
3. Make sure the metal rod out of the bottom of the tonearm lifter is sitting a fraction above the plastic slider underneath it (part of the return mechanism). This will mean it is best placed to lift the tonearm when it engages the return mechanism.
4. Adjust the tonearm lifter to be correct for the amount of lift you want (I did it so it just clears the tonearm rest by about 5mm). Check this clearance works for lifting the arm when the return mechanism engages too.
All of these must have been putout of adjustment when I did the tonearm base mod so no wonder they were all issues when I put the table back together. Should all be good now and hopefully I don't need to open it up again!
neevo
Super Member
So I've bought some materials to repair the current lid. It's got cracks around the rear where it was stressed in transit but the current plan is to repair them and polish the lid until I can find a replacement.
I've spent a bit of time researching how to repair the cracks and in the end settled on IPS Weldon #4 and a bottle with a metal needle attachment:

This solvent apparently melts the lid and allows it to weld to itself. The bottle is to provide control as the solvent is very watery and apparently it should wick up in to the crack.
Once the lid is repaired I will start on buffing it.
I also need to redrill holes for the turntable lid hinge brackets in the rear of the plinth and need help from those with PL-518's. Can you share pics of the hinges and how the rear of the lid sits on the plinth? The front of the lid has tiny rubber feet so it sits on them, I am trying to determine if the rear of the lid should sit on the plinth and therefore I 1) adjust the height on the hinge brackets on the rear to have zero gap, or 2) the brackets should lift the rear of the lid off the plinth or 3) something else.