Cleaned up quite nicely, Techincs SP10-MK2.

the_nines

AK Subscriber
Subscriber
I already have a Technics SP10-MK2 which some of you may have seen on some of my posts in the Music forums.


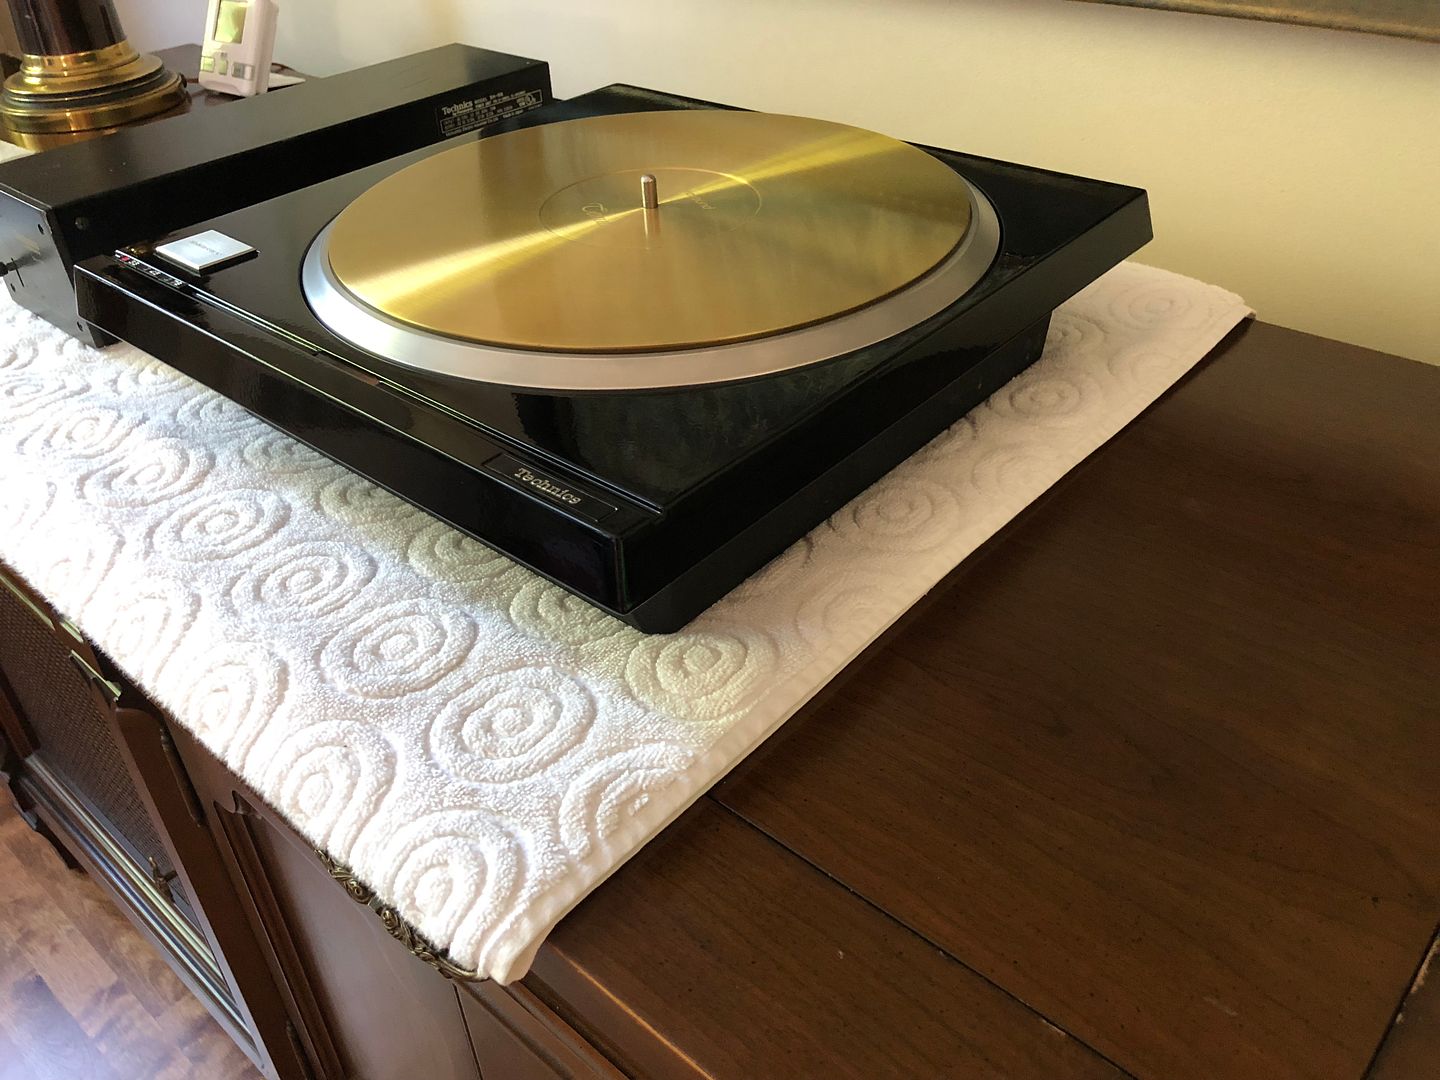
I also have a second SP10-MK2 which I had picked up a few years ago, basically a rescue. After I bought it, it sat in a room where I keep a couple of pieces of gear which are out of rotation but which I refuse to part with (like my Marantz 2245, I bought new back in 1973). I figured one day this spare Technics may come in handy but given the condition it was in, I couldn't possibly display it. A table like this deserves better. It breaks my heart to see such a wonderful and classic piece looking so shabby.
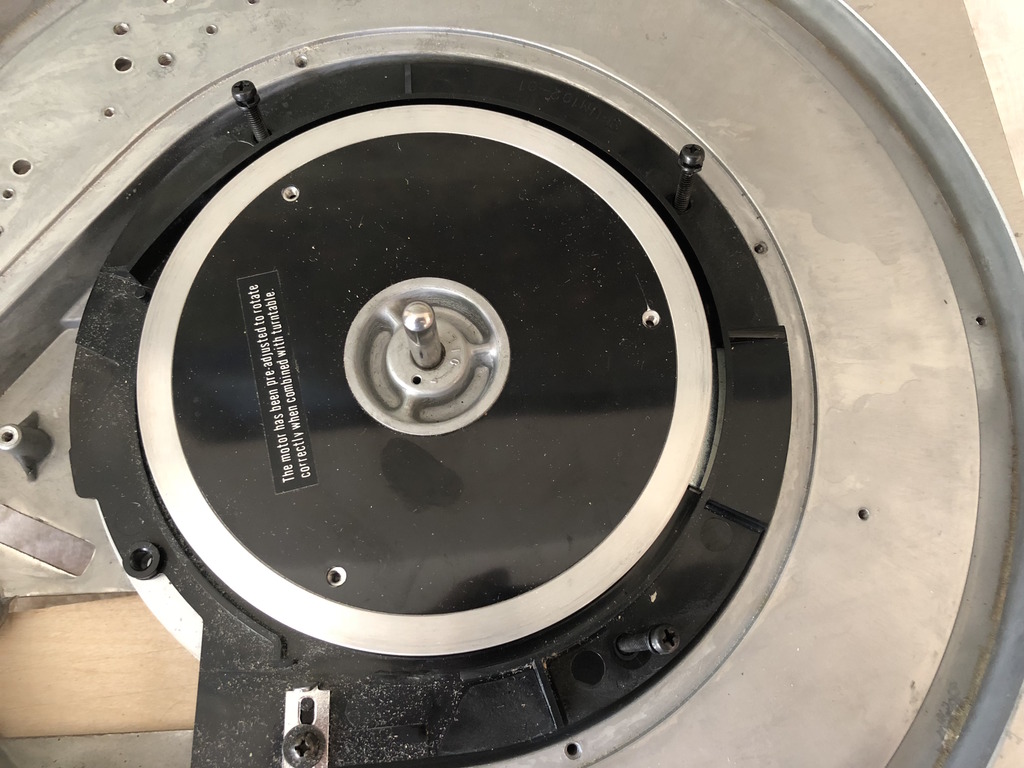

46958166455_14f3acc695_b.jpg


40907905883_8c87435904_b.jpg


47085023314_ef8d33b250_b.jpg


47822113632_c5fdf4395a_b.jpg


47874338711_fd105c0e03_b.jpg


And internally:

47085021284_44353edc98_b.jpg


47822113382_8d2ff1b4e3_b.jpg


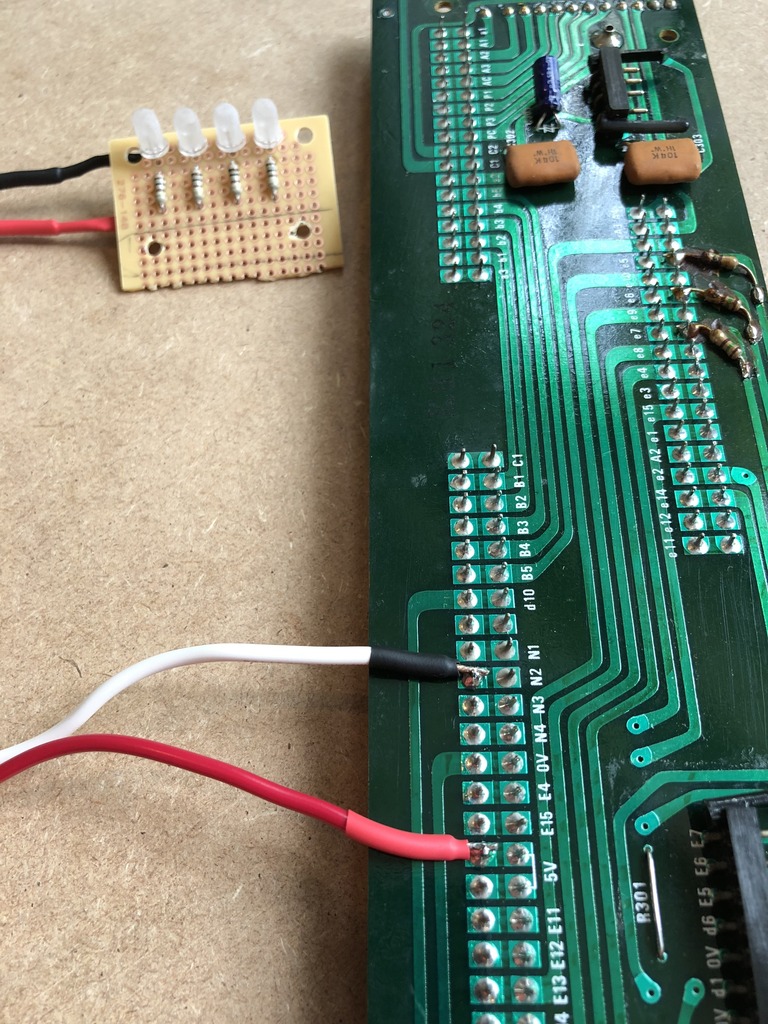
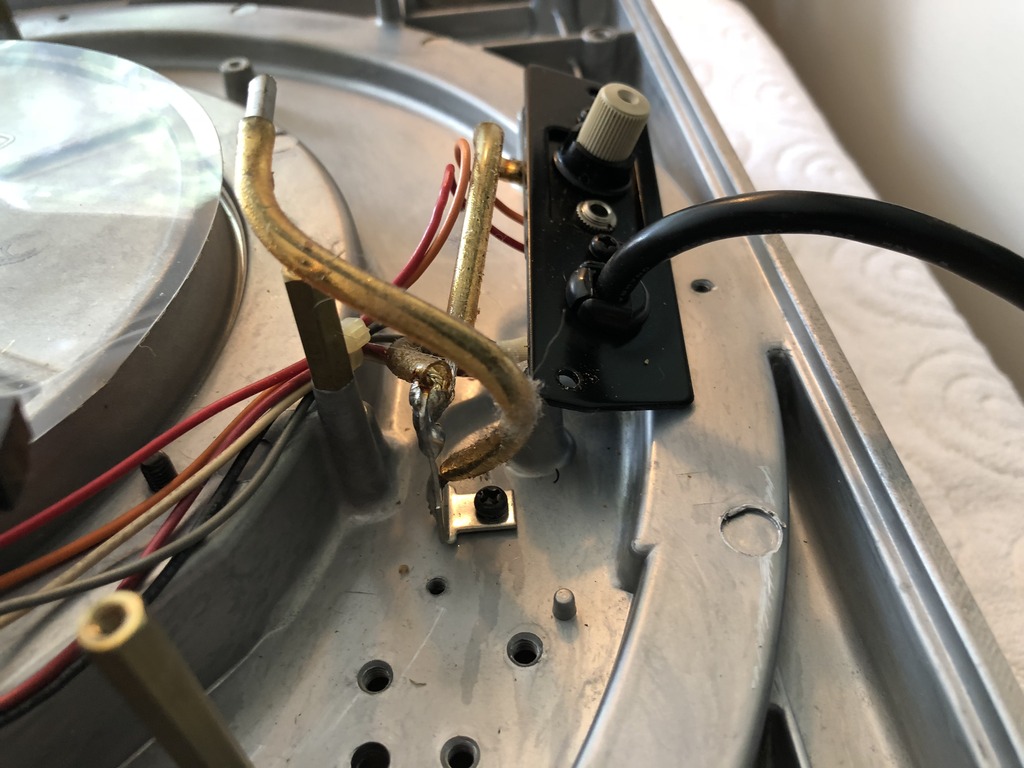
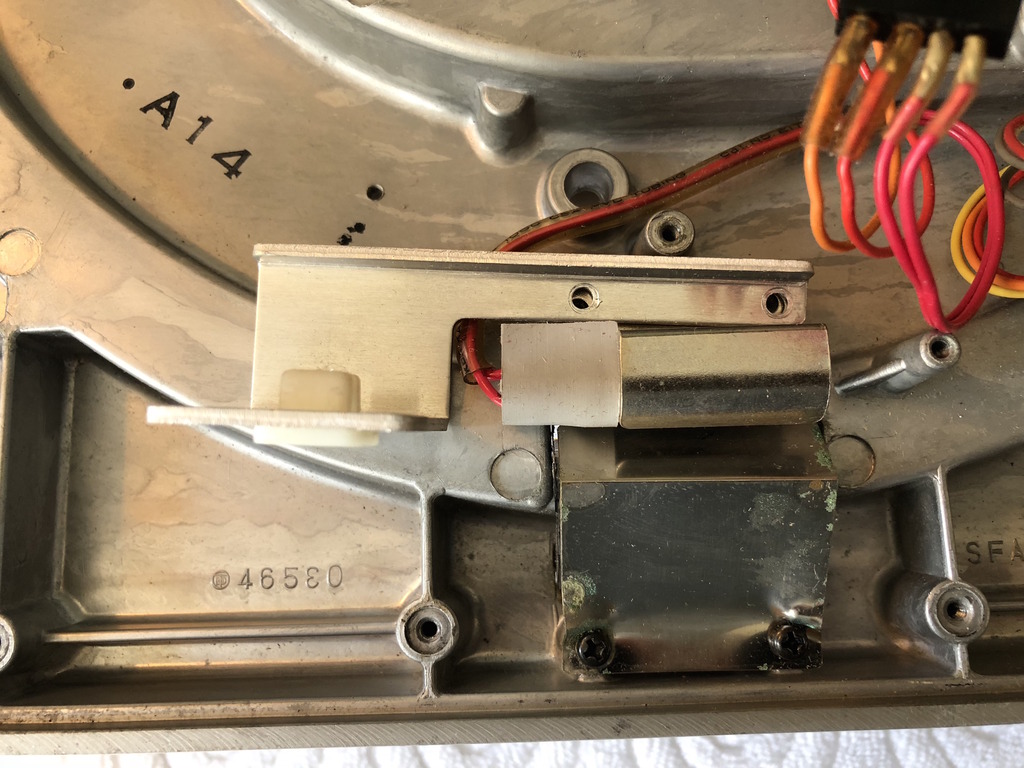
I will be moving into a new office sometime in the coming year so I have been thinking to set-up a little office system and this table will be a part of it. Time to take it apart, remove the four circuit boards, on/off speed switch, strobe and main in:

46958167365_7dc10118c6_b.jpg


32930159737_5f21bec381_b.jpg


47085021164_867daab266_b.jpg


......
 
Last edited:
And the flip-side, removed the motor cover, brake, solenoid:

40907909583_907abd4735_b.jpg


47085022994_cc619b4bed_b.jpg


46958167295_67fbbce209_b.jpg


Removed the badge with an exact-o blade, came out quite nicely with no problems. The old glue had dried and was brittle:

32930159667_b7da6d6919_b.jpg


40907909533_f5d6c5f23b_b.jpg


32930159607_0d605617e1_b.jpg


47822113042_49cbe060cb_b.jpg


Naked as a jaybird :D :

47085021134_8d188ca8c8_b.jpg


47085022864_e18a795a91_b.jpg


The On/Off switch was in excellent mechanical condition, all "clicks" felt and sounded good, however the lettering had faded to almost being invisible on the speed selector pieces:

47085022714_6da7d17555_b.jpg
 
Last edited:
Using an Ultra Fine Sharpie, I filled in the top part of the "T" and with a small brush I applied some acrylic white gloss paint over the numbers and cleaned off the excess by dipping a Q-Tip (and toothpick for the finer details around the numbers) into isopropyl alcohol and removing the paint around the numbers:

32930159447_f6485ff066_b.jpg


47085022704_4d0faef3a7_b.jpg


Body and platter off to the shop:

40907909293_284427414c_b.jpg


Both pieces went into the sand-blaster.

40907909043_ecf4bd9365_b.jpg


The platter:

I had pre-covered the underside rubber damping material as well as the strobe markings around the rim perimeter. The platter was sand-blasted, sanded and polished to a nice, fine brushed finish.


Sand-blasted and first sanding, not yet fine-sanded or polished:

47822112332_ef24e34a18_b.jpg


The body:

Sand-blasted, rinsed in some solution, holes plugged and prepped for initial heating before powder coat is applied. The owner says they prefer to pre-heat the metal before as this makes for a more uniform and minimal orange peel effect.


32930159387_0cf30ae0a9_b.jpg


47822112672_6c9279e613_b.jpg


40907908903_a2fc422f5a_b.jpg


40907908823_1ecf2b12f5_b.jpg


40907908773_ffc3ea09f5_b.jpg


......
 
Last edited:
47085022504_462a14e3cf_b.jpg


The powder coat being applied. I chose a piano black high-gloss:

32930158977_c76ee8feef_b.jpg


33997152818_7bb524b8e4_b.jpg


Cooling off:

33997152388_4167a76ebd_b.jpg


I replaced the neon strobe with LEDs. I tried a few different colours. The blue was really gorgeous, but a bit too much.
33997152188_87424186d5_b.jpg


40907908063_77301e8f92_b.jpg


47822111652_25d739afb8_b.jpg


Eventually, I settled on the amber. It gave a really nice light. I used four LEDs (3.2 Volt, 200mA) in parallel circuit, each with its own 100 ohm resistor. By replacing the neon strobe, I removed it from the PCB plug by snipping its wires and just placing some heat shrink on the exposed wires:

47085021894_5831830d25_b.jpg


The LED strobe was connected to the 5V and N2 rails of the PCB:

32930158037_eba11bf724_b.jpg


Re-assemble:

33997151448_f07602cfbc_b.jpg


40907906523_67ddb202ae_b.jpg


47874337261_f3cf1b46f0_b.jpg


46958166995_ff2c652dea_b.jpg


......
 
Last edited:
Oh, did I mention? ....

The shop that did the powder coating is family owned. The son who took care of my table is a big vinyl fan who owns a couple of Technics SL1200 MK2 and freaked out at what I asked him to do. We spent some time talking records, turntables and such. He's a big jazz fan, studying electrical engineering, and paying some of his tuition by doing disc-jockey gigs during events like the Montreal Grand Prix.

The work done was "on the house". Free! :thumbsup:

I supplied coffee and doughnuts one morning. :D
 
I don't know how you do it, you never say anything, nada, nothing till you have a table done.

It's like.... oh BTW,.... Bam!!!, look what I did:D

Looks very nice nines
 
Back
Top Bottom