

You are using an out of date browser. It may not display this or other websites correctly.
You should upgrade or use an alternative browser.
You should upgrade or use an alternative browser.
If I Can Do It - You Can Do It! Veneering A PL-530 TT
- Thread starter MAXZ28
- Start date

Bstable
Super Member
Can't believe I've missed this thread. Inspirational!
Yes...the work MAX has done is VERY inspirational. I absolutely love the look of real wood. I have a PL-510A in excellent condition except it has a few places where the the vinyl is starting to come undone. This TT would be a great candidate for a real wood veneer since I'd really only have to do the 3 sides (4 sides including the back)
Great job Max. Keep the pictures and tips coming, because I am going to try this once I get a few other project completed.
Attachments

bhundu
Addicted Member
I've just been spending most of the last hour looking at local (Australian) suppliers. We have some sexy looking veneers here. I haven't found the iron on stuff yet. Most looks like a minimum of 4mm thick and ordered in 2400mm long sheets. Will have to look further, but I might start on a TV that needs doing, and then maybe offcuts for a Marantz 6110.
jblmar
JBL & marantz
Maxz28,
Great work! Loks like a solid piece of wood, as it should.
Where did you get he veneer?
I used walnut veneer on my JBL 4507 cabinets. I bought the veneer from Constantine's. I wasn't to thrilled with their selection. I trusted them to send what I asked for any they agreed to. They sent veneer with holes in some of the sheets.
Looking foe a different source.
CasualKiller
Active Member
Purchased a 530 that could use some TLC and came across your thread. Just a few quick questions if you don't mind. after you veneered the top did you make measurements on where to start your cuts or did you just start from the underside?
How would you rank the overall diss-assembly of the table? I'm competent enough that I've rewired a few tonearms and done some basic soldering etc. Never had to do a complete take apart and install though.
Thanks!
How would you rank the overall diss-assembly of the table? I'm competent enough that I've rewired a few tonearms and done some basic soldering etc. Never had to do a complete take apart and install though.
Thanks!
shocley
Well-Known Member
Based on my experience with a PL-112D, and some Bose 501's, I've found that contact cement is more reliable than the glue/iron approach. Also, for trimming the veneer, a little veneer saw works best for me - the knives were prone to splintering the brittle veneer. The only problem with the saw is that the blade rusts easily.
Last edited:
ukfan4sure!
Expert Smoke Releaser
Old Thread -- But a Bookmarked One!
I finally got the nerve to try my hand at this. I'd like to thank MaxZ28 for the inspiration in doing this.
What I've learned so far....
1. Take your time.
2. Don't get any contact cement on the face of the veneer. I used paper-backed with contact cement. You can clean it up with turpentine, but best not to get any on it in the first place....
3. The Bandit Edge trimmer is only good as a final trim out. If you try to use it with any more than 1/8 inch overhang, it'll bind up (at least with paper-backed veneer it did)
4. I used a long x-Acto blade with better results. Hold the long edge flush against the finish side for best results.

ukfan4sure!
Expert Smoke Releaser
Nice work!
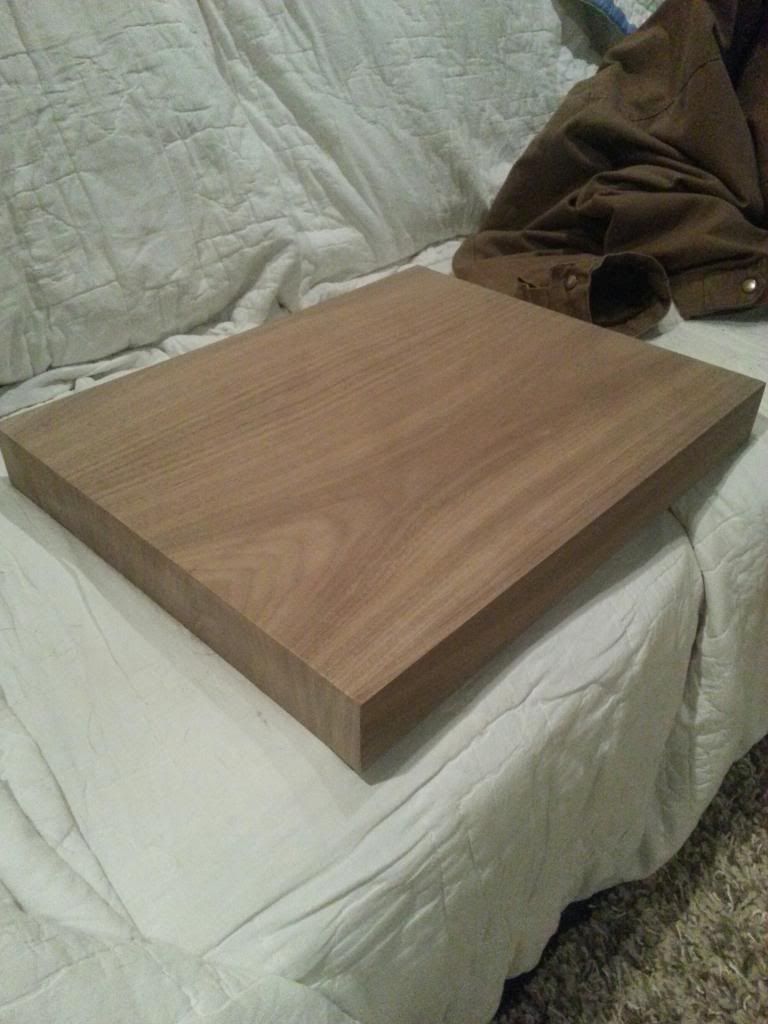
How did you get the 90° bend in the veneer for the corners?
I laid the base upside down on the wood side of the veneer. Then lightly scribe a pencil mark around it as tight as you can. This makes a box of 380 by 480mm.
Take the base off and add another box about 3mm larger. Now you have a box with another box 3mm larger around it.
I measured the sides for depth at 55mm but cut for 58mm for some wiggle room.
Think of it as folding a cardboard box making a tray with 4 sides.
Lightly denote each piece with pencil (F, Rear, L, RS, etc) so you aren't playing with each piece to figure out the grain. It's trickier than you think once they are cut up and laying on the table.
Cut along the longer 3mm outer lines so you have overhang over each end of the panel you cut.
When it's all mated up, you'll lose about 1/8" of the grain match at the 90's, but it's really not noticeable.

Last edited:
ghazzer
Senior Member
You must be much more precise with your contact cement veneering than I am, or much younger .
.
Normally I would glue & trim up the sides first, so that the top veneer will cover the edges. Now I am wondering how practical it would be to glue (contact cement) on the full size piece to the top as the first step. Then take a thin piece of plastic about 2X the thickness of the veneer and hold that against the sides to trim the top. . . .:scratch2:
I'm guessing that it would be extremely difficult to apply the side pieces snug up under the overhanging veneer, so this idea is another loser.
Hmmmm . . . I'll have to think about this for a while.
Thanks - - -
.Normally I would glue & trim up the sides first, so that the top veneer will cover the edges. Now I am wondering how practical it would be to glue (contact cement) on the full size piece to the top as the first step. Then take a thin piece of plastic about 2X the thickness of the veneer and hold that against the sides to trim the top. . . .:scratch2:
I'm guessing that it would be extremely difficult to apply the side pieces snug up under the overhanging veneer, so this idea is another loser.
Hmmmm . . . I'll have to think about this for a while.
Thanks - - -