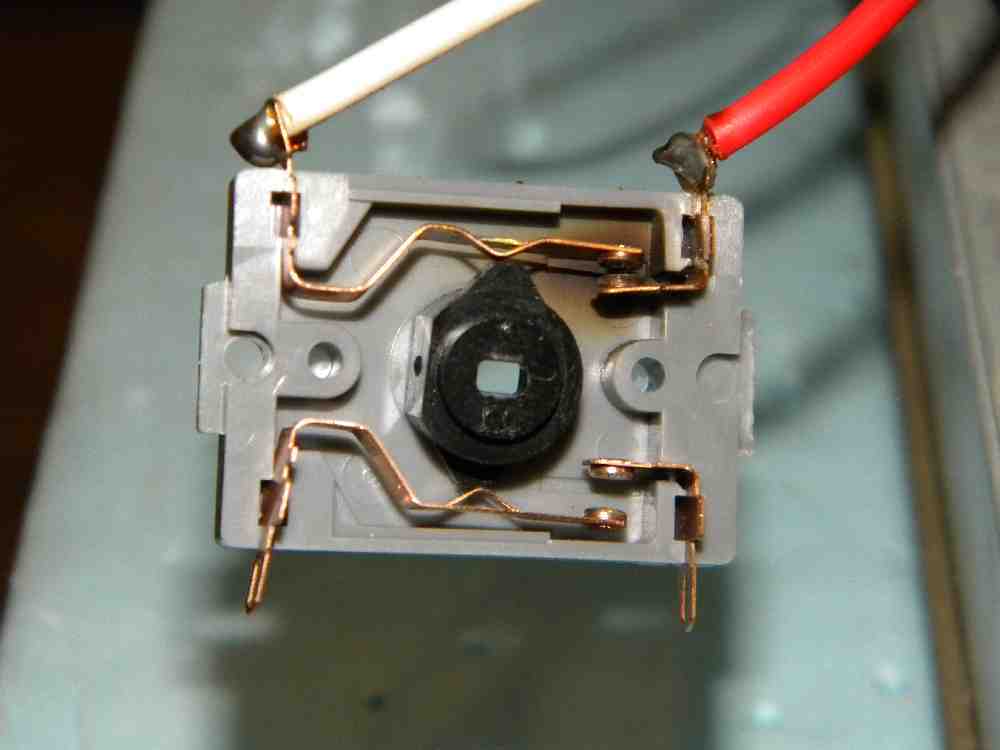
The switch may or may not have dual contact pairs, but it doesn't matter much. Once you gain access to the switch even the carboned contacts can be clean effectively and returned to service:
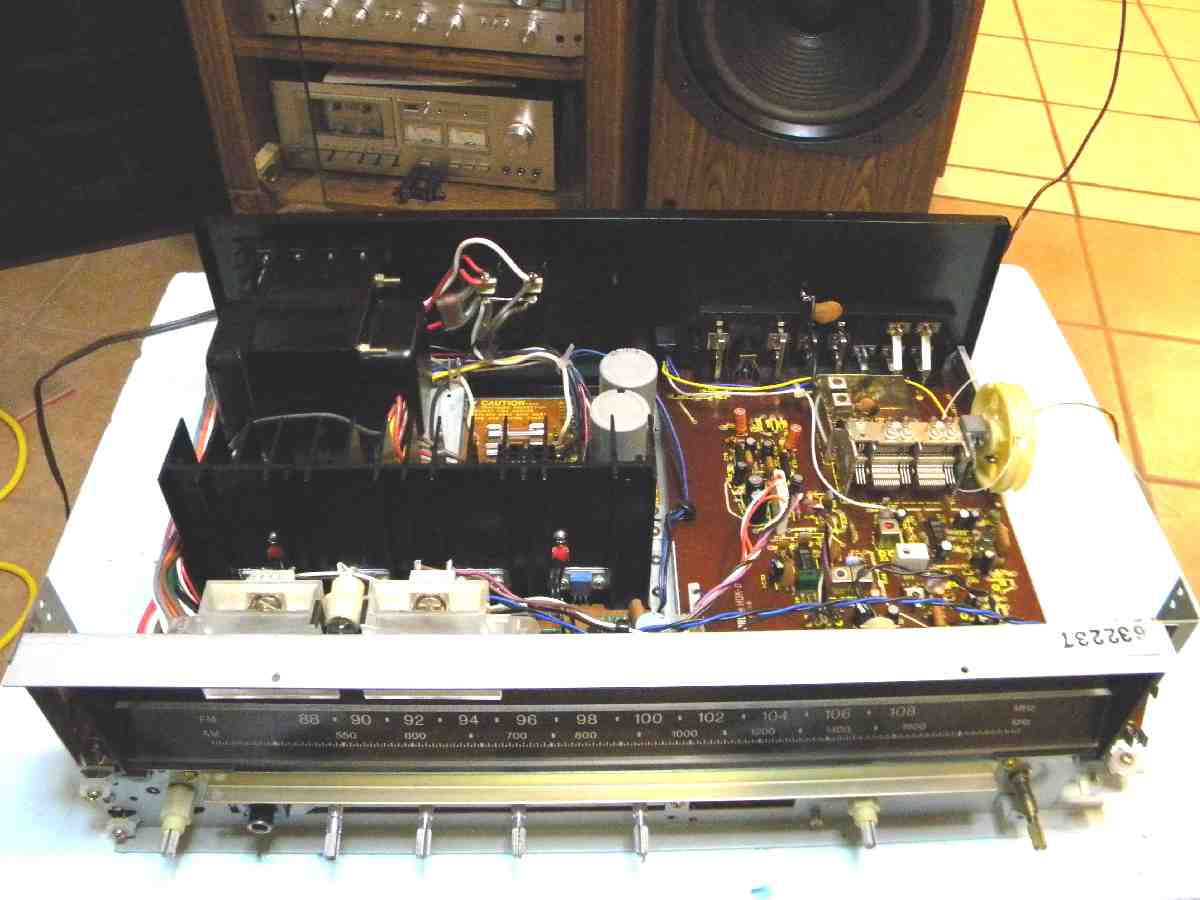
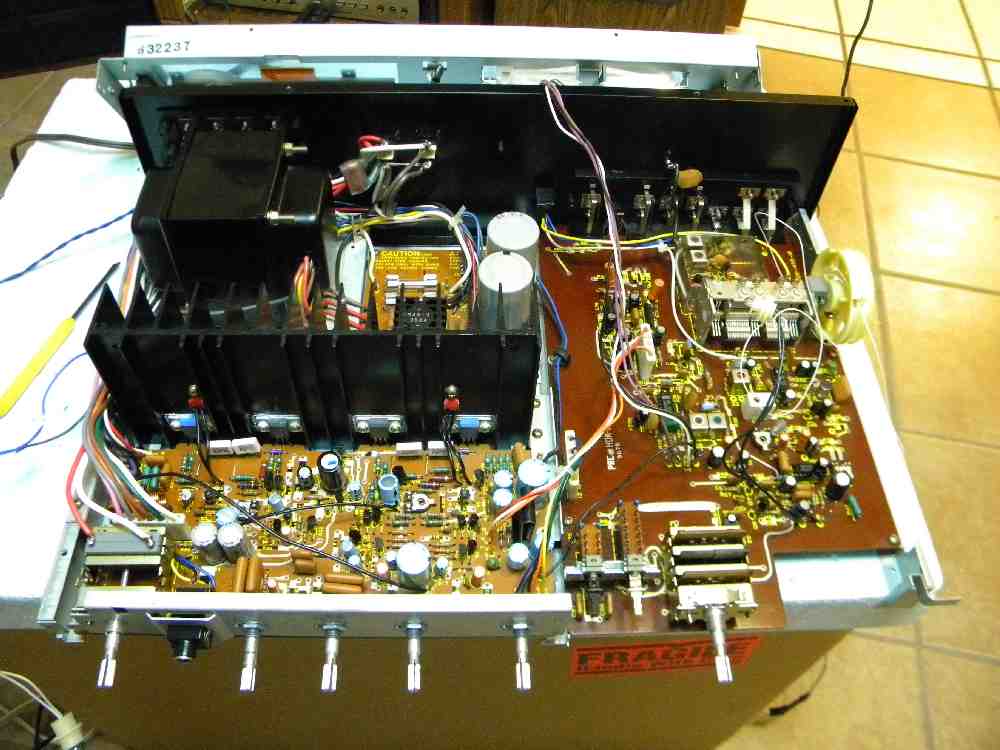
As for access to the power switch, it's a bit of work but you can maximize your return on labor input by repairing and servicing a few other items along the way.
Remove the knobs and faceplate screws, remove the two fixture nuts from the control stems, then remove the faceplate.
Unstring the tuner indicator. It's best to wrap the tuner VC drum with a piece of masking tape before beginning so that you won't have to completely restring the tuner. Release the tension on the string by guiding off the front rollers then remove the tuner indicator pin carefully. Set that all aside.
Remove the bezel lamps, then remove the front bezel screws and control fixture nuts, allowing you to remove the bezel.
Remove the fixture nuts and remaining front frame screws, then remove the front frame:
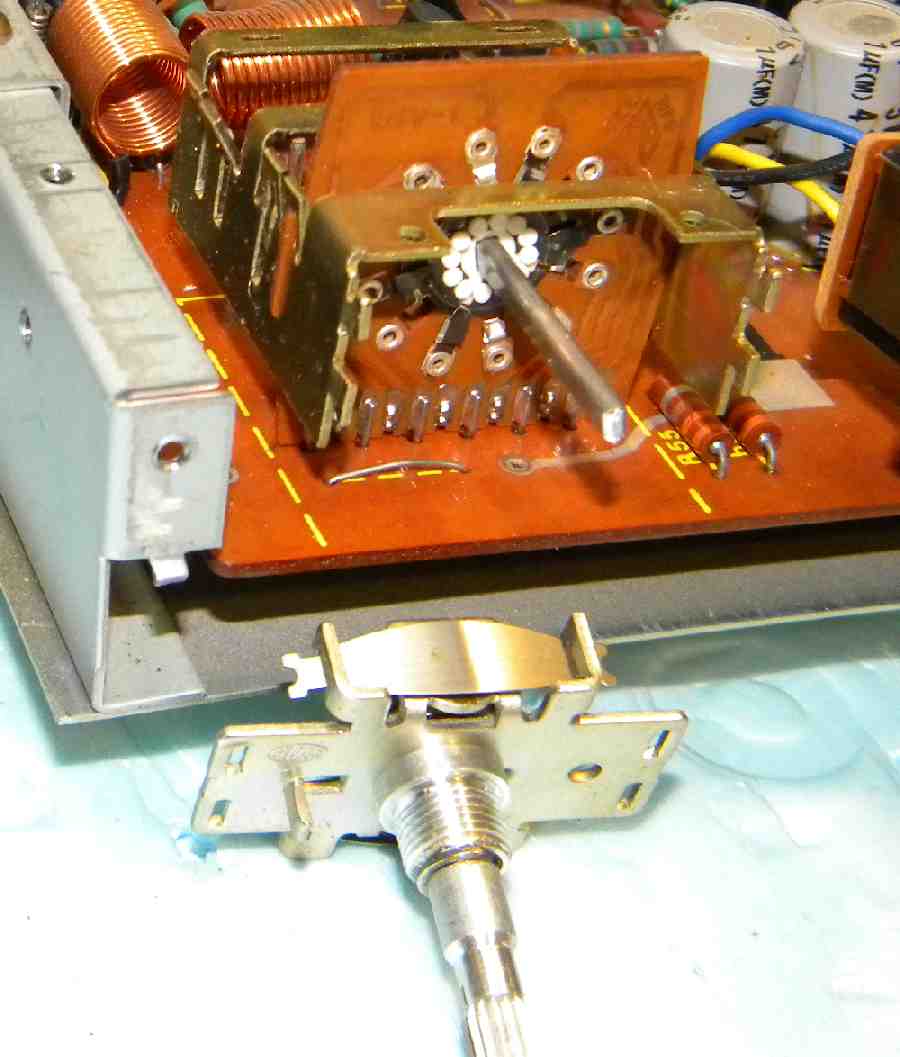
That should expose the power/speaker control as shown. Carefully straighten the metal tangs holding the power/speaker switch control know from the switch array, then pull the knob forward:
Remove the switch link bar, carefully bend the metal latches holding the power switch into the frame, and lift the switch upward and out:
The switch halves are not glued nor fastened so they will simply pull apart. Be aware of the center cam position when opening the switch so that you can assemble it in the same position. Once cleaned, reassemble in reverse order. Try to be careful with inserting the link bar through the speaker switch wafer since it is a fairly frail item.
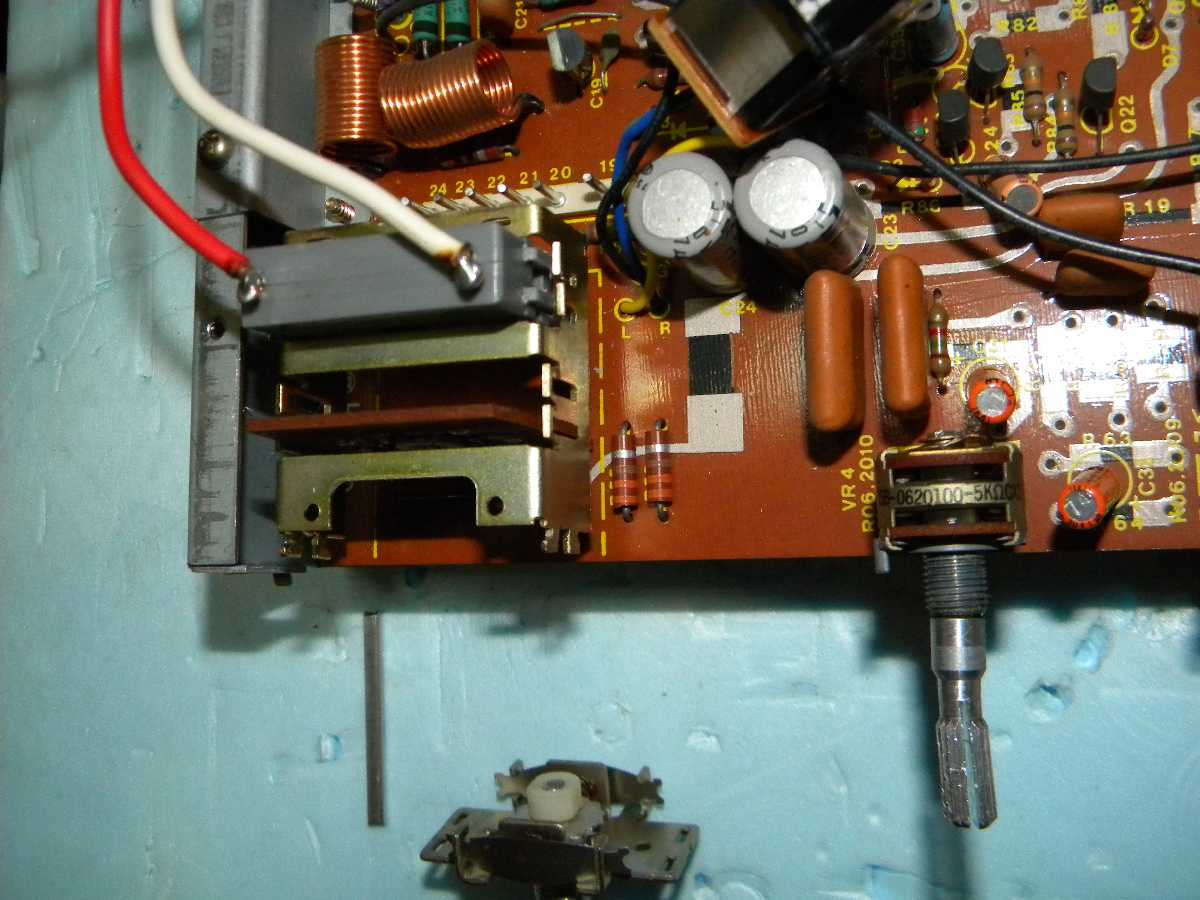
You can clean all the parts along the way, including the bezel, lamps, front glass, etc. This is a good opportunity to center the tuning indicator if it is no longer exactly on station, and to clean controls, lubricate the turning string guides, replace a failed STEREO indicator lamp, beezwax the string, and generally clean up an otherwise inaccessible area of the main amp board.