

pingu_turbo
On a constant search...
Hi Guys,
I thought it time now to tackle the recap on my 2230. She has been in the wars lately what with the right P750 power amp deciding to shit itself, see here. A fellow blue lamp follower (Baseballhack) decided to donate a new P750 to me. I cannot thank him enough!
Anyway previously to the P750 amp board going wrong I had ordered a recap and LED kit from Robert Bowdish at I Rebuild Marantz to bring the old girl up to date. I have learnt alot about caps since buying the kit and probably would have chosen some slightly different ones, as in manufacturer, but I figured that Robert knows best as he does this all day every day. So I thought I'd stick with the original kit.
As a teenager I used to abuse this amplifier after inheriting it from my late Granddad. I nearly threw it away many years ago FFS! So after installing the new P750 amp board I decided to enjoy the 2230 for a while before ripping it apart again. So tonight I made a start.
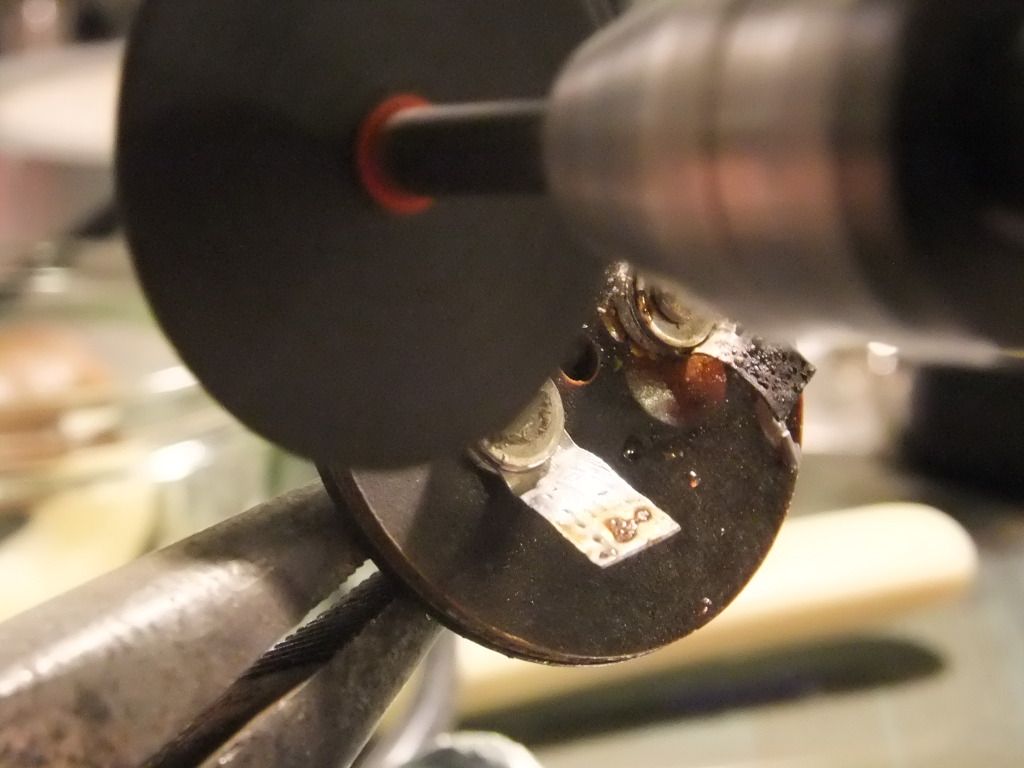
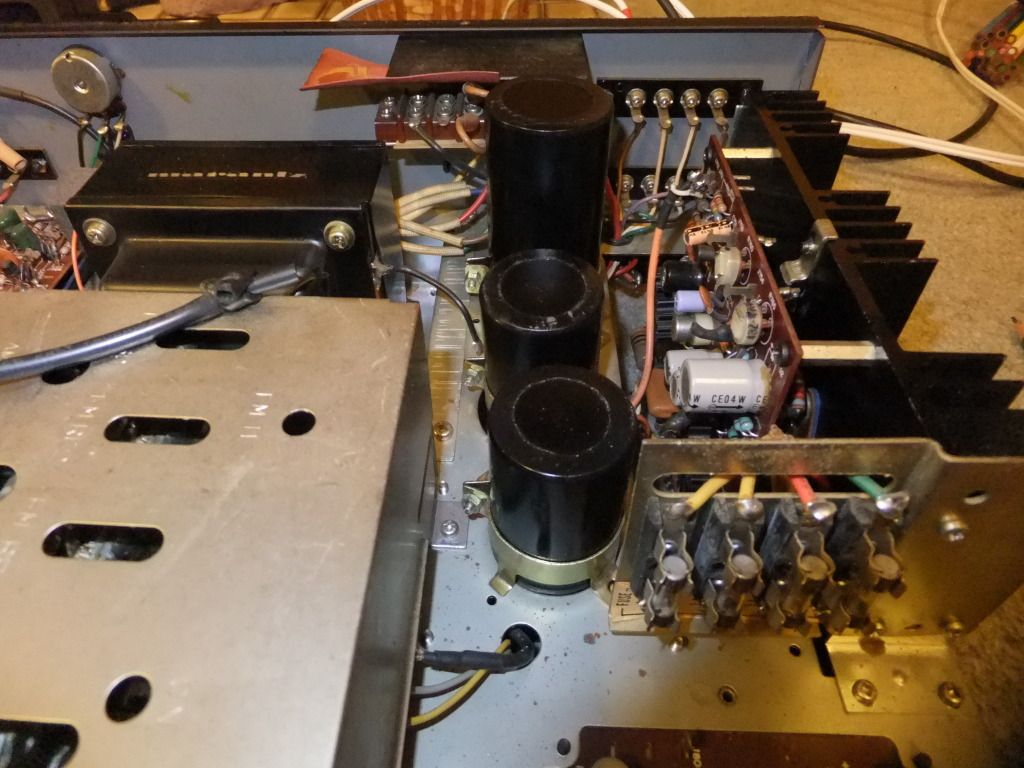
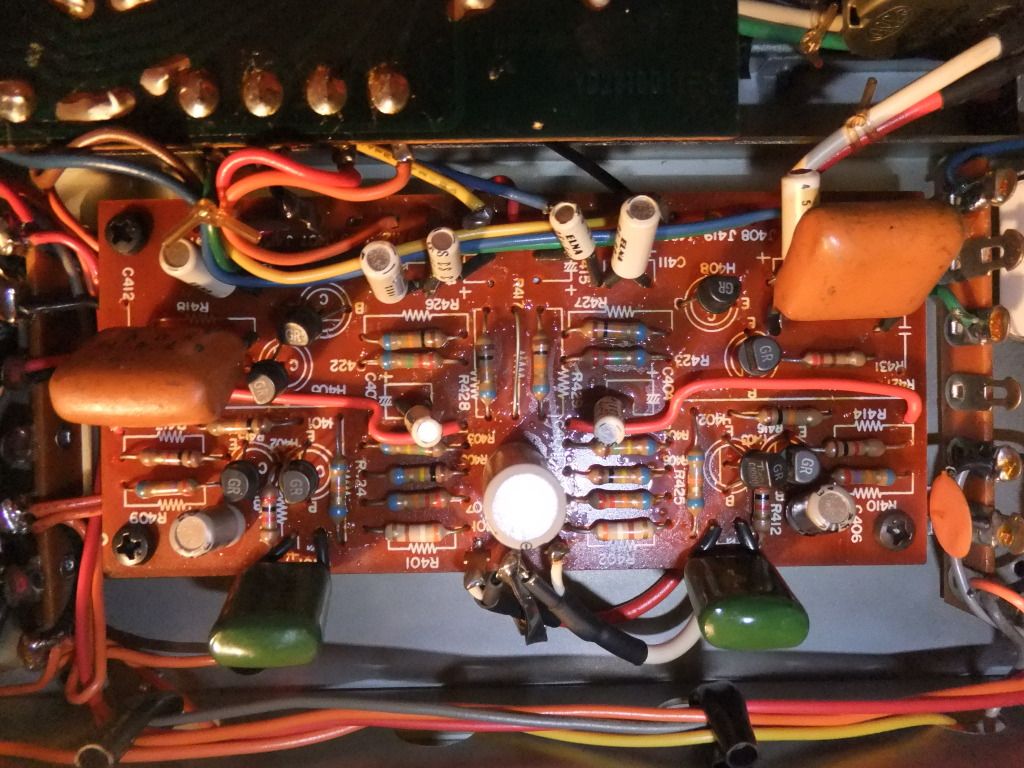
I started by changing the power and the coupling caps. I thought this be as good a place as any as it will be easy to check my work after these 3 caps are installed. \/
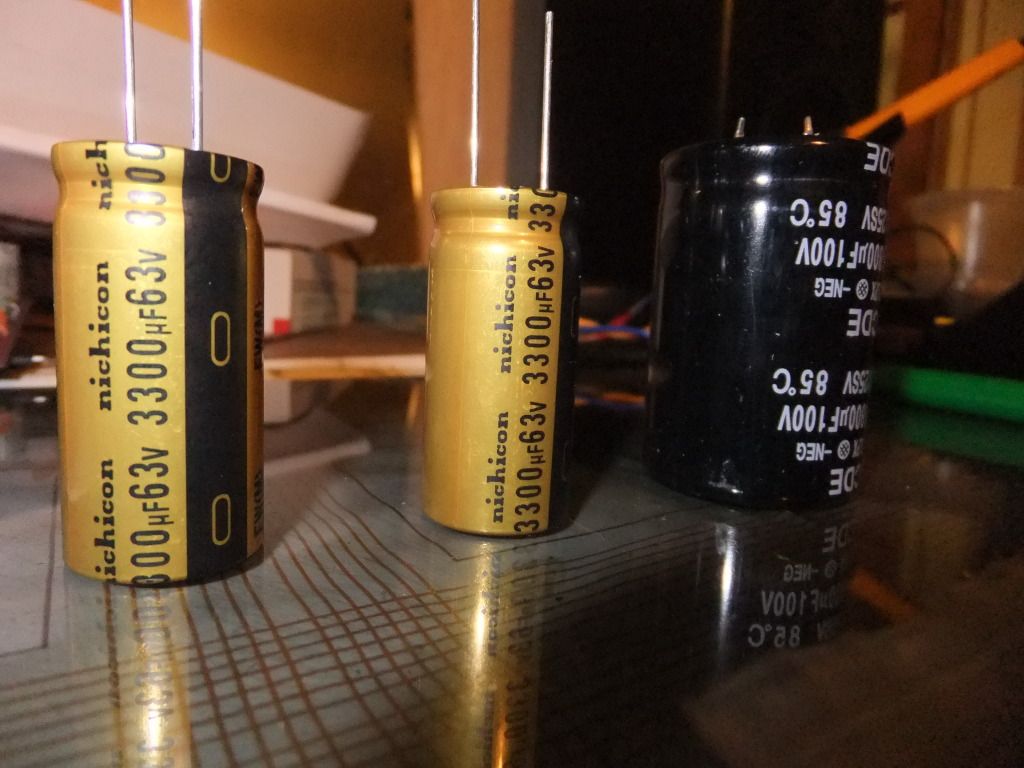
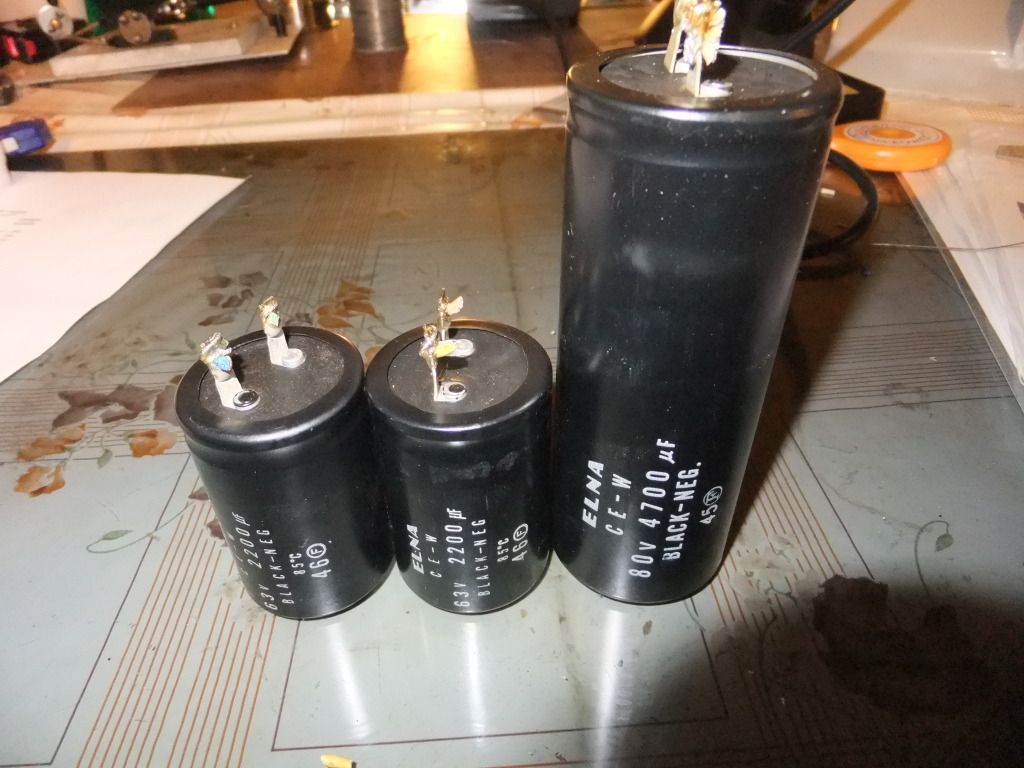
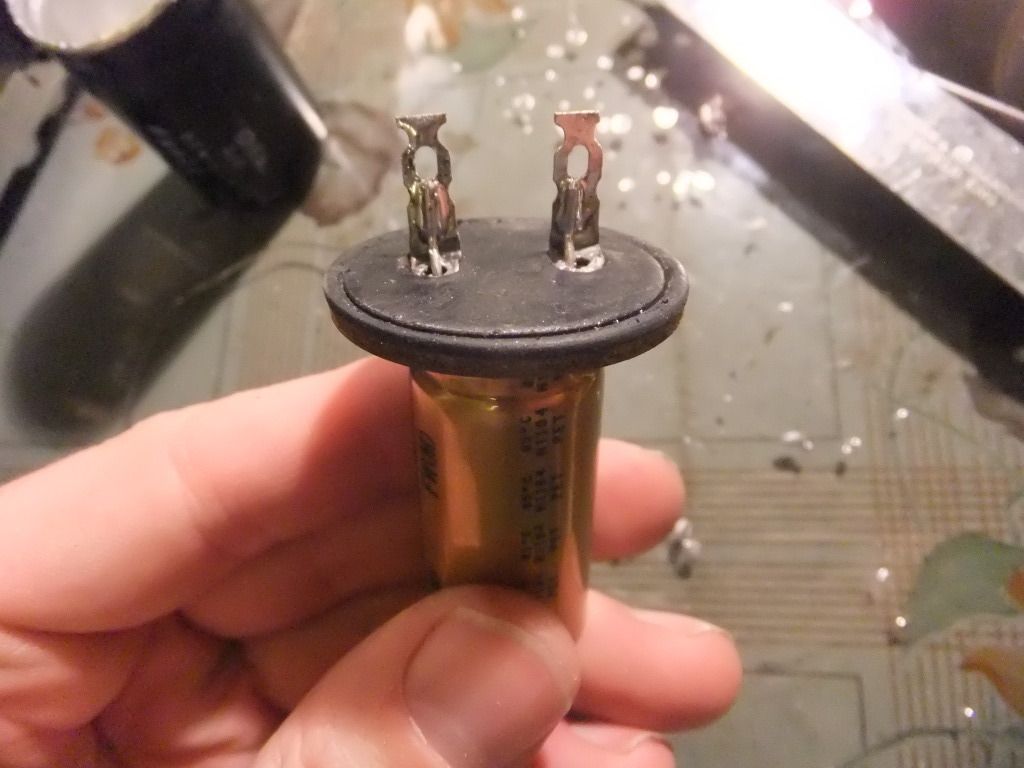
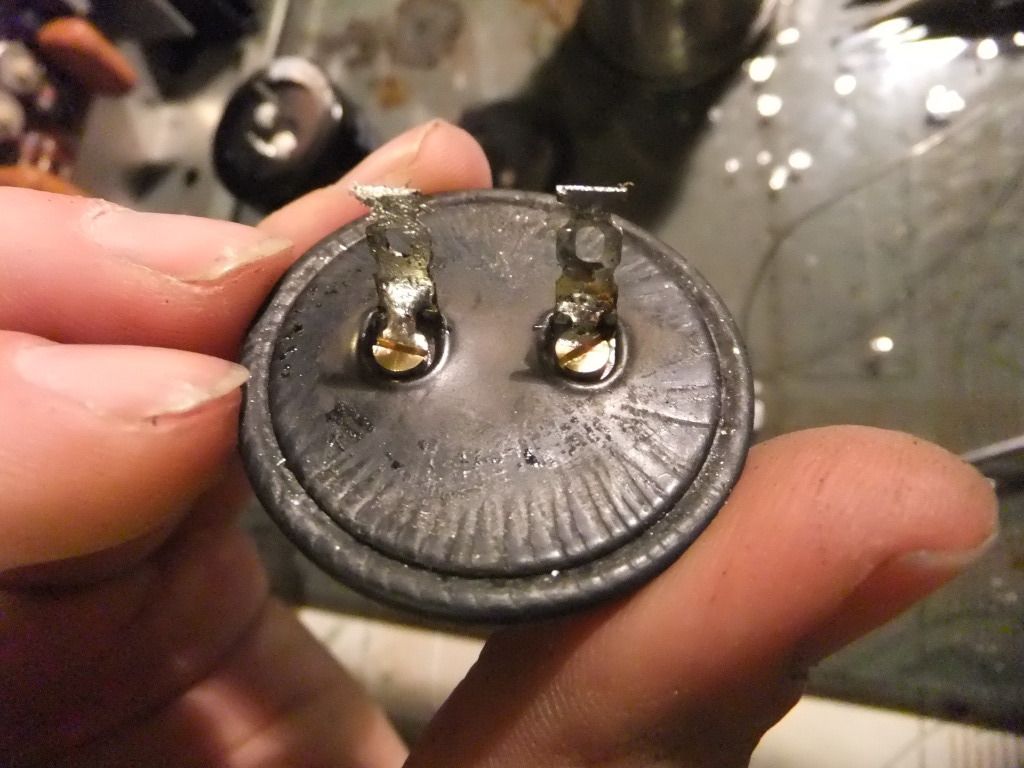
The old ones \/
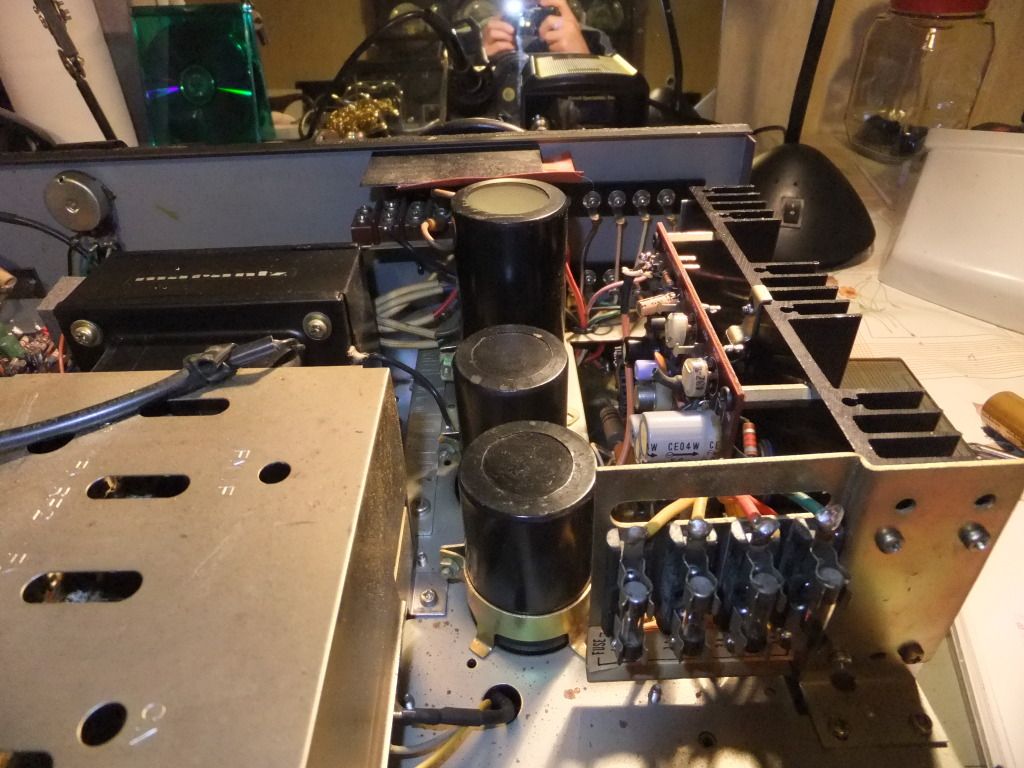
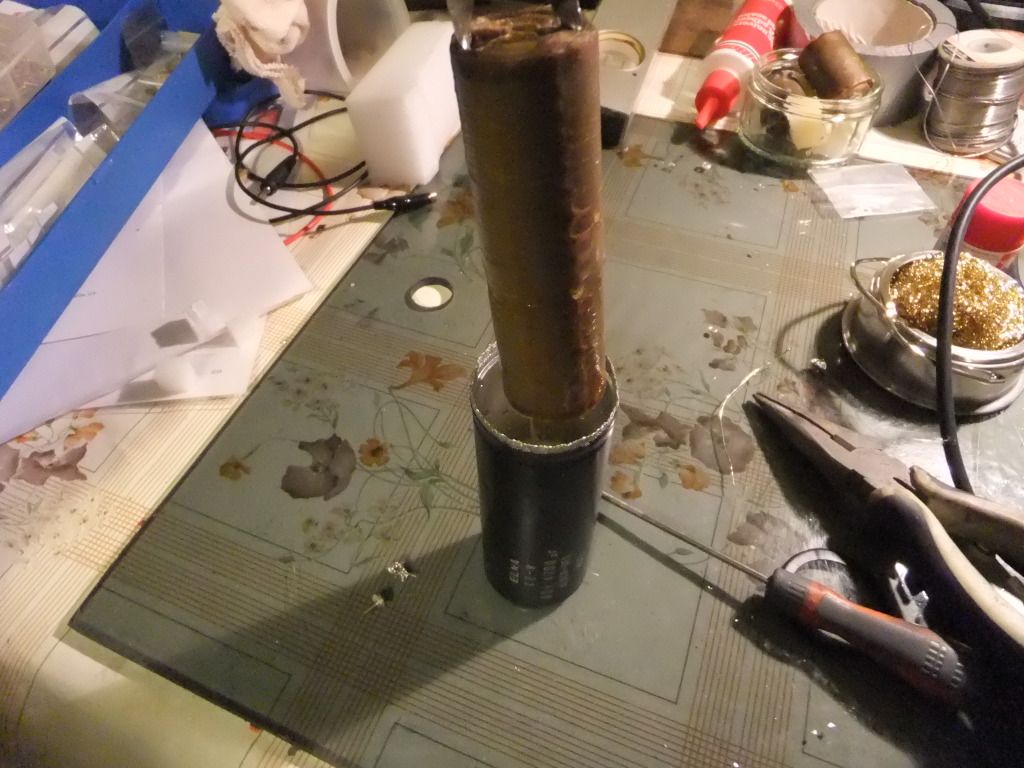
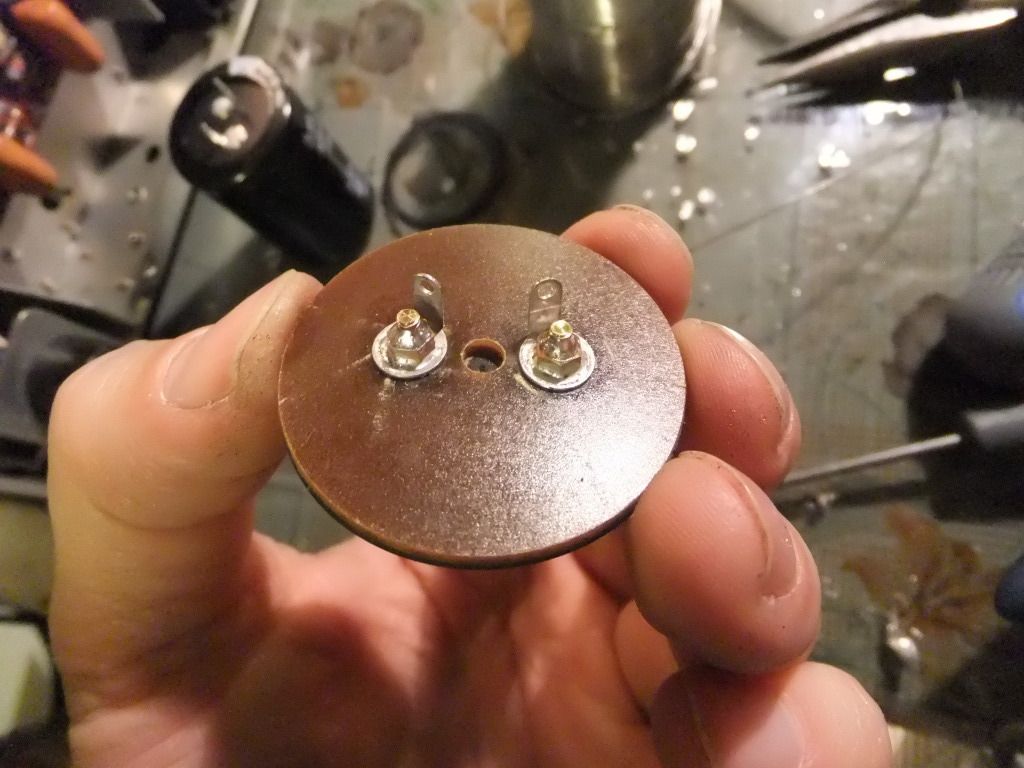
Before \/
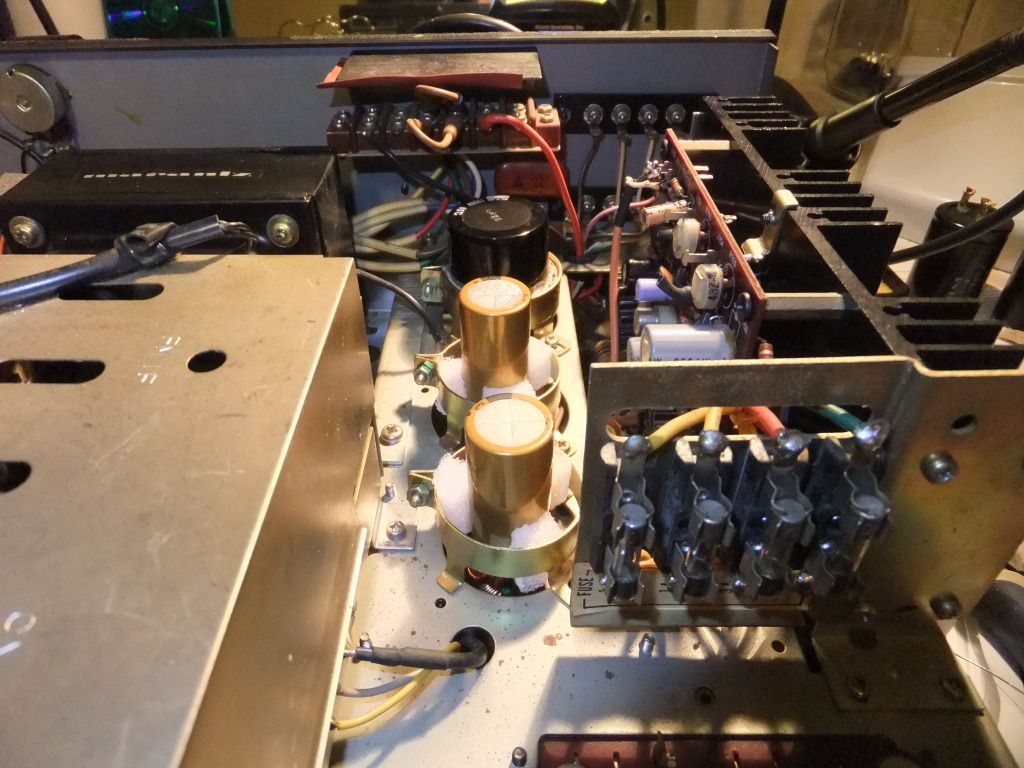
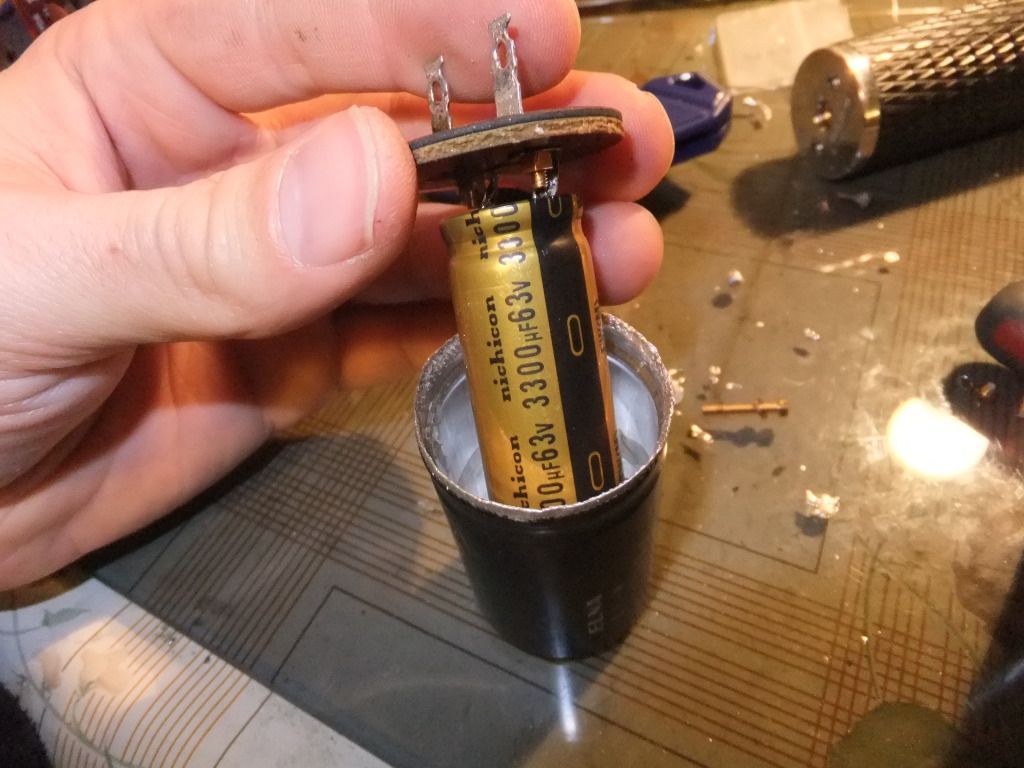
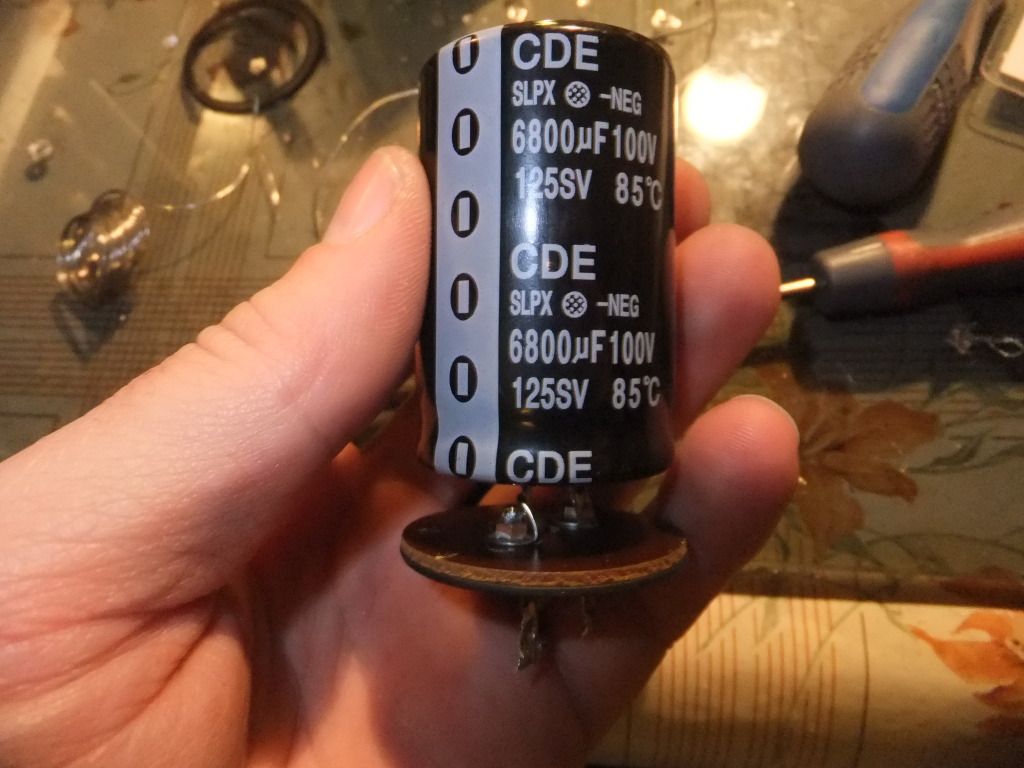
After \/
Curiously the old power cap is a 4700uf 80v and the new one a 6800uf 100v. I did check the kit carefully, and that is right. What the differences in changing to this is I don't know. But Robert is the expert. Also the old coupling caps are 2200uf 63v and the new 3300uf 63v. Again why I don't know. If anyone has a explanation I would be curious to hear it?
Anyway all has gone well for this evenings instalment of my recap, I am listening to my 2230 as I type. Already it sounds beautifully warm, and inviting.:thmbsp:
I thought it time now to tackle the recap on my 2230. She has been in the wars lately what with the right P750 power amp deciding to shit itself, see here. A fellow blue lamp follower (Baseballhack) decided to donate a new P750 to me. I cannot thank him enough!
Anyway previously to the P750 amp board going wrong I had ordered a recap and LED kit from Robert Bowdish at I Rebuild Marantz to bring the old girl up to date. I have learnt alot about caps since buying the kit and probably would have chosen some slightly different ones, as in manufacturer, but I figured that Robert knows best as he does this all day every day. So I thought I'd stick with the original kit.
As a teenager I used to abuse this amplifier after inheriting it from my late Granddad. I nearly threw it away many years ago FFS! So after installing the new P750 amp board I decided to enjoy the 2230 for a while before ripping it apart again. So tonight I made a start.
I started by changing the power and the coupling caps. I thought this be as good a place as any as it will be easy to check my work after these 3 caps are installed. \/
The old ones \/
Before \/
After \/
Curiously the old power cap is a 4700uf 80v and the new one a 6800uf 100v. I did check the kit carefully, and that is right. What the differences in changing to this is I don't know. But Robert is the expert. Also the old coupling caps are 2200uf 63v and the new 3300uf 63v. Again why I don't know. If anyone has a explanation I would be curious to hear it?
Anyway all has gone well for this evenings instalment of my recap, I am listening to my 2230 as I type. Already it sounds beautifully warm, and inviting.:thmbsp:
")
 Just some recommendations would do.:thmbsp: