Pioneer SX-1250 restoration project - does have some issues too

Hoodcom

Well-Known Member
Pioneer SX-1250 restoration project -Update: Protection Issue?

I'm finally getting to the restoration of this 1250 I have here.

So let's start off with a list of known problems that I know of at this time...

When I first got it, I pretty well found out that it does power up, but has no sound.

NONE of the fuses in it are blown, all test good with my digital multi meter.

Currently, I can not power it up, until I get the new rear outlet in to replace the broken one, due to safety reasons.

It is dirty on the inside, but nothing appears to be scorched / burnt on ANY circuit boards.

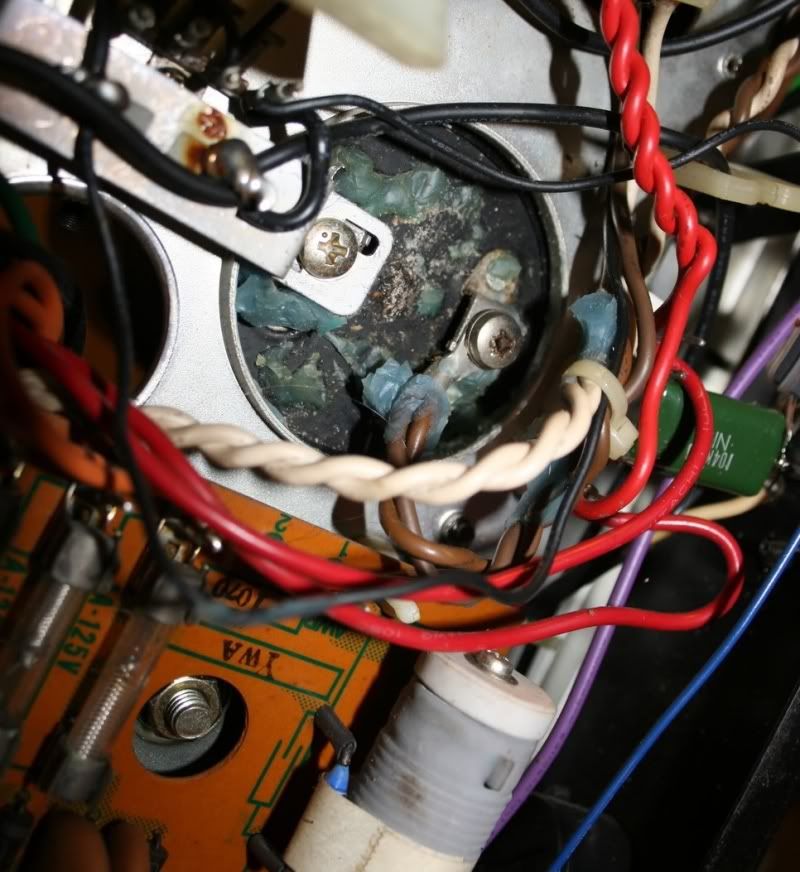
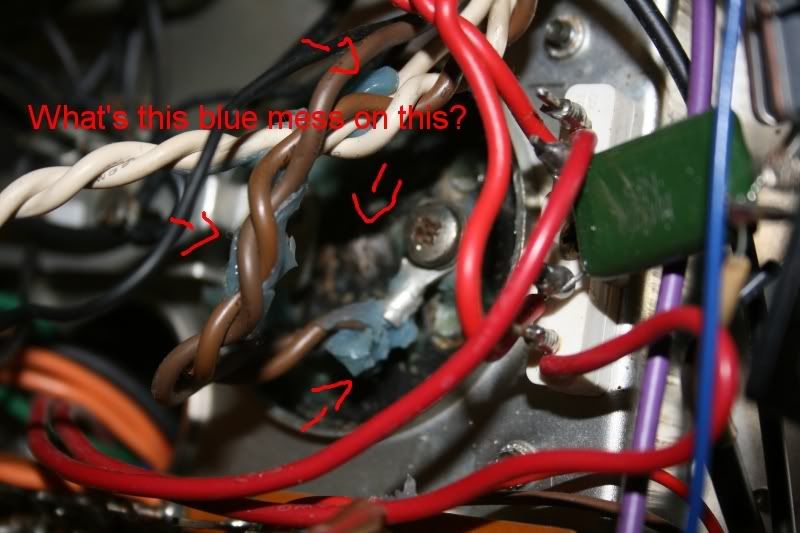
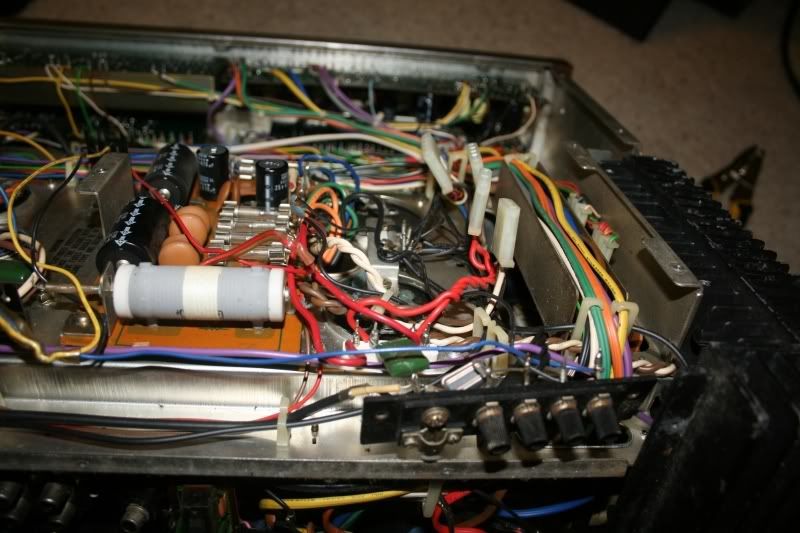
The last picture I posted in this post HAS something that may need to be looked at, but I don't know for certain...

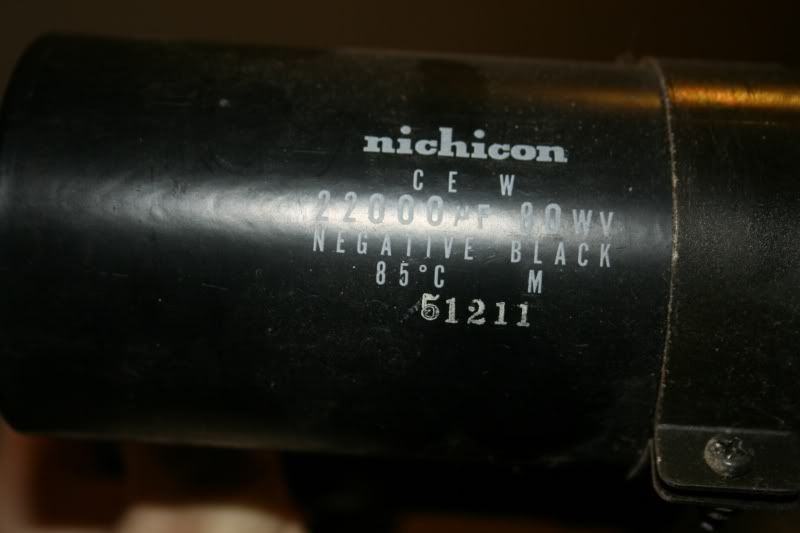
One large capacitor... well, I can't tell if it leaked or what, but...

.........what is this blue gunk?
Image6-1.jpg

Img_1137.jpg


Other than that, I do not know what the problems could be nor can I test for live voltage at this point, but can when I can have it safely powered up when the replacement outlet arrives.

I should be able to do any testing that doesn't require power being fed, though.

Also, since I have it apart, it probably wouldn't hurt to recap the more critical components incase that is the cause of the "no sound" issue here.

Now, part of this restoration will cover cosmetic issues as well, and clean up. This unit will not be perfect or mint, but it will be good enough, I hope.

Things on my list to do for it so far, is:

  • Re-cap (Could help fix any current electronical issues)
  • New faceplate (Have one on the way)
  • Replace rear AC outlet
  • Replace inner tuning scale and tuning needle
  • fix the paint job on the heatsinks
  • Get the wood cover looking good again
  • few other cosmetic things
  • clean up the receiver
  • replace the bulbs

So far that I can think of from the top of my head.

So now for pictures...

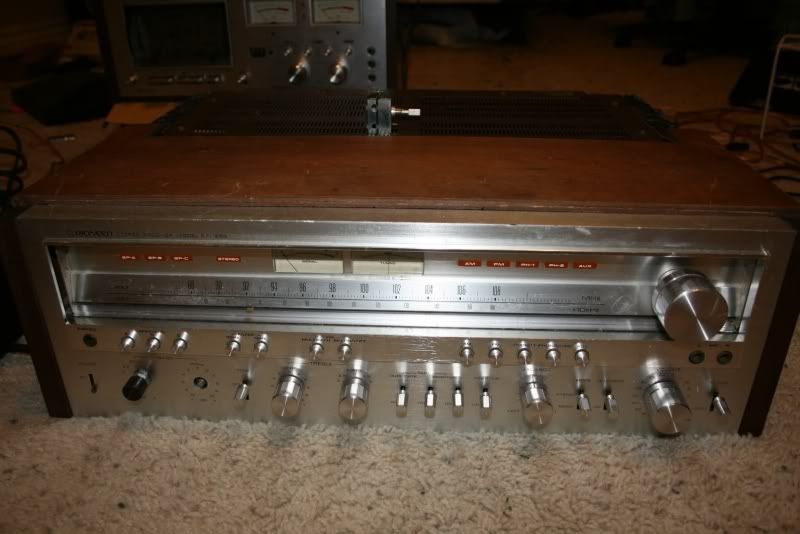
Rough shape, I know. :tears:
Image1-6.jpg


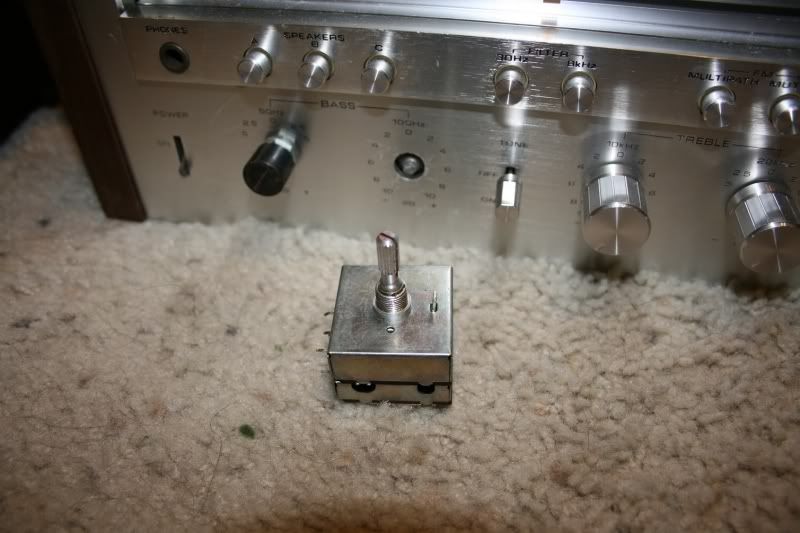
As seen here, a replacement pot for the bass control:
Image2-4.jpg


I got the power cord fixed, but shall wait for the AC outlet now...
Image7-2.jpg


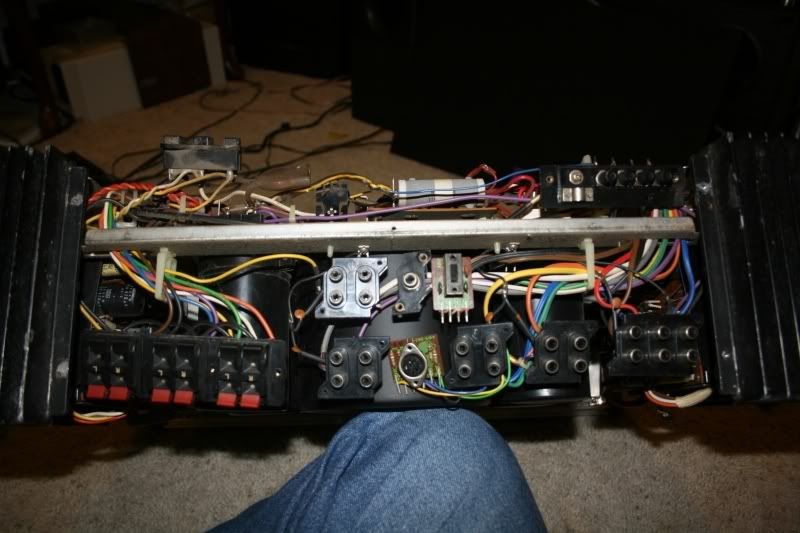
Here's the bottom...
Image5-3.jpg


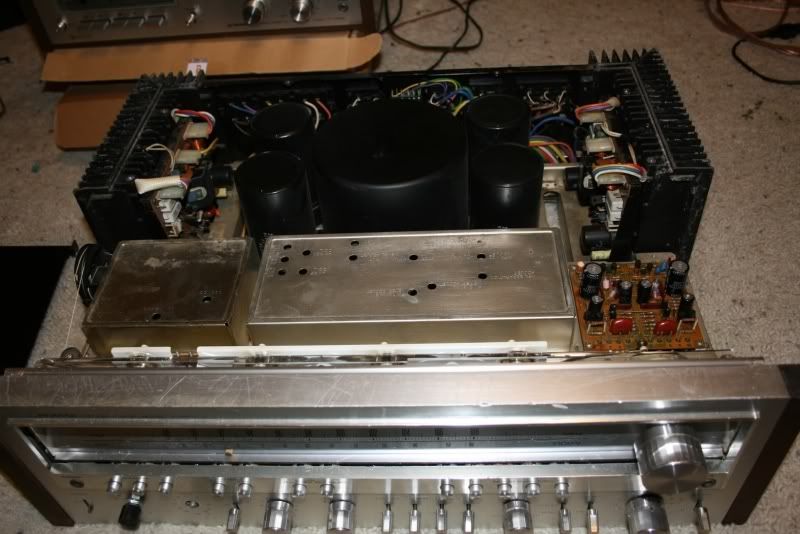
Top with covers off...
Image4-3.jpg


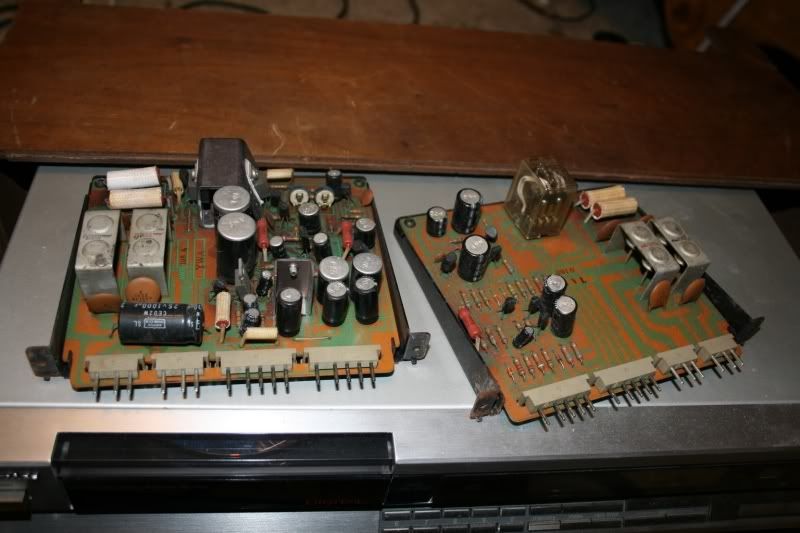
Here are these boards here...
Image3-1.jpg


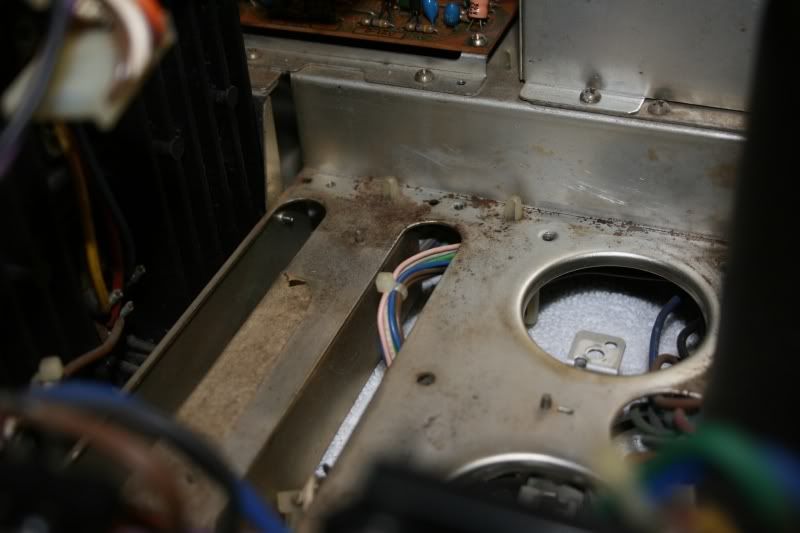
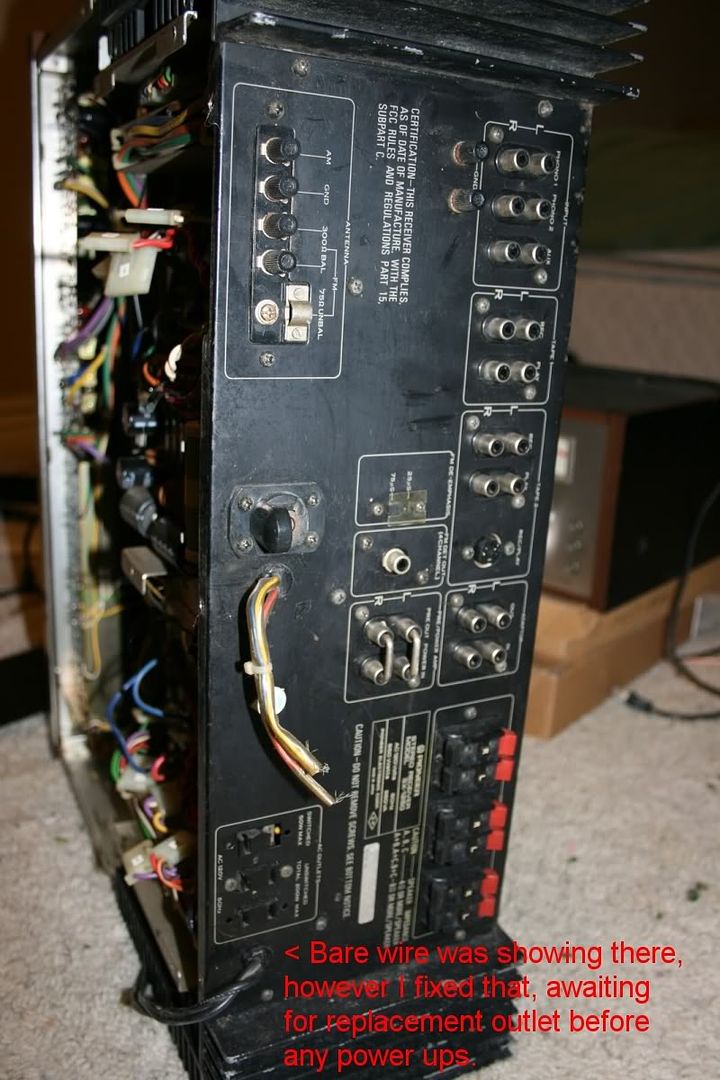
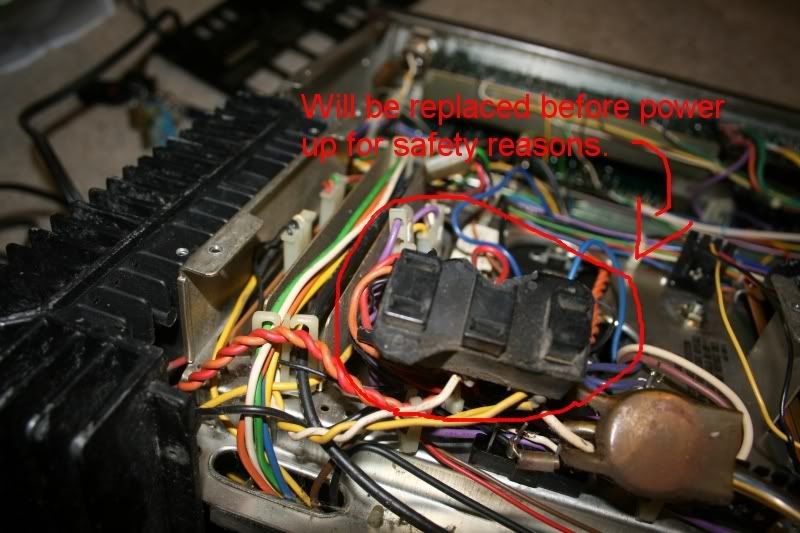
Got the rear panel off, so I can have it ready for cleaning and for easier access to replace the AC outlet...
Img_1132.jpg


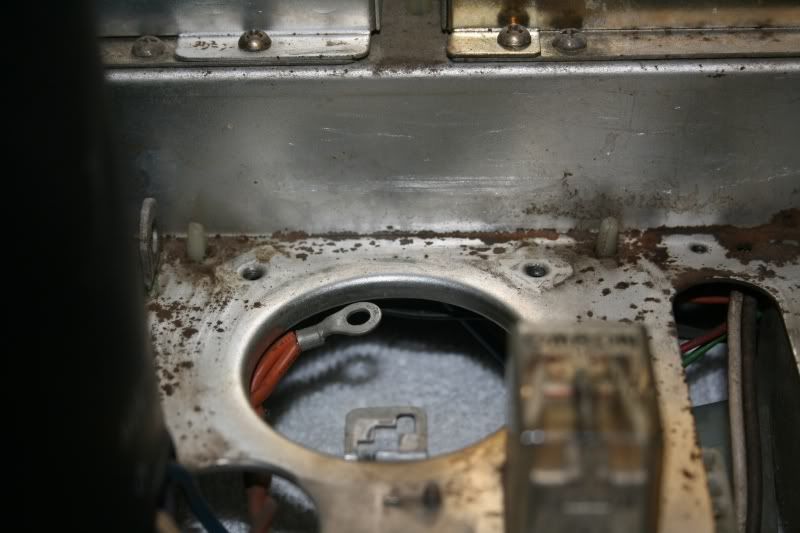
Current AC outlet, mounting is broken, which is a hazard due to being able to be pushed inward, and I will NOT have a hazard out of this, which is why I refuse to power it until I have it replaced... safety first.
Img_1134.jpg


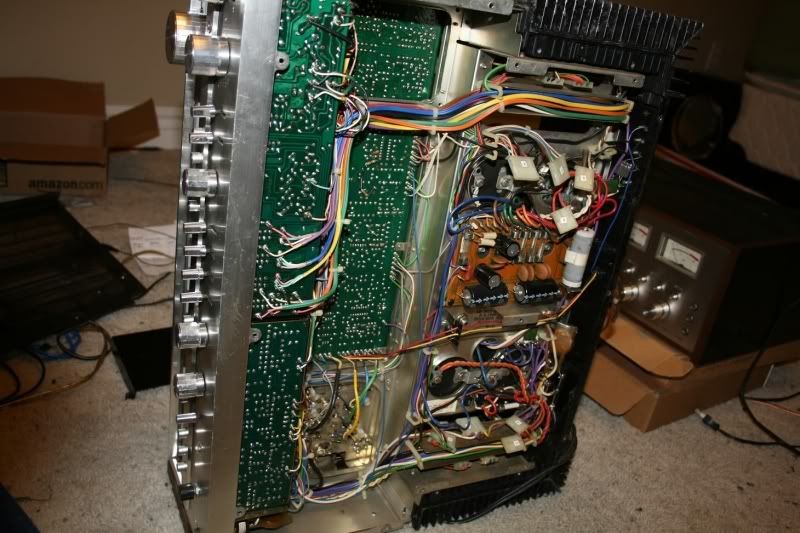
The other side here....
Img_1133.jpg


And here's the 1250 on it's side on the sofa table, resting safely on a thick towel so I don't scratch the sofa table...
Img_1135.jpg


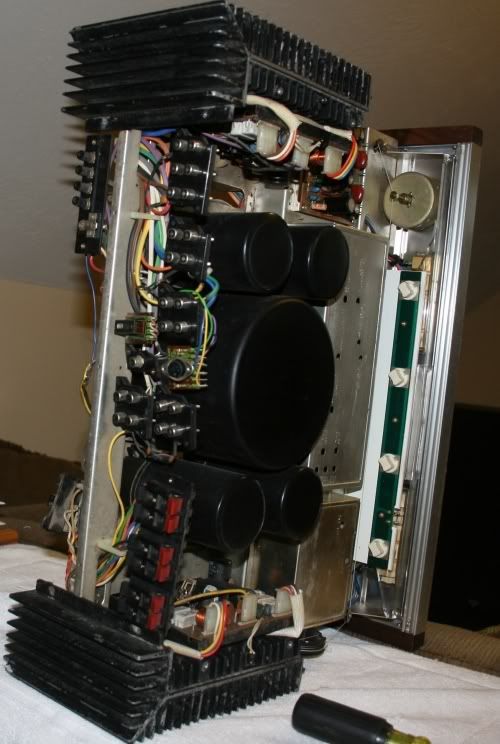
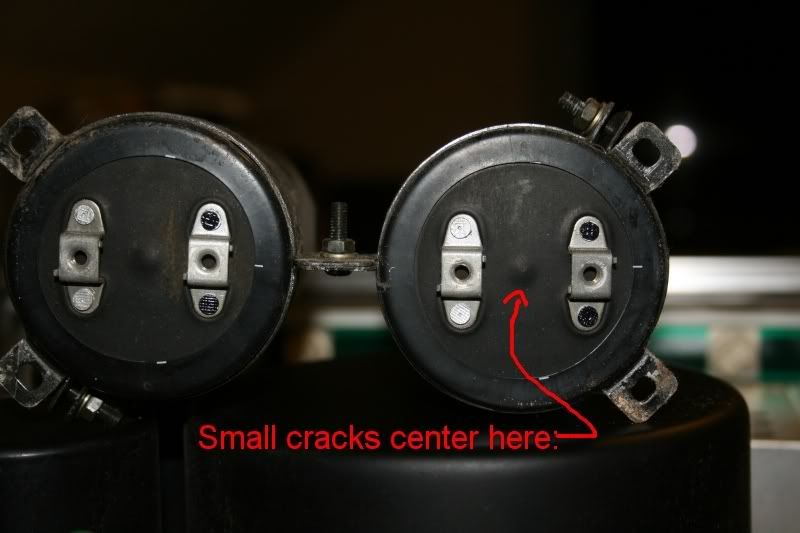
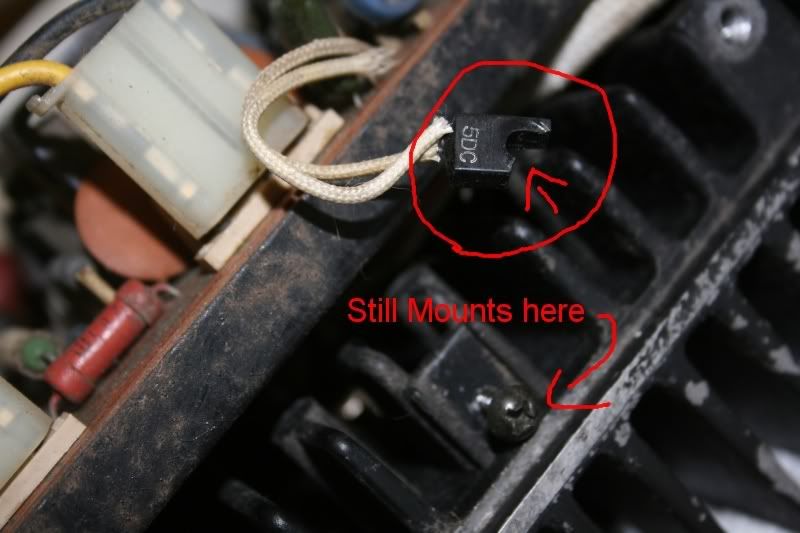
...whether or not I need to worry about this... it WAS mounted well still... would it be alright still or is this a real problem?
Img_1136.jpg


For the time being, I will remove the other power amp board and see what I can do for cleaning.
 
Last edited:
The blue sh#t on the bottom of that cap looks like candle wax..:scratch2:
 
Sure does. Looks like maybe it started to leak and someone thought they could seal it. All four of those big caps should be replaced.

The diode with the broken finger is pretty common. Put a small washer between the screw and the diode to prevent further damage.
 
Looks like you're gonna have a long but very rewarding project. I've done mine a couple years ago. You'd be amazed that the further you go, the sound improves. At least mine did and it ROCKS!! :yes:
 
The blue sh#t on the bottom of that cap looks like candle wax..:scratch2:

Sure does. Looks like maybe it started to leak and someone thought they could seal it. All four of those big caps should be replaced.

The diode with the broken finger is pretty common. Put a small washer between the screw and the diode to prevent further damage.

Hmm, well, I will just go ahead and remove all the caps then. (Need to anyways to help get to doing some cleaning.)

Would these capacitors be the right replacements?

http://www.newark.com/united-chemi-...lum-elect-22000uf-100v/dp/67R9734?Ntt=95F4479

Those were linked in my SX-1050 thread, and I think they 1250 uses the same values on the caps.

Okay, a washer should not be hard to get, I can get one from the work shop for that. :thmbsp:
 
Looks like you'll need a power switch - I've tried to fix the flat metal lever on those and it's a waste of time in my experience.
Does that nasty blue stuff chip off like wax? It doesn't look quite like wax.
Those power supply PCB caps look like they're ready for the electronics recycling bin.
Good luck - we'll be watching your progress!
JimB
 
Looks like you're gonna have a long but very rewarding project. I've done mine a couple years ago. You'd be amazed that the further you go, the sound improves. At least mine did and it ROCKS!! :yes:

This has got to be the biggest project I've gotten myself into. I've just had simple re-cap projects on my 1050, which still needs finishing... and upcoming for the 750.

Though I have hopes for this 1250 to turn out well! :yes:

What a basket case.....

It is sad to see how poorly cared for this was, but at least I am going to save it! :thmbsp:


Okay, new pics since removal of the caps...

The cap said the black marked connection is negative...
Img_1139.jpg


but how come the bar that links the two, has the positive end connected to the negative and it grounded to the metal case? :scratch2:

Img_1138.jpg


Also, here is a link to a high res close up picture of the... waxed cap:
http://i16.photobucket.com/albums/b44/Hoodcom/IMG_1140.jpg
 
Looks like you'll need a power switch - I've tried to fix the flat metal lever on those and it's a waste of time in my experience.

Yeah, I do plan to replace the power switch at some point too.

Does that nasty blue stuff chip off like wax? It doesn't look quite like wax.

I tried scraping it off, and it seems more rubbery, rather than wax since it doesn't chip off like a candle would. Stretchy like material here... reminds me of the tube of make your own gasket for a engine of a car. :scratch2:

Those power supply PCB caps look like they're ready for the electronics recycling bin.
Good luck - we'll be watching your progress!
JimB

yeah, I'm thinking while I have these apart and out of it, I ought to give them a re-cap before I power it up for the first time.
 
That's just what I was thinking - looks like some blue silicon sealant.
Time for a pahts order (as we say in Boston)!
 
Do you need a top grill cover for it --I have one .
I am sorry for my harsh remark about it being a basket case.
I jumped the gun .
Best of luck with it.
 
The cap said the black marked connection is negative...
Img_1139.jpg


but how come the bar that links the two, has the positive end connected to the negative and it grounded to the metal case? :scratch2:

Img_1138.jpg

The cap on the right filters the negative rail of the power supply. The negative power (relative to ground) needs to go to the negative pole of the cap, with the positive pole of the cap going to ground.
 
edit - sorry, jumped too quick, Bob had it....

The two connections in the center are grounded with a mechanical strap,
one of the center grounded connections is the - side of one cap that filters the + power
and the other center grounded connection is the + side of the cap that filters the - power.....
 
Last edited:
Look at it this way...negative is not ground (or more properly common) the same way that positive is not ground. In a DC coupled amplifier, you need both positive and negative supplies in order to omit the use of a DC blocking cap at the output.
 
That's just what I was thinking - looks like some blue silicon sealant.
Time for a pahts order (as we say in Boston)!

Hehehe, yeah, pahts for sure! :thmbsp:

The cap on the right filters the negative rail of the power supply. The negative power (relative to ground) needs to go to the negative pole of the cap, with the positive pole of the cap going to ground.

edit - sorry, jumped too quick, Bob had it....

The two connections in the center are grounded with a mechanical strap,
one of the center grounded connections is the - side of one cap that filters the + power
and the other center grounded connection is the + side of the cap that filters the - power.....

Okay, so I just need to be sure I place new caps just like that, right? I do have pictures on how the old ones are connected, so I shouldn't screw something up.

Do you have a current re-cap list, Mark?

I looked at KingBubba's list in his thread, but many caps where either on order, just just completely unknown (not even showing on order).
 
Look at it this way...negative is not ground (or more properly common) the same way that positive is not ground. In a DC coupled amplifier, you need both positive and negative supplies in order to omit the use of a DC blocking cap at the output.

Interesting. :thmbsp:

I sure am learning something new every day. Hehehe

Okay, here's a high res pics of the caps, to help me also remember how they were put in, so I don't screw nothing up...

http://i16.photobucket.com/albums/b44/Hoodcom/IMG_1141.jpg

...aaaannnndddd...

Here is the metal base around the Tranny...

Img_1143.jpg

Img_1144.jpg


So what will be the best way to get some of the surface rust gone/treated?

Dad said something about emeri (Spelling?) cloth and after it is cleaned up, to treat it with clear coat... but I wanted to also check with you guys.
 
Can you take it all the way apart and sand blast it?

With out having to unwrap wires on the tranny and other components, no. :no:

If I was willing to un-wire everything, then yes.

However, I prefer not to have to unwire everything. I want to do this by hand and work around the tranny and other components.
 
on the boards you pulled, it looks like the lable on those caps has shrunk alot. those have definetly seen better days.

on the big cap with the weird stuff on it, looks like grease or something,. than inbetween the grease it looks like corosion like you will find on old batterys

i would be betting that bad caps has made a resistor or diode go out somewhere.
i think you should do a complete recap then, search for blown components.
 
With out having to unwrap wires on the tranny and other components, no. :no:

If I was willing to un-wire everything, then yes.

However, I prefer not to have to unwire everything. I want to do this by hand and work around the tranny and other components.

In that case you might try some naval jelly to remove the rust.
 
Back
Top Bottom