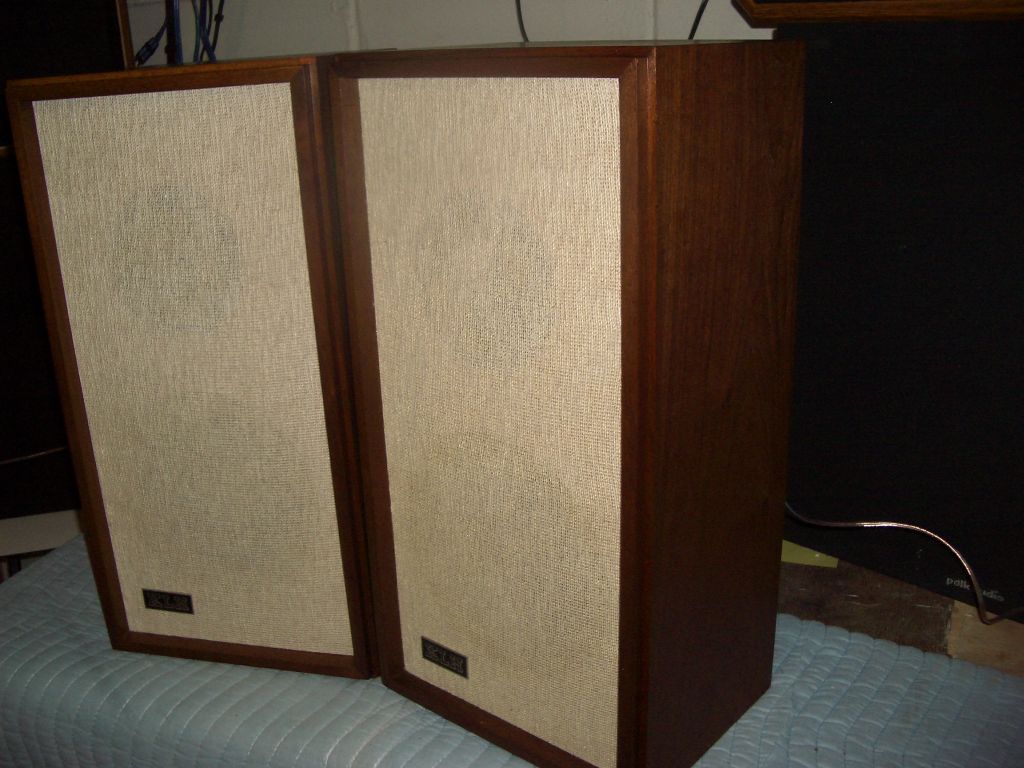
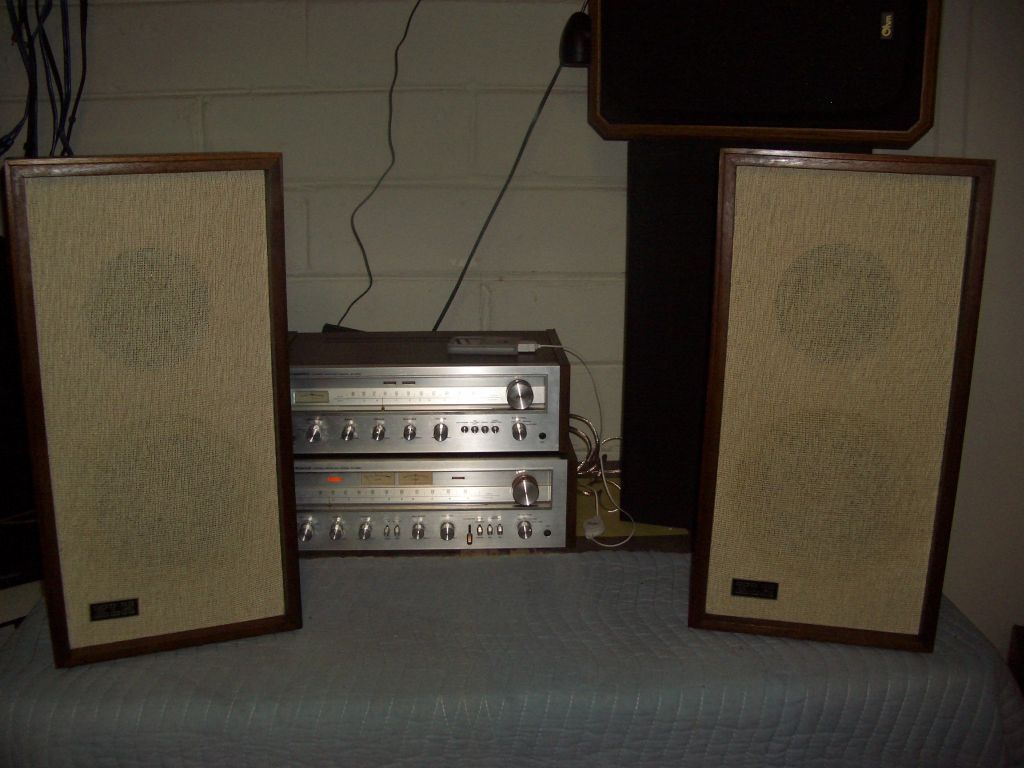
Hi. New guy here. I just recently realized one of my 17's tweeters is not working....figured it might be the old caps in the crossover and that led me here. Nice thread!
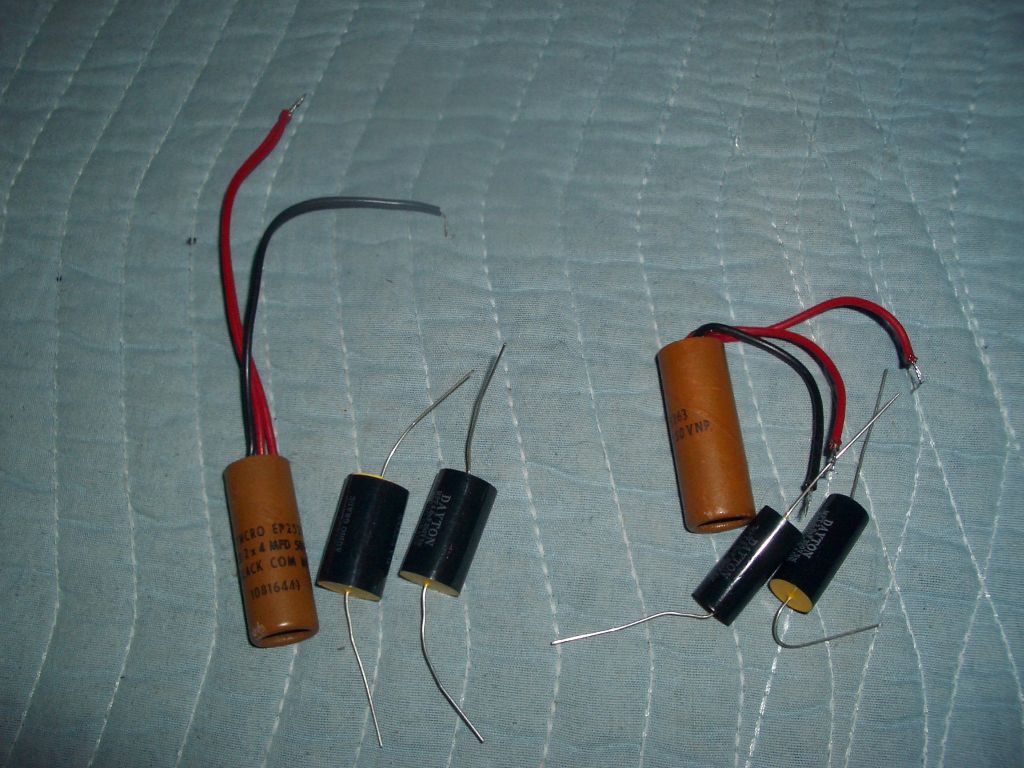
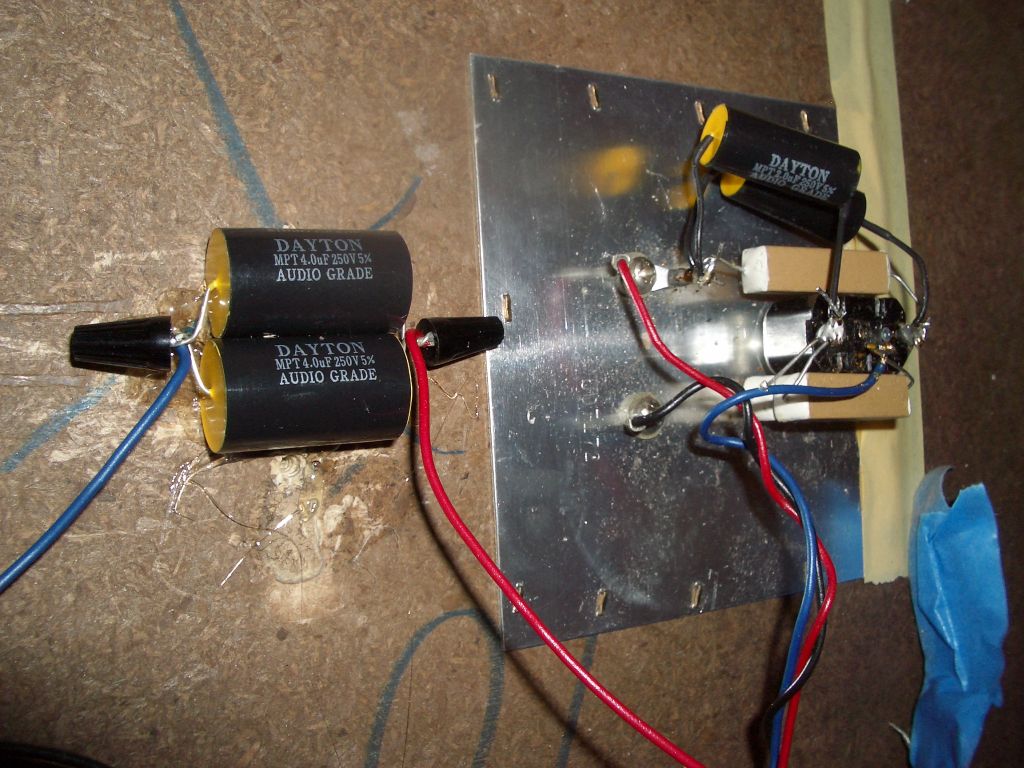
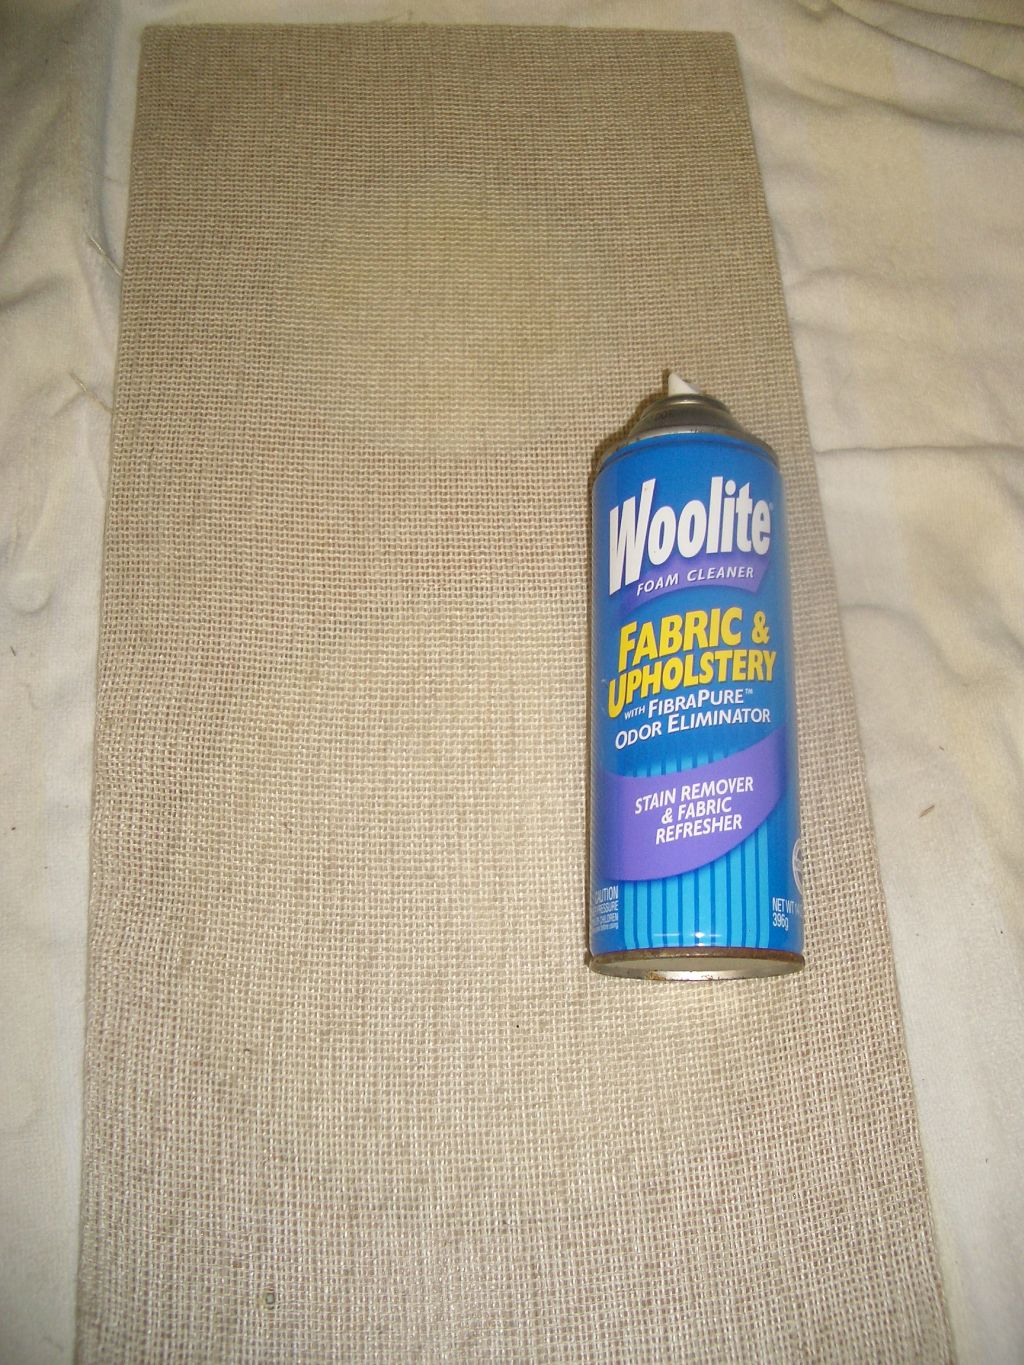
I'm awaiting my new Dayton caps to arrive. I also gotten proper surround sealer/brush on eBay -says it's for refurbishing AR and KLH speakers, specifically.
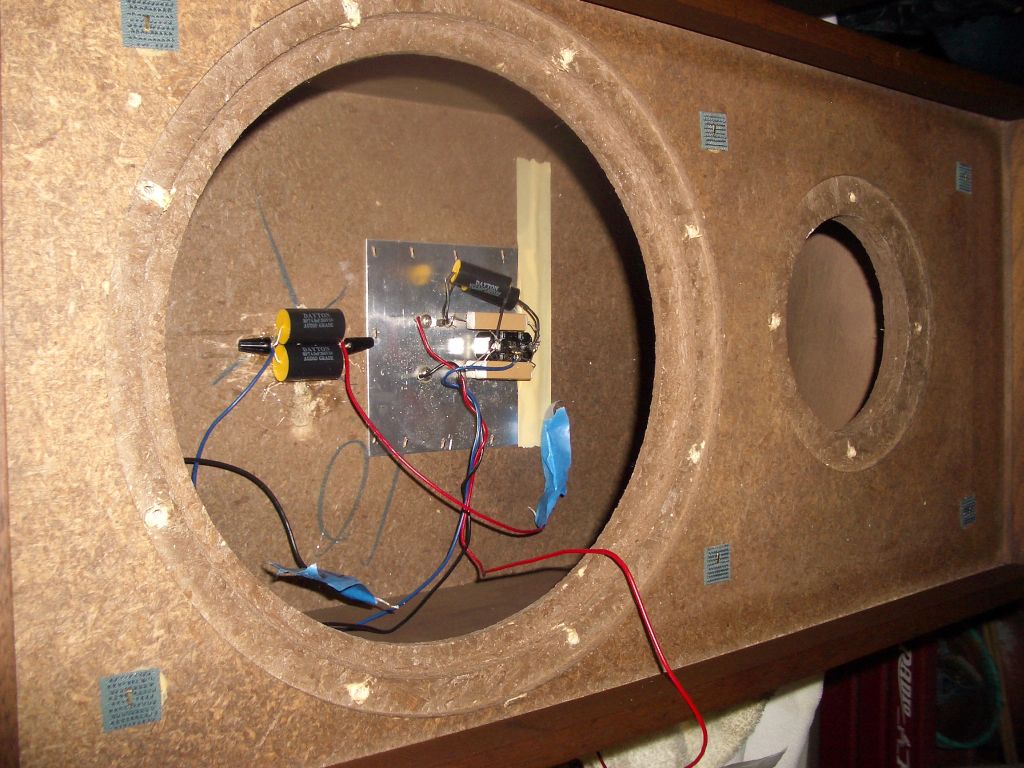
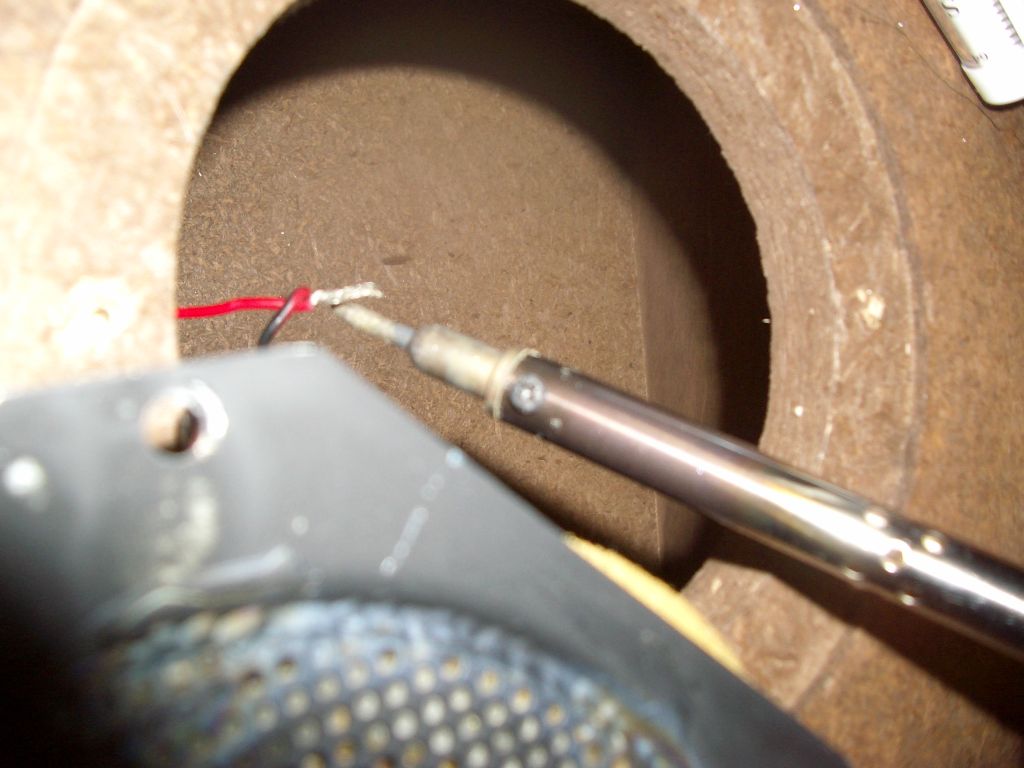
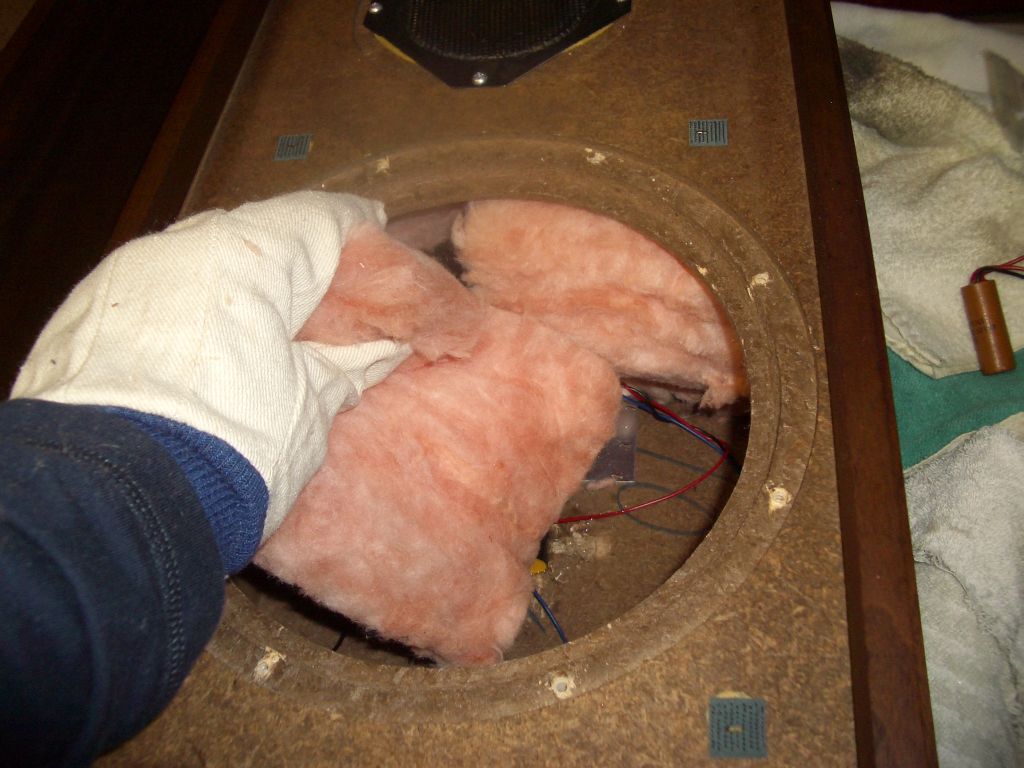
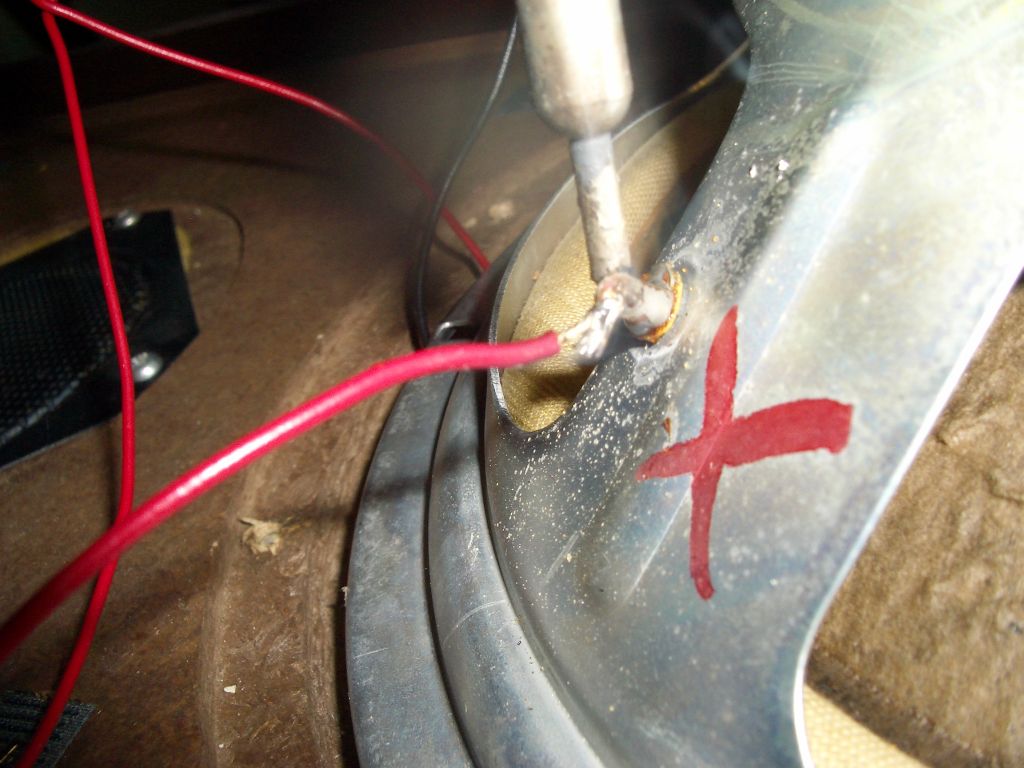
My question is in regards to sealing under the woofers (frame against wood cabinet area) after they are reinstalled once the cap work is complete. Is there any gasket material, calking or something to make sure they go back in air-tight?
Thanks
I'm awaiting my new Dayton caps to arrive. I also gotten proper surround sealer/brush on eBay -says it's for refurbishing AR and KLH speakers, specifically.
My question is in regards to sealing under the woofers (frame against wood cabinet area) after they are reinstalled once the cap work is complete. Is there any gasket material, calking or something to make sure they go back in air-tight?
Thanks