analog addict
Glory or Death!
Finally got started on my next amp build, a PSE 45 amp running two 45s per channel for a whopping 3.5-4 watts per channel. I've already been asked, why bother? Two 45s is nothing more than a 2A3, right? Yes and no. Two 45s put out the same power as a 2A3, but a 45 doesn't sound like a 2A3. So, 2A3 power with 45 sound. Simple, huh?
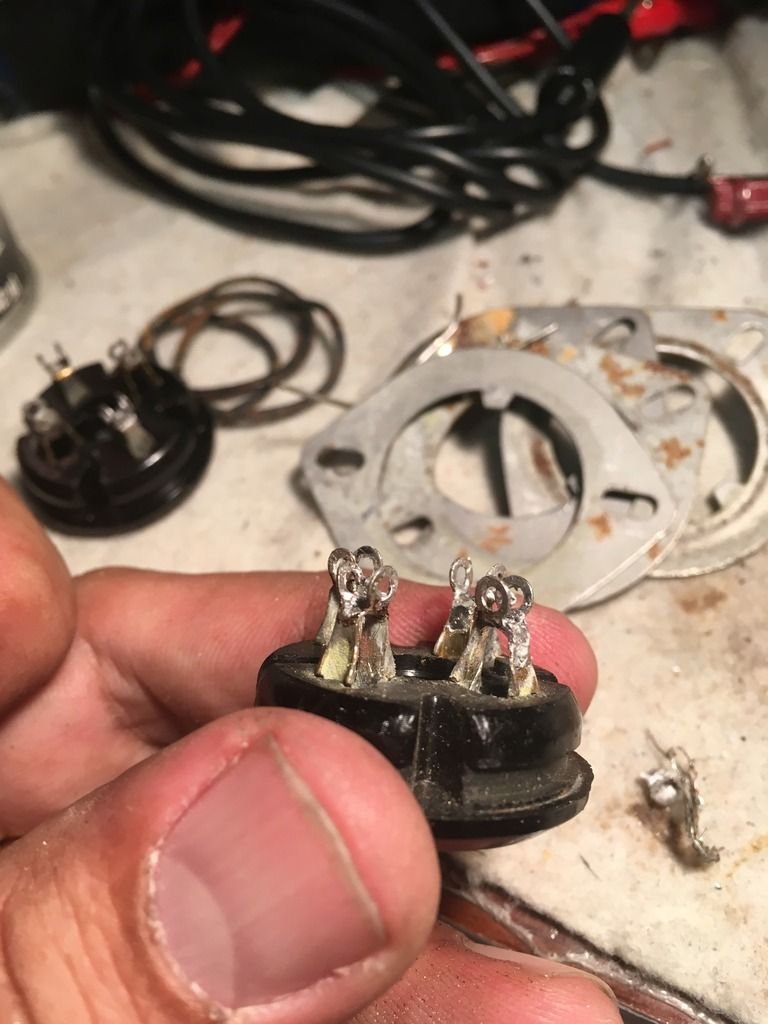
One of my things is using as many old parts to build new amps. For example, these 4 pin sockets. They came out of an extremely old amplifier carcass of some type that had to have been from the 1930's This thought was confirmed when I looked up the manufacturer, American Phenolic of Chicago. They still exist today as Amphenol, and started off in 1932 with their first product, surprise surprise, a tube socket. I love the idea of using 80+ year old parts, especially since their innate quality is likely superior to today's new production.
Here I am rehabbing the sockets. First I had to disassemble the sockets and strip off all the old remaining wires and components.
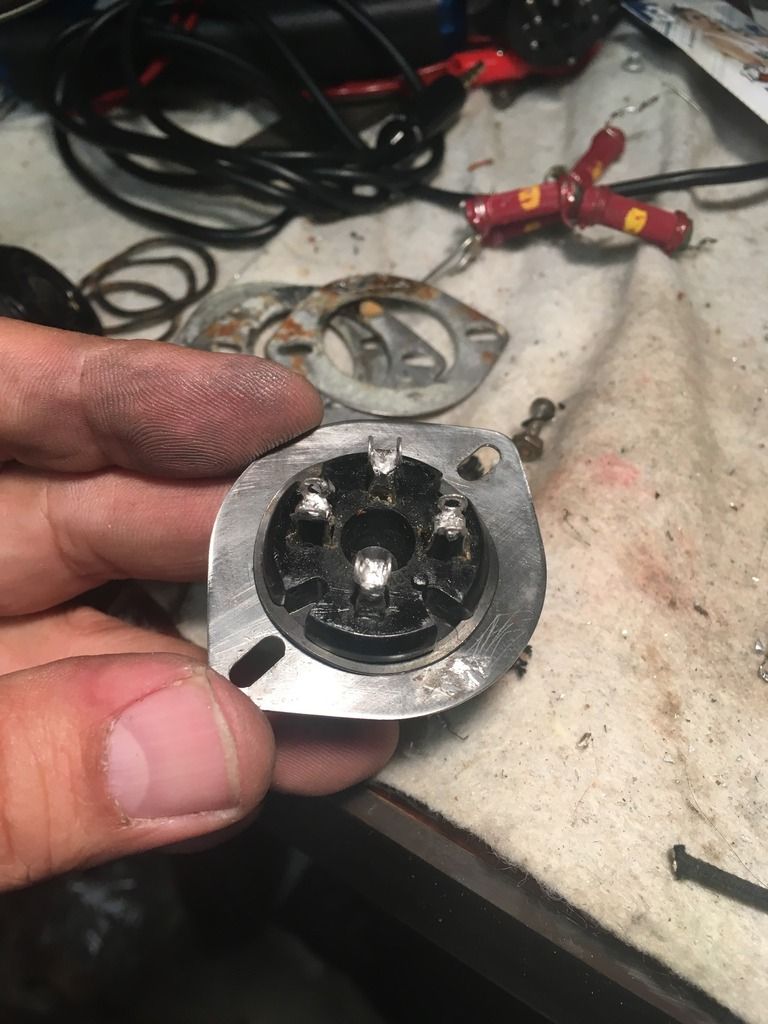
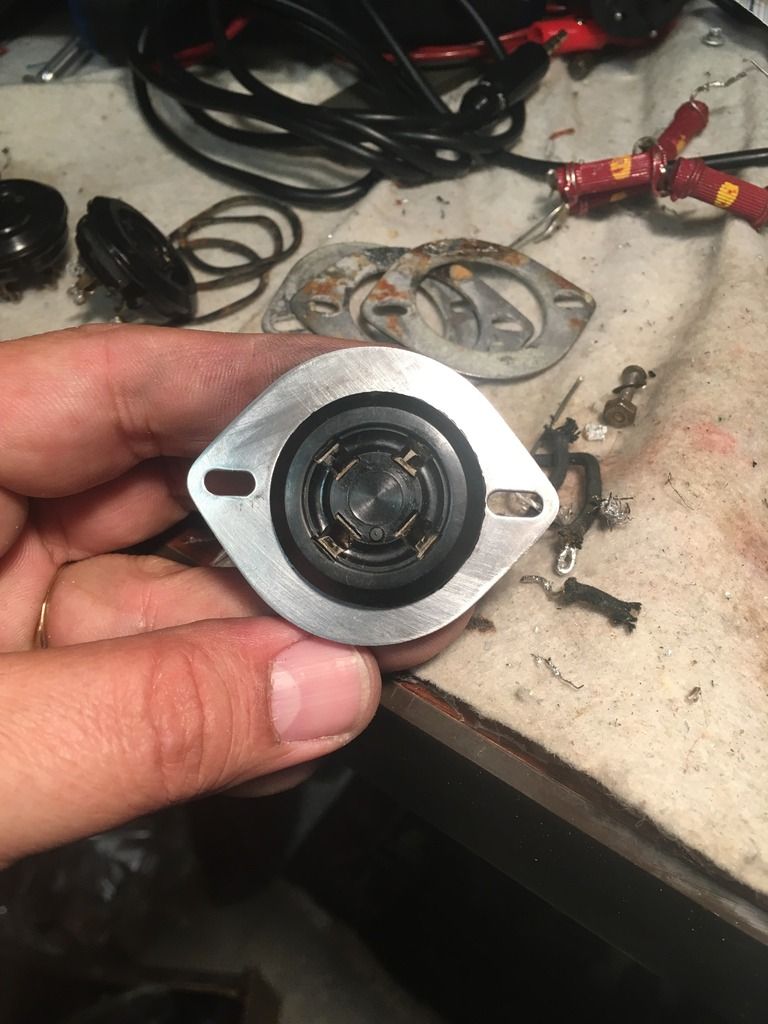
Then I cleaned and filed the corrosion off the pins, finding them to be brass underneath. Then I tightened them with some needle noses, cleaned/sanded the circular retaining springs and fastening rings, and then reassembled them. To finish, I ran a dead tube with De-Oxit in and out of them and checked the contact points. Good to go.
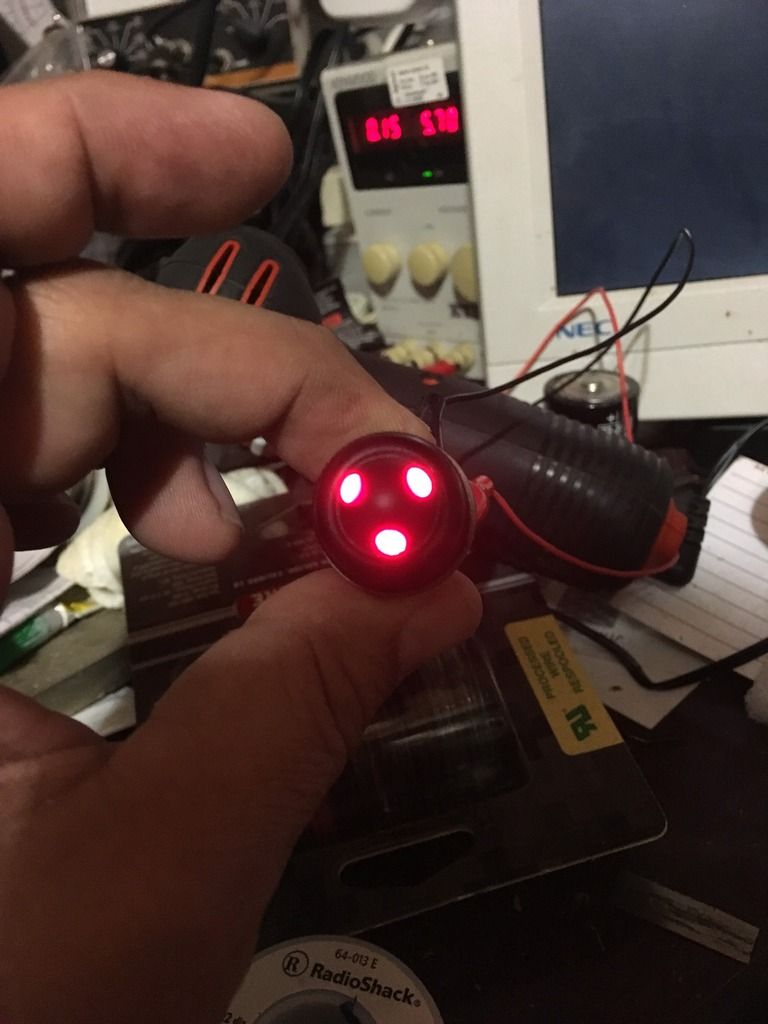
Next, out of the old parts inventory, I found a pilot light that not only was black to match the future amp color, but had a twist ring on it that modulated the amount of light coming through. I was told that this type of light was common on WWII bombers such as B-29s to reduce the chance of being spotted by the enemy. Cool!

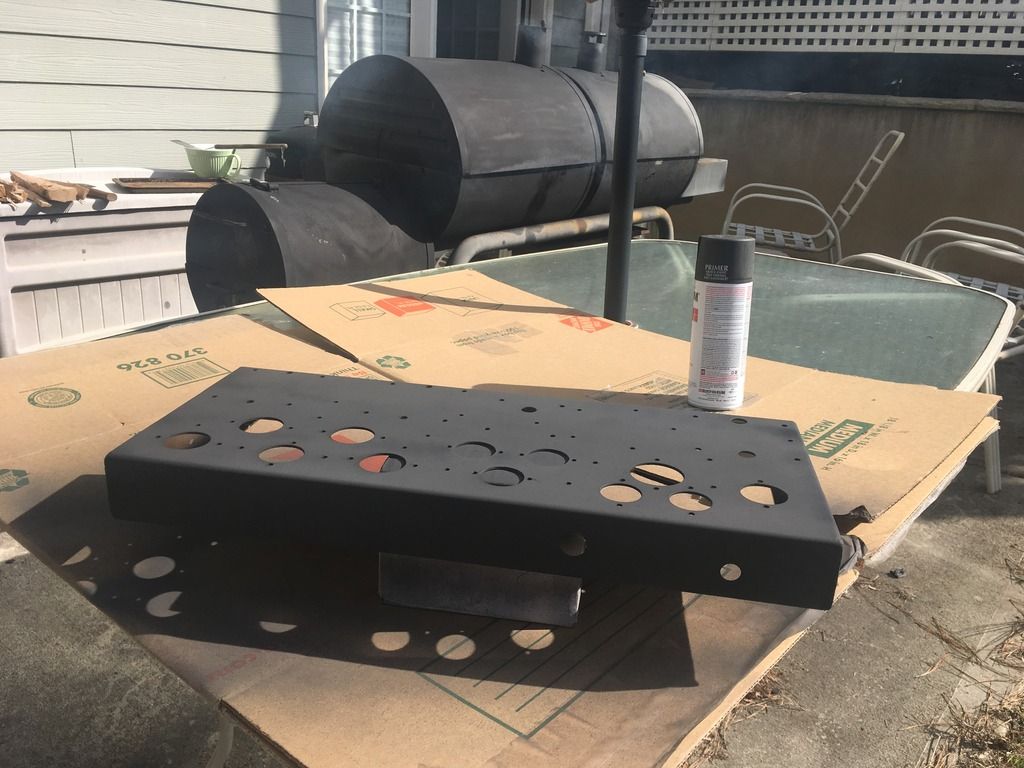
Here's the proposed layout over at Dennis Had's shop. Tony, his set up man does my metal work for me in exchange for tubes, so I don't have to do the part of this I like the least. (and that I am the worst at) He'll drill all the holes and get the chassis ready for me to JB Weld the corners, sand, prime and paint. He also paints up all the passive components and iron for me.
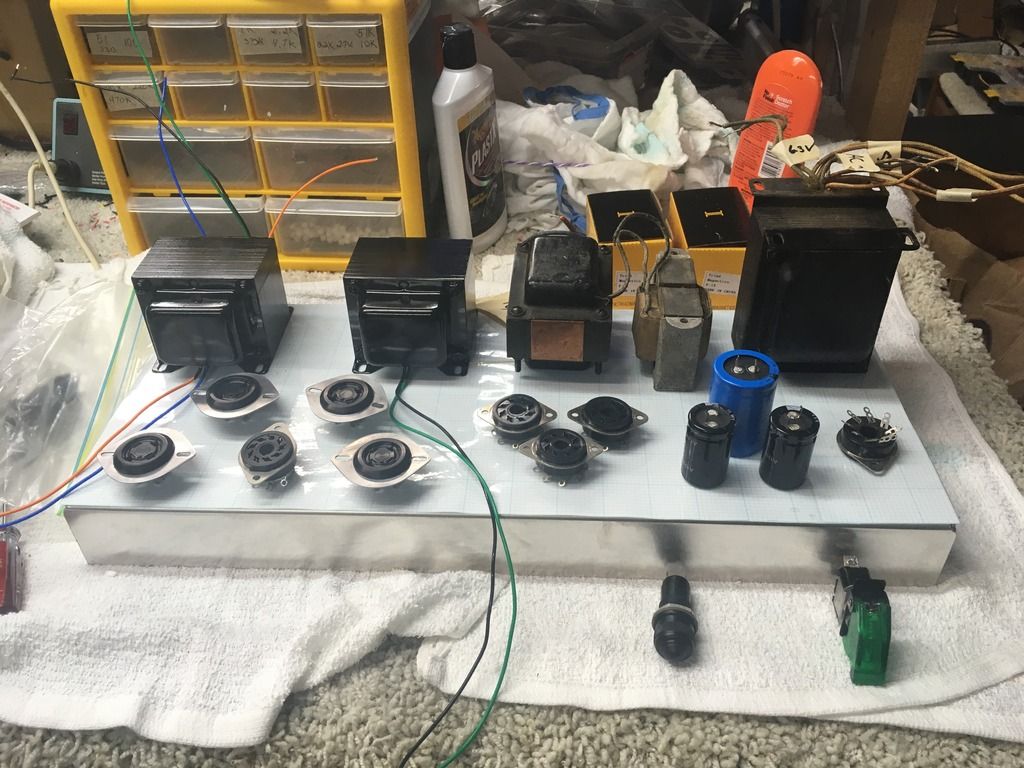
All the parts are NOS/recycled except for the caps, OPTs and missile switch cover. Aside from any other consideration, I save considerable scratch using these old parts.
So this amp uses 2 inductive and two resistive filtering stages to drop the ripple on the last stage feeding the driver tube to about 500 nanovolts. That stage will be further voltage regulated using two 0A3s and one 0C3 to 255 volts. The four 45s will be driven by a 6SN7. I won't be using Dennis' new Infinite Impedance Power Supply mod, since that only really shines with beam power tetrodes and not with triodes.
So while I wait for the chassis to come back, I'll round up the rest of the passive components and order any stray pieces I need. Stay tuned.....
One of my things is using as many old parts to build new amps. For example, these 4 pin sockets. They came out of an extremely old amplifier carcass of some type that had to have been from the 1930's This thought was confirmed when I looked up the manufacturer, American Phenolic of Chicago. They still exist today as Amphenol, and started off in 1932 with their first product, surprise surprise, a tube socket. I love the idea of using 80+ year old parts, especially since their innate quality is likely superior to today's new production.
Here I am rehabbing the sockets. First I had to disassemble the sockets and strip off all the old remaining wires and components.

Then I cleaned and filed the corrosion off the pins, finding them to be brass underneath. Then I tightened them with some needle noses, cleaned/sanded the circular retaining springs and fastening rings, and then reassembled them. To finish, I ran a dead tube with De-Oxit in and out of them and checked the contact points. Good to go.


Next, out of the old parts inventory, I found a pilot light that not only was black to match the future amp color, but had a twist ring on it that modulated the amount of light coming through. I was told that this type of light was common on WWII bombers such as B-29s to reduce the chance of being spotted by the enemy. Cool!


Here's the proposed layout over at Dennis Had's shop. Tony, his set up man does my metal work for me in exchange for tubes, so I don't have to do the part of this I like the least. (and that I am the worst at) He'll drill all the holes and get the chassis ready for me to JB Weld the corners, sand, prime and paint. He also paints up all the passive components and iron for me.

All the parts are NOS/recycled except for the caps, OPTs and missile switch cover. Aside from any other consideration, I save considerable scratch using these old parts.
So this amp uses 2 inductive and two resistive filtering stages to drop the ripple on the last stage feeding the driver tube to about 500 nanovolts. That stage will be further voltage regulated using two 0A3s and one 0C3 to 255 volts. The four 45s will be driven by a 6SN7. I won't be using Dennis' new Infinite Impedance Power Supply mod, since that only really shines with beam power tetrodes and not with triodes.
So while I wait for the chassis to come back, I'll round up the rest of the passive components and order any stray pieces I need. Stay tuned.....


")