Restoring a "mighty" AU X1 / output transistor replacements

Harolda

Well-Known Member
After finishing my second TA-N7B i want to start on restoration works on my AU X1.
The unit has been serviced by a so called specialist on vintage HIFI in Germany "Good Old Hifi" about two years ago, but i do not want you to show the work he did. After i received the unit back it did work for some time, but it after a few weeks it quickly went into protection when using the AUX and TUNER input or i had a large amount of hum.
Then i did not use it for a long time and wondered what to do with it. Now i decided it is time to get the unit to the best condition possible.

This week i took out all the phono boards and the hum and instability is gone. I listened to it for some time and it seems to be Ok. I decided to check the unit further. What i found noticed thus far:
1) Almost all black flags have been removed, except for the ones on the left power amp board (F-2775).:(
2) Only 2 electric capacitors have been replaced, but i would like to do a complete recap
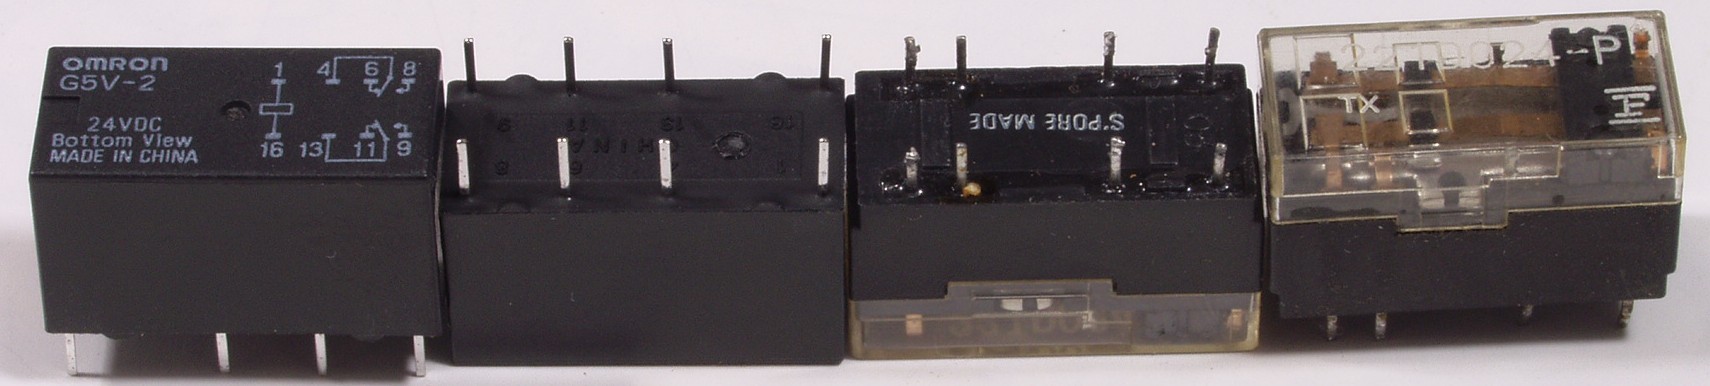
3) Relays were all replaced, also the small ones on the Phono master PCB
4) No new trim pots
5) two resistors replaced
6) The Phono master PCB seems to be of the old type, but i noticed that some PCB tracks have been cut by the repair shop. :thumbsdown:
7) One of the power resistors of the left power amp was not even connected to one of the transistors
8) The biggest surprise was that the original 2SA1068N and 2SC2493N have been replaced by 2SA1117 and 2SC2608 on both channels. But that could be from an older service job.

Finding the original replacements is nearly impossible as you all know, but i can get the 2SA1068 units, but not the N types. I did not yet find a source for the 2SC2493(N) units.

I read some threads on replacements for the high speeds Sanken's and it seems that there are only suitable replacements from STM are 2ST2121 and 2ST5949 both 25Mhz. Has anyone experience with using these as replacements? Or should i stay with the 2SA1117/2SC2608 units which are 20Mhz.

regards,
 
Sounds like a relay issue to me...but you said he replaced them.

I imagine he used Omon G5V-2? (image from http://amp8.com/sansui/x-xx/x1/jpeg/x1-5-15.jpg)
x1-5-15.jpg


I'm guessing the traces on the phono board were cut to accommodate the new relays as the pin layout is slightly different.
Instead of tearing up a board to make new relays work I just change the pin orientation of the new relays instead. This solution has worked perfectly for my X1.

The first version of the phono board is kind of...confidence challenging.

I am currently running my X1 on 2ST2121 and 2ST5949 with no problems. I did this to keep safe the even rarer original outputs, which will be reinstalled after a professional tech checks my work and stress tests the machine.

2ST2121 and 2ST5949 are no longer produced BTW.
The TO-3 versions are hard to find. An alternate package is available but stocks from the more popular sources are running low.
 
Last edited:
BTW Littlediode.com seems to have a source for Sanken 2SA1068 and 2SC2493. I asked about the source and how i can be sure that the parts are original.
They are not cheap, a complete set would set you back approx. 400 Euro !!!!
 
some pictures

First the beauty. Hey what is that in the background, and i don't mean the xmas tree ;)

Sansui_au-x1.JPG

Then the ugly:

resistor not connected to transistors (2nd from the top)

2015-10-17 20.15.38.jpg
The 2SC2608 and 2SA11117 in the unit:
2015-10-17 21.18.07.jpg
 

Attachments

  • Sansui_au-x1.JPG
    Sansui_au-x1.JPG
    53.7 KB · Views: 11
BTW Littlediode.com seems to have a source for Sanken 2SA1068 and 2SC2493. I asked about the source and how i can be sure that the parts are original.
They are not cheap, a complete set would set you back approx. 400 Euro !!!!

How many a set?
 
How many a set?

The complete set contains 6x2SA1068N and 6x2SC2493, so all output transistors for both channels. I have my doubt about the originality.
They state that the source is Far East. Is that Japan or China????
The maybe can get them in Europe but then they are more expensive.
Maybe i order one to check
 
Here you can see the flat amp board, almost cleaned. Electrolytics, VD2121 diodes, film caps (to be checked) and some transistors removed.
The connectors pins have been cleaned using a bit of polish.
I will have to check the resistors, some are corroded by the glue for the caps.
2015-10-20 20.39.59.jpg
2015-10-20 20.39.59.jpgRear of the board, all solder flux removed and cleaned. Ready for reflow of all connections.
2015-10-20 20.51.08.jpg 2015-10-20 20.39.59.jpgHere you see the removed transistors. They are pairs of D357/B257. I want to be sure and replace those. I noticed that one D357 has been replaced by a D1138. What are the best replacements for those?
2015-10-20 20.03.35.jpg
Caps and trimmers have been ordered for all boards. All Nichicon FG or KG. VD2121 will be replaced by 2x1N4848 in series. Styroflex will be replaced by Vishay mkp1831 or similar.
 
In the meantime i have found and ordered 2 sets of NOS 2SA1068N and 2SC2493. 4 pieces of NOS 2SA1068N, remains to find 4x2SC2493.

regards
 
Working on the F-2775 power amp boards now:

- The electrolytics and polystyrene caps have been removed, evenso all resistors, 2SA992 and 2SC1845 transistors, VD2121 diodes and trimpots
One board (right) has already received new electrolytic and a replacement for the VD2121 and new trimpots. The other board (left) is still being cleaned:
2015-11-03 19.42.46.jpg
- All other transistors have to be checked and replaced if required.
- I measured all resistors on the boards and checked the (zener) diodes. Some resistors have to be replaced because their value is way off.
- I noticed some 12Ohm resistors in the service manual (R43, R44) which seem to be straight wires in my unit. Should these be replaced (see photo)?2015-11-03 19.44.40.jpg
- On one board 2 SV03's (D01 & D02) were replaced by black things (see foto top left corner). Does anybody know these? They measure 1.51V in the diode test. The original (brown boats) measure approx 1.8V. Can i use a better replacement, i am thinking of putting 3x1N4848 in series, that should give me 1.8V.
2015-11-03 19.44.33.jpg
On of the boards also needs a lot of attention to the traces.
 
I think those diodes pictured are stv-4h diodes or stv 3h those are quite rare but i found some on the bay
 
Why replace? If they measure good and the leads aren't broken, leave them be.

Three 1N4148's will not work well, depending on why Sansui is using the STV diodes.

http://www.audiokarma.org/forums/index.php?threads/replacing-the-stv-3h-and-4h-diodes.279530/

Also, it is certainly possible to use a TO-3P device to replace the original TO-3.

http://www.diyaudio.com.hr/viewtopic.php?p=15715&sid=09ea4d2b914058782700180235e21129#p15715

Note that the base and emitter legs were replaced with round pins of the proper diameter. A lot of work, but if the amp is important to you...

thanks for the support guys. I will only replace what needs to be replace but i wanted to check the diodes which have been replaced by someone else to be sure i know what i have in the amp.
I also know about the TO3P alternative, but that is my last option.
I want to bring the amp up to the best condition possible and take my time for this. I am even thinking about having new PCB's made for the F-2775 power boards, because a lot of traces are damaged on one board.

I have started to design the PCB to get a quote, this is the status of the design now:

upload_2015-11-5_14-53-47.png

Steps:
- measure all positions and keep same layout as original
- check and double check
- optimize the board
- optimize the component text
- check again, print on transparant paper end check with actual board
- order boards.

Because this is a 2 layer board, i can replace the wire traces by traces on the other side of the board. I will have to check if this is feasible. I have ordered PCB's before from PCB express and the quality is very good, but not cheap.

i will keep you posted on the progress.
 
Remember regarding 'component' (R43, R44) replacement, your amp worked once upon a time, so if it looks original (they do) - leave it alone, no need to worry about such things.

I know from your account, that your amp has some 'history' but you should be able to notice where someone has 'been' by comparing with clearly untouched areas. This should give you the insight to know if things are original or not.
 
I can confirm that the shielded jumpers R43 and R44 are a factory installed. Leave them as they are.

The SM we all use is for the earliest version of the X1.

I got a second, older for me, X1 for parts. (Mine is from 1981 and the donor from 1979)
And in my hand now I'm looking at the very same driver board from the donor and it is the same yours. Which is the same in my unit from 1981.

Leave those alone.

Replace only only like for like as you see it on the board as needed.

Look at R36 and R37 instead. Those get a real beating in this amp (Kale once confirmed the same to me). My R36 and R37 literally fell apart when I touched them the first time.

Upgrading the wattage of those resistors (or all?) might be the way forward...but confirm with those who know here on AK.
 
Last edited:
work on the PCB design finished, have to check a few things before ordering. I already modified the PCB so i can put 2 or 3 diodes in series replacing the VD2121 or the SV03. But also the original SV03 can be placed. I also have to check wether i can put some thermal relief between the pads and the larger copper area's

Here are some pictures:

PCB layout from component side:
F2775_18112015.JPG

PCB 3D view, component side:
F2775_18112015_3D_front.JPG

PCB 3D view, copper side:
F2775_18112015_3D_bottom.JPG
 
The phono board F-2772 is one of the knottier challenges of the X1 due to the relays.
There are 6 of them on the 2nd version of the 2772 board, and the leg order and spacing of the modern replacements do not match the order and spacing of the old Fujitsu components.

Mr Amp8 solves the problem by drilling holes for the new relay's legs, cutting traces, and re-routing sections of the board.

I re-route the legs themselves to fit into the original placements.

Will you design a new 2772 phono board to accept modern versions of the small relays?
 
Last edited:
Back
Top Bottom