mfrench
Addicted Member
Hey,…. We're running out of water here in SoCal. That is, until it rains.
Sarge and I bought a house that on a nice small nice piece of land (1 acre).
Problem: The house is at the bottom of a hill that is most of an 11 acre property. There have been runoff issues for 40 years, which were inadequately addressed with such things as cinder block wall caps stacked on top of each other, with slotted metal shelf brackets as support posts.
So, over the pst two years, I've been doing a ton of trenching, lifting, stacking, and rock gathering / stonework.
I'm a rock gardner, and its what I do.
So, this is the tour of my project.
I'll start at the top, which is the current endeavor, and the uncompleted portion (it's really far advanced but still needs work).
In the following posts, I'll be going downstream, and documenting the lower dry creek channeling, and concrete work that I've been doing. The downstream stuff is finished, or much more near completion.
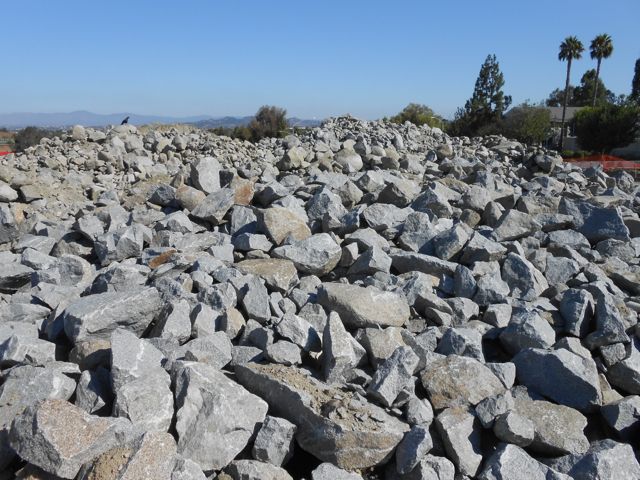
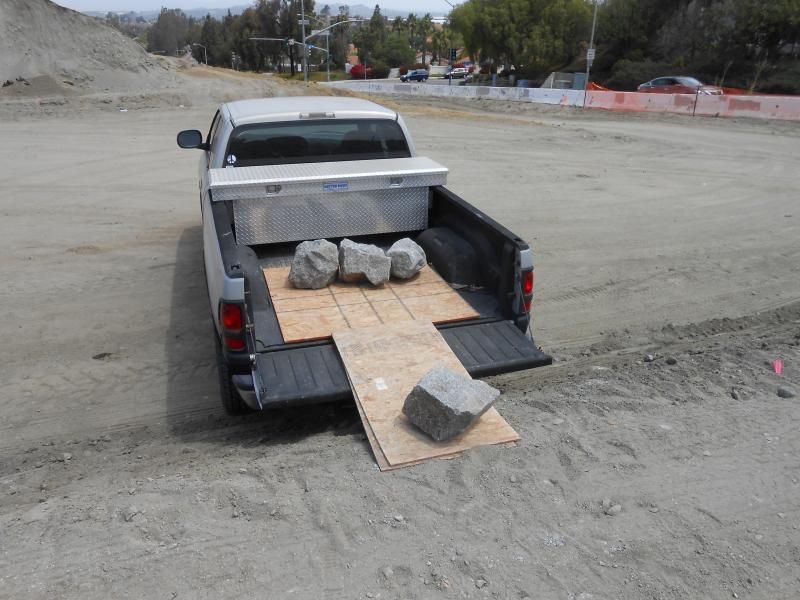
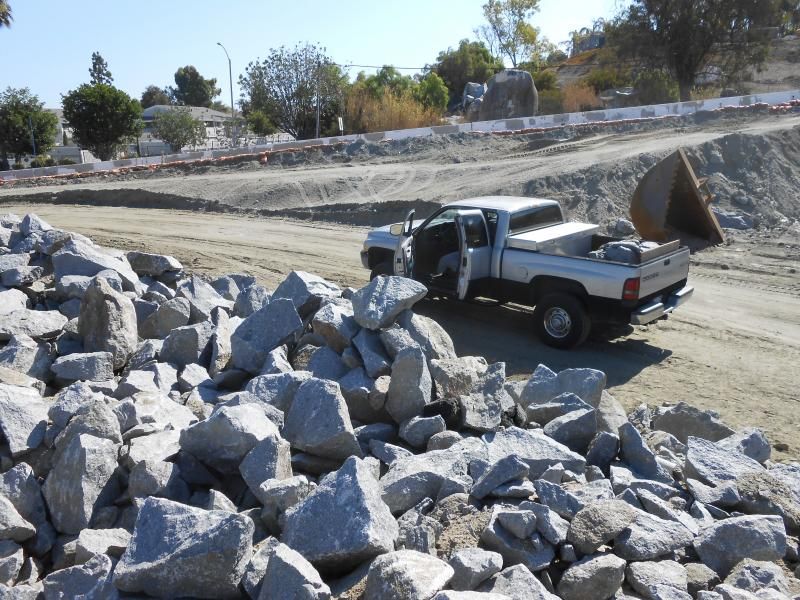
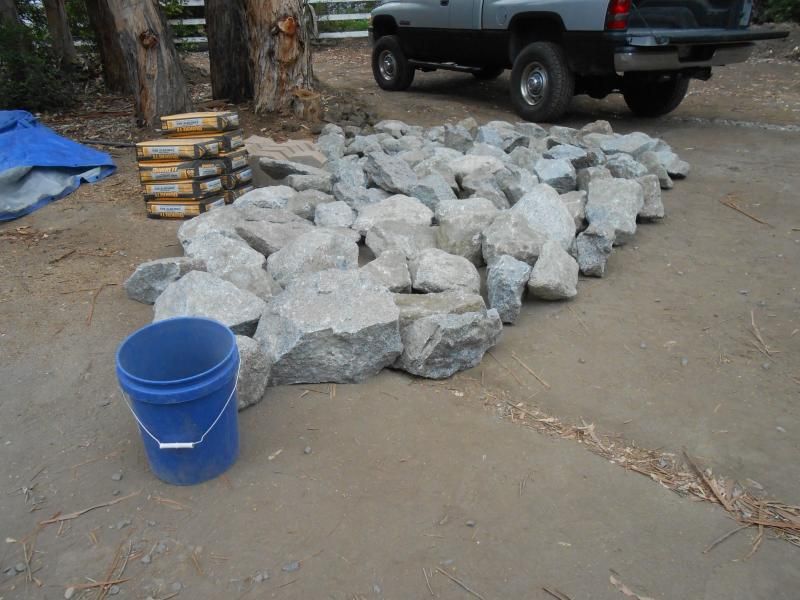
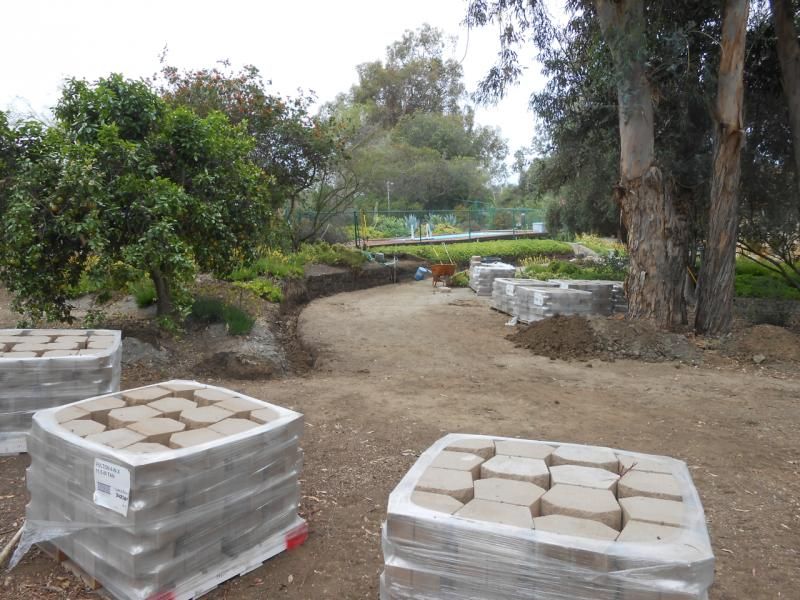
Right now, I'm gathering granite rocks from a new community development, where I've been given permission to gather as many rocks as I want, for as long as i want, until the job site closes in on the rock pile and hauls it off, or fills in over it. There is said o be a big day on or around October 20th, when the ground work crew is pulling off, and handing it over to the home building crews. I'm stockpiling rocks like a hoarder right now.
At any rate,…
The following is a transcription, in paraphrase, of a series of letters that I've been drafting and sending to the president of the ground work development firm, who granted me access to the rocks.
>>>>>>>>>>>>>>>>>>>>>><<<<<<<<<<<<<<<<<<<<<<<<<<
Hi Rxxx,
This is my runoff project, in the following links.
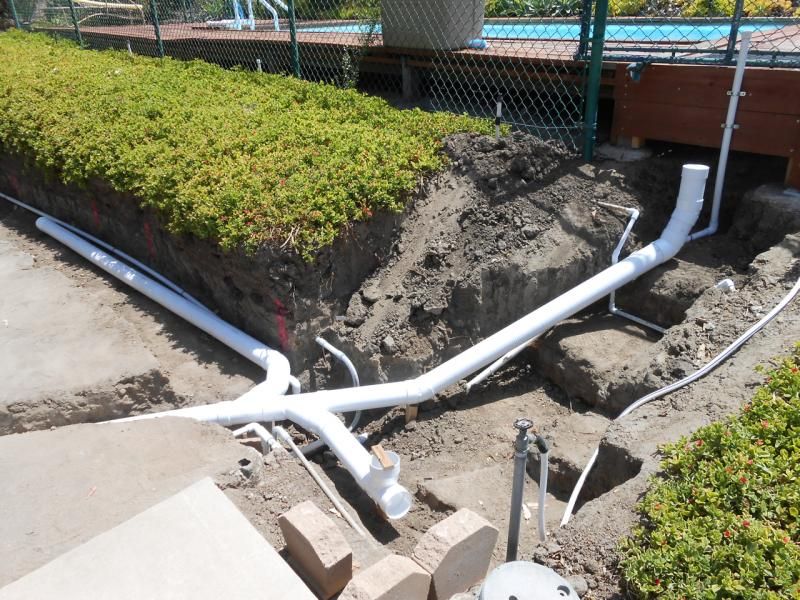
I'll start off with the hillside runoff coming down a road that the landowner above us had graded along the bottom of her hillside. The road acts as a collector for the runoff, rather than letting it dissipate naturally down the slope.
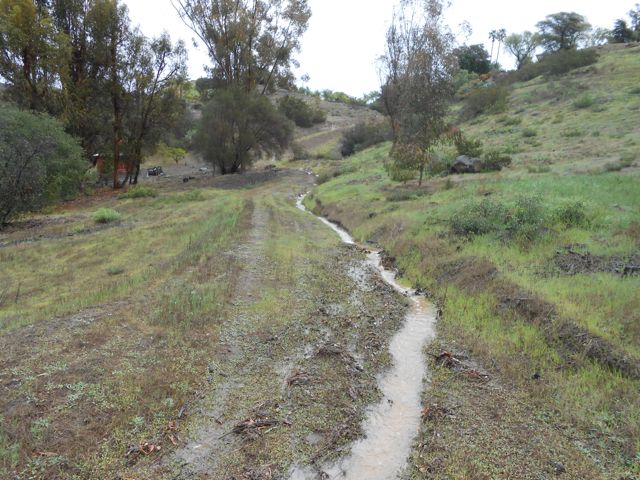
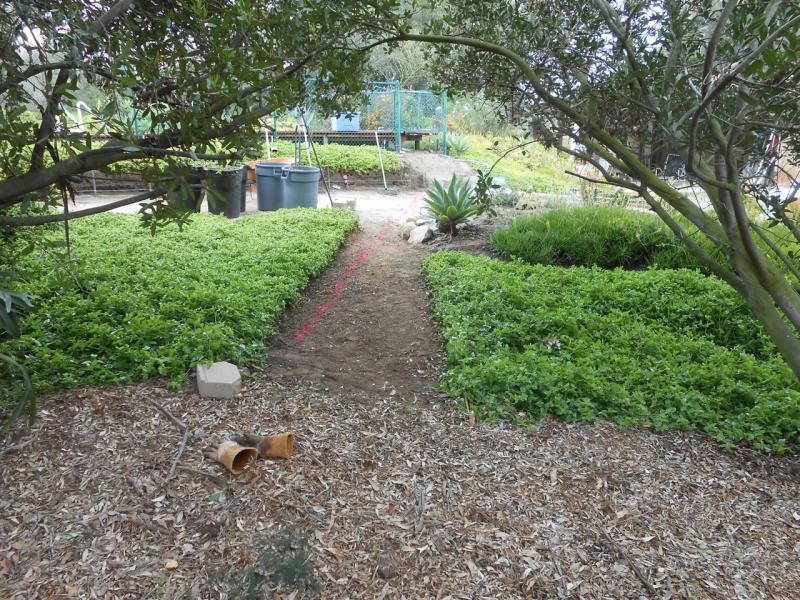
This is showing the runoff as it nears my property edge. You can see how easily it is diverted by debris, where the flow splits:
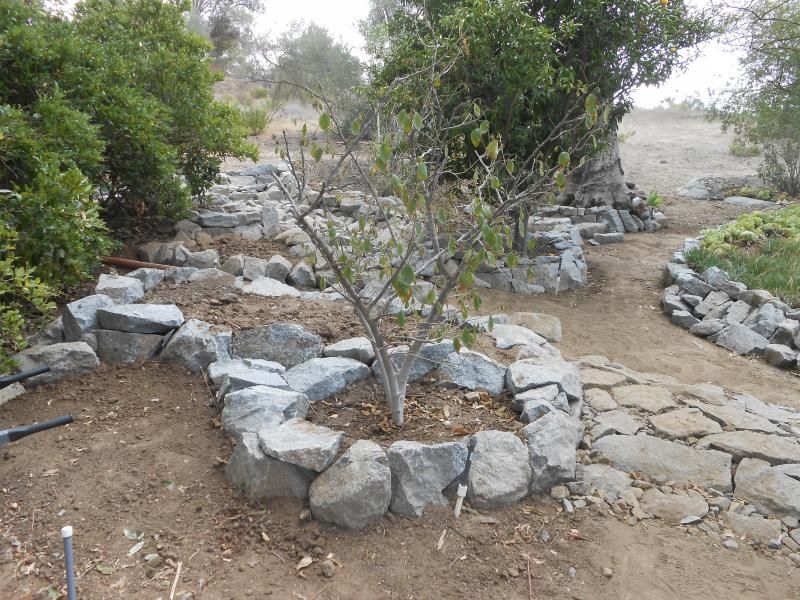
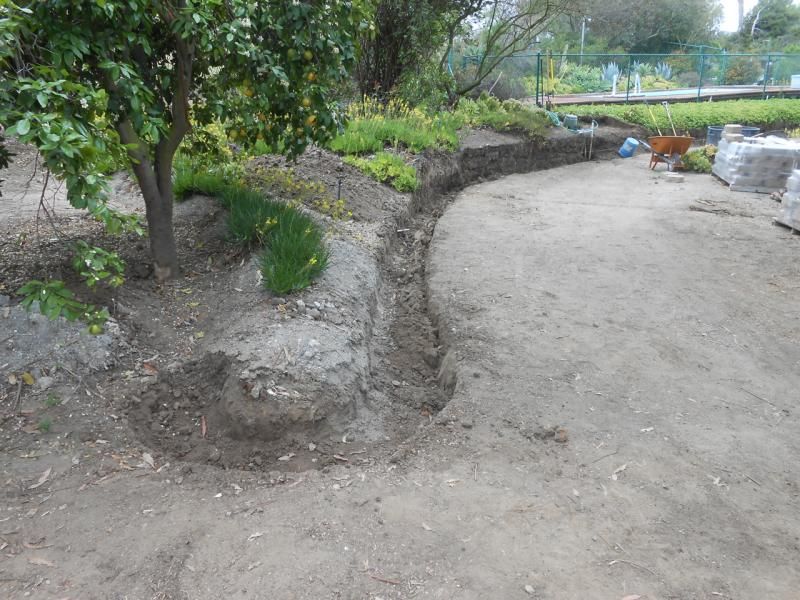
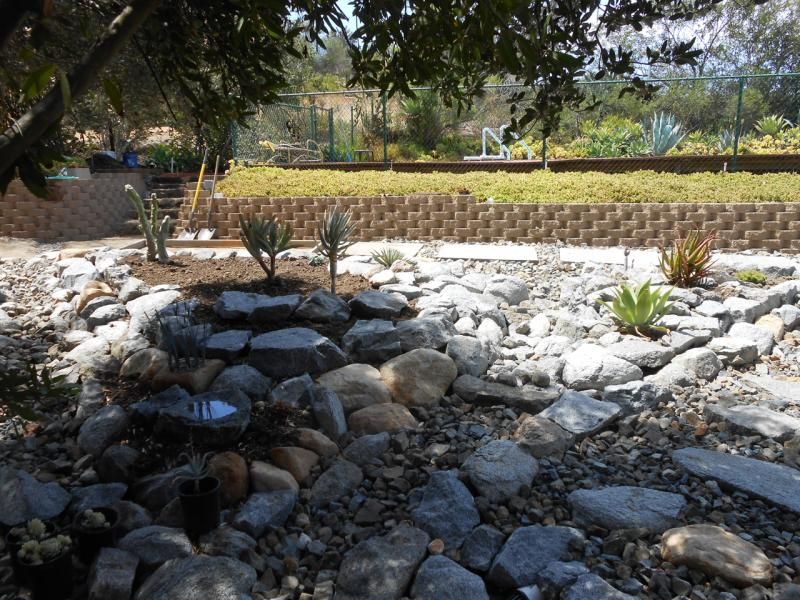
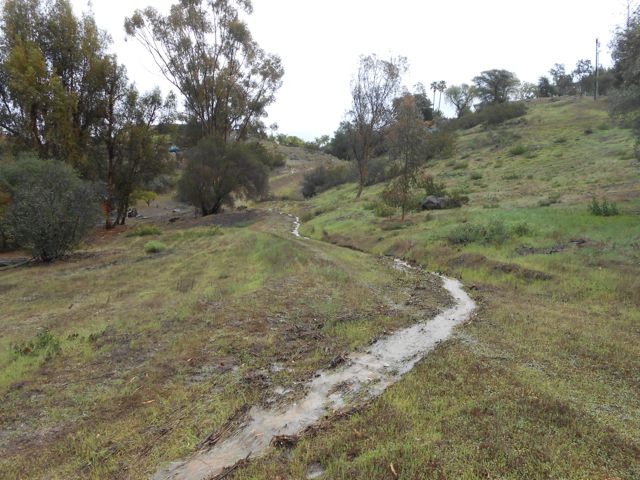
And the flow as it enters the rear of my property, prior to my recent stone work. Note the red concrete tree ring to see a difference in later images:
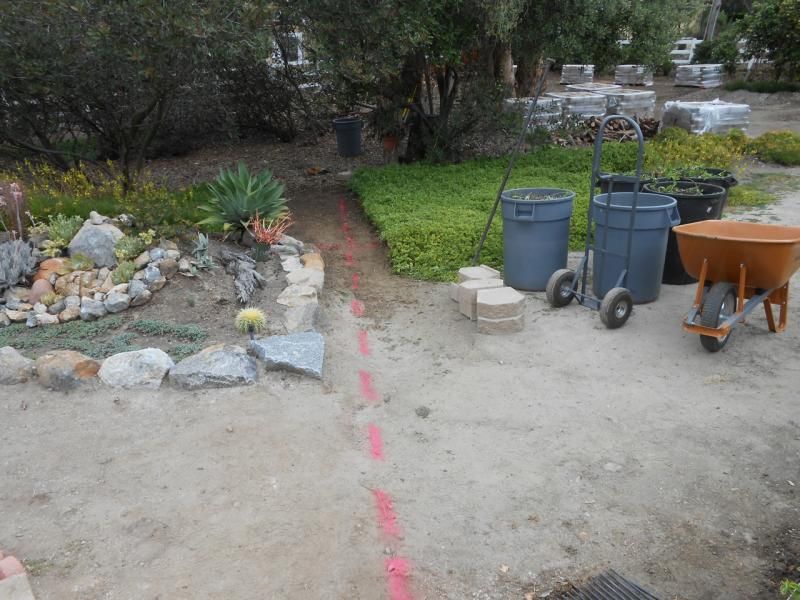
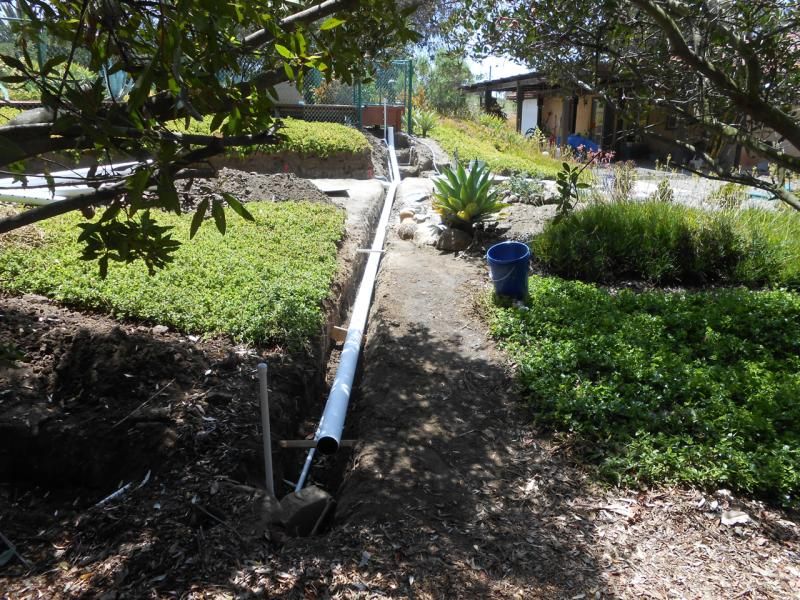
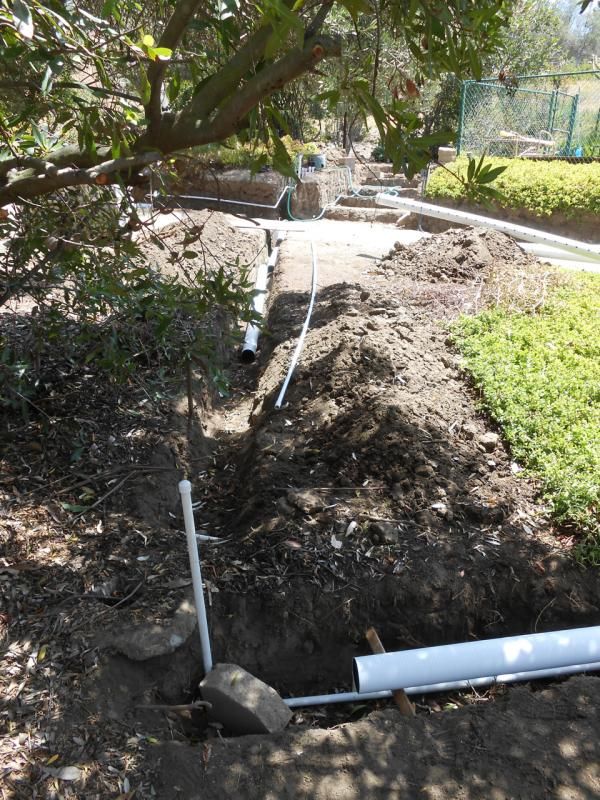
It eventually runs down the side of my property down an access road to the rear:
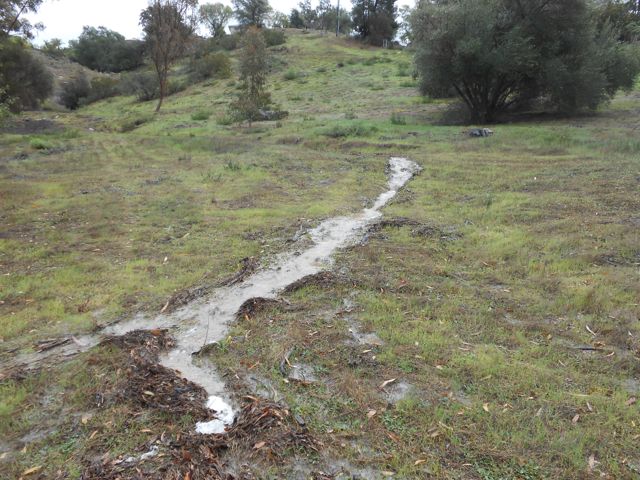
This is where it exits my property and enters my next door neighbors:
Now to the runoff/erosion control mitigation project
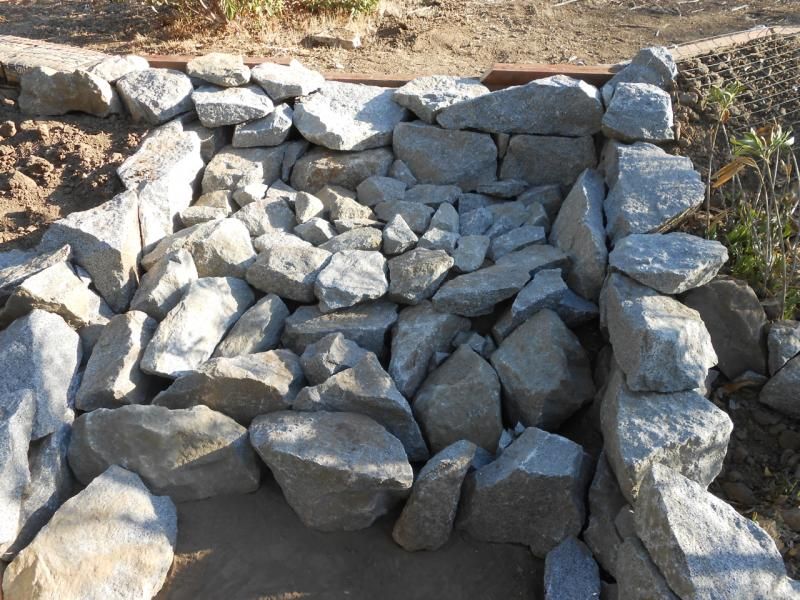
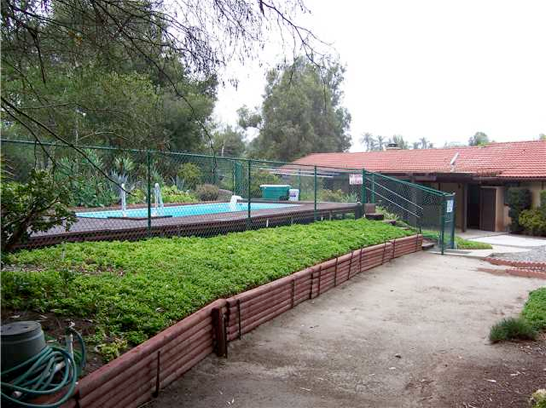
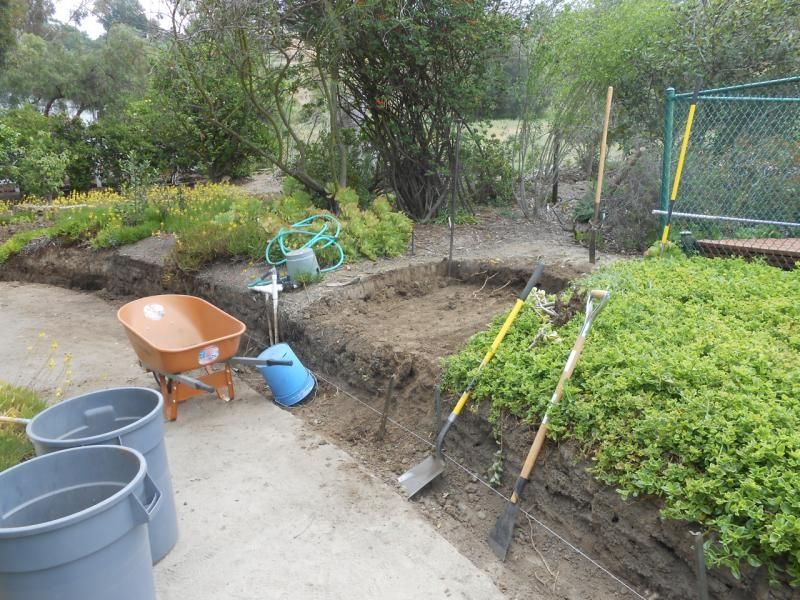
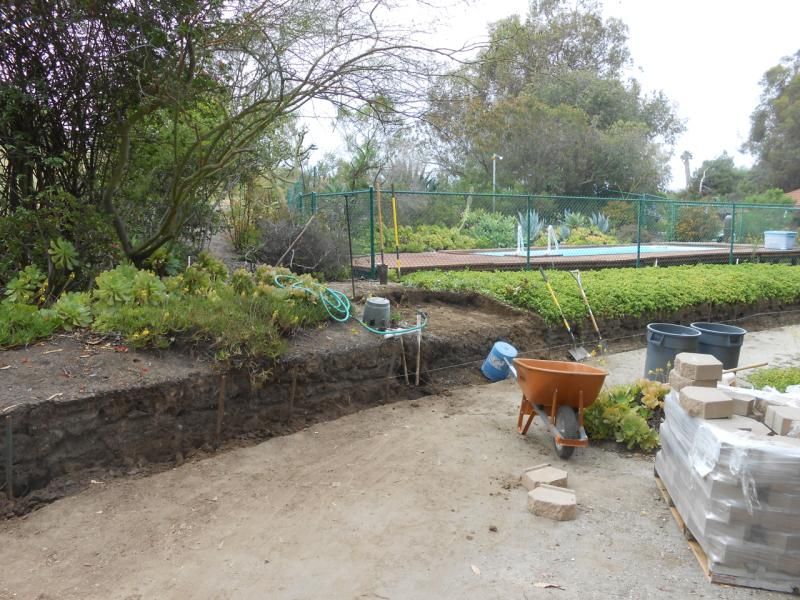
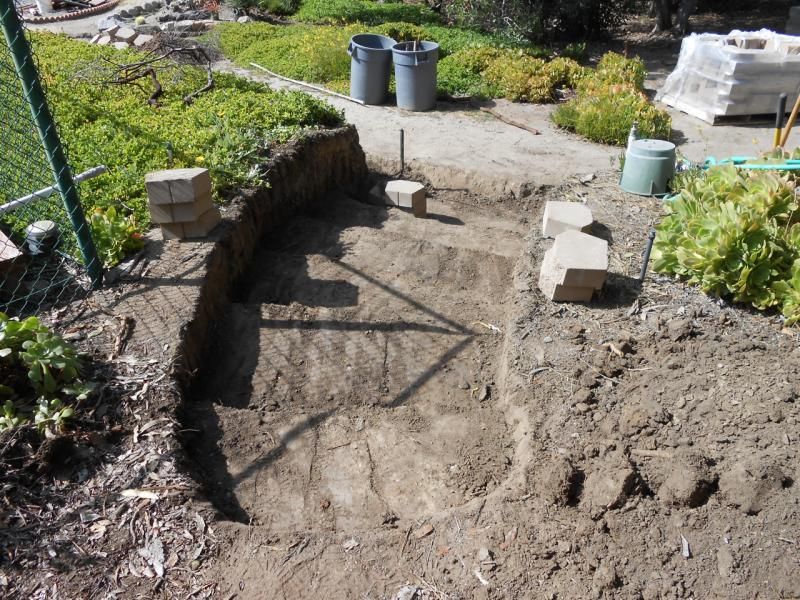
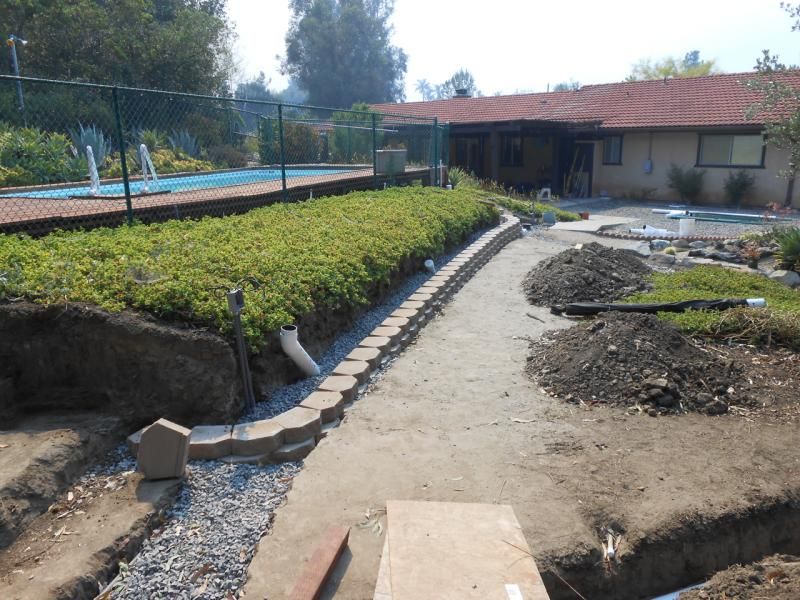
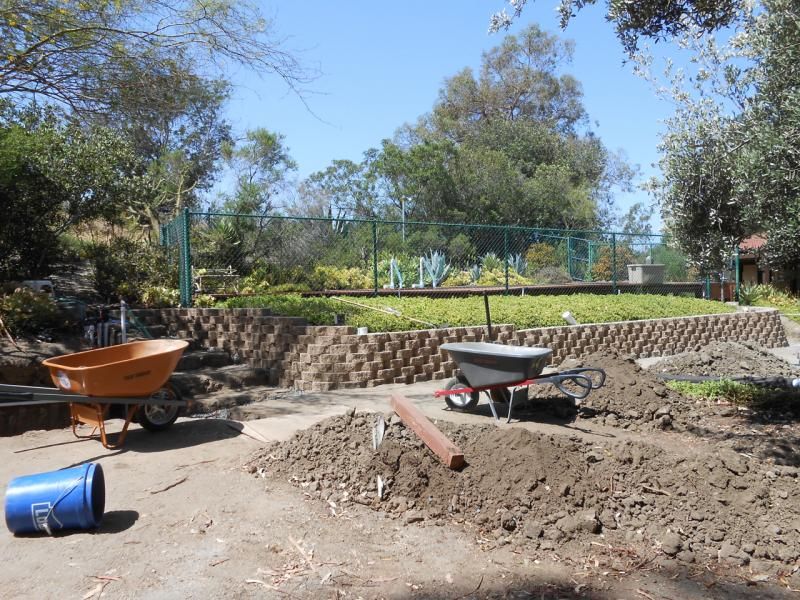
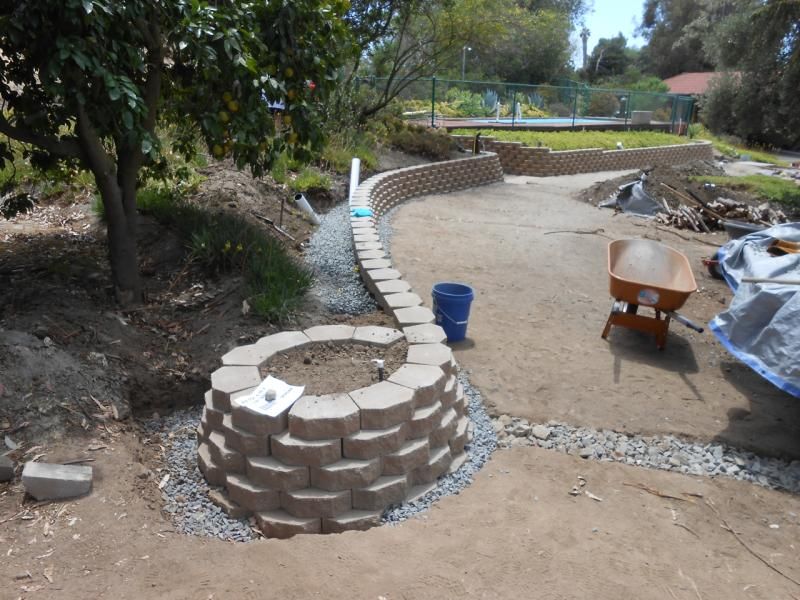
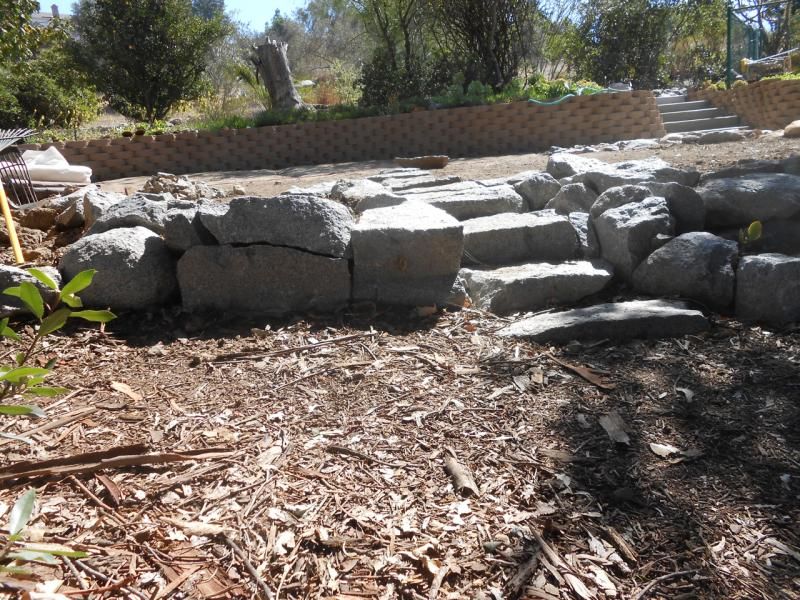
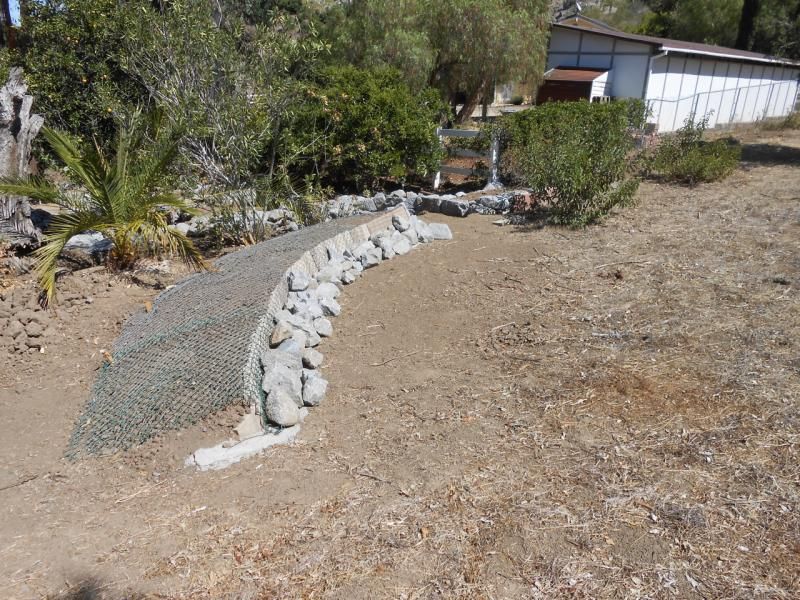
My new headwall collector berm:
In this image, ^^, you can see the faint outline of my house and swimming pool. The pool is the bluish tone, and the reddish tone above that is my roofline. I'm the first person since '78 to address this runoff and siltation issue. You can see that it takes dead aim at the house.
The collector berm was built because of how easily the flow splits from surface debris. It is literally a collector berm, and will also be used as a de-siltation basin.
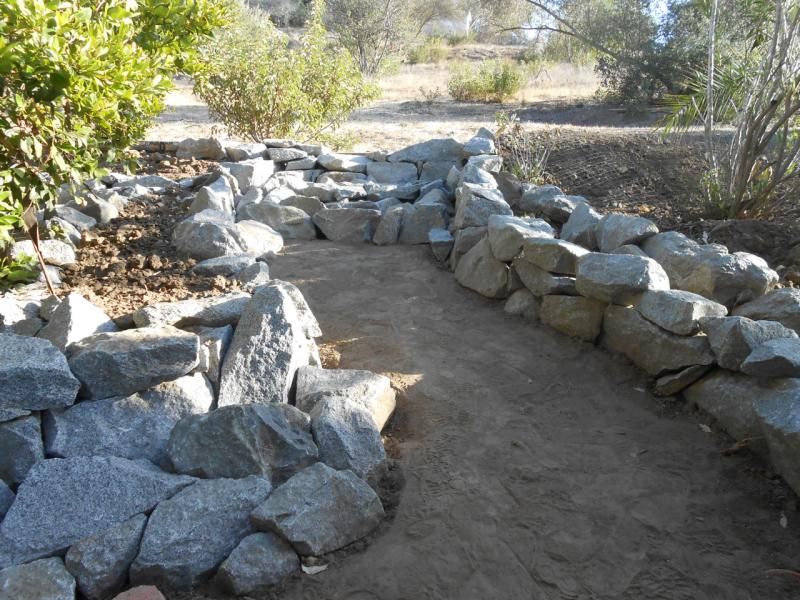
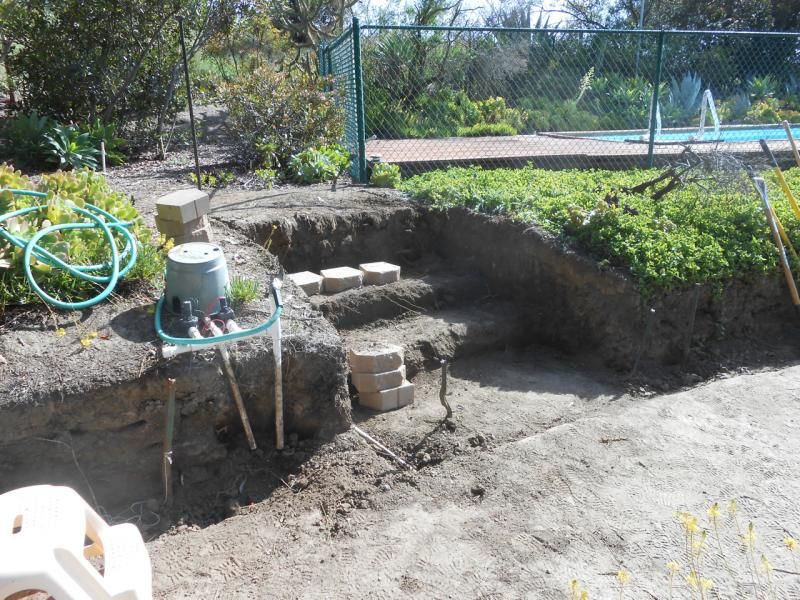
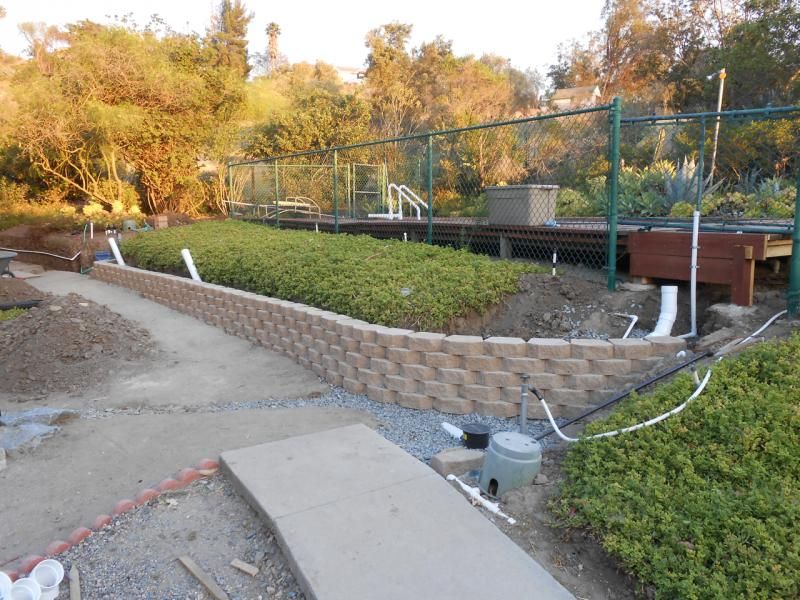
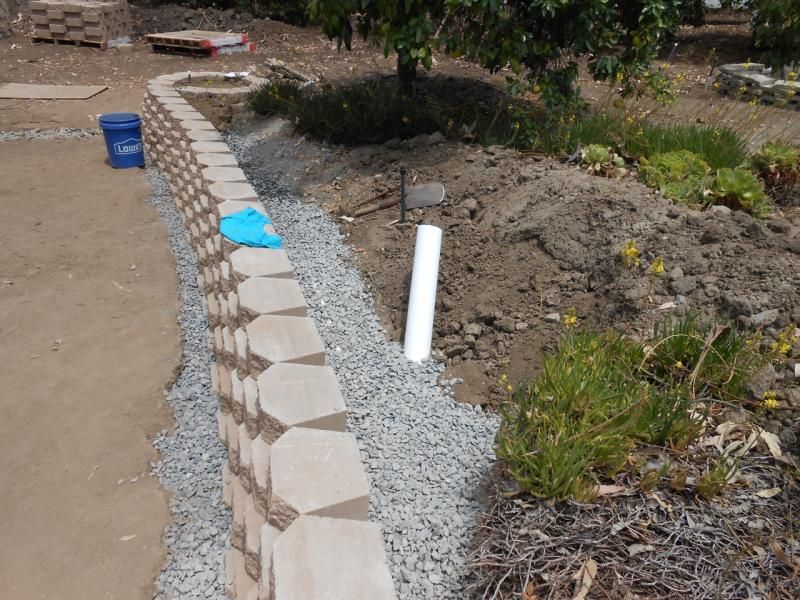
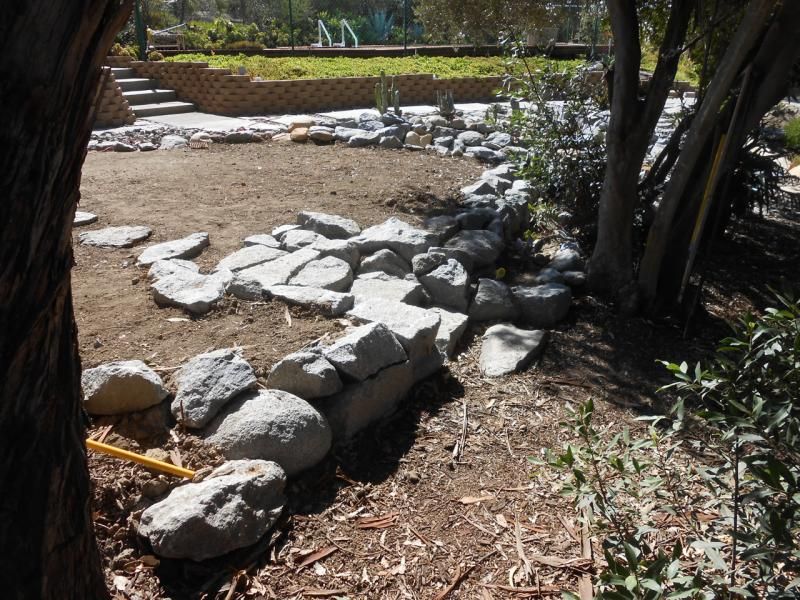
The left headwall berm is constructed of yards of soil, faced with 16" cinder block wall caps that are footed by a 4" deep x 6" wide concrete footer. The wall caps erosion face is held back and in place by chain link fence material that is draped over the face, and down the back of the berm, where it is held in place by steel stakes with rebar "T's" that spread the hold down force. Granite rocks from the Vista job site hold the chain link in place and act as a dissipator face on the berm.
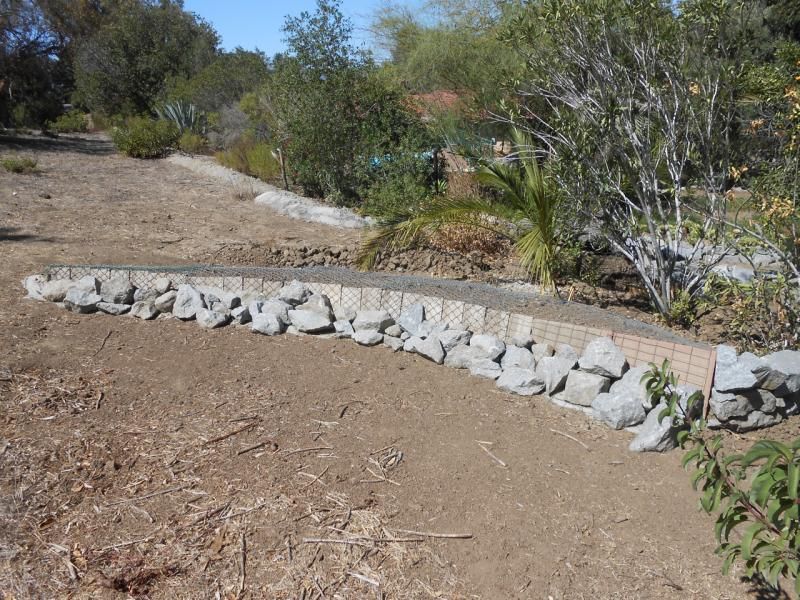
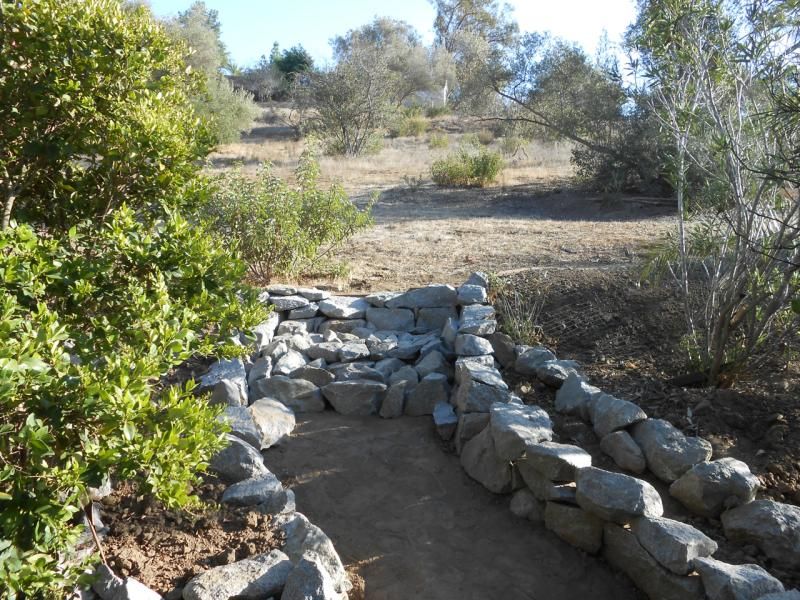
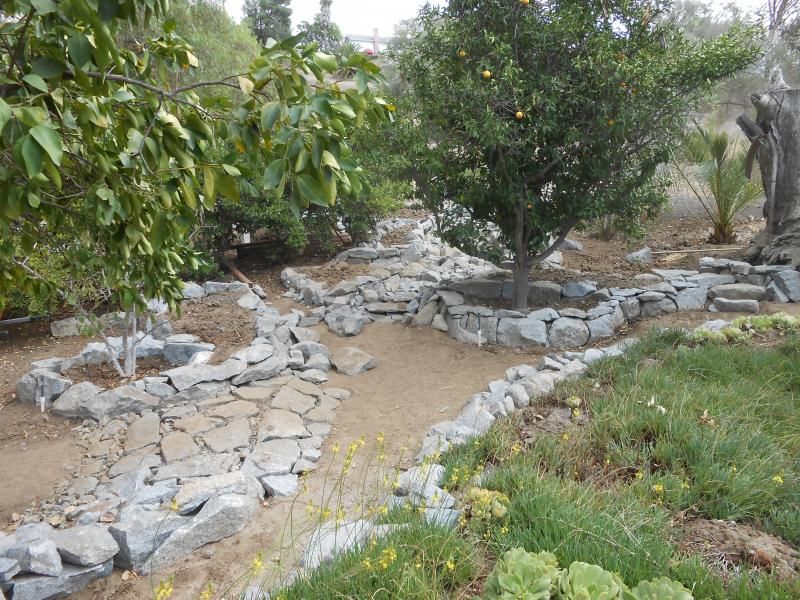
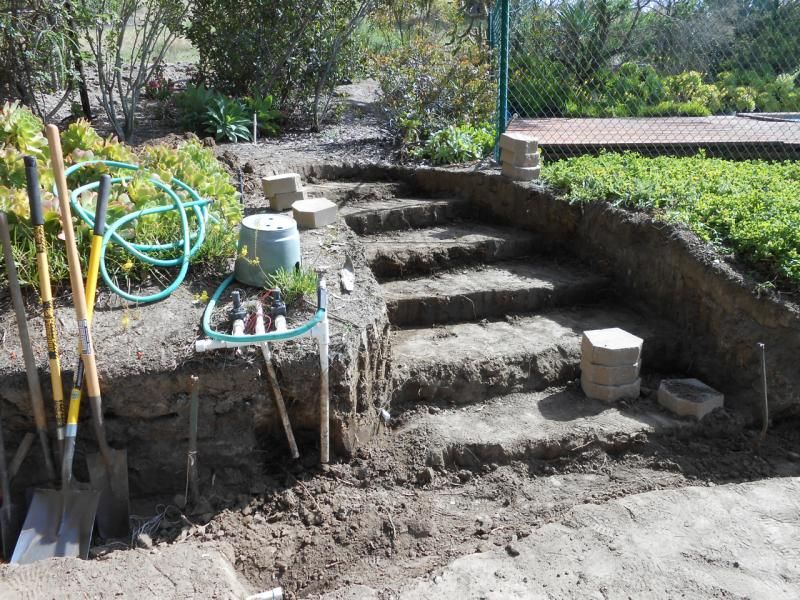
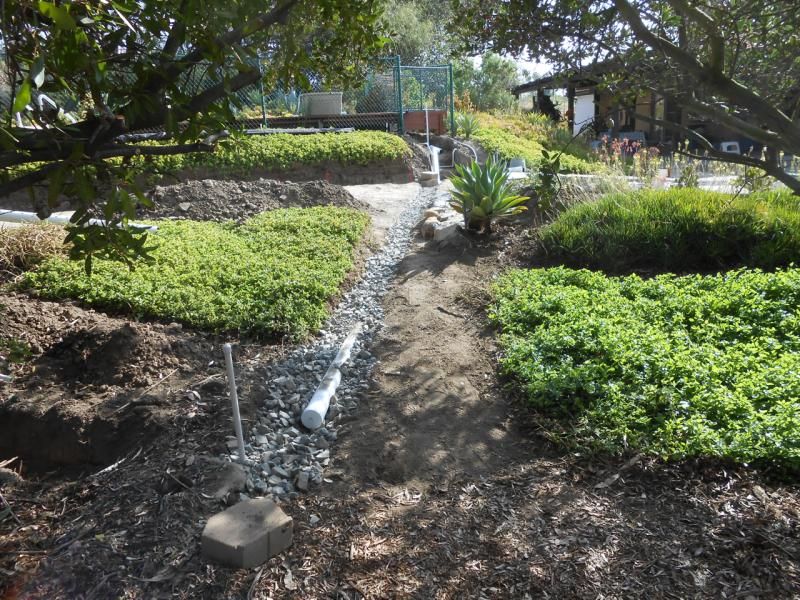
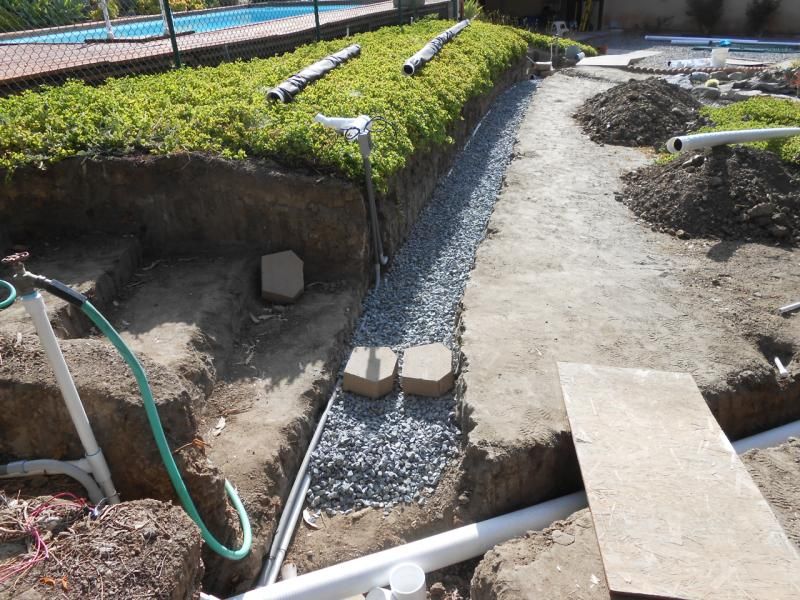
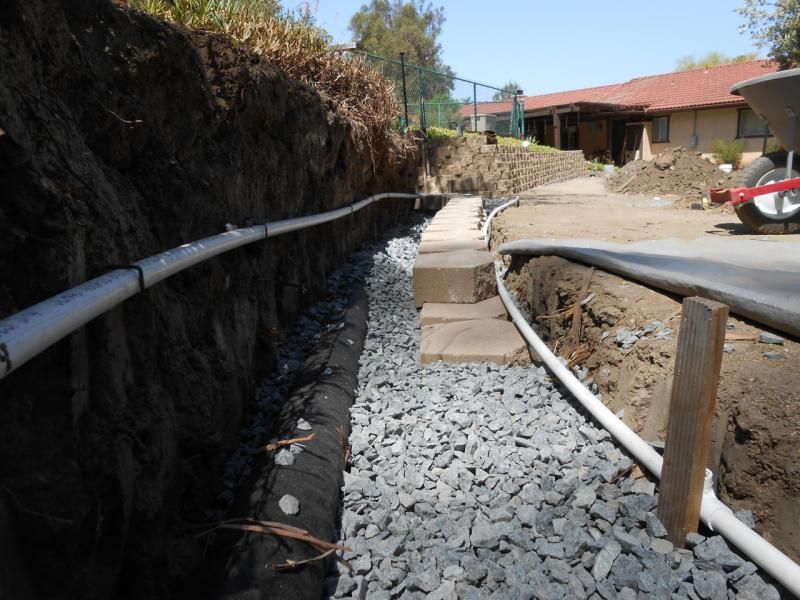
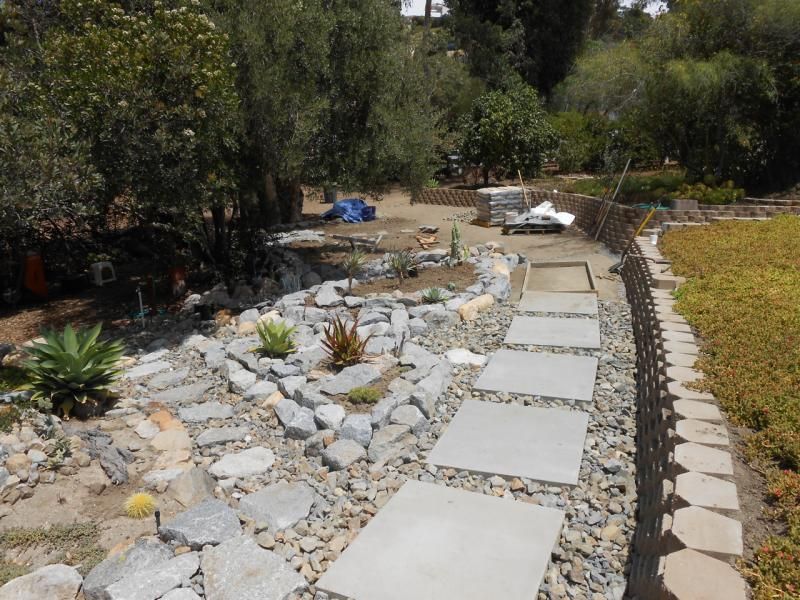
The right headwall berm is constructed of sacks of concrete with concrete lawn edging as a face. The concrete bags and edger face are held together with hardware chicken wire cloth in a DIY gabion cage. The berm is backed by more soil. You can also see the early formations of my dry creek drainage in the background.
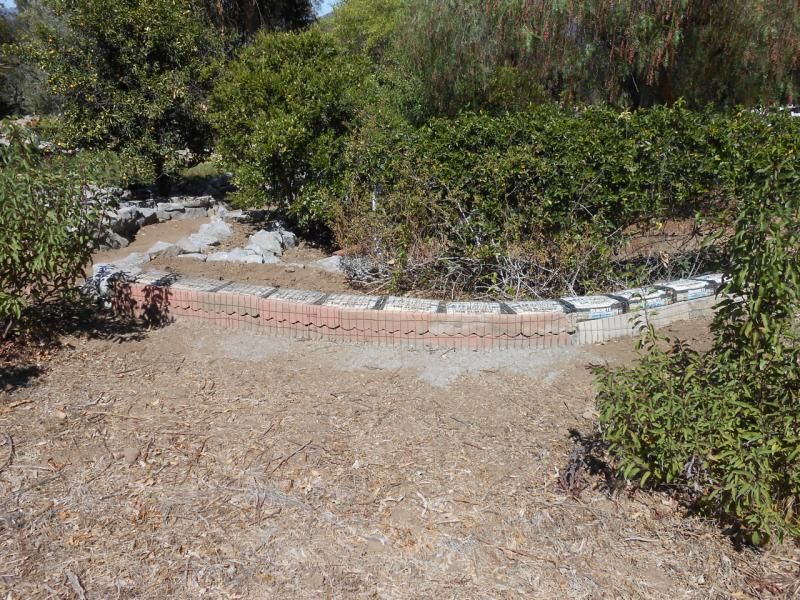
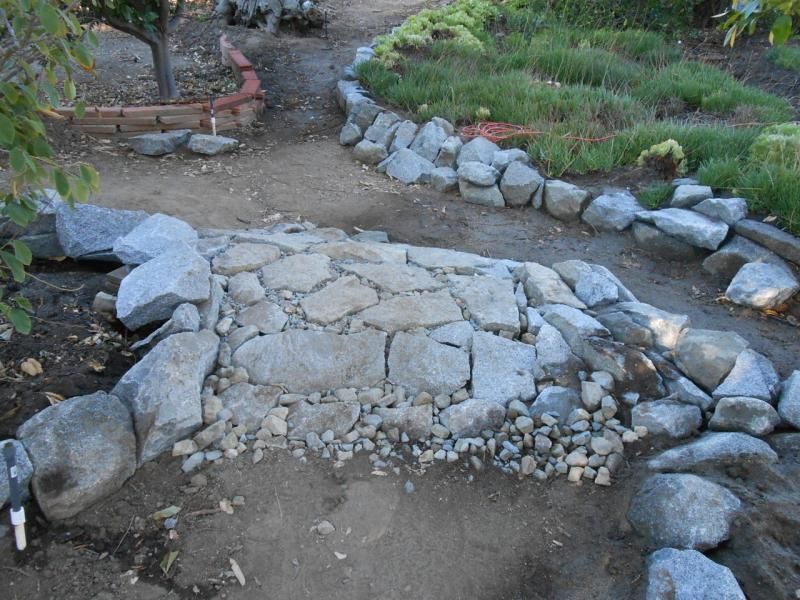
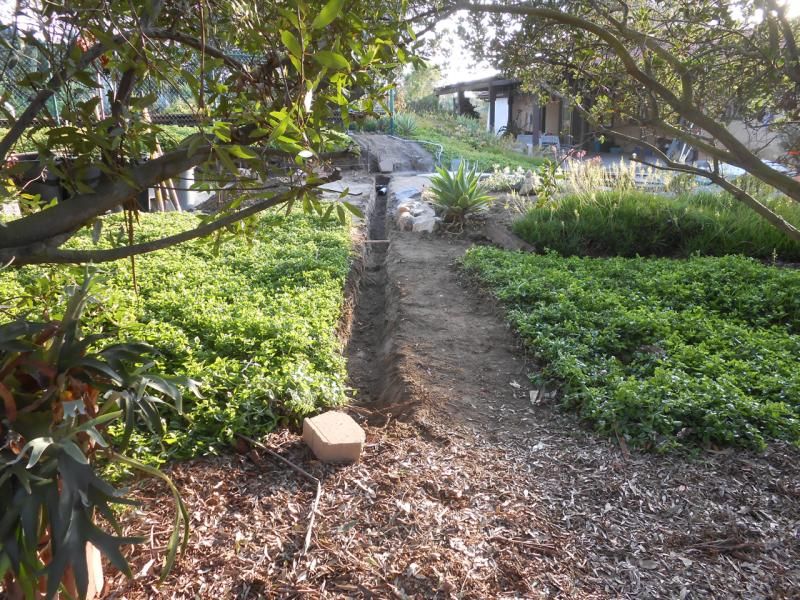
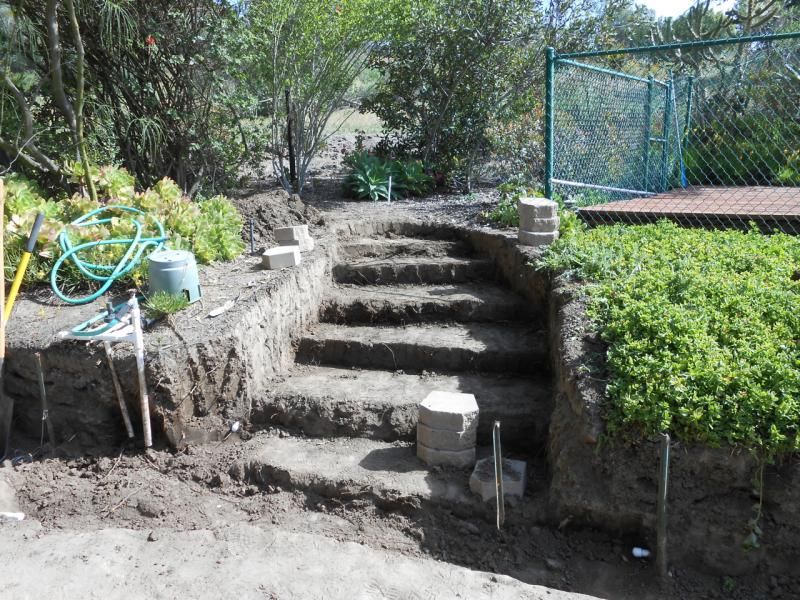
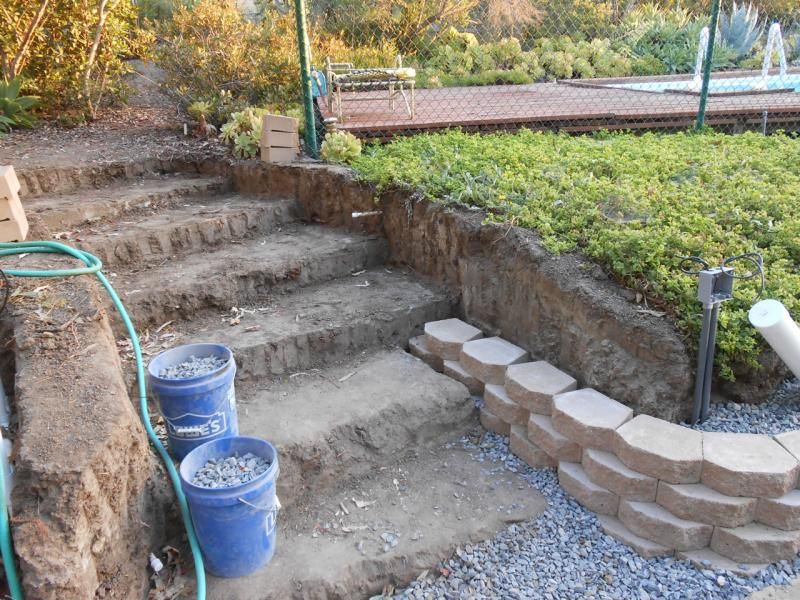
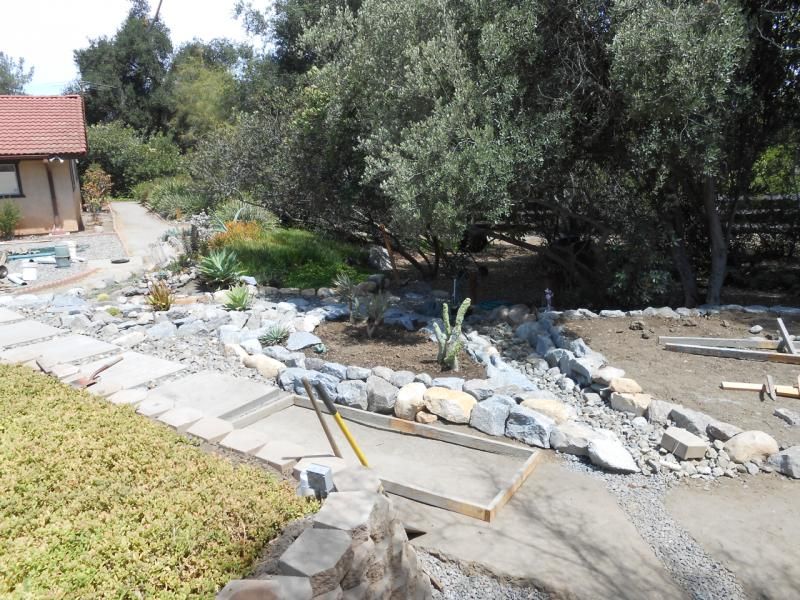
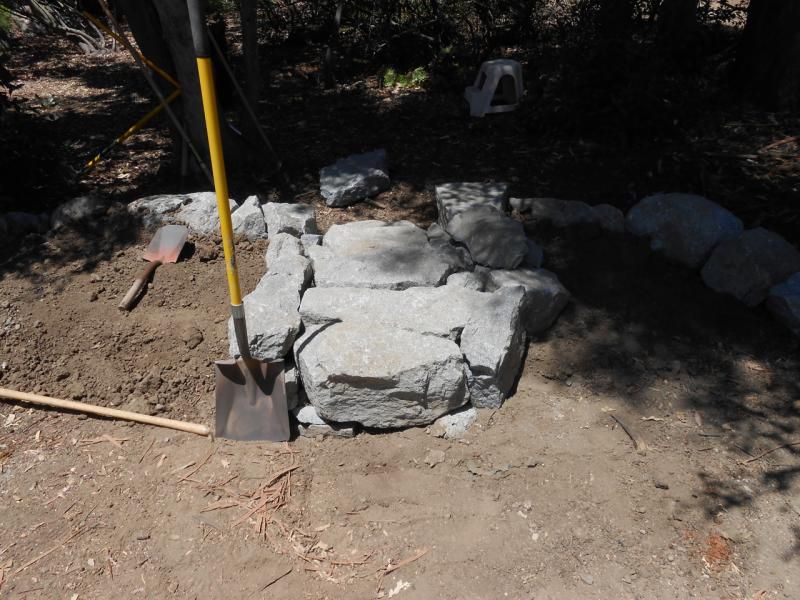
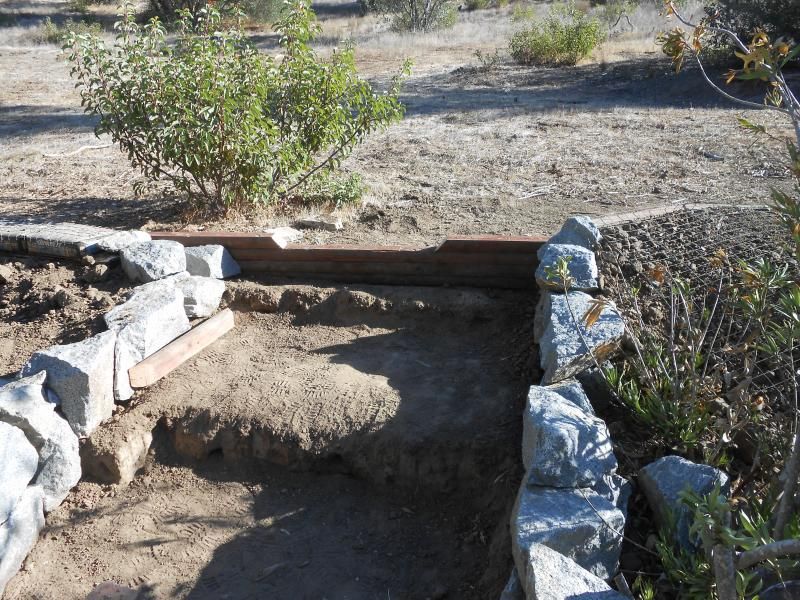
I created a silt fence/wall at the funnel mouth of my collector headwall berm. This timber wall is intended to slow water, to cause the silt to fall out, prior to entering into my dry creek drainage channel.
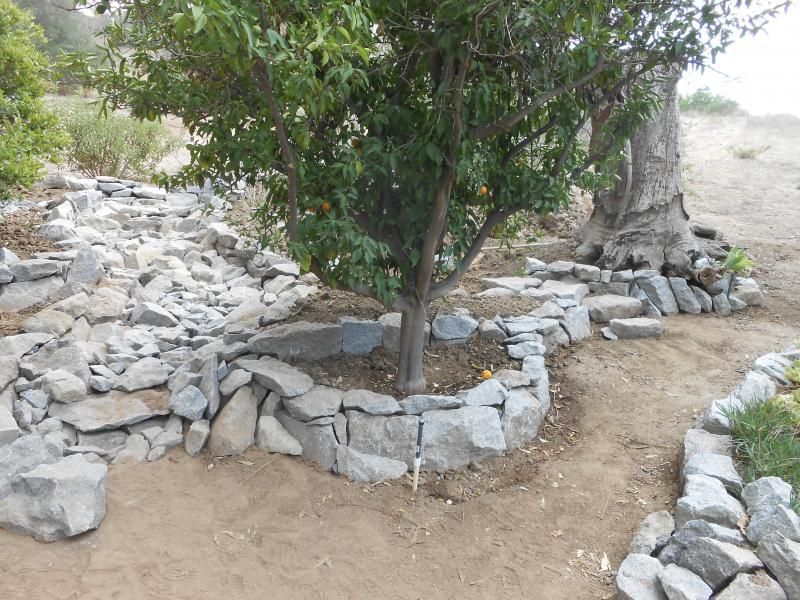
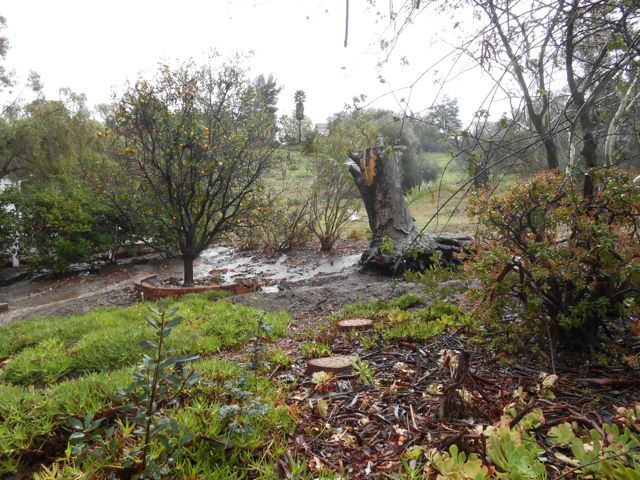
This is the low point where the flow enters just above the orange tree with the red tree ring.
upstream side of silt fence:
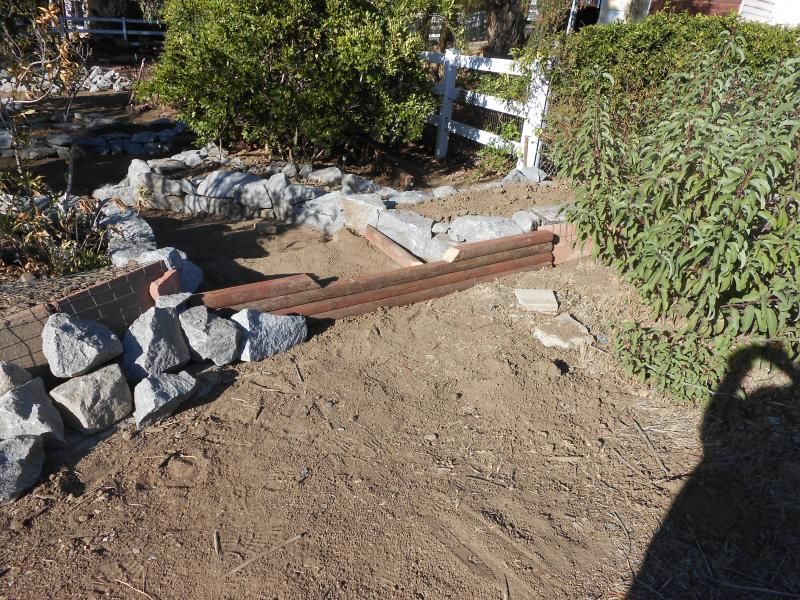
downstream side:
Many thanks for getting through this far. These images were sent to suggest what I'm facing. I'll take some updated pictures of my stonework, and send them in a followup email.
Sarge and I bought a house that on a nice small nice piece of land (1 acre).
Problem: The house is at the bottom of a hill that is most of an 11 acre property. There have been runoff issues for 40 years, which were inadequately addressed with such things as cinder block wall caps stacked on top of each other, with slotted metal shelf brackets as support posts.
So, over the pst two years, I've been doing a ton of trenching, lifting, stacking, and rock gathering / stonework.
I'm a rock gardner, and its what I do.
So, this is the tour of my project.
I'll start at the top, which is the current endeavor, and the uncompleted portion (it's really far advanced but still needs work).
In the following posts, I'll be going downstream, and documenting the lower dry creek channeling, and concrete work that I've been doing. The downstream stuff is finished, or much more near completion.
Right now, I'm gathering granite rocks from a new community development, where I've been given permission to gather as many rocks as I want, for as long as i want, until the job site closes in on the rock pile and hauls it off, or fills in over it. There is said o be a big day on or around October 20th, when the ground work crew is pulling off, and handing it over to the home building crews. I'm stockpiling rocks like a hoarder right now.
At any rate,…
The following is a transcription, in paraphrase, of a series of letters that I've been drafting and sending to the president of the ground work development firm, who granted me access to the rocks.
>>>>>>>>>>>>>>>>>>>>>><<<<<<<<<<<<<<<<<<<<<<<<<<
Hi Rxxx,
This is my runoff project, in the following links.
I'll start off with the hillside runoff coming down a road that the landowner above us had graded along the bottom of her hillside. The road acts as a collector for the runoff, rather than letting it dissipate naturally down the slope.
This is showing the runoff as it nears my property edge. You can see how easily it is diverted by debris, where the flow splits:
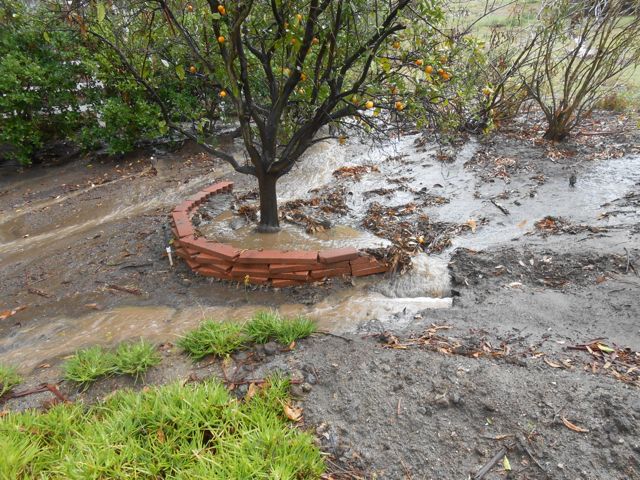
And the flow as it enters the rear of my property, prior to my recent stone work. Note the red concrete tree ring to see a difference in later images:
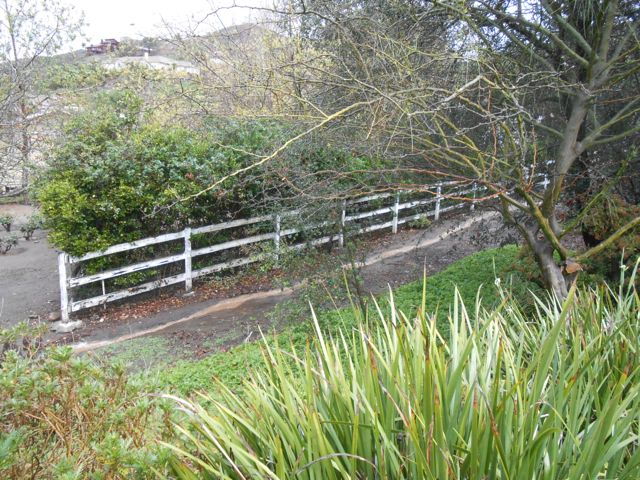
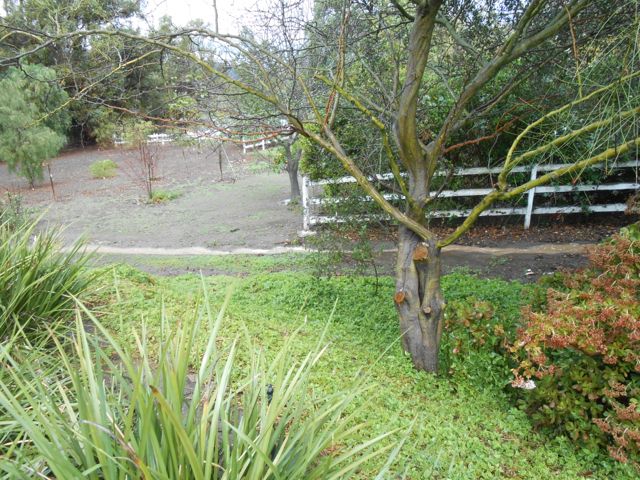
It eventually runs down the side of my property down an access road to the rear:
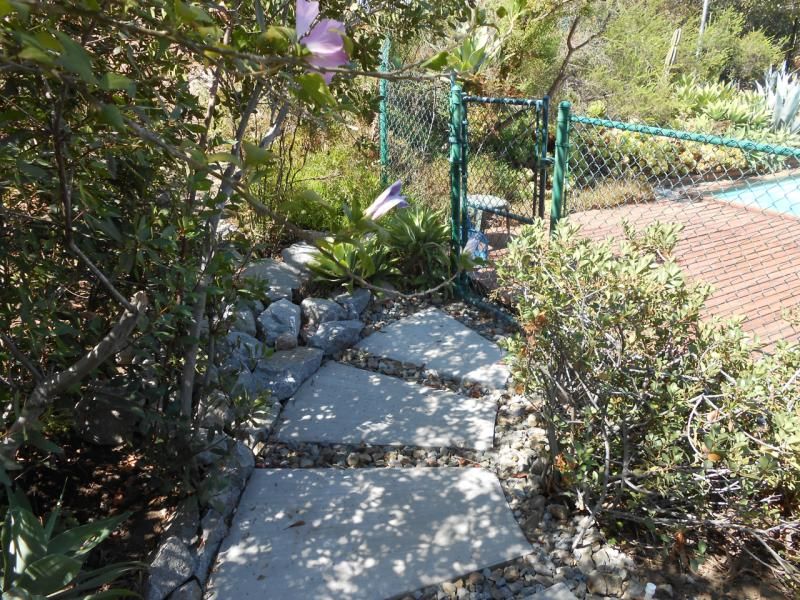
This is where it exits my property and enters my next door neighbors:
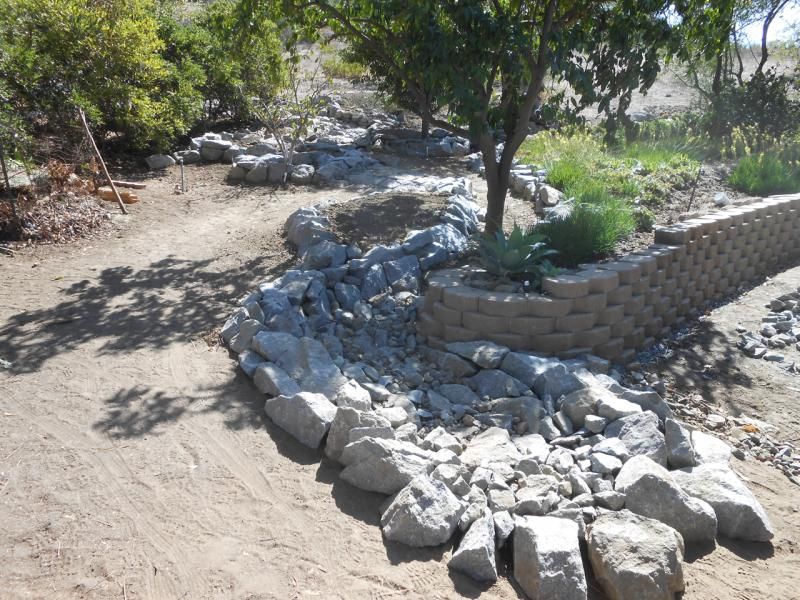
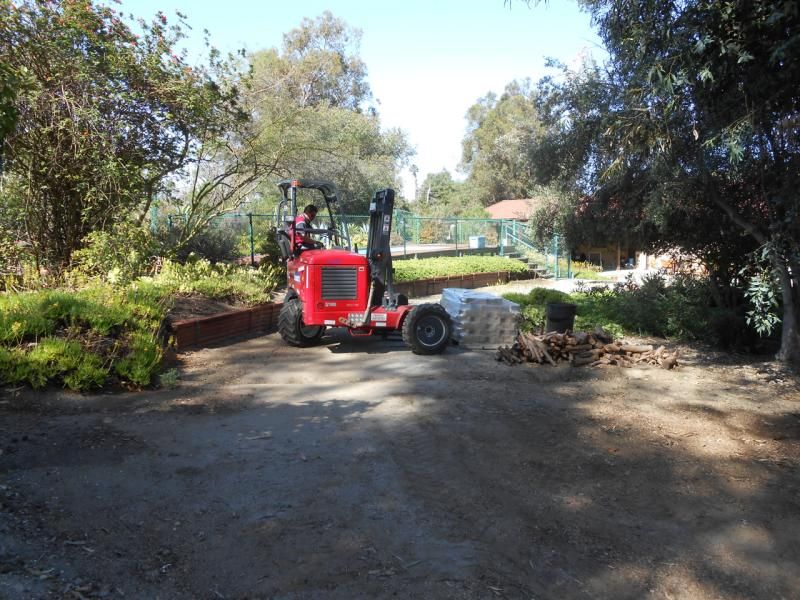
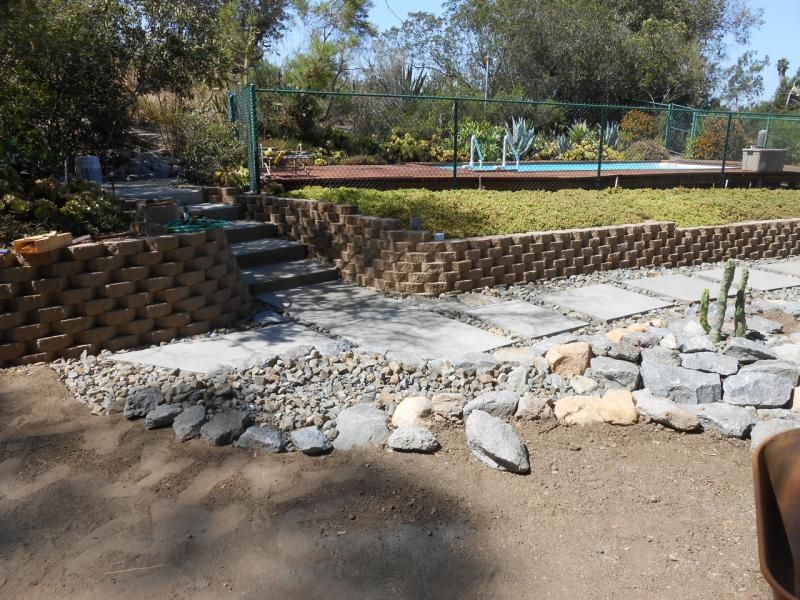
Now to the runoff/erosion control mitigation project
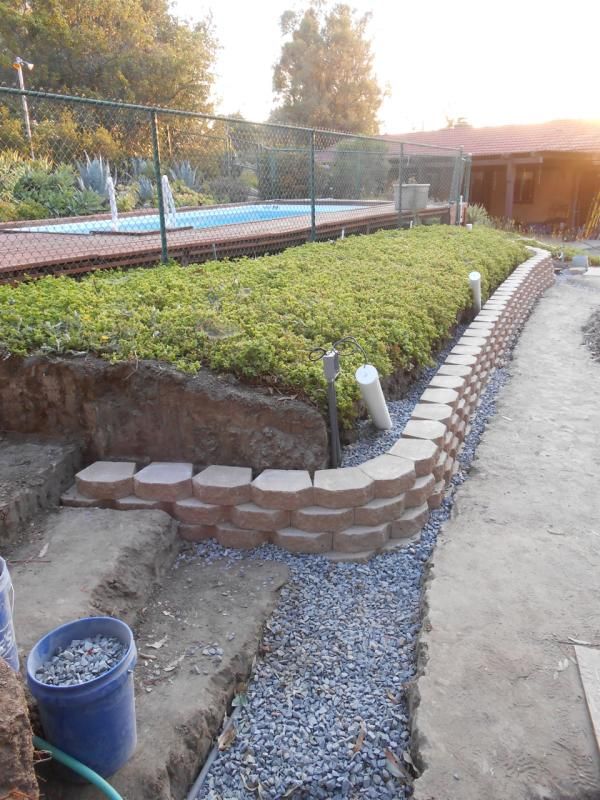
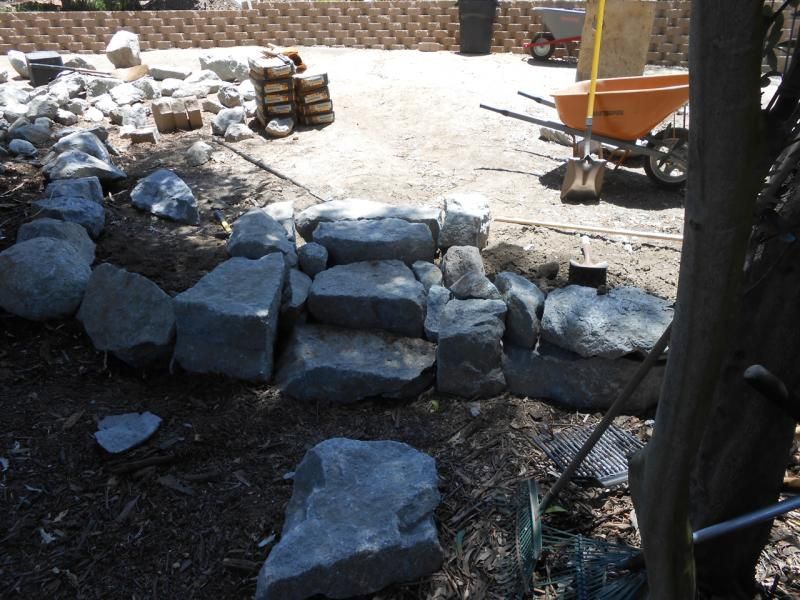
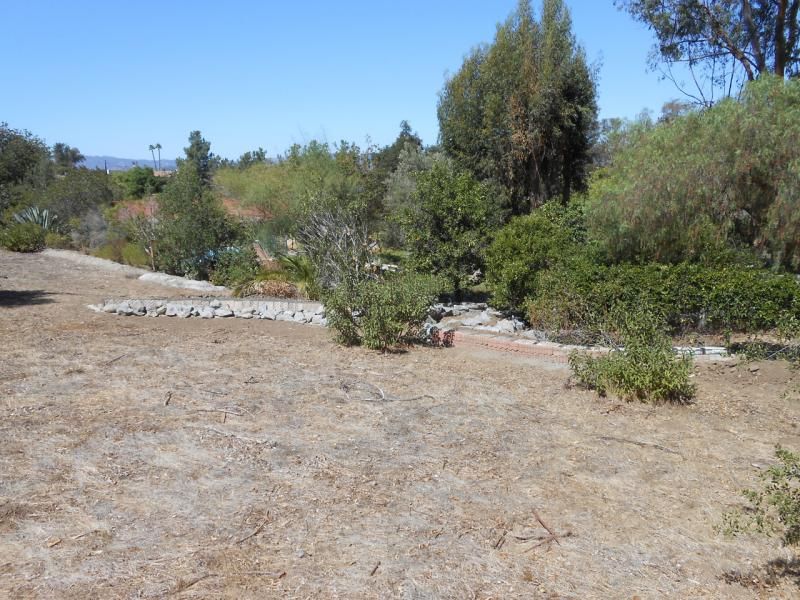
My new headwall collector berm:
In this image, ^^, you can see the faint outline of my house and swimming pool. The pool is the bluish tone, and the reddish tone above that is my roofline. I'm the first person since '78 to address this runoff and siltation issue. You can see that it takes dead aim at the house.
The collector berm was built because of how easily the flow splits from surface debris. It is literally a collector berm, and will also be used as a de-siltation basin.
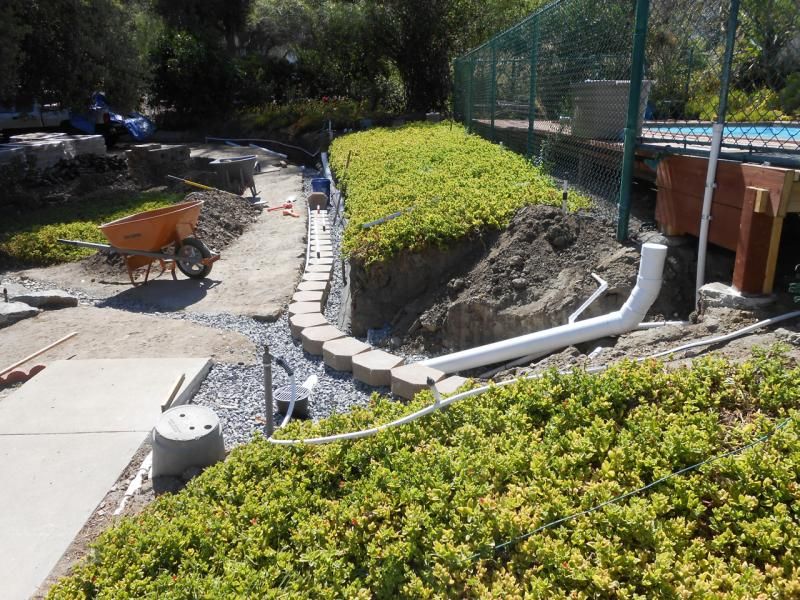
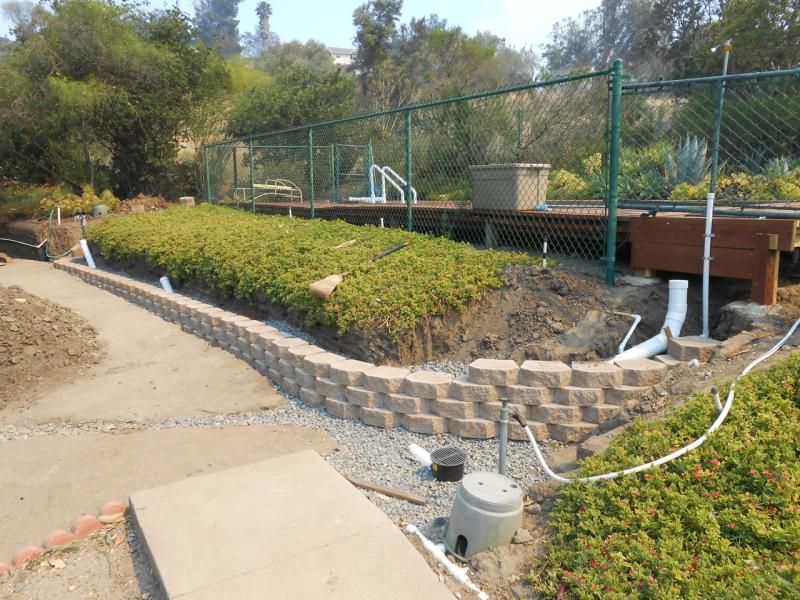
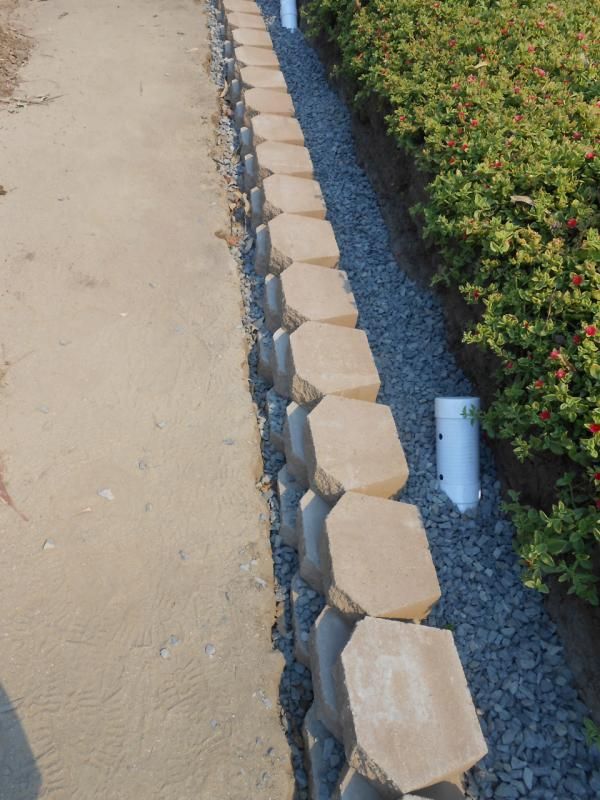
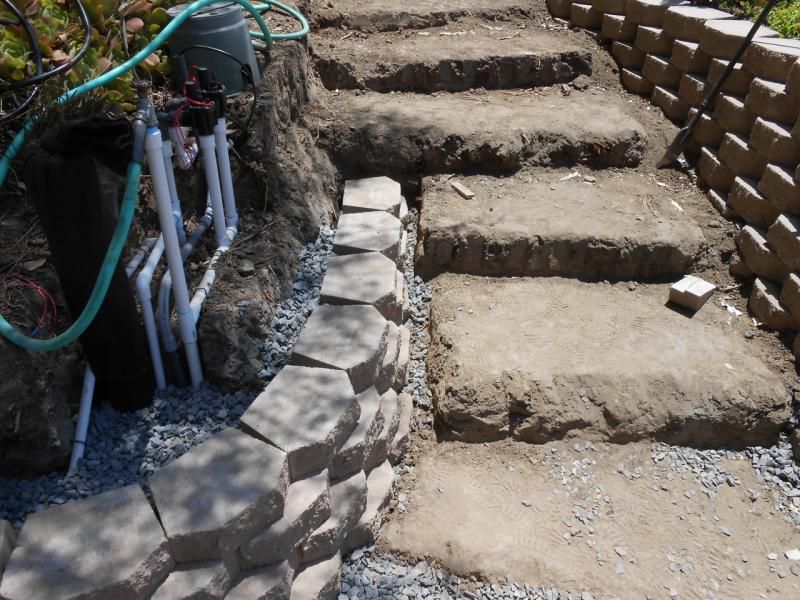
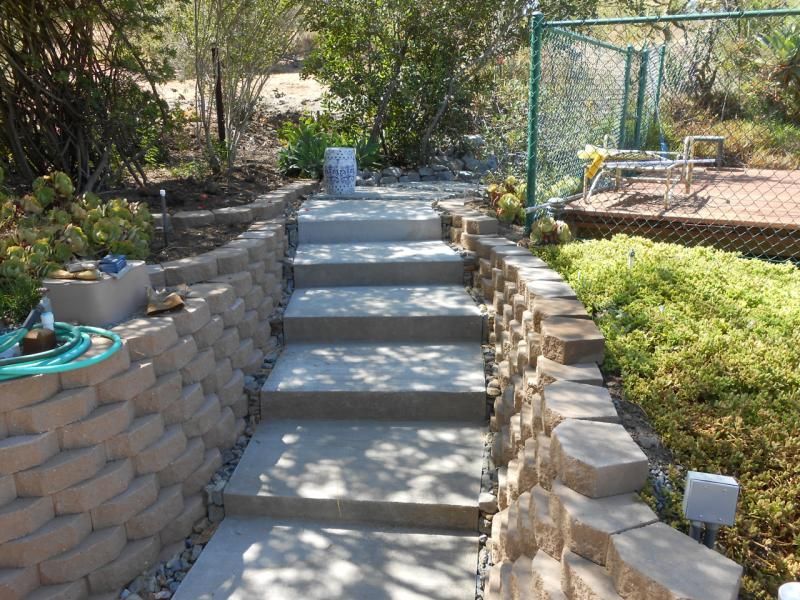
The left headwall berm is constructed of yards of soil, faced with 16" cinder block wall caps that are footed by a 4" deep x 6" wide concrete footer. The wall caps erosion face is held back and in place by chain link fence material that is draped over the face, and down the back of the berm, where it is held in place by steel stakes with rebar "T's" that spread the hold down force. Granite rocks from the Vista job site hold the chain link in place and act as a dissipator face on the berm.
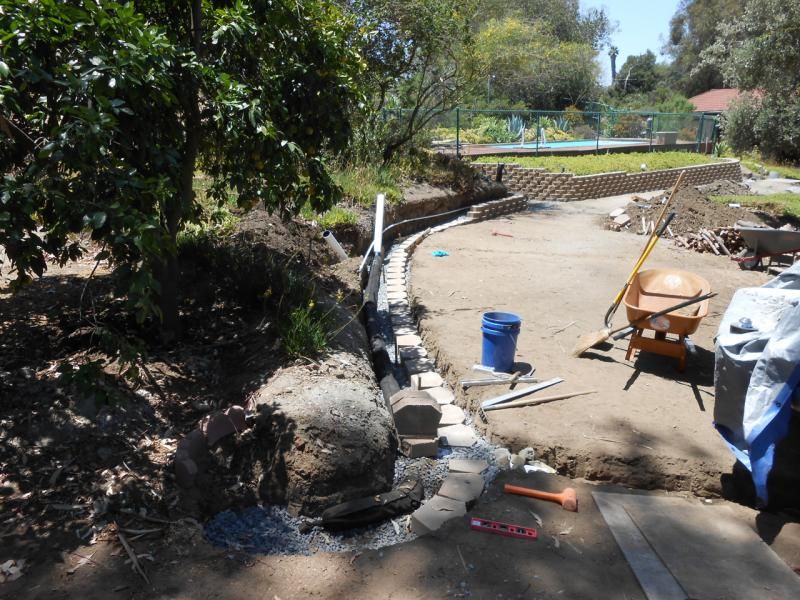
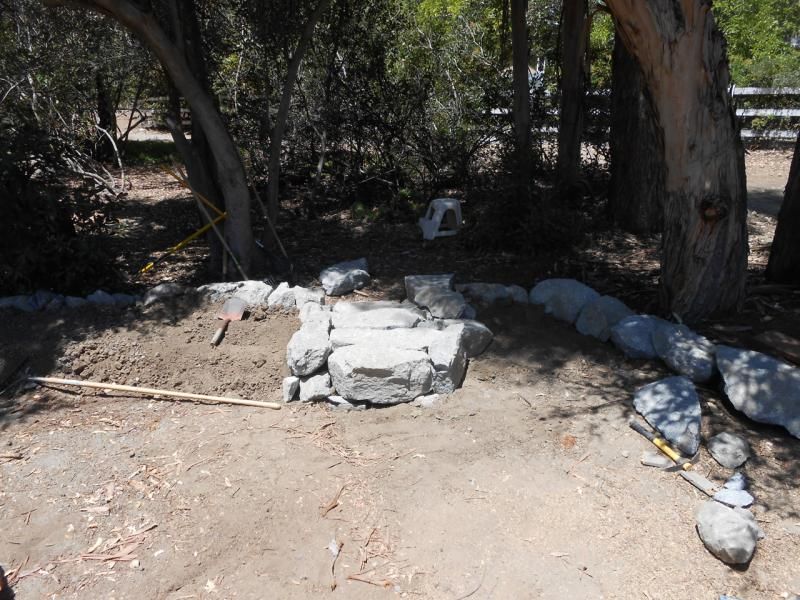
The right headwall berm is constructed of sacks of concrete with concrete lawn edging as a face. The concrete bags and edger face are held together with hardware chicken wire cloth in a DIY gabion cage. The berm is backed by more soil. You can also see the early formations of my dry creek drainage in the background.
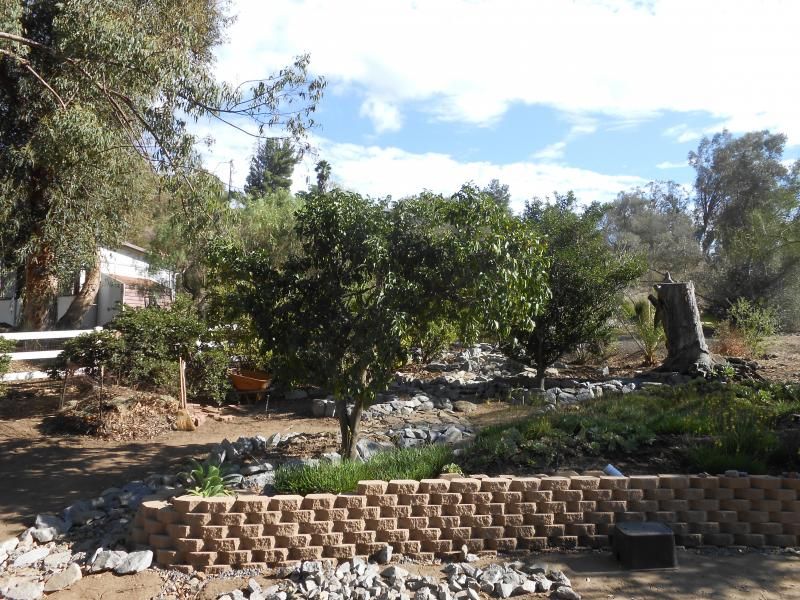
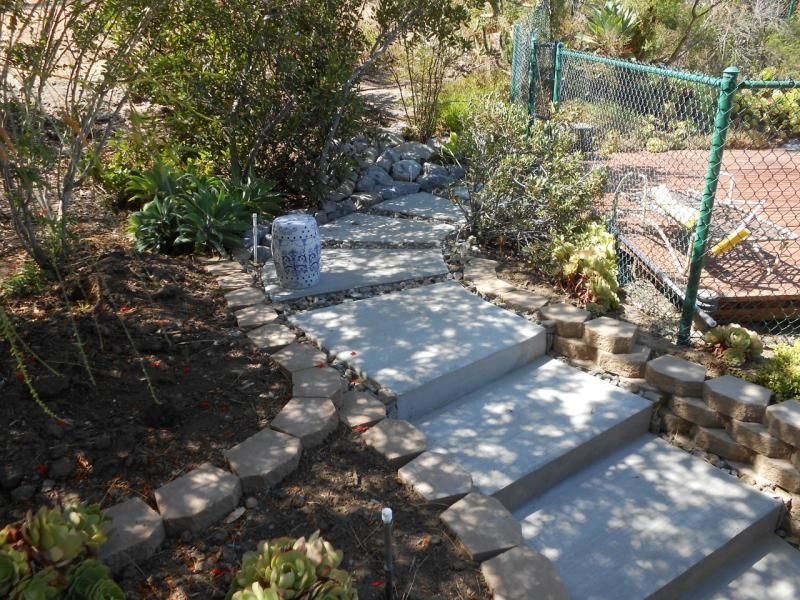
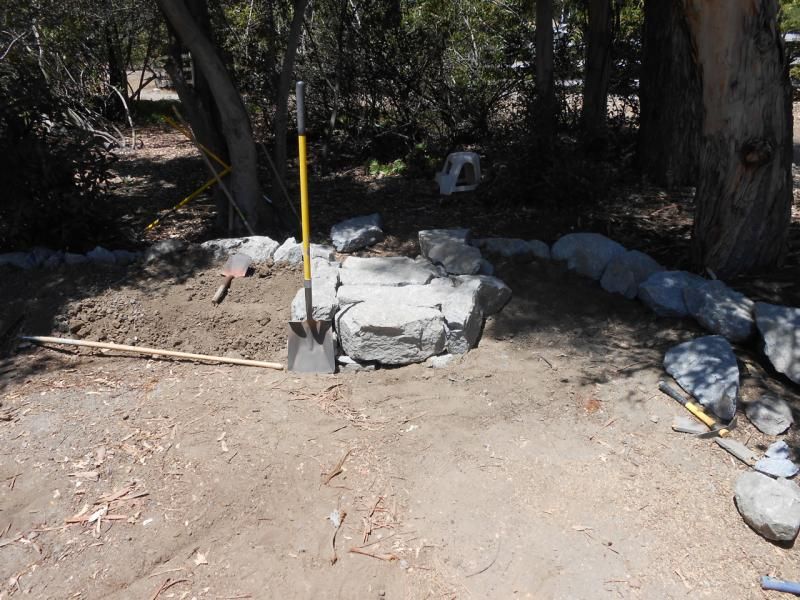
I created a silt fence/wall at the funnel mouth of my collector headwall berm. This timber wall is intended to slow water, to cause the silt to fall out, prior to entering into my dry creek drainage channel.
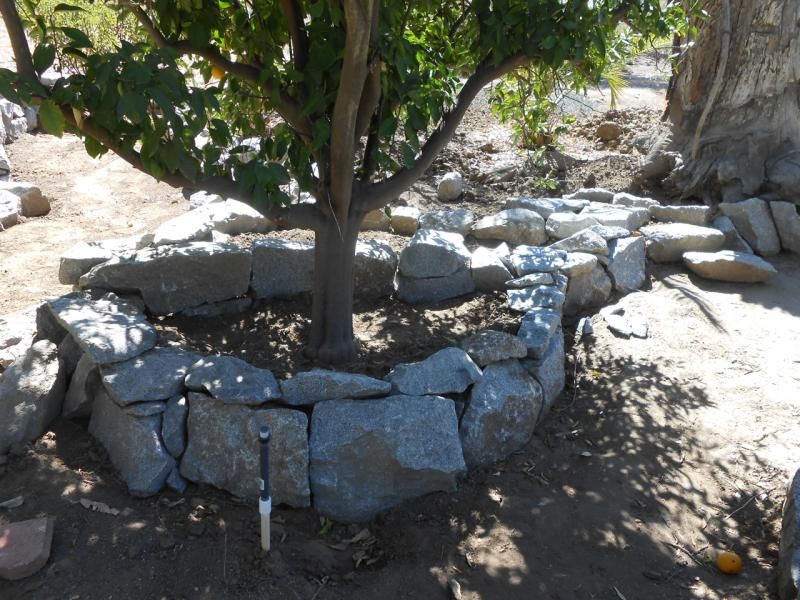
This is the low point where the flow enters just above the orange tree with the red tree ring.
upstream side of silt fence:
downstream side:
Many thanks for getting through this far. These images were sent to suggest what I'm facing. I'll take some updated pictures of my stonework, and send them in a followup email.
Last edited: