How much to rebuild Cross Overs for AS-300?

vinnx

Member
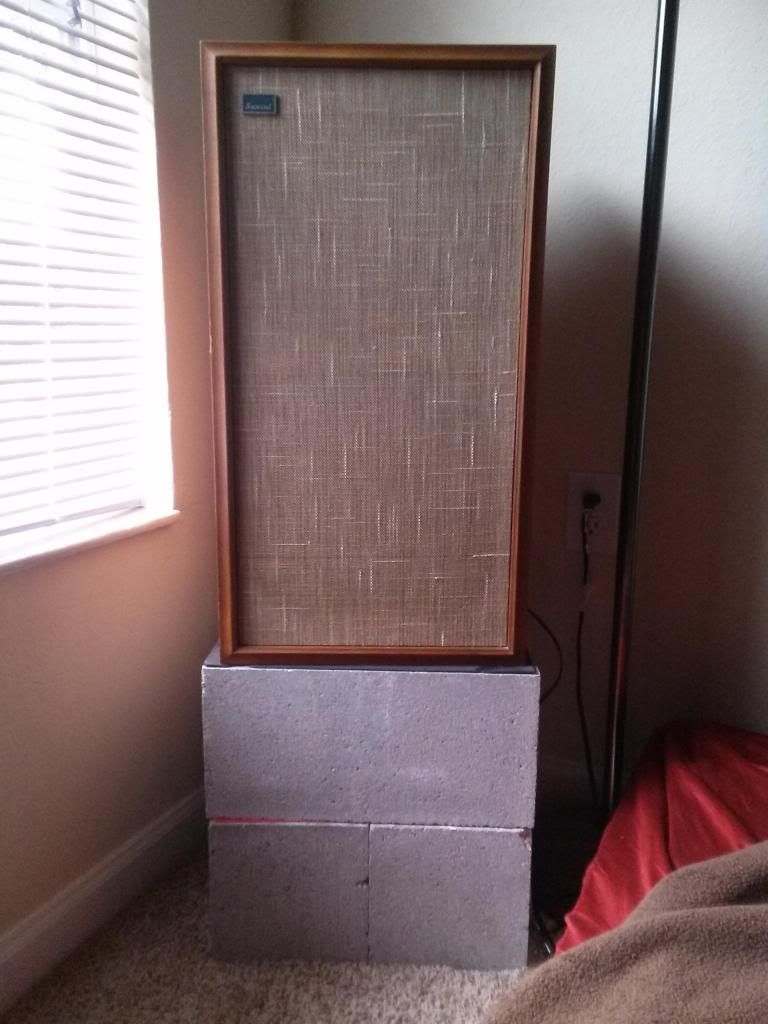
Anyone have a ball park range of what it might cost to get the crossovers in my AS-300's rebuilt? These are acoustic suspension speakers and it does not look very easy to open up. But their also older than my mother and things may be needing some maintenance.

Lately I've been noticing on my right speaker I'll get some static, or maybe it's clipping at slightly louder than normal volumes but really only on the high notes of the song. The left speaker will play fine, so I'm guessing it's something that's just an issue with that speaker.. or maybe the channel on my amp is going bad? At normal volumes it sounds fine tho.

Whatever the issue is, I assume crossovers will need to be rebuilt eventually :/ . Is it worth doing it yourself? I have a soldering iron and minimal experience. Or better off taking it to a shop?
 
This is a definite DIY job given that you have a soldering iron. You will literally be replacing a handful of components. I wouldn't be investing big dollars in taking these speaker to a shop for them to do the work - you'd be over-capitalising in a big way.

Open up the speaker, check the value of the original capacitors (in microfarads - uF) and purchase new equivalents (polypropylene, polyester or electrolytic, although the first two would be my strong preference).
 
The Crossover w/ PICS!

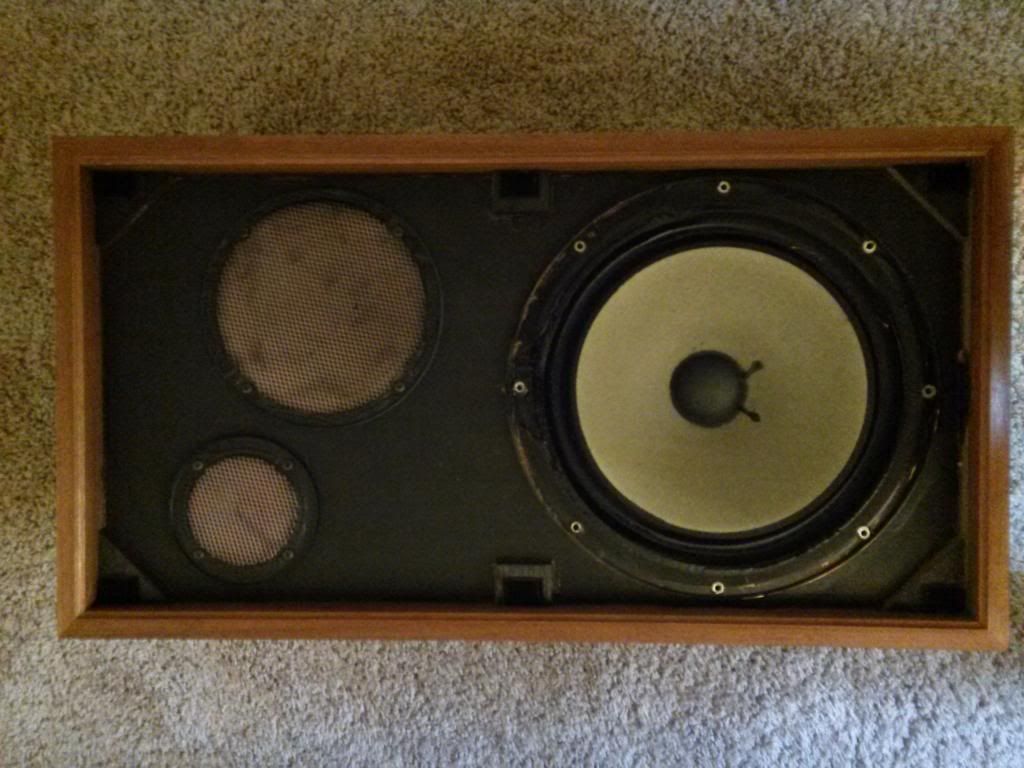
Ok, so I popped open the speakers to take a look inside.

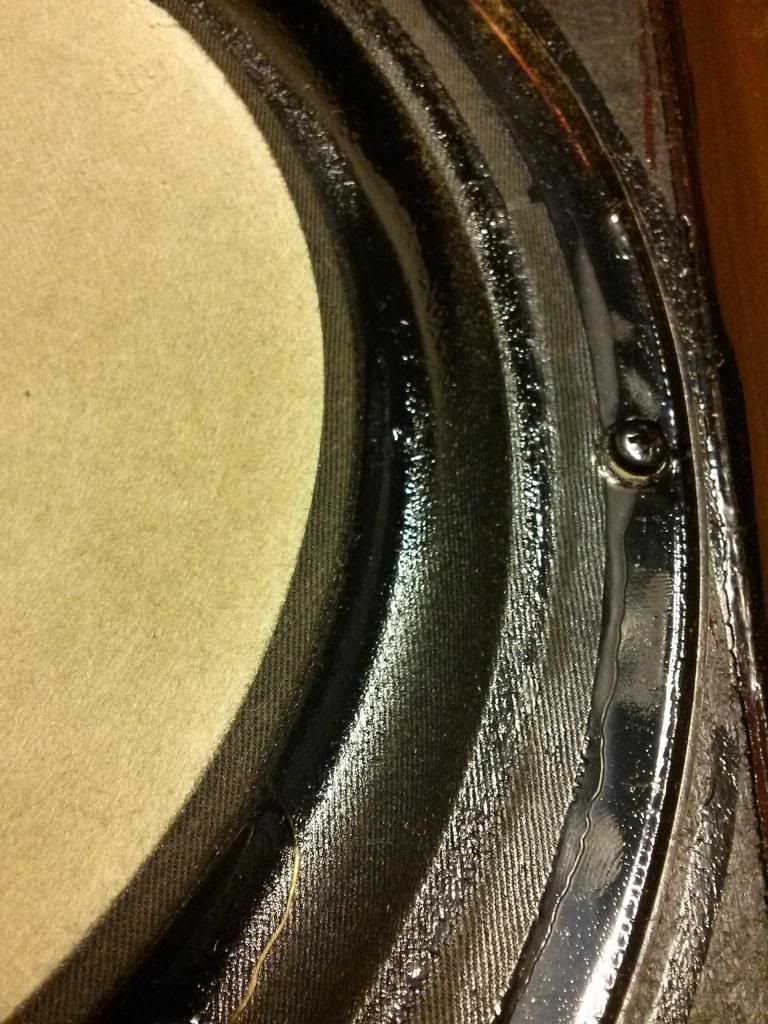
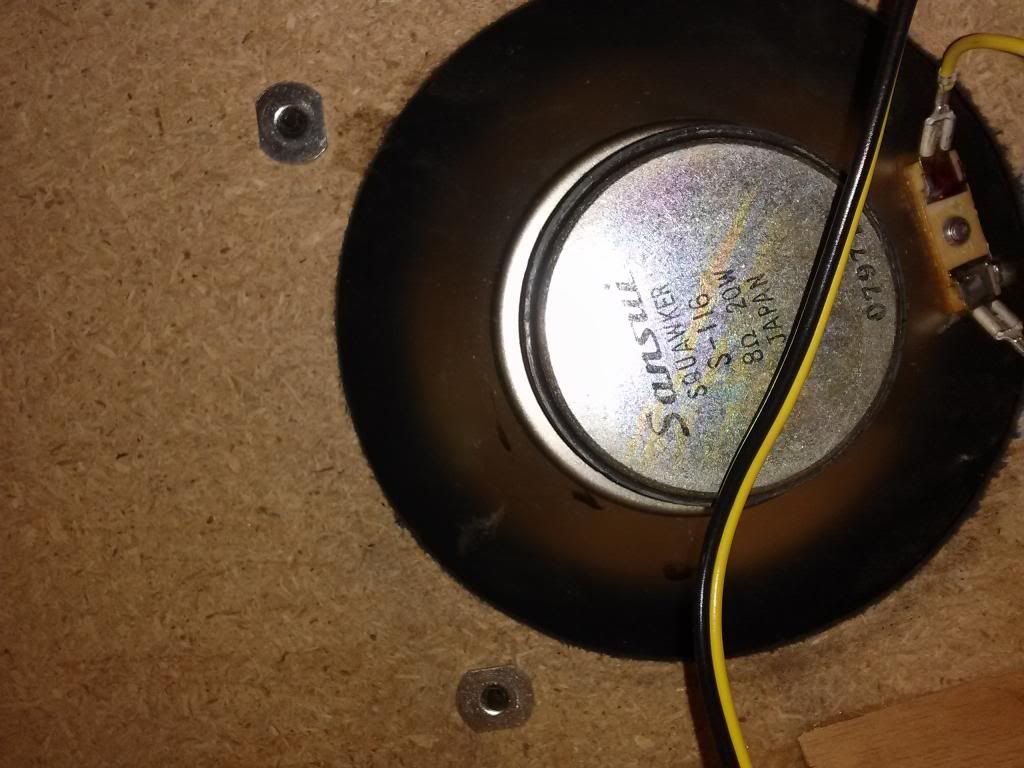
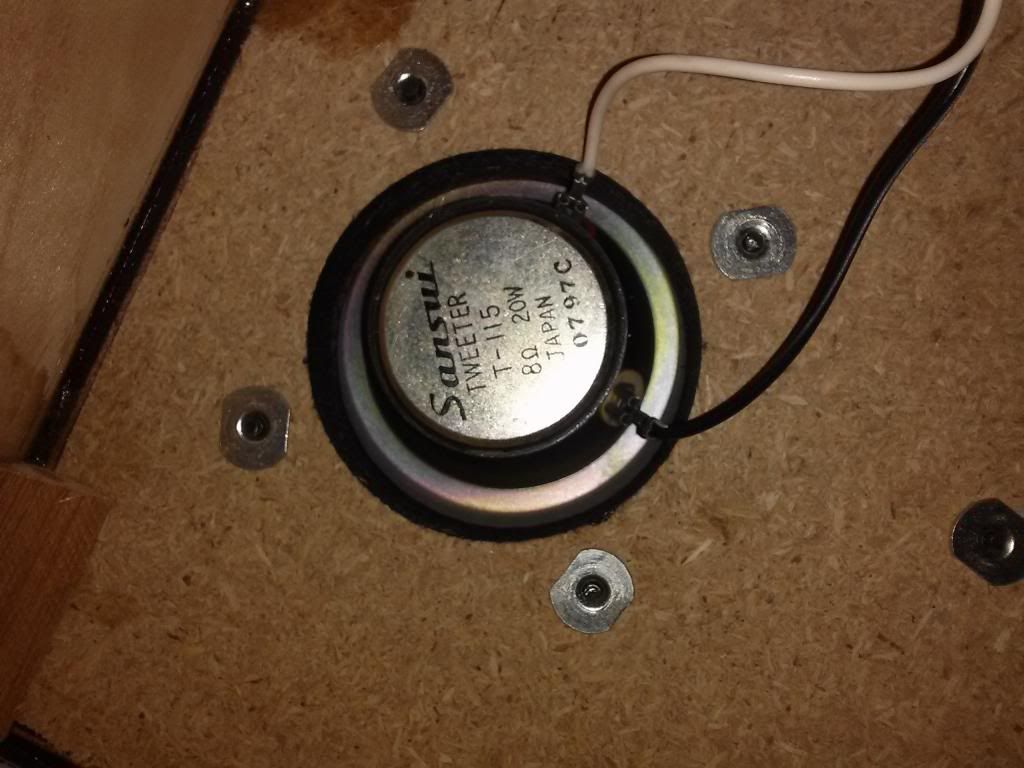
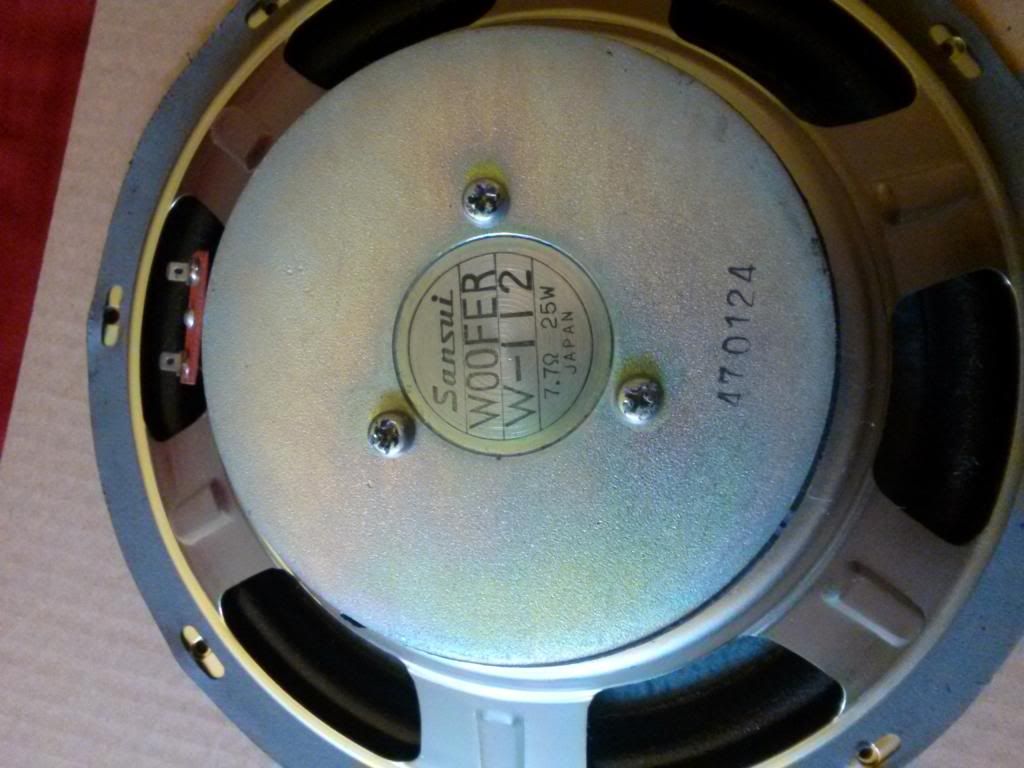
First off, the entire woofer is glued, and as you can see it doesn't use standard foam surrounds. Some other kinda paper material. I also believe the mid and tweeters use a similar material, didn't notice any foam.

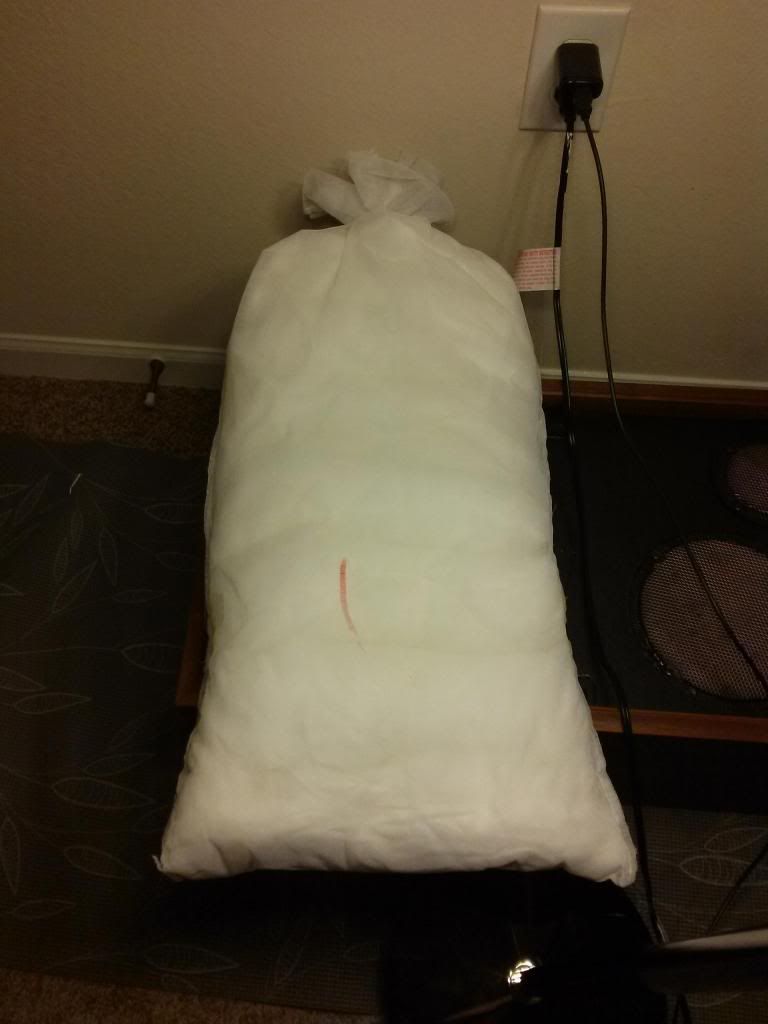
Next up screws came out pretty easily, had to use a sharp knife and gently cut the glue around the speaker. Once the speaker is removed there's a big ole bag of insulation. Gently pull this out as to not mess with any wires underneath.


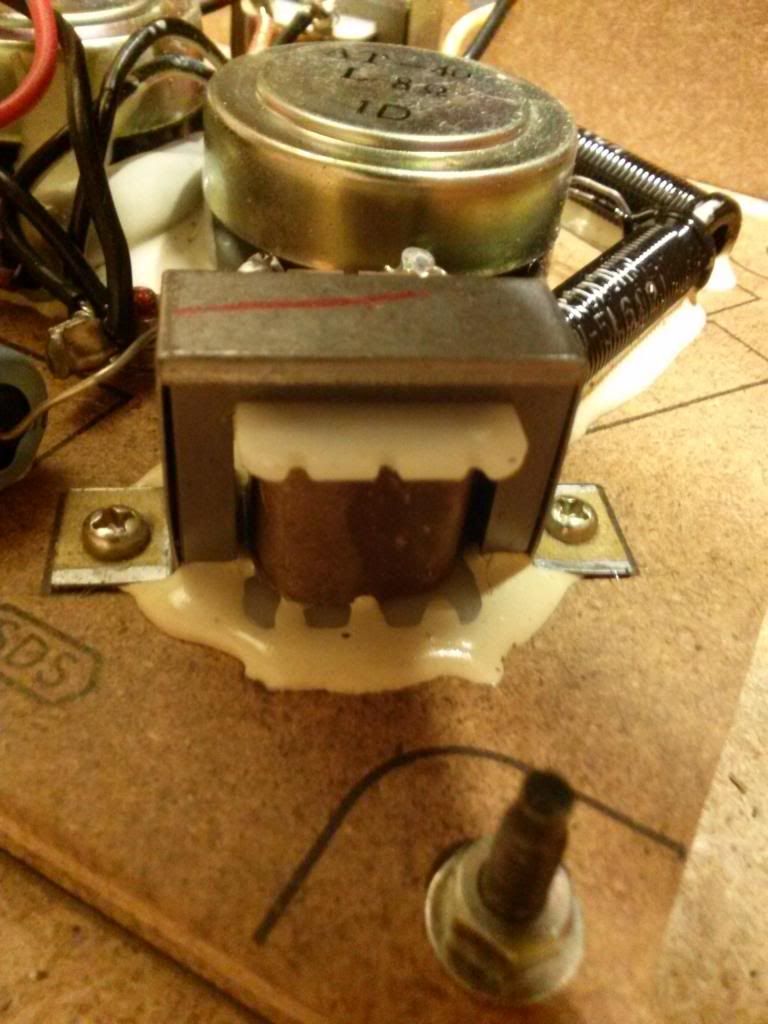
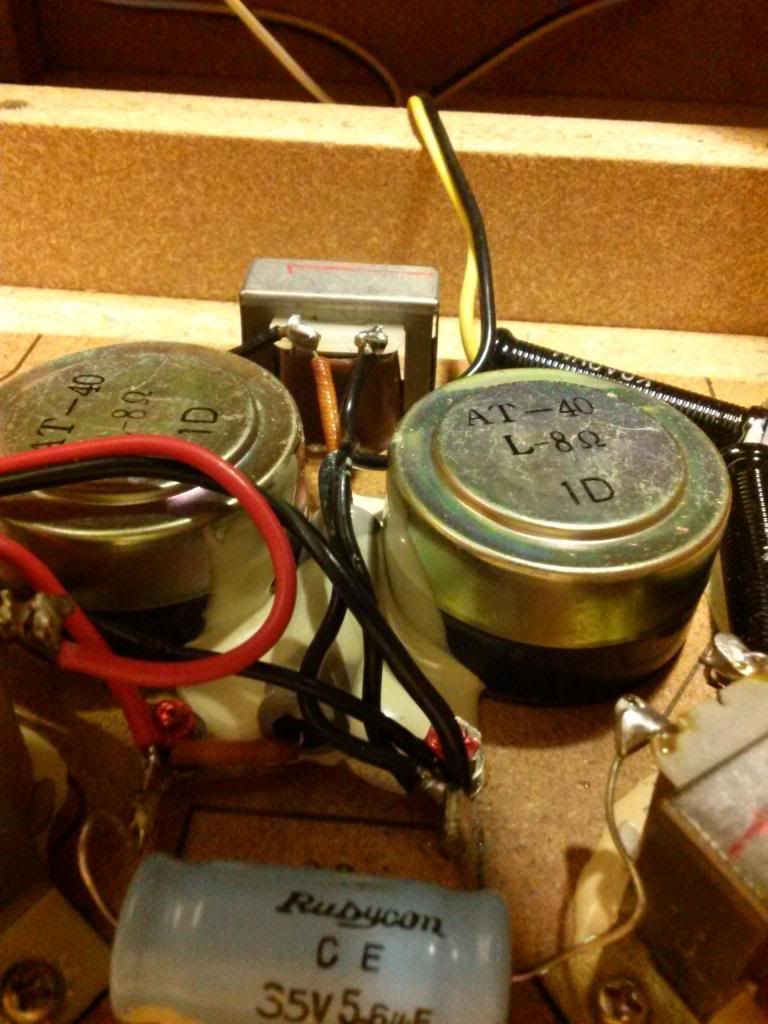
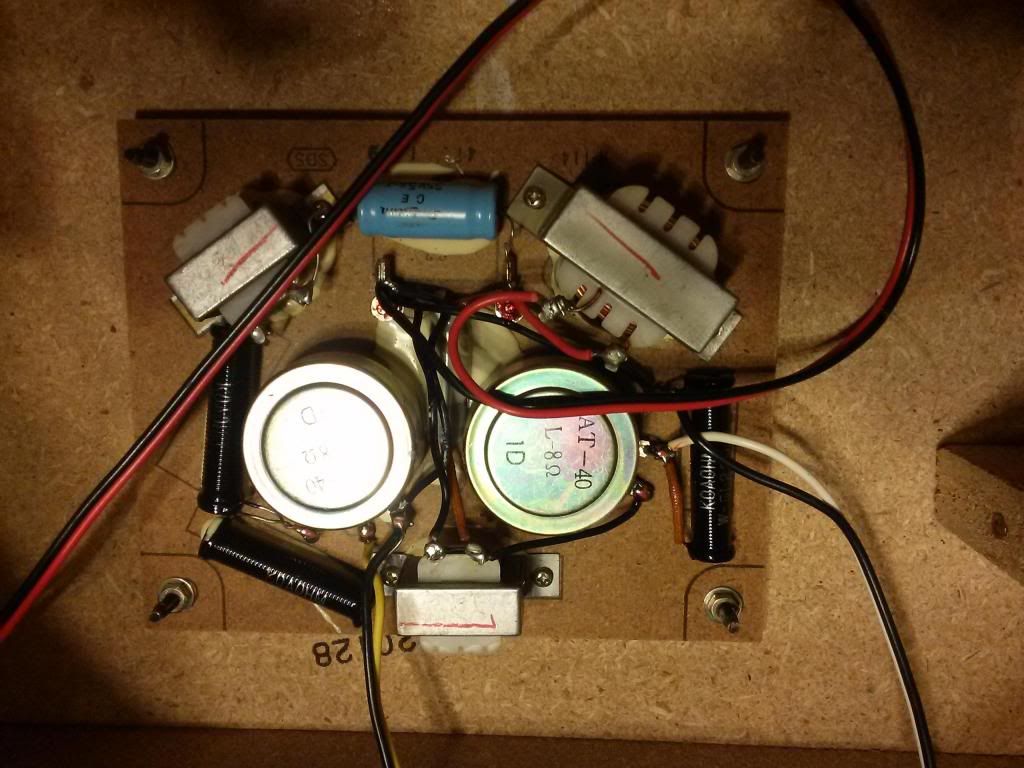
Now, I've got 0 experience working with crossovers and electrical components, been mostly reading on the forum. So I've got a general idea of what the pieces are, not entirely sure how it all works together tho. So the big circular thingys in the middle are the L-Pads, just below that where all the wires are coming from is the input +/- terminals.

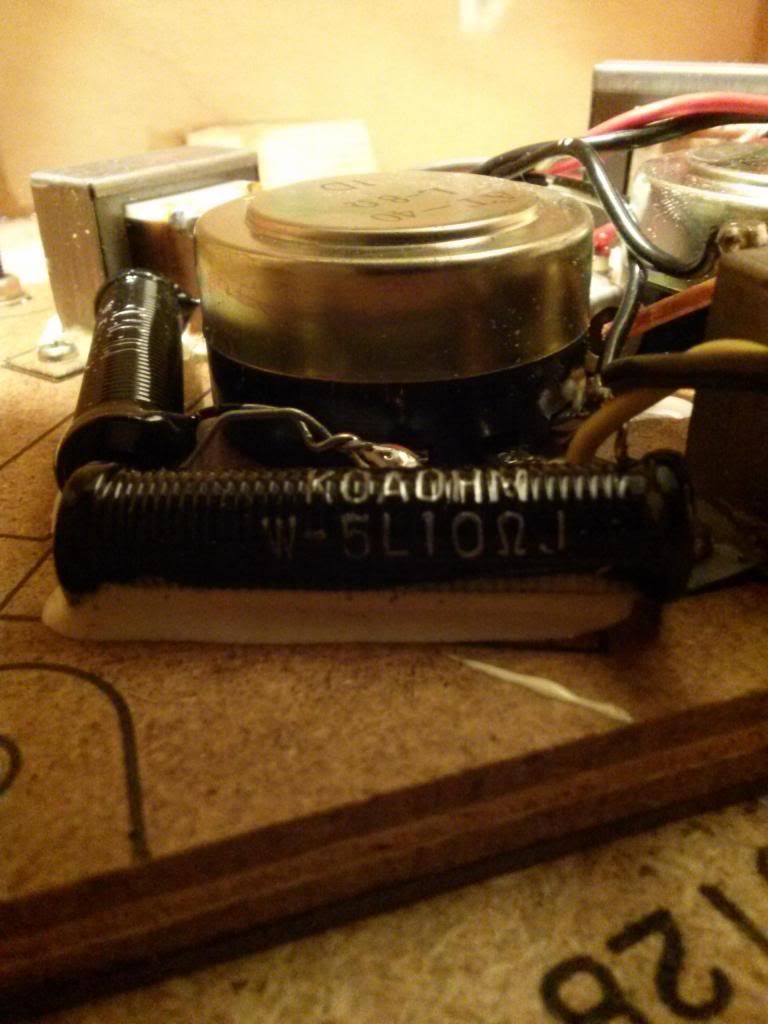
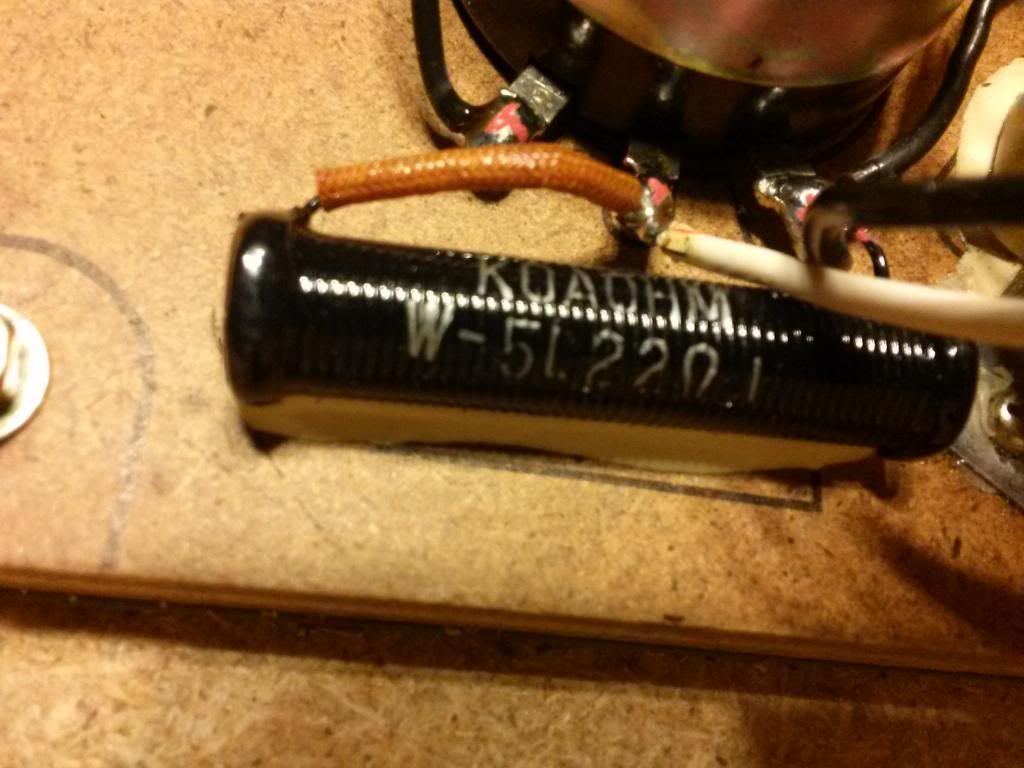
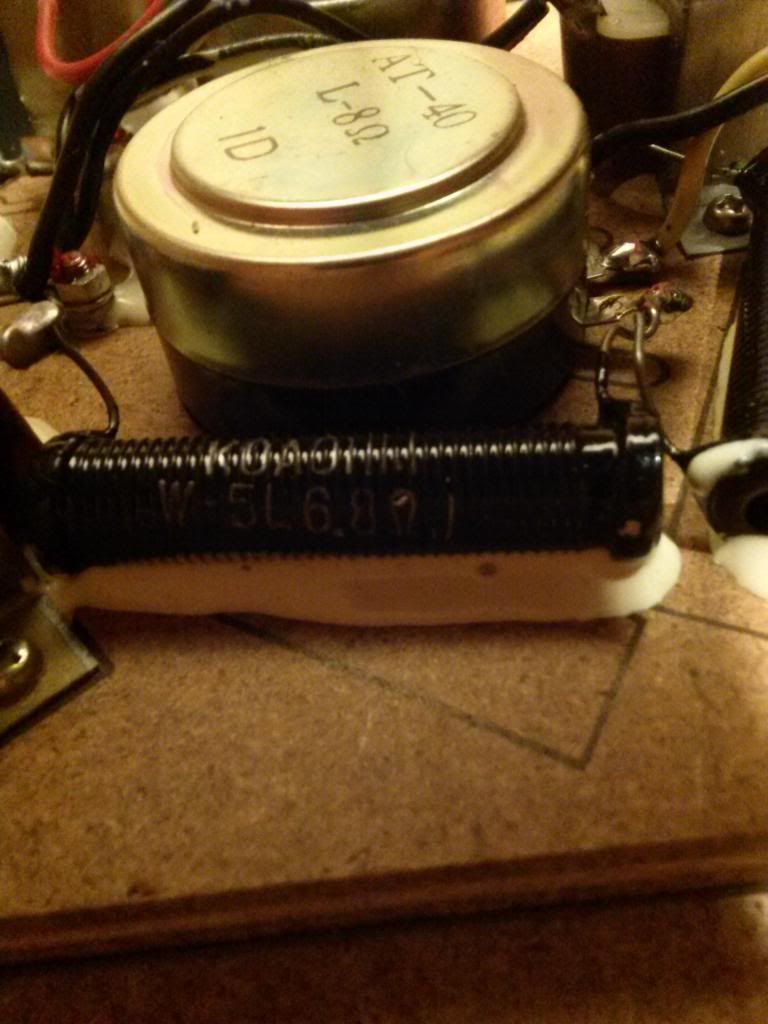
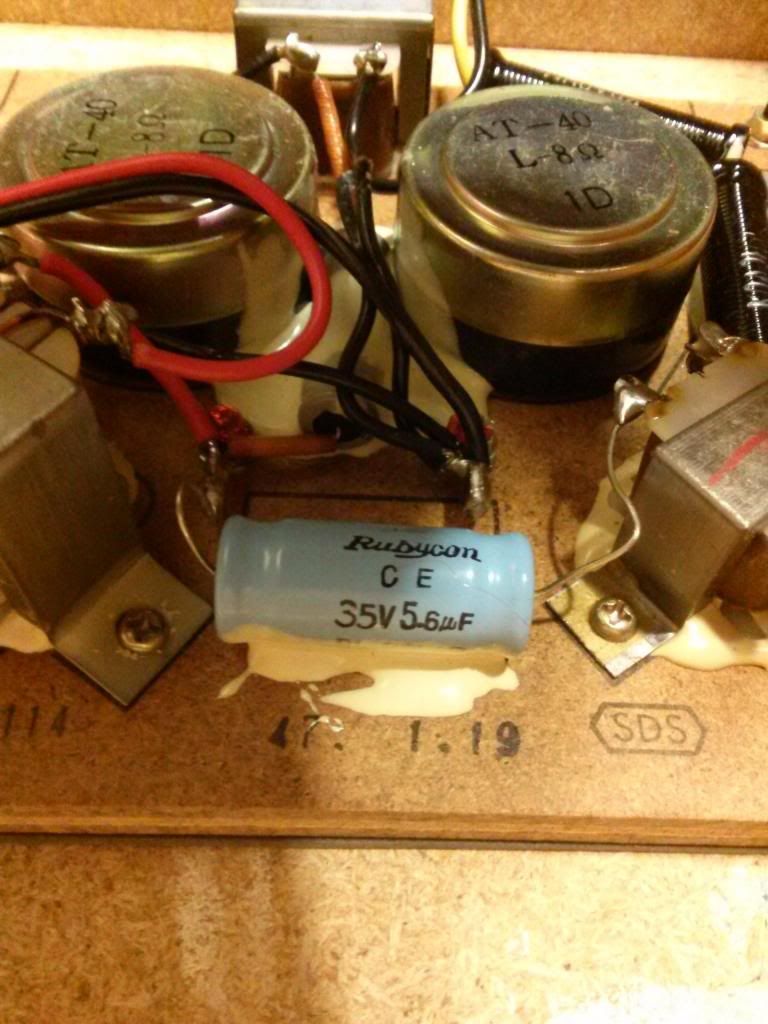
Then it's what looks like 1 Rubycon 35v 5.6 UF capacitor.. I think it's an electrolytic.. looks like other electrolytics, and electrolytic's don't age well from what I read. 3 Inductors and 3 black hollow spirally things, I'm assuming are resistors, of varying sizes. One for each speaker I guess.

So.. my question is, do I need to worry about replacing the inductors, resistors and L-Pads? do these go bad? Will I notice big sound improvements from doing this? Or am I better off just replacing the old capacitor with this one?

https://www.parts-express.com/dayton-audio-pmpc-56-56uf-250v-precision-audio-capacitor--027-234

Any and all advice is welcome : D


Here's something I spotted thanks to the photos.. the capacitor for the Tweeter is smack in the middle between the L-Pads under all the glue. Is this normal, and will this be a problem when it comes to replacing it? What if the new capacitor doesn't fit in that area? Can I move it somewhere else?
 
Here's something I spotted thanks to the photos.. the capacitor for the Tweeter is smack in the middle between the L-Pads under all the glue. Is this normal, and will this be a problem when it comes to replacing it? What if the new capacitor doesn't fit in that area? Can I move it somewhere else?

The new cap will likely be smaller.....should not be a problem
 
So I found the values of the middle cap

3.3 UF tweeter cap
5.6 UF mid cap

I ordered some Dayton Polypropylene 5% caps and I'll hopefully attach em next week. I've also noticed some slight rust around the edges of the L-Pads on the other speaker. I cleaned most of it off with d-oxit.. is this something I should be worried about longer term?
 
you beat me to it by opening up yours and posting but thanks for showing the guts. I have been listening to mine with the old caps and I can't imagine how much better they could sound than this but I will also be ordering up some caps to replace mine.
let us know how it sounds after you put it back together and test it out.
 
My parts should be coming in on Wedensday, I can't imagine what kind of changes to expect. The only other GOOD speakers I've listened to were my uncle's JBL 4311b... and I don't feel like I'm missing anything.

My sound without adjustments is pretty smooth, but I felt I was lacking some detail and wanted a tad more bass.

So I've been EQ'ing things over the past week and found a formula that's been working quite well for me.

Turn the Treble on the speaker up 1 click
Loudness button on the amp ON
Using the EQ on my computer, I curve down 125, 250, 500 slightly.. and curve up 4k, 8k, 16k just a touch. Not sure why it works well for me this way but it does, I got the touch more bass I wanted, and instruments across the board are definitely more separated and detailed I feel. Even got a bit of sparkle at the very top.
 
cant wait to hear your changes (if any). My caps should be in on Wednesday so I will have mine done by the weekend. I also recapped my QR-6500 so I'm really going to enjoy those 300s.
Good luck with yours
 
Was that a bag of acoustic polyfill in the pic or just some heavier stuffing? Wanted to chime in and say youre in the wrong forum. The tech talk forum @parts-express will answer your situation and add 1000 more hints and tricks a lot better.

-Never use anything other than acoustic polyfill. Anything else was wrong then and wrong now. And dont over stuff. You only need just a little anymore.

-When you do a simple XO rebuild, you ALWAYS replace the old electrolytic with the best new poly's you can afford, and always replace the resistors with audio grade. The bigger (size) the better. Dont worry about size- refit them where they will fit. You never try and replace the inductors, as its about impossible for about 5 technical reasons. The 5% Daytons you bought are bottom end, but you should notice the difference once they break in if youve done every thing else right.

-A guy literally needs to completely take apart the old Lpads and de oixt the daylights out of them and then reassemble. The better option is to replace them with the exact same specs with new ones. That old Lpad and XO design was very inefficient to begin with.

Your speakers are very inefficient. Was the norm in the day. So dont expect miracles with a basic XO rebuild. Id be concerned about the condition of the speakers themselves (spiders, cones, suspensions).

You need to thinly pad the insides of that old wood of the enclosure also. Will make a difference. And over glue all your internal joints etc.

A lot of guys will also take light grit sandpaper and sand the exteriors also while everything is gutted. And then spray can poly semi-gloss whats left of the finish. You can also easily regrill the old ancient grill cloth. PE has all sorts thats not the old thick weave crap thats also acoustically transparent. Looks a lot better too.
 
Last edited:
Alright.. so

I think that bag is full of Fiber Glass, it's fibrous and there's some tiny pieces of glass in it.. but I feel like it may be a different blend compared to the house stuff, doesn't feel the same, I shoved my arm in it and I barely got an itch lol.

As for the condition of everything else, it's a fully sealed box, no spiders anywhere and the glue is still holding pretty good. I'd have to destroy the box to take it apart. I did pick up some wood revitalize spray, brought back some nice gloss to the veneer.

I attempted to remove the tweets and mids to only unscrew it and find that it's glued down. It's glued down so good I'd had to get a wedge and a hammer and probably ruin something along the way.. so I left em in.

The Dayton's are not the best.. but it's good enough, better then the old caps. I really didn't want to invest too much into expensive caps since like you said the x-over is old and inefficient, it wouldn't be a big improvement unless I changed everything. Which is something I wouldn't be qualified to do myself and probably too expensive to pay someone else to redesign and build it.

Anyways, I replaced the old caps. Although the old ones were CEMENTED to the damn board and would not budge, you'd have to get some kinda hot knife or chemical remover to get them out.. Thankfully the x-over board isn't glued down lol. I just uncliped them from the xover and placed the new ones near by and soldered it in.

I re-capped one and had em playing side by side, I did notice the treble and mid range sounded a little better, a bit more natural. Just recapped the other box and waiting for the glue on the caps to set before I prop em up and start cranking tunes.

Probably won't do much more to these, I'm liking the way the look and sound at the moment. I'd rather save and invest in something else.. specially when it seems everything is held together so freaking well I don't want to accidentally break something while trying to remove it : D
 
Got em both playing.. there's been an improvement to the vocals for sure, sounds more natural, had to pull back on the EQ stuff a little bit as things are just naturally better.. it's just a little better in all aspects. Is it really going to get even better when the caps burn in?!?! :music:
 
Last edited:
Back
Top Bottom