Dynaco FM-3 Upgrade Pictorial

ejfud

Audio Pinhead
I asked earlier if anyone wanted to see my step-by-step of this upgrade kit.

Since billfort said yes, I'm going to post as I go.

The kit includes, capacitor board, led backlight, three PEC modules, two upgrade resistors, four upgrade capacitors, four matched upgrade diodes, and a sensitivity/selectivity module.

The upgrade kit came packed to survive anything USPS could dish out. I also bought a cage from the seller, so the box was bigger than it would have been with just the kit.

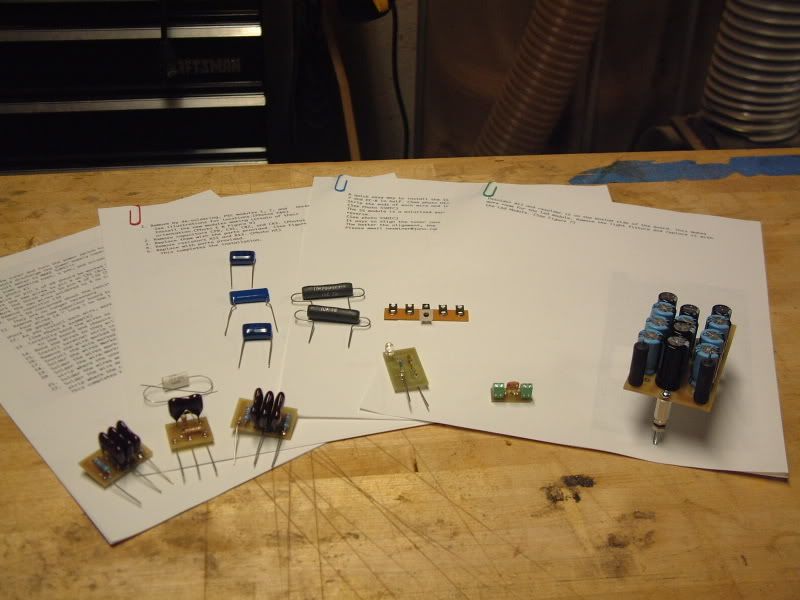
Here is a picture of the kits contents
DSCF0146.jpg


The instructions are on a CD-R and include pictures which I'm sure I'll need.

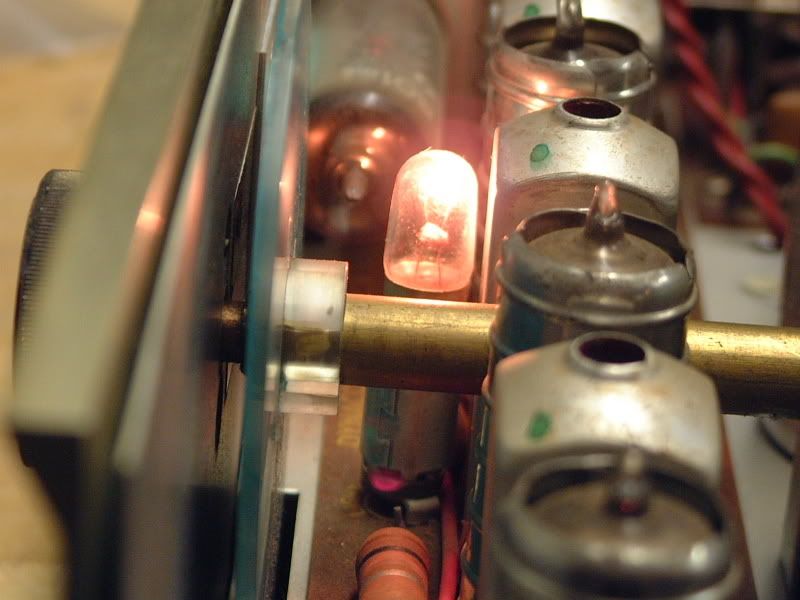
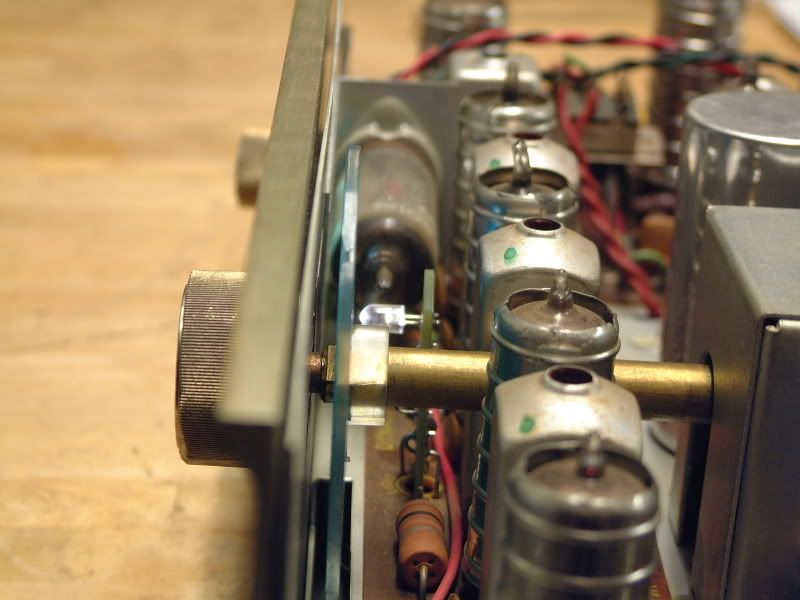
I'll start the process this weekend, and post as I go. I'll start easy with the LED and go from there.

Wish me luck.

Gary
 

Attachments

  • DSCF0149.JPG
    DSCF0149.JPG
    69.5 KB · Views: 410
That looks like a fun project Gary. I like the idea of the CD-R.

For me, pictures are great, but moving pictures are the cats ass!

RC
 
I will watch with enthusiasm as I STILL ( :D 
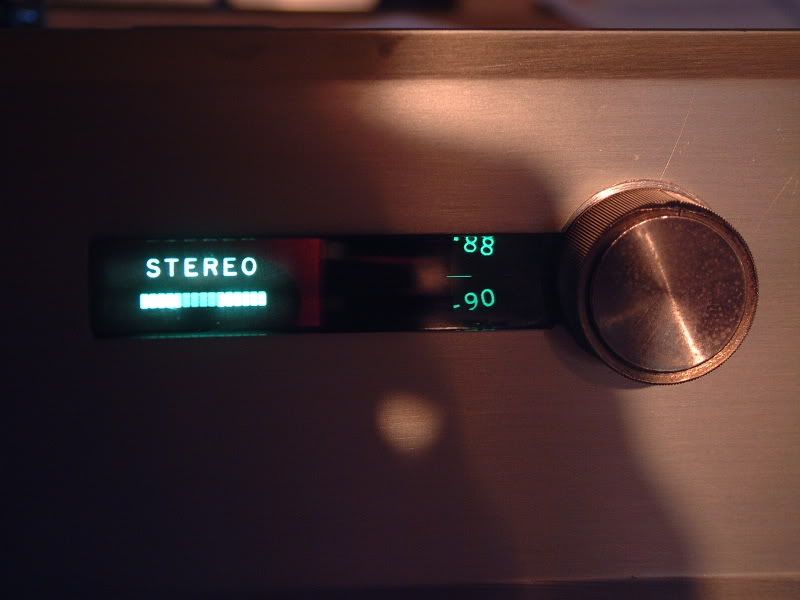
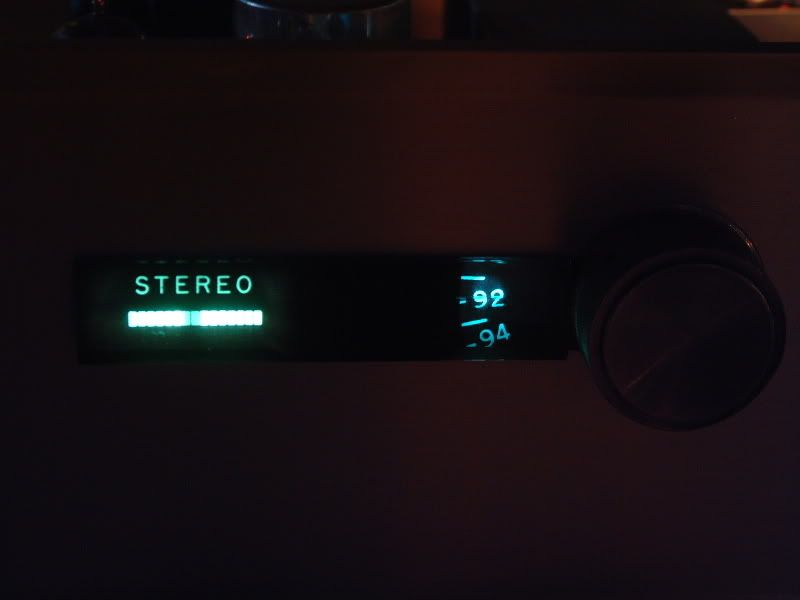
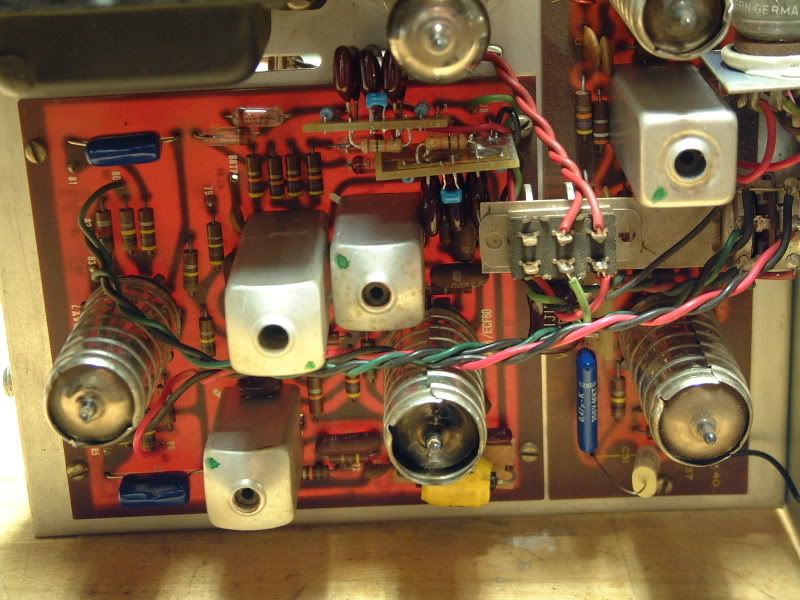
) have one of these and may go ahead with the upgrades myself. Mine looks better too :smoke: .
 
Very interesting Gary and depending how this works out for you, I think I'll grab the same upgrade kit. I see they even have replacement faceplates which is tempting - mine is trashed as some clown etched his SIN number into it.
 
They will be doing matching Pas faceplates as well in the near future. So if you had some cash burning a hole you could have a darn sweet mayching system.

No mac mine looks better. hahahahahhaahh!

Gary
 
i'll be watching and waiting too for the results.i have a mint fm3 that i might try these upgrades on if they turn out good .

ejfud,

do you have a stock fm3 that you'd be able to do a side by side comparision with once your done?
 
Recently aligned two FM3's with these mods, well worth the cost of parts and work. Tuner ends up as sensitive as most solid state unit. Very good separation, great 19Khz rejection, and low distortion. Was quite impressed with them.

X
 
Well X if I screw it up at least I know where to send it to get it fixed.

Any tips you would care to share with me?

Gary
 
ejfud said:
Well X if I screw it up at least I know where to send it to get it fixed.

Any tips you would care to share with me?

Gary

Didn't do the upgrades, that was done by the owner, he just sent them to me for alignment and trouble shoot one that had a problem.

He also added some extra caps to the power supply, above and beyond the upgrade kit. Also got rid of the volume control and and put a mono/stereo switch on the rear panel.

X
 
Punker X said:
Also got rid of the volume control and and put a mono/stereo switch on the rear panel.

X
These mods sound like real good ideas - you going to try these and take pictures Gary? :)
 
That sounds way over my head to be honest. Let me see if I can get these right before I try anything else. Remember, I'm clueless on this type of stuff.

Gary
 
After surviving the Midwest AK fest this weekend, I tackled a few of the easier mods from the kit today.

First up is the replacing of the flacelight bulb with an LED. Had to move one resistor from top to bottom and mount the LED board.

Before shots:

FM3LightB4.jpg

FM3LightB4Back.jpg

After. These picks don't do this mod justice. It is a more defined light source than the blasting bulb. Very cool looks.

FM3LightAfter.jpg

FM3LightAfterBack.jpg


Next is the Selectivity/Sensitivity Module. Easy no solder upgrade. The S/S Module increases the tuner's ability to recieve distant stations without being squashed by closer, stronger ones. I now must do the alignment so it may slow me down a bit.

Before

SSModB4.jpg

After

SSModAfter.jpg


So far darn easy. Lets hope I don't get lost somewhere down the line. Let me know if you have any questions.

Gary
 
Next up was the caps/resistor replacements and the PEC modules. Once again very easy. Remove the old and replace with new stuff as directed. The PEC boards are very well made.

PEC modules and caps before. Yellow arrows the caps, red PEC modules.

BeforePECCaps.jpg


After

PECCapsAfter2.jpg

PECCapsAfter.jpg


Next up the two resistors that protect the IF board. The originals were of to small a value.

Before

ResistorsB4.jpg


After

ResistorsAfter.jpg


Had a listen after these upgrades were finished. Already a large difference. Better high-end extension and deeper bass. Can't wait to get the power cap mod done and give those a whurl.

Gary
 
It looks like your doing a really nice job there Gary! Im looking forward to hearing the finished product.

RC
 
Had some free time this afternoon while sitting on the computer for work to install the cap board. The board is very well made and install is as simple as removing the old multi-cap and some wires and replacing with new board and adding some wire.

The board mounts in holes already in place, so no drilling.

Forgot to take a before shot, but you all know what the old cap looks like. Here is the finished board install.

NewCapBoard.jpg


Gary
 
Looks great Gary. I don't listen to FM much but now you have me wanting the order the kit for mine. Have to move some stuff first :yes: .
 
Back
Top Bottom