Highef
New Member
Hi,
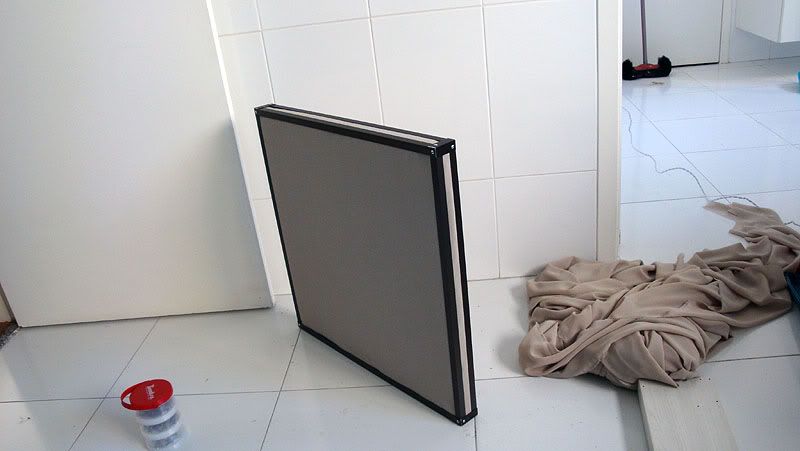
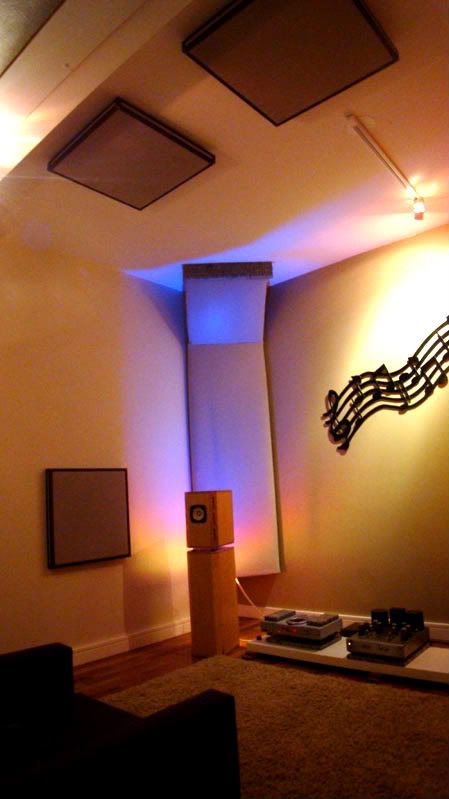
I would like to give this small contribution of my DIY acoustic panels build process.
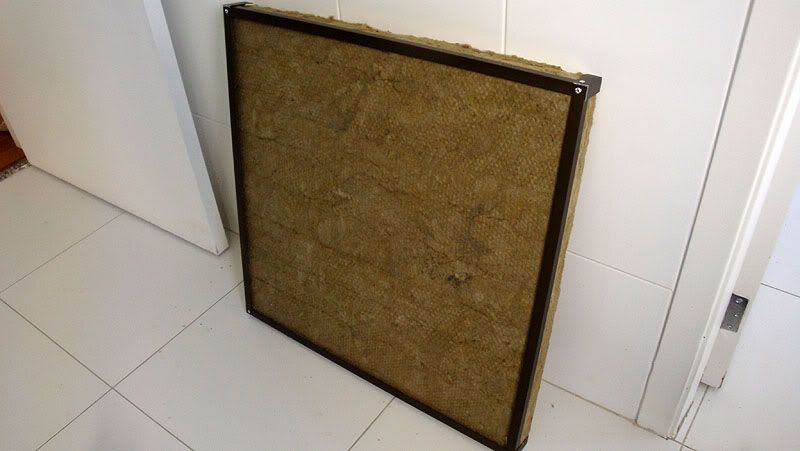
They are very efficient, compact, looks very nice, good finish and extremely lightweight. You can do in any color combination you want.
I will post here the process for a 60x60cm 2" (5 cm) thick. But any other size the process is the same.
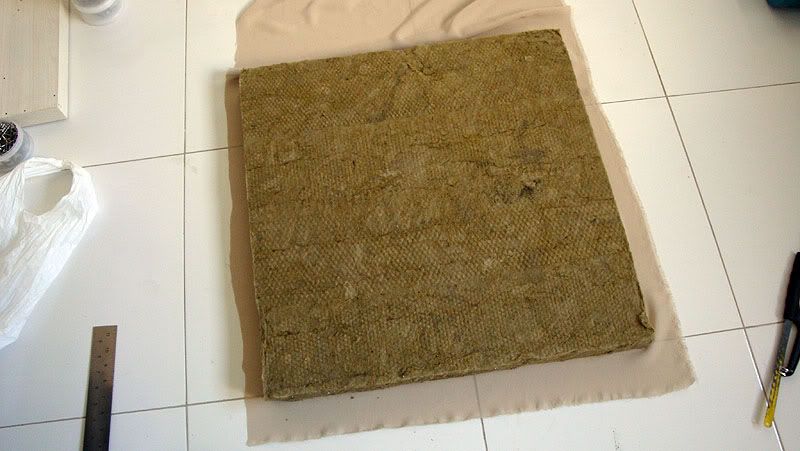
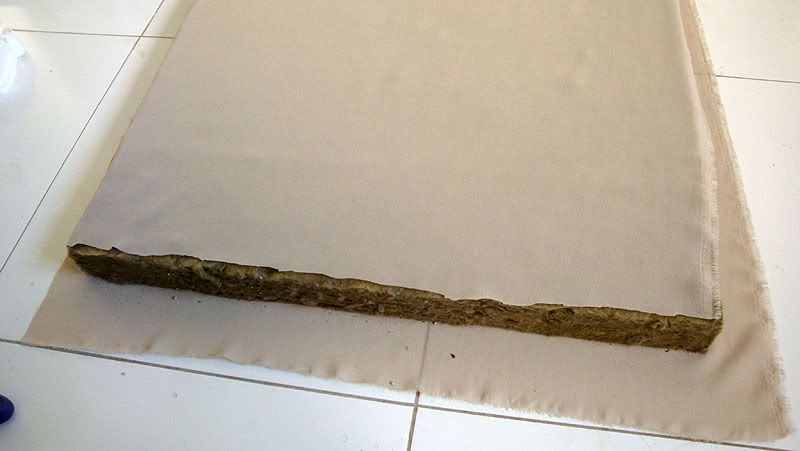
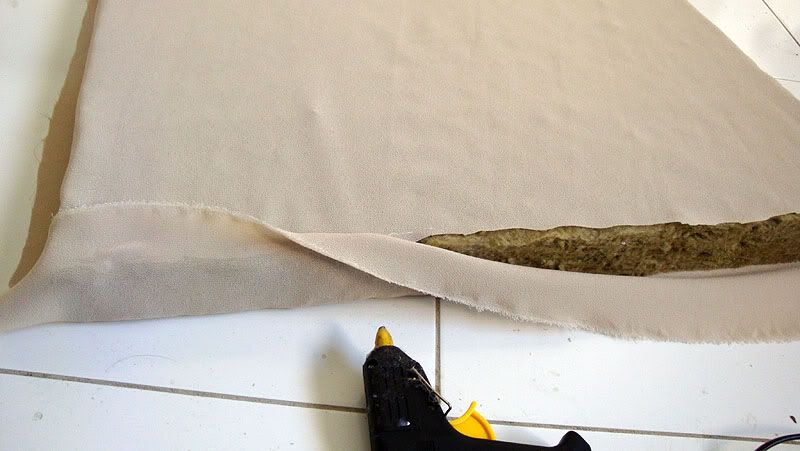
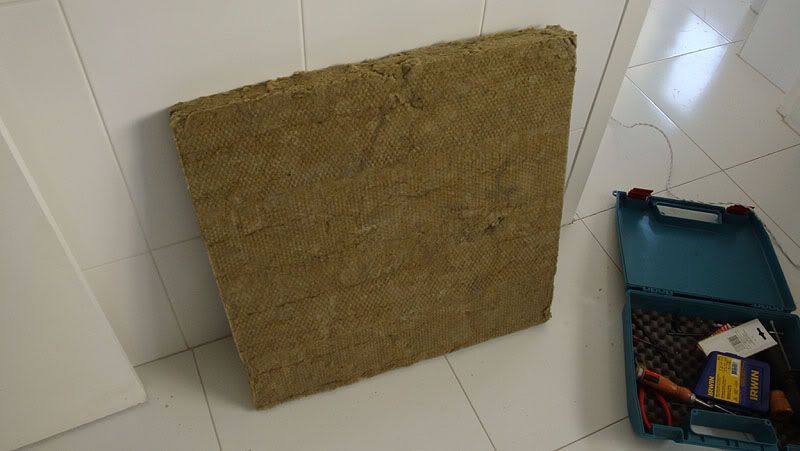
Absorber material: I use rockwool rigid panel, density 80, 60x60cm and 2" thick. They are very good for first reflection points. For corner basstraps, a minimum of 4" must be used. I bought them in 120x60 cm in my local market and use a bread knife to split them off easily. Rigid fiberglass can be also used. Avoid using foams.
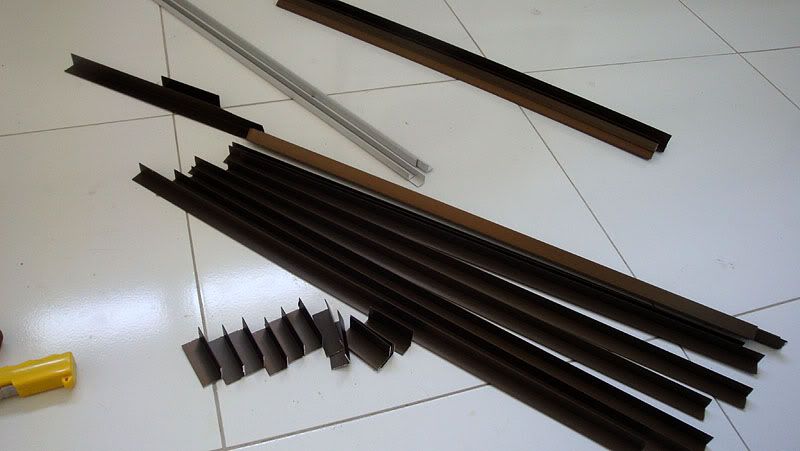
Framing: Aluminum corners used for protecting walls corners. There are a variety of sizes, colors and finishes. I choose a brushed dark brown.
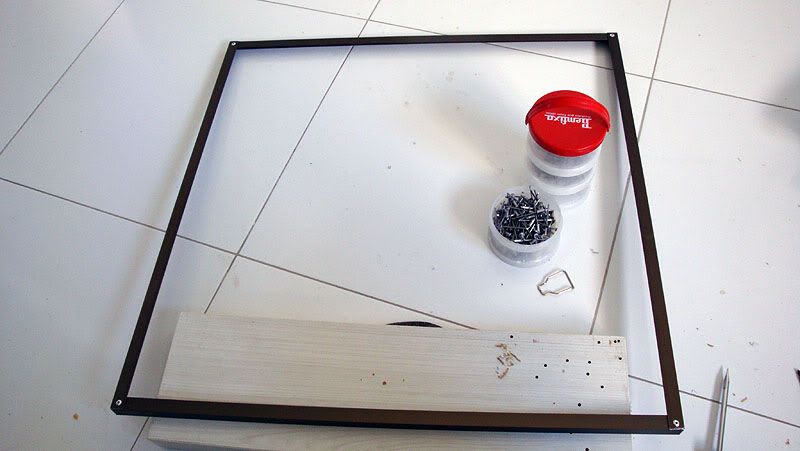
Since the panels have 60x60cm/2" I used a small saw to cut the pieces. 8 pieces with 60cm and 4 with 5cm (2").
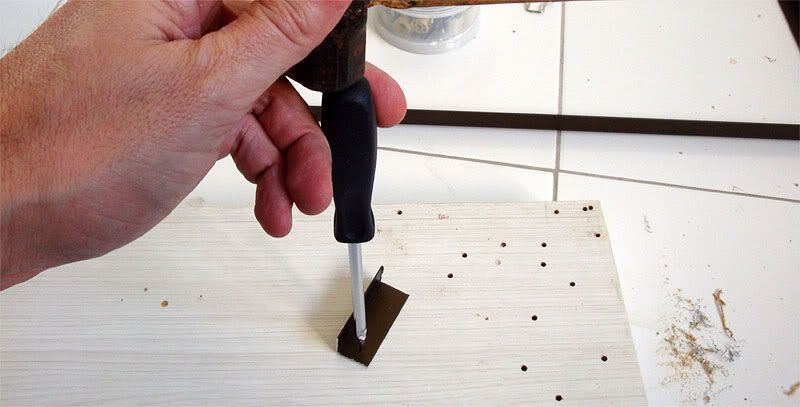
Use puncture tools to prepare the point where you want to make the holes.
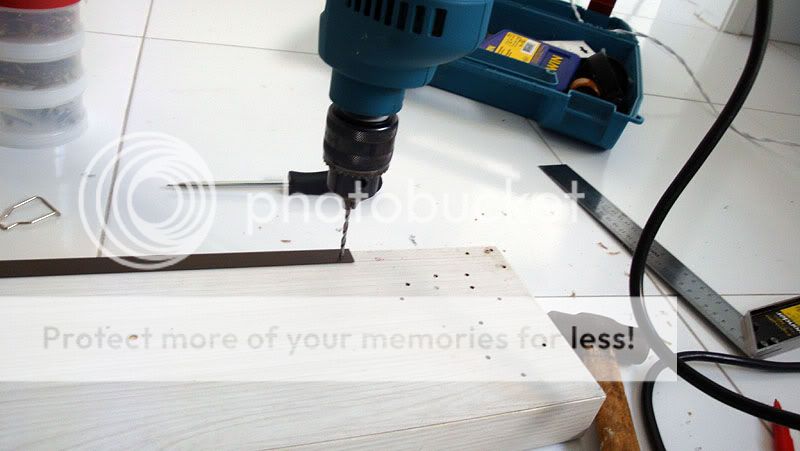
We are going to use rivets to join the parts, so make sure the hole has the same rivet diameter.
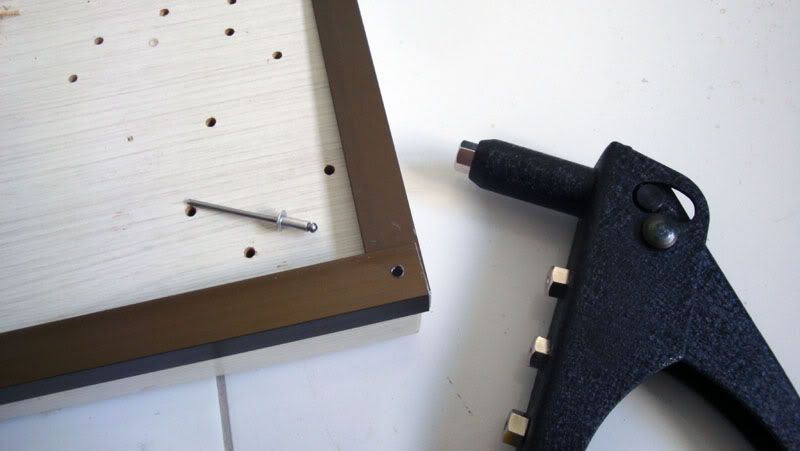
A riveter provides a very tight, yet adjustable, joint.
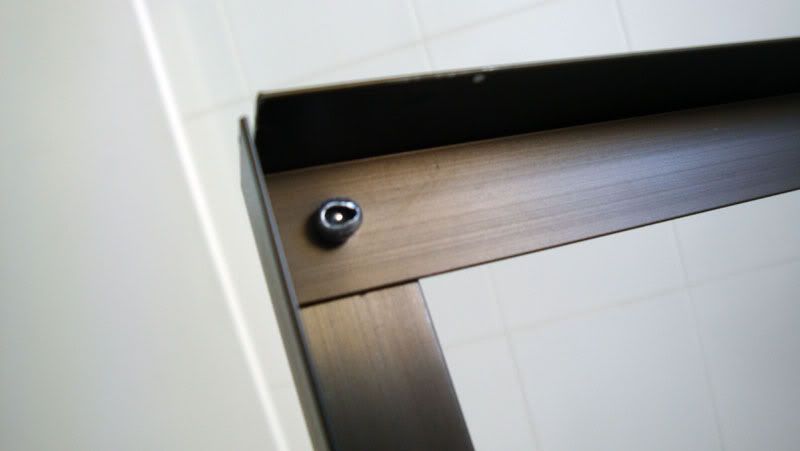
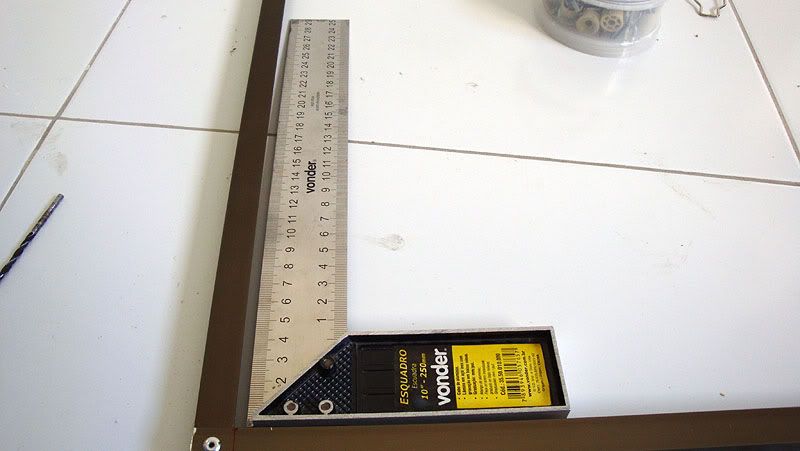
Make sure the first framing set is square. You can still adjust if needed.
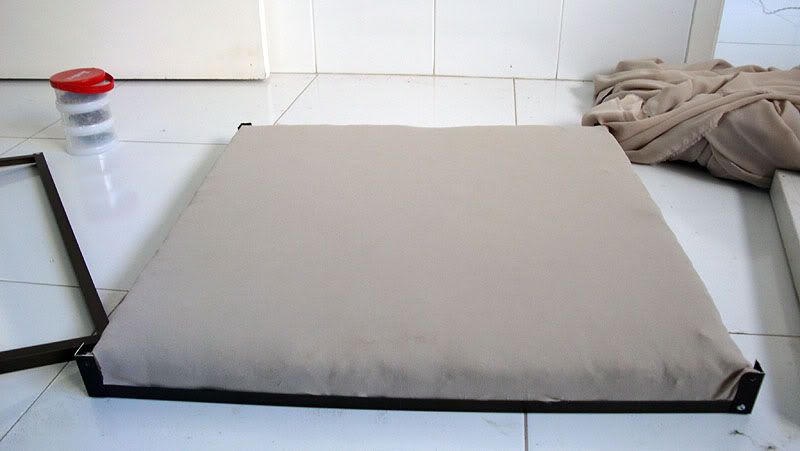
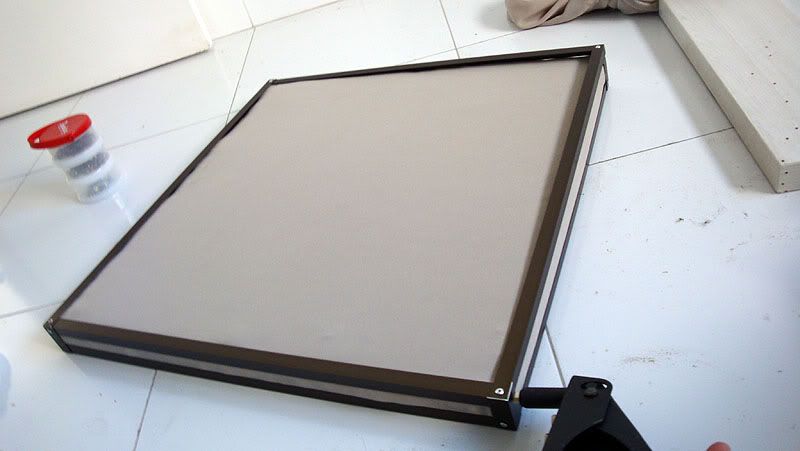
Put the 2" framing and prepare the second part of the framing. Of course, don't join them yet.
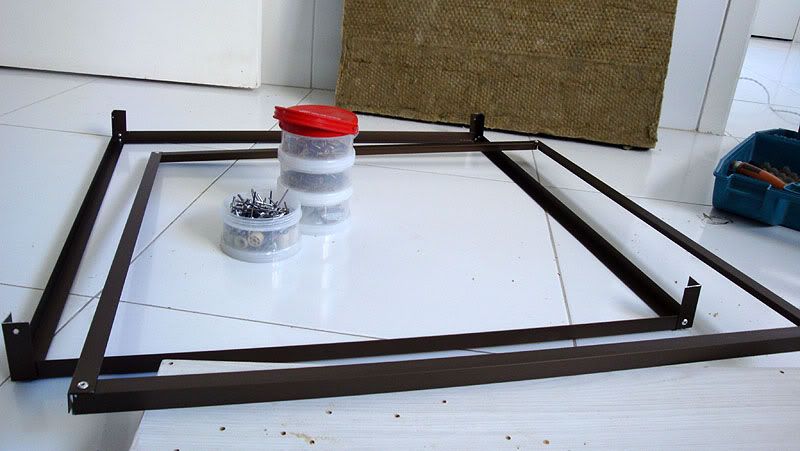
Do a pre-fit to make sure everything is ok.
I would like to give this small contribution of my DIY acoustic panels build process.
They are very efficient, compact, looks very nice, good finish and extremely lightweight. You can do in any color combination you want.
I will post here the process for a 60x60cm 2" (5 cm) thick. But any other size the process is the same.
Absorber material: I use rockwool rigid panel, density 80, 60x60cm and 2" thick. They are very good for first reflection points. For corner basstraps, a minimum of 4" must be used. I bought them in 120x60 cm in my local market and use a bread knife to split them off easily. Rigid fiberglass can be also used. Avoid using foams.
Framing: Aluminum corners used for protecting walls corners. There are a variety of sizes, colors and finishes. I choose a brushed dark brown.
Since the panels have 60x60cm/2" I used a small saw to cut the pieces. 8 pieces with 60cm and 4 with 5cm (2").
Use puncture tools to prepare the point where you want to make the holes.
We are going to use rivets to join the parts, so make sure the hole has the same rivet diameter.
A riveter provides a very tight, yet adjustable, joint.
Make sure the first framing set is square. You can still adjust if needed.
Put the 2" framing and prepare the second part of the framing. Of course, don't join them yet.
Do a pre-fit to make sure everything is ok.