Hoodcom
Well-Known Member
First off, I hope I placed this thread in the right category here. 
For a couple/few years now, I've been using a 6 foot wide computer desk as my entertainment center in my room. It worked alright for a while, but as you can see, it's just not optimal for my audio gear needs...

The main issues from the current setup is the lack of shelving space, then lack of ability for a floor standing tower to be used as a center channel, and takes up a little too much space. What this entertainment center project is going to do, is allow me more shelving space to hold my equipment, allow me to use a floor standing tower as a center speaker, such as a D-7, D-9, AT-15, VE-15, or a 380SE. I /might/ be able to fit another S-2 EE as one, if I am lucky to ever find another one, and if space allows since they are a tad bit wider than the measurement I have for the D-9, AT-15, VE15, and 380SE options. Then the best part, is freeing up enough space to replace my CLS-15S with a Stroker 18 cabinet to finally get that into my system. :thmbsp:
So I ended up drawing some plans, right here:

Now the final measurements of some pieces may vary slightly due to the thickness of the table saw blade, but not quite enough to hurt anything. Me and my dad did cut all of the pieces, and the shelves we went ahead and have a tad bit less wide, maybe by a 1/16th inch I'm guessing? Everything's made all squared up right now, which this will cause slight gain in the available width space for the center tower speaker location, since the measurement for top part of the entertainment center remains the same.
So here's the cut pieces so far...
So these will be the shelves, and main floor shelf here at the bottom of the cabinets:


Then the top and sides and smaller pieces:

By time it got dark, we closed up the shop as all the pieces were cut. Doesn't help too much being in an unfinished shop with no lights at the moment, and as the sun goes down it does get cold quite fast. We had to buy a router table since our old table saw didn't have the right piece for the particular router we did get, and while there, I bought some stain, and some goodies to change up from the original design...
Firstly, I decided to make /all/ the shelves adjustable. Except one, which will be on drawer trays to slide in and out for my turn table, at least this is what I have in plan. Unless someone thinks this is a bad idea, but this drawer assembly is extendable, and capable of 100 pounds, and kinda pulls itself back in when you slide it in nearly all the way and stays in place.
Since we got the router, we tested it to see our option for the bracket setup for the adjustable shelves for this setup...

Close, but not quite, but with a slight adjustment of the guide on the router table, to cut off an extra little bit off the wood, we could fit the brackets rather nicely, like so:

Then we began prepping for the first, lower shelf on the bottom side.... for added strength we will use these peg things...

Then apply the glue, and clamp down...

Here's what it looks like on the bottom side from the inside:

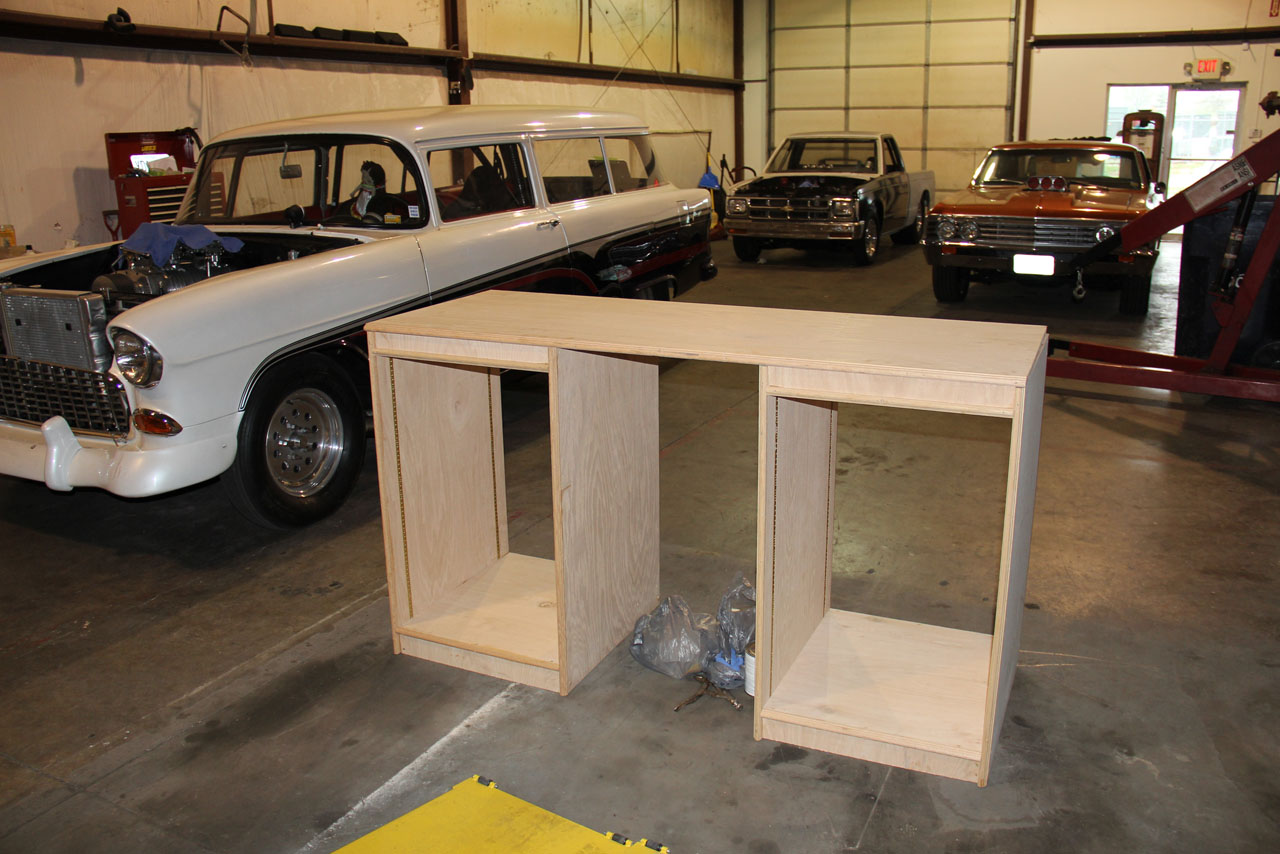
Then soon got some more pieces together, to get squared up...


The smaller boards along the bottom are screwed in and glued, but we have the side on the top of the picture, just clamped down for now at the position it will need to be glued and mounted at. This is pretty well were we left off as it got dark on us again. I'll update more on progress as we progress on this project! :yes:
For a couple/few years now, I've been using a 6 foot wide computer desk as my entertainment center in my room. It worked alright for a while, but as you can see, it's just not optimal for my audio gear needs...
The main issues from the current setup is the lack of shelving space, then lack of ability for a floor standing tower to be used as a center channel, and takes up a little too much space. What this entertainment center project is going to do, is allow me more shelving space to hold my equipment, allow me to use a floor standing tower as a center speaker, such as a D-7, D-9, AT-15, VE-15, or a 380SE. I /might/ be able to fit another S-2 EE as one, if I am lucky to ever find another one, and if space allows since they are a tad bit wider than the measurement I have for the D-9, AT-15, VE15, and 380SE options. Then the best part, is freeing up enough space to replace my CLS-15S with a Stroker 18 cabinet to finally get that into my system. :thmbsp:
So I ended up drawing some plans, right here:
Now the final measurements of some pieces may vary slightly due to the thickness of the table saw blade, but not quite enough to hurt anything. Me and my dad did cut all of the pieces, and the shelves we went ahead and have a tad bit less wide, maybe by a 1/16th inch I'm guessing? Everything's made all squared up right now, which this will cause slight gain in the available width space for the center tower speaker location, since the measurement for top part of the entertainment center remains the same.
So here's the cut pieces so far...
So these will be the shelves, and main floor shelf here at the bottom of the cabinets:
Then the top and sides and smaller pieces:
By time it got dark, we closed up the shop as all the pieces were cut. Doesn't help too much being in an unfinished shop with no lights at the moment, and as the sun goes down it does get cold quite fast. We had to buy a router table since our old table saw didn't have the right piece for the particular router we did get, and while there, I bought some stain, and some goodies to change up from the original design...
Firstly, I decided to make /all/ the shelves adjustable. Except one, which will be on drawer trays to slide in and out for my turn table, at least this is what I have in plan. Unless someone thinks this is a bad idea, but this drawer assembly is extendable, and capable of 100 pounds, and kinda pulls itself back in when you slide it in nearly all the way and stays in place.
Since we got the router, we tested it to see our option for the bracket setup for the adjustable shelves for this setup...
Close, but not quite, but with a slight adjustment of the guide on the router table, to cut off an extra little bit off the wood, we could fit the brackets rather nicely, like so:
Then we began prepping for the first, lower shelf on the bottom side.... for added strength we will use these peg things...
Then apply the glue, and clamp down...
Here's what it looks like on the bottom side from the inside:
Then soon got some more pieces together, to get squared up...
The smaller boards along the bottom are screwed in and glued, but we have the side on the top of the picture, just clamped down for now at the position it will need to be glued and mounted at. This is pretty well were we left off as it got dark on us again. I'll update more on progress as we progress on this project! :yes:
Last edited: