• The move to the new server is done. There are some software and database maintenance updates in process. This has us passing the hat around to help out. We appreciate any donations. Seriously, even a dollar helps. The payment page may be found here - https://www.audiokarma.org/support.html

Diy amps and recycled goods.

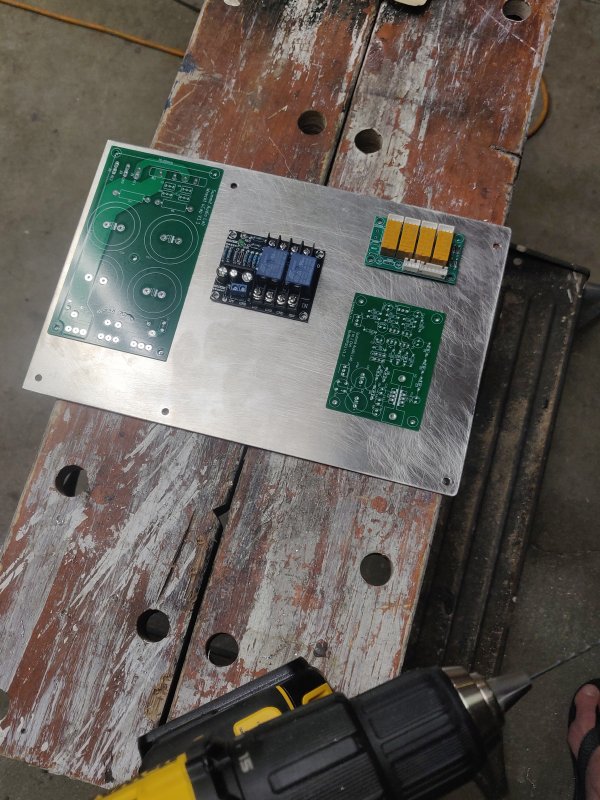
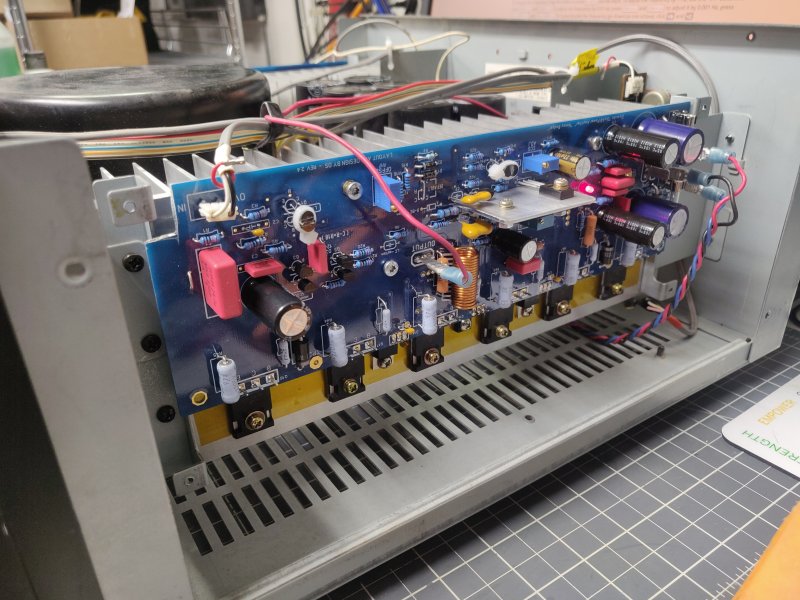
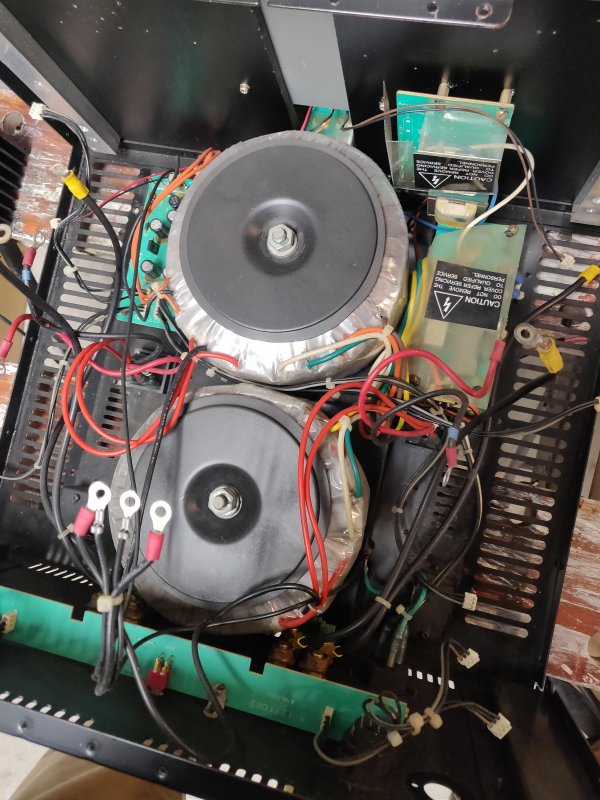
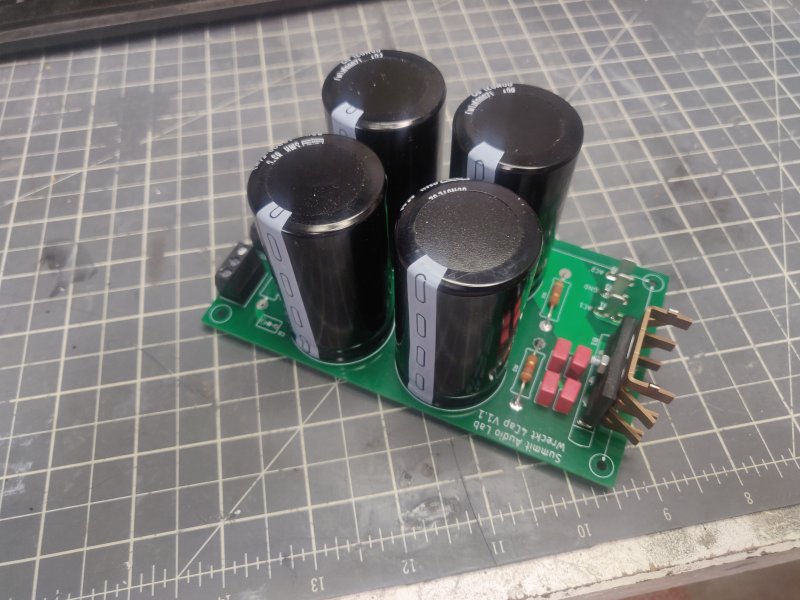
Been doing a bunch of work to my gb150d amp. It is built into an old Rotel 1052 receiver. I setup the a new 2x20 vfd display that is controlled by an Arduino nano. The Arduino also controls the 4 input relay board I got on eBay. I recently designed my own power supply pcb to replace the hacked arcam power supply. It provides +-55v rails, and 48000uf of filter capacitance. It has bleeder resistors and led indicators with an option for snubbers at the output.
My mounting panel was too small, so I made a new larger panel that will help me accommodate a custom buffer pcb that will ensure any source can drive the amp.
Gotta build out the buffer board and test it. It has an integrated power supply, and is based on apt holman buffer circuit.
A fleabay DC speaker protection board is used.
My an is to add a Bluetooth board to the a.p, so I can have 4 sources, cd, tuner, video. Bluetooth. Sort of my own attempt at a diy integrated amp.

 
I have added in a budget Bluetooth module so the wife can stream her podcasts. I also built out the pcb for the buffer circuit and installed. The buffer is based on an apt holman preamp buffer stage, and uses an integrated +-18vdc regulated power supply. Rotel was nice enough to include a center tapped 21v secondary from the main transformer. That provides the ac. Haven't listened to it much. From a decent source, I didn't really notice any change (which is good, it should be transparent) but from the weak ass Bluetooth module, it did beef up the sound, as it is more capable of driving the amp than the Bluetooth module itself.
 
Yep, the threads are long. And all nuances of this or that are discussed. I read a lot, and then just decided to jump in. Order up the boards, read the build guide. The build guide pdf doc is very good, and has the bom. I based my purchases off the bom, and then refined it for the second go around with the D-Badger. Where there are options and you don't know what to do, search google for your issue and diyaudio honey badger, and you should be able to find answers to your questions more efficiently than reading the entire build thread.
Completing my first build was very exciting and extremely satisfying. A wiser man than myself said, don't get analysis paralysis, just jump in, the waters fine. That comment got me building, and turns out he was right. Waters fine.

Faceplate was sanded, body filler applied, sanded again, and spray painted with home despot's finest rust-oleum.

These are great builds! I have been thinking about doing something like this myself.

I do have a question, though. Where did you get that meter from you used in the Arcam faceplate?
 
Thanks. Fun times in the garage.

Yeah the meters came out of a Bic cassette player that I acquired randomly and was busted. It looked like a pain to fix, and I don't listen to tapes much, and broken tape players arent worth much so... I let the kids take it apart and pulled the meters and the board that controls them out. Piece of electrical tape on either side to black out the rest of the "window," and there you are. Perfect fit.
 
I personally would call that Upcycling ,from trash to treasure .
Enjoy and keep having fun with other peoples waste .
Regards F.
 
I think you can fill the boards for the badger at less than $100 per board. And depending on output choice, and other choices, you can probably reduce that further. I tend to order significantly higher quantities of parts than I need for a given project as I try to build an inventory of useful parts. need 2 250r resistors? Order 30 of them. For the power supply, the big caps can be as pricy or as cheap as you like. I used not fancy ones, at $6 or $7 a pop. They are one of the more expensive components of a build. I used a standard one piece bridge rectifier instead of the diyaudio rectifier board. But if you have a big amp that doesn't work and has a real nice power supply.... Save some money. My D-Badger uses a completely unmodified Denon power supply, from the ac mains all the way to the amp board. Right down to original power wires supplying the honey badger boards. So, there is a lot of leeway in how much you spend. Being creative with other stuff you have laying around is fun too, and saves money. One of my next projects is going to be a couple of LM4702 amplifiers, as I have a couple of those rare unobtanium chips left over from the broken arcam. So, in essence, one project leads to the next project.

Hi Summit I'm going to take the plunge with an old Denon POA 2200. I was wondering options did you use on Denon 2200?
 
Awesome work SummitP! I follow the same salvage philosophy. There is so much stuff destined for a landfill that has parts that can be reused. And the savings are great! I sometimes buy stuff from thrift shops just because it has parts that would cost me several times more to buy new.
 
Glad you guys enjoy it. On the Denon poa2200, all features of the stock amp are used, including soft start, DC protection, speaker selection, etc...
Rereading your post, you are asking what options I used building the honey badger...
Hmmm. It's been a while now. Let me see if I kept notes... I know for sure I used the zener diode option at input stage. I can't remember what used for compensation.
 
Very cool project! I still have two GB150D amp modules lying around- they had been in a repurposed B&K 140 case with a big torroid trans and the large filter caps from the B&K. One of the modules developed a problem, so that amp case now has two amp modules from AKer Sachin, along with a soft start/protection module from the auction site. I don't know if Greg Ball is still around, the amps he designed do sound nice.
 
Very cool project! I still have two GB150D amp modules lying around- they had been in a repurposed B&K 140 case with a big torroid trans and the large filter caps from the B&K. One of the modules developed a problem, so that amp case now has two amp modules from AKer Sachin, along with a soft start/protection module from the auction site. I don't know if Greg Ball is still around, the amps he designed do sound nice.


Let's see some pics yo!
 
Here is the D-Badger. A denon POA-2200 with honey badger amplifier boards installed. This one was relatively easy compared to the Arcam version. The denon has a nice power supply with 40,000uf per channel and a nice big transformer. I was able to retain all denon diagnostic functionality, and soft start functionality, and speaker switching fucntionality. Basically it works as designed by Denon, it just sounds better thanks to the Honey Badger boards. The hardest part of this build was drilling and tapping the holes on the heatsinks. So many. The sound is basically indistinguishable from the A-Badger, which is to say, fantastic. I love these badgers, and they have kicked out the other amps from the most desirable locations in the house.
Again, One of the major benefits to doing a modified/recycled effort for diy is cost. I got the amp for about $80, non functional. Was easy to fix. Badger boards, and BOM parts to fill the boards is all this one took.
Check it out...

Hi Summit I've started a Honey badger build on my denon poa 2200. I have a question in regards to your denon honey badger build. What did you do to connect the cables from the old denon audio boards connected to the power supply? Thanks in advance...
 
Hi Summit I've started a Honey badger build on my denon poa 2200. I have a question in regards to your denon honey badger build. What did you do to connect the cables from the old denon audio boards connected to the power supply? Thanks in advance...
 
The first page of this thread has pics. Used original power supply wiring, red blue black, added female terminals to connect to badger board.
I removed the inductors and resistors from the speaker output board and used the ones on the HB boards.
Run new speaker output wire from HB to speaker output board.
 
A while ago I wrapped up another project. I'd had a Linn chip amp a while back that I liked, so I decided to build a chip amp. I chose dibyas Xmas tda7293 design. A fellow named jhofland did the pcb layout design, and there is a good build thread on diyaudio.com. I ordered up some boards from jlcpcb and a bunch of parts from mouser, a transformer from antek, and my own power supply pcb. Measured out the dimensions of the parts and ordered a case from AliExpress. Pretty simple build. I built it on a piece of wood first as the case had not shown up yet. It worked fine, so when the case showed up, in it went. Amp now plays FM in the living room on a regular basis and sounds very nice. I need to do a proper setup in the room to really give it a critical listen.
Fun build.
 
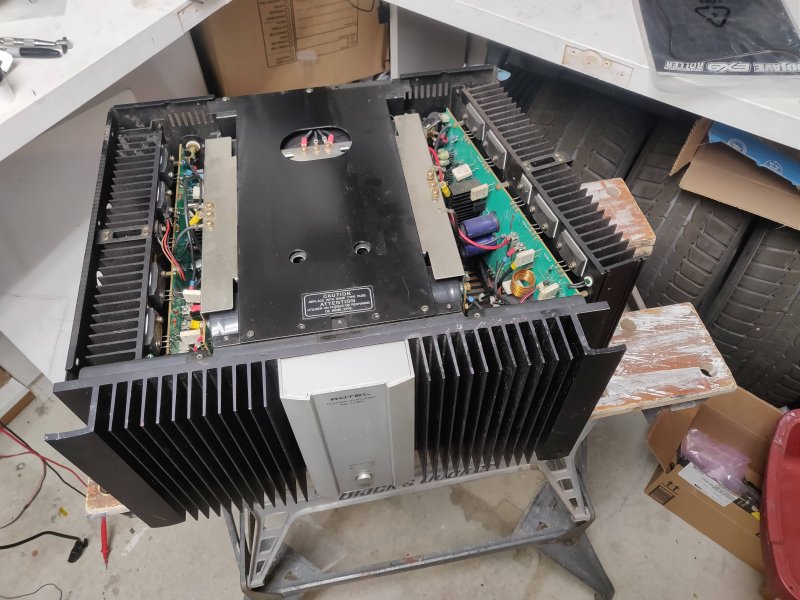
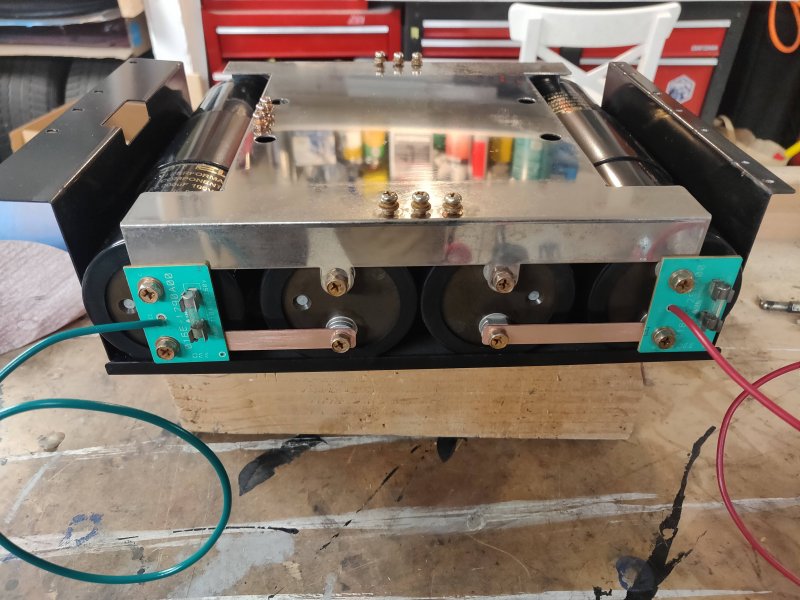
Another project that I wrapped up this summer. A rotel rb-1090 power amp that was going into protection when I got it. Sucker is HEAVY. Something like 90lbs. Heavy. It has dual 1.25kv transformers. It had a blown output transistor, and the first batch of replacements I found were fakes, amp lasted 5 minutes. pop. Sat around for months, finally found some other sankens, they were real. Bought from a better seller than some clown on fleabay. Amp repair successful. I cleaned up the ground plate, all capacitors, copper bars, etc.... Amp sounds great, and has TONS of power. More than my speakers need. Interestingly, it plays very well at low volumes as well. Pretty pleased with it.
 
The first page of this thread has pics. Used original power supply wiring, red blue black, added female terminals to connect to badger board.
I removed the inductors and resistors from the speaker output board and used the ones on the HB boards.
Run new speaker output wire from HB to speaker output board.
Thanks Summit I'm ready to run the first diagnostic set up.
 
Thanks Summit I'm ready to run the first diagnostic set up.
Hi Summit one quick question when you removed the resistors and coils from the speaker terminal board did you use jumpers in place of the removed coils and resistors? Thanks in advance. This is my first build using the Honey Badger board>
 
Hi Summit one quick question when you removed the resistors and coils from the speaker terminal board did you use jumpers in place of the removed coils and resistors? Thanks in advance. This is my first build using the Honey Badger board>
I think what I did was I'd where the output of the factory parts went on the service manual, and then put eh speaker output wire in that hole of the pcb so it then can make it's way to the speaker terminal. So, you pull the inductors and resistors and figure which hole in the pcb is the end of that network, and passes the signal on, and there you connect your speaker output from the amp board. This configuration allows you to retain the DC protection of the Denon.
 
I think what I did was I'd where the output of the factory parts went on the service manual, and then put eh speaker output wire in that hole of the pcb so it then can make it's way to the speaker terminal. So, you pull the inductors and resistors and figure which hole in the pcb is the end of that network, and passes the signal on, and there you connect your speaker output from the amp board. This configuration allows you to retain the DC protection of the Denon.
Thanks Summit for that information. I will pull the board after I complete the biasing phase. I still have to drill mounting holes on the heatsink. Again thanks...
 
Back
Top Bottom