Airjmax
Active Member
I acquired a nearly immaculate pair of Sansui AS-100 speakers in the Summer of 2017, and really enjoyed them from the start. Incredibly, I bought them along with a similarly near-mint Sansui 210 receiver, complete with manual, laminated setup instructions, warranty cards, and dust cloth! The best part? I found it about a half mile from my house! Pretty unusual for my small town. I have recently been selling some equipment and speakers, but not the AS-100s, so a recap was in order. Hopefully, this will be helpful to fellow AK members. Total time was about 45 minutes from start to finish, working very carefully.
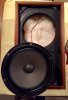
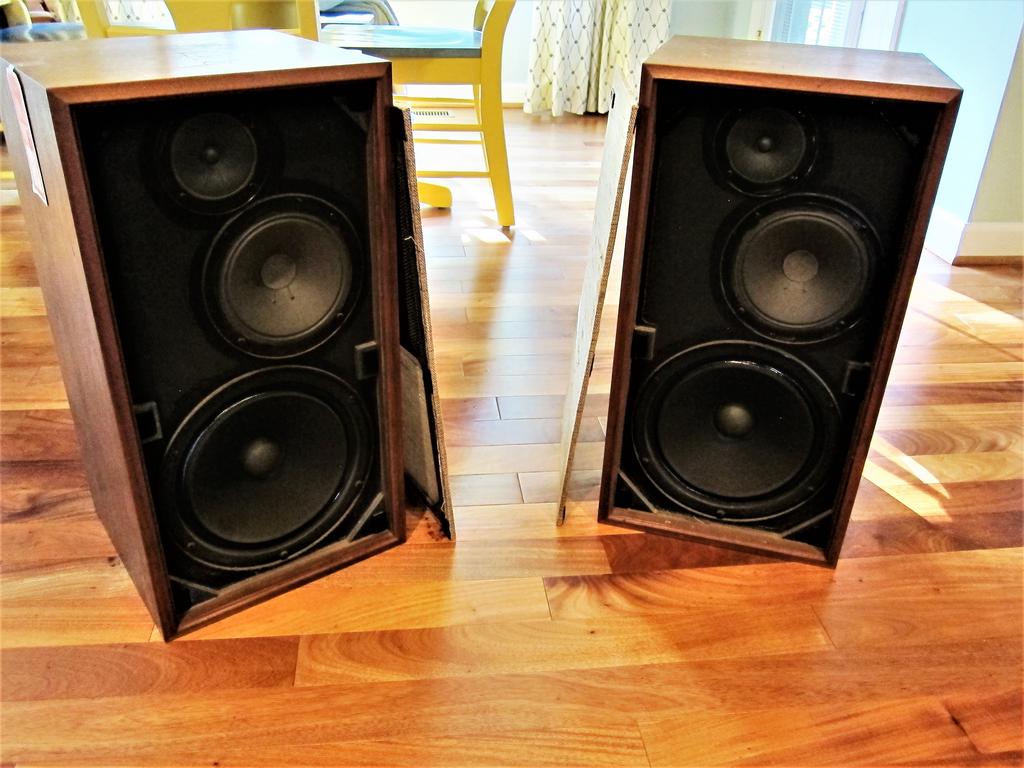
Step One - Remove grill and pull the woofer to get at the crossover. Removing the screws, I gently pried up the woofer with a flat-blade screwdriver, and lifted it out. The wire leads are plenty long, thank goodness. I also pulled the batting material.
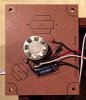

The crossover is held down with threaded pins, nuts, and washers and lifted out easily to reveal the single cap and accentuator. The cap had tape over it, and some kind of black goo on it. I'm not sure if it was adhesive to hold it down, or if the cap was leaking.
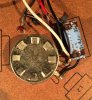
I desoldered the leads, affixed the new cap in place, and soldered it down. I also hit the accentuator with contact cleaner and Deoxit and worked it a couple dozen times.
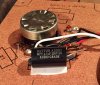
We were plum out of hot glue, so I put down some 3M double sticky foam tape to hold the cap in place. No rattling here!
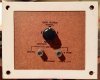
The back of the crossover had a gasket to seal it off, and the binding posts are good quality, so no upgrade needed. That is one thing I've noticed about the several Sansui components I've owned - the build quality is exceptional.
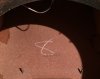
Not sure what these numbers are...421005 is maybe the serial number, the 8 is a mystery.
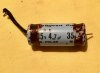
Here's the old cap, complete with brown/black goop.
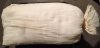
This is the batting, tied up in a bag!
Overall, this was an easy project, since the crossover is very simple. I can't wait to hear the difference in sound with the speakers back to spec.

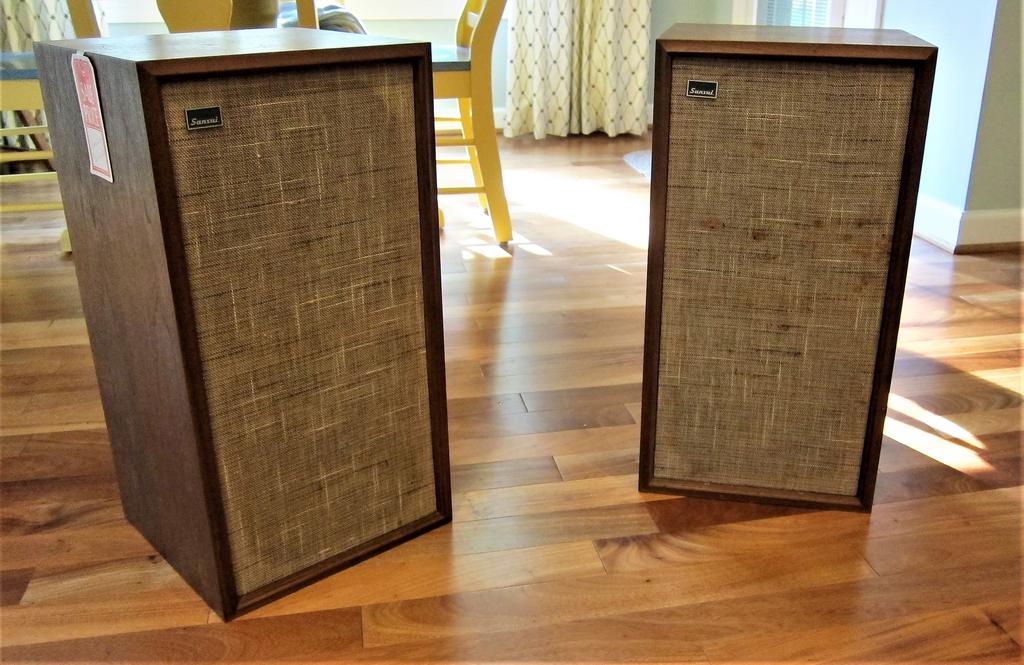
Here's a shot of one of the AS-100s. Maybe I'll try to take on the AS-200s next!
Step One - Remove grill and pull the woofer to get at the crossover. Removing the screws, I gently pried up the woofer with a flat-blade screwdriver, and lifted it out. The wire leads are plenty long, thank goodness. I also pulled the batting material.
The crossover is held down with threaded pins, nuts, and washers and lifted out easily to reveal the single cap and accentuator. The cap had tape over it, and some kind of black goo on it. I'm not sure if it was adhesive to hold it down, or if the cap was leaking.
I desoldered the leads, affixed the new cap in place, and soldered it down. I also hit the accentuator with contact cleaner and Deoxit and worked it a couple dozen times.
We were plum out of hot glue, so I put down some 3M double sticky foam tape to hold the cap in place. No rattling here!
The back of the crossover had a gasket to seal it off, and the binding posts are good quality, so no upgrade needed. That is one thing I've noticed about the several Sansui components I've owned - the build quality is exceptional.
Not sure what these numbers are...421005 is maybe the serial number, the 8 is a mystery.
Here's the old cap, complete with brown/black goop.
This is the batting, tied up in a bag!
Overall, this was an easy project, since the crossover is very simple. I can't wait to hear the difference in sound with the speakers back to spec.
Here's a shot of one of the AS-100s. Maybe I'll try to take on the AS-200s next!