• The move to the new server is done. There are some software and database maintenance updates in process. This has us passing the hat around to help out. We appreciate any donations. Seriously, even a dollar helps. The payment page may be found here - https://www.audiokarma.org/support.html

Sansui AU 20000 restoration - many... many pictures

Wow! Very cool. I thought it wasn't working because I still can't see the picture in post #126, but when I went to the first page, there they are! So this IS a workaround for the linked photos to still be seen without paying photobucket? I'm not one of those "the internet must be free" guys, but I was disappointed when they sprung the pay system on everyone and when it was freaking $400 I was angry.

Now this thread is awesome again! I'm amazed at how clean he gets those circuit boards!
 
Hi Kale,
I have been reading this thread many many times now with great interest. You see I have the opportunity of owning this same AU-20000 for the last 40 years. Unfortunately, a long time ago somebody spilled liquid on it while functionning. The protection circuit shut it down and eventually the amp restarted and worked fine for many years. After a while one of the driver boards burned and was repaired by a butcher. I remember reading that you had made a few of those boards. I am wondering if I could purchase two of them or if I should have you look at the whole thing instead.
If you prefer, you could contact me on a private message.
Thanks in advance and I must say that you are a perfectionist and an artist as well.

OK, let's continue with driver boards...
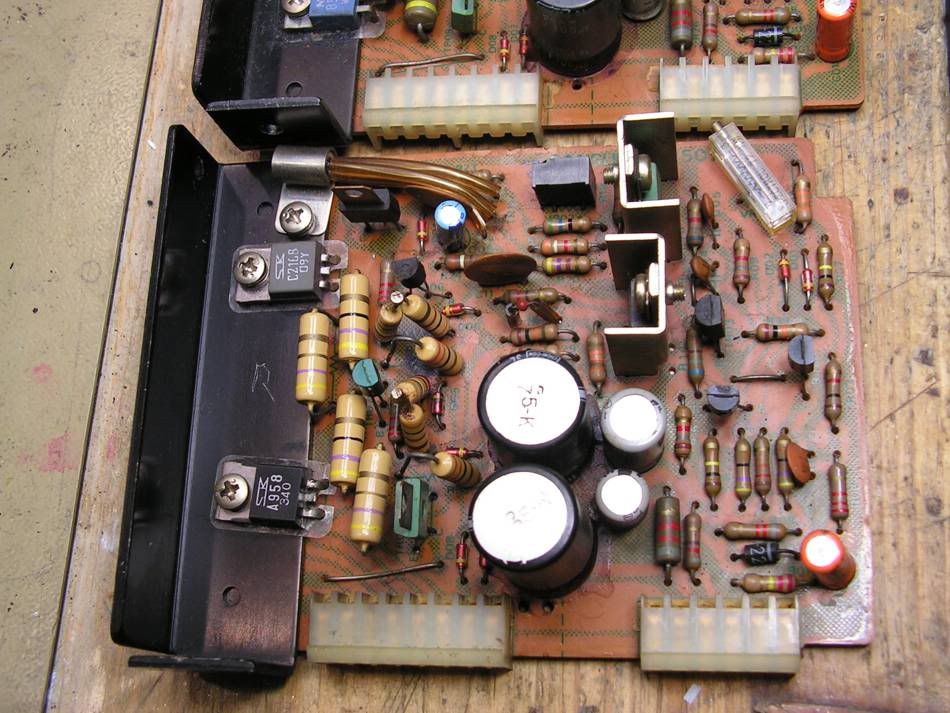
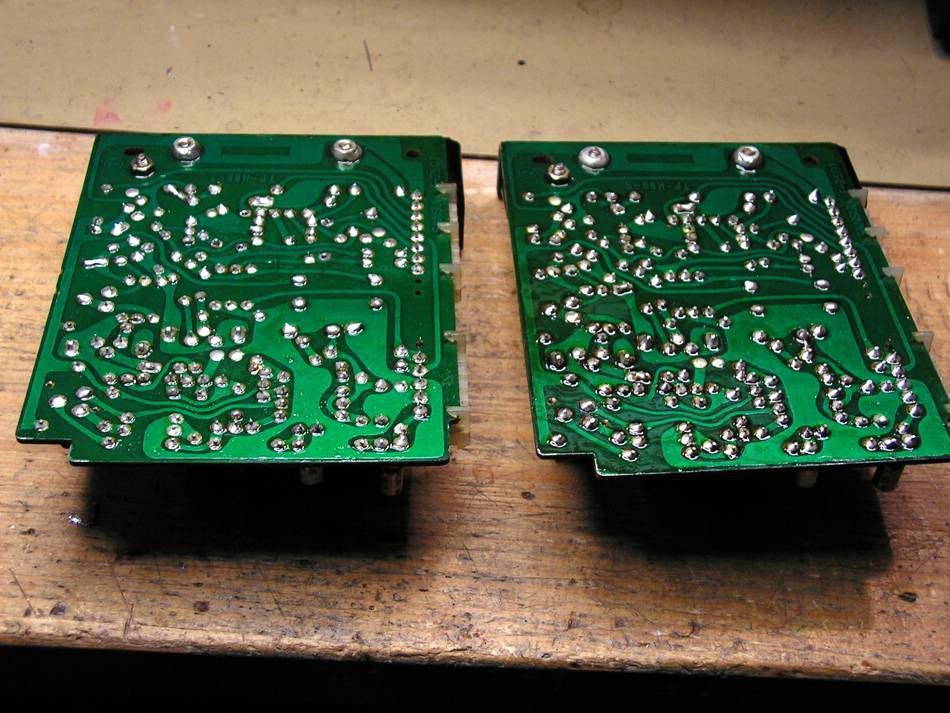
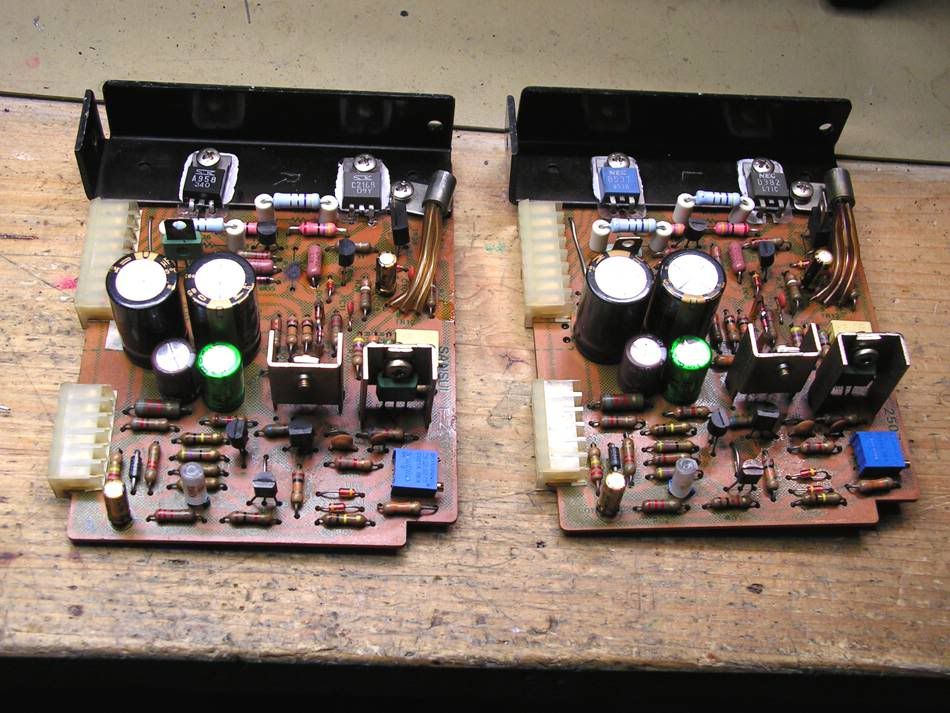
PICT0235.jpg


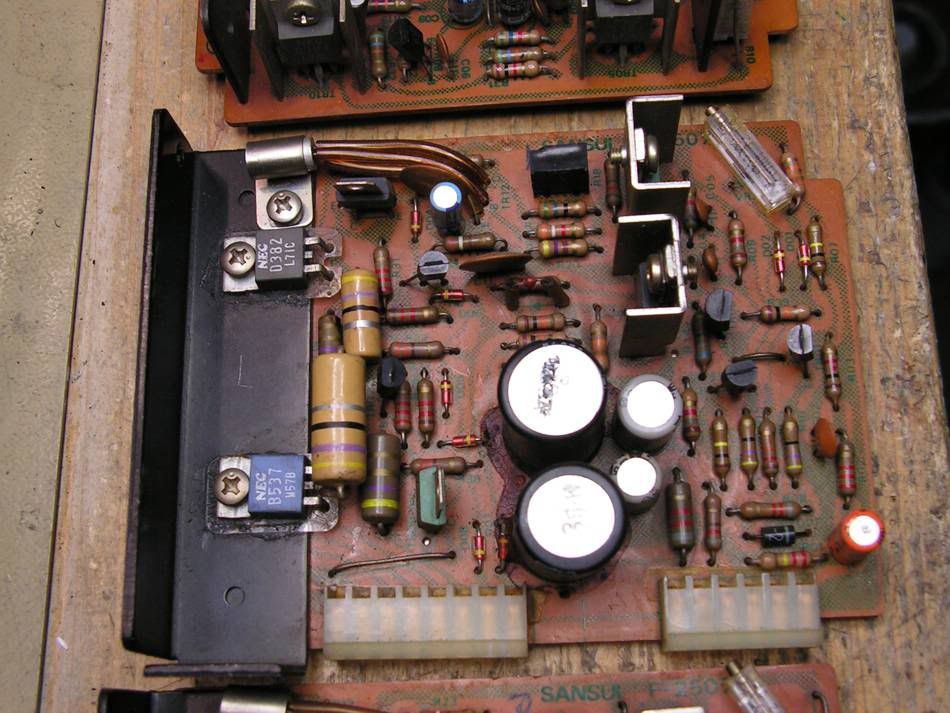
PICT0236.jpg


As you can see they have one interesting detail; drivers transistors are different on those two driver board, but they are genuine, and Sansui used the both pairs in theirs amplifiers as driver transistors. But it is interesting what they are not the same pair on the both channels.

... preparing for cleaning connector

PICT0237.jpg


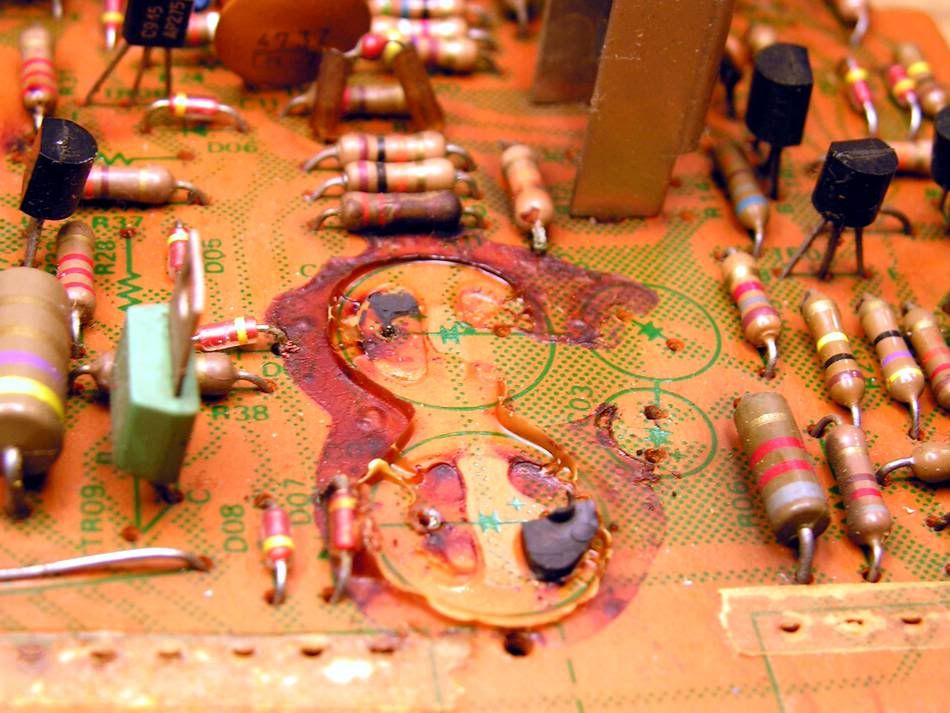
... again glue

PICT0238.jpg


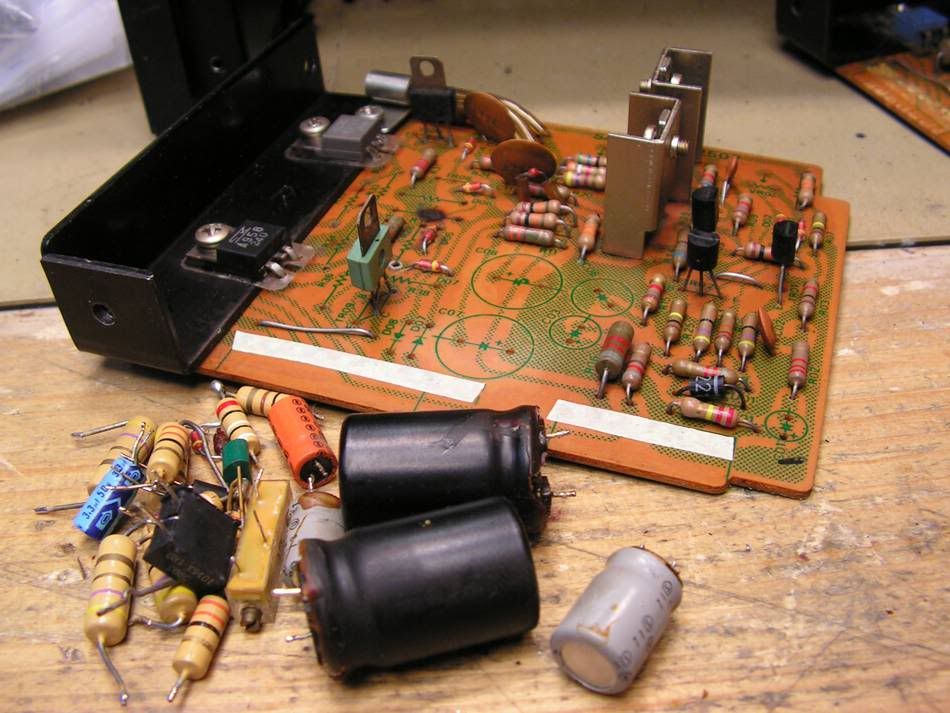
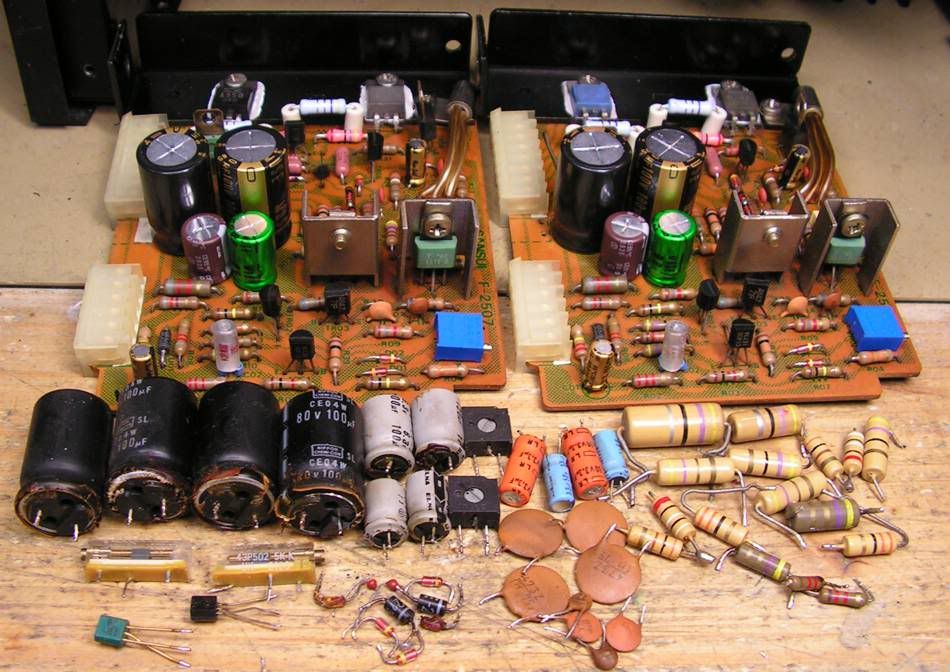
... what I am going to replace

PICT0240.jpg


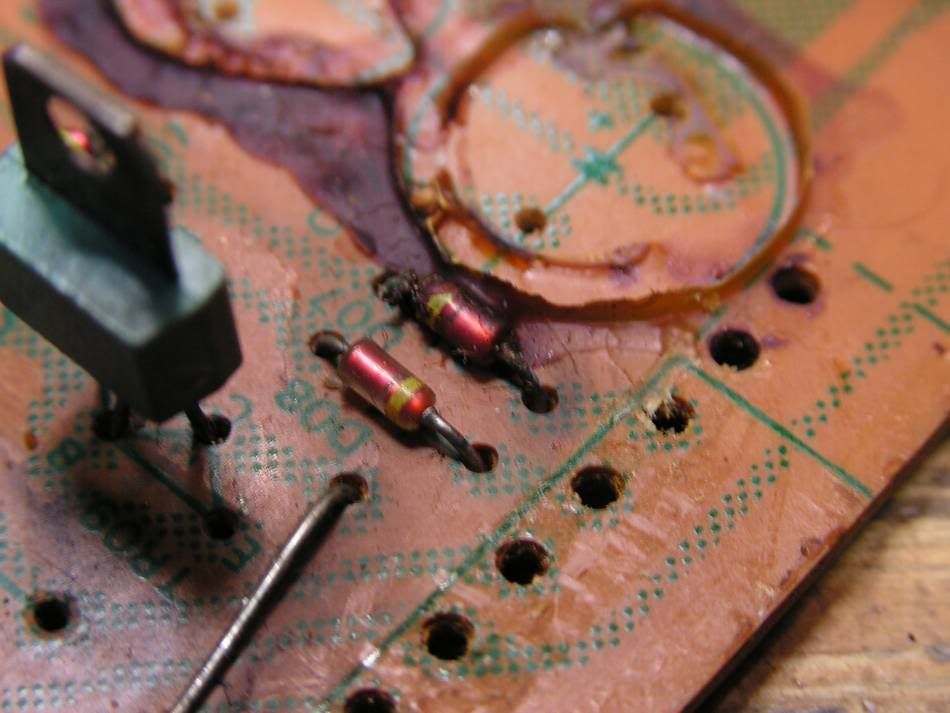
... in the middle of desoldering job

PICT0241.jpg


... glue again

PICT0242.jpg


... is it clean now :)

PICT0243.jpg


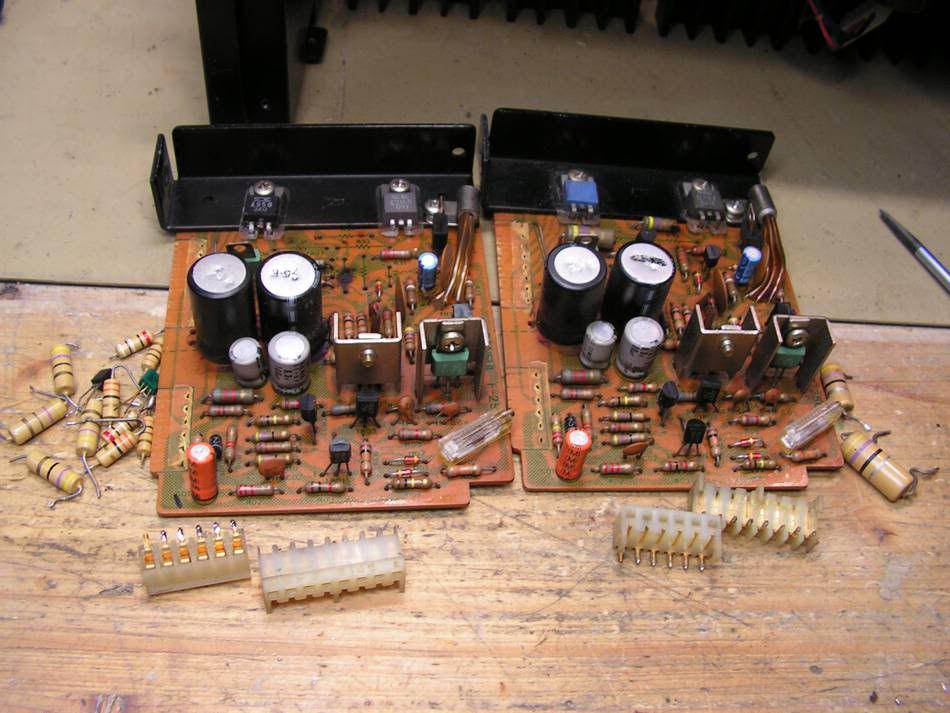
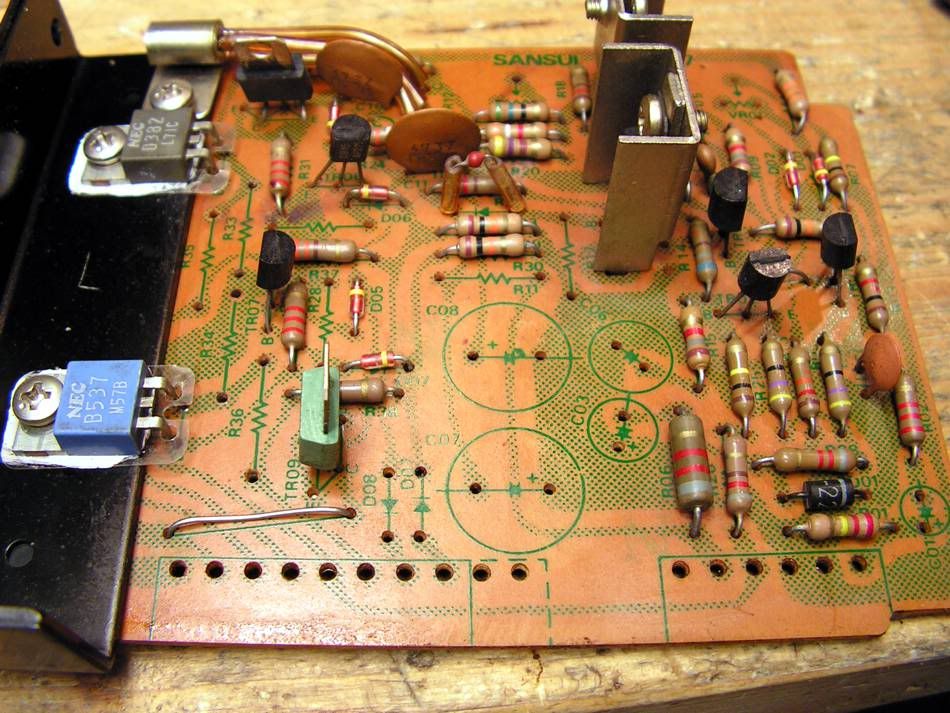
... what I replaced at those two boards

PICT0245.jpg


... and one view below

PICT0246.jpg


... and one above

PICT0247.jpg


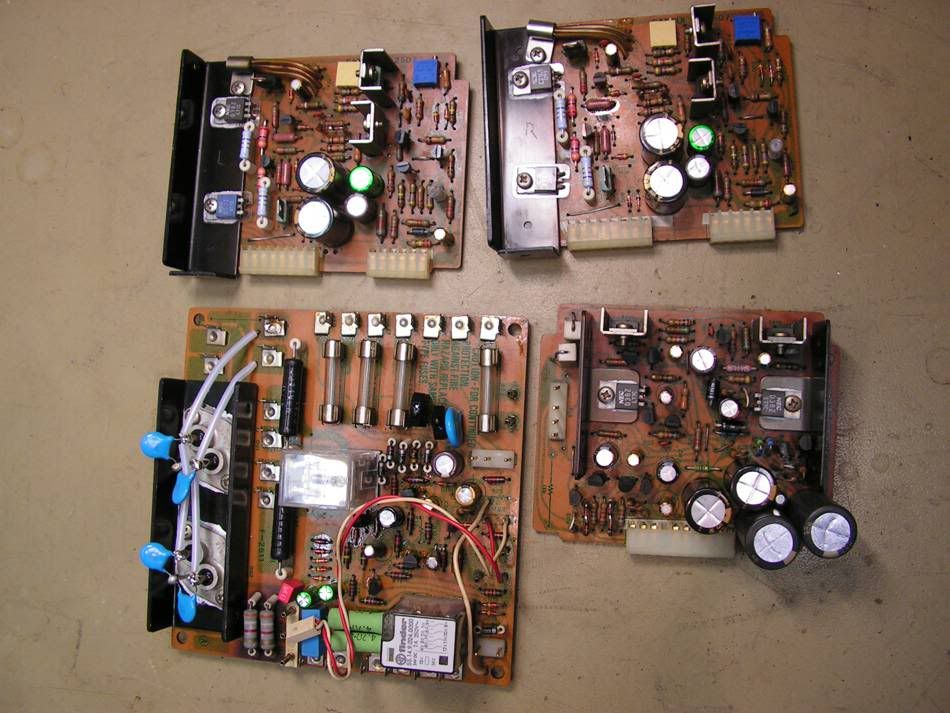
so what I have done until now
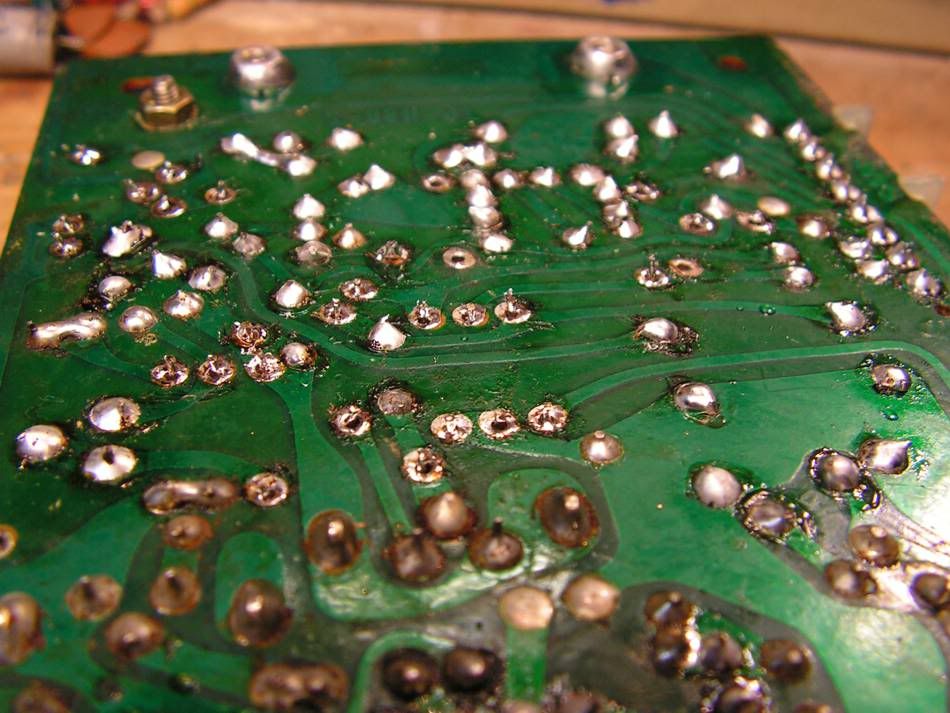
PICT0258.jpg
 
Back
Top Bottom