• The move to the new server is done. There are some software and database maintenance updates in process. This has us passing the hat around to help out. We appreciate any donations. Seriously, even a dollar helps. The payment page may be found here - https://www.audiokarma.org/support.html

SRPP ANZAÏ tube preamplifier

tubelectron

Super Member
SRPP ANZAÏ tube preamplifier...

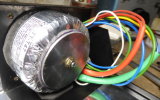
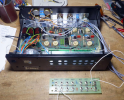
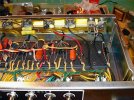
A friend of mine was downsizing his bunch of unused audio gear, and sold me cheap his 2nd hand SRPP Anzaï preamplifier he had for years stored in a carton - OK, in quite good working condition :cool:, but in need of TLC and improvements, some parts and wiring being awkwardly / cruedly modified by the previous owner :confused: :

1691964288445.png

1691964376767.png

1691964418385.png

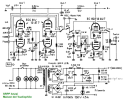
In the 80s and even 90s, the SRPP Anzaï (originally designed by Mr. Katsutaro Anzaï, from Japan) was considered (at least here in France, through our respectable Audio expert Mr. Jean Hiraga), as one of the epitome of the tube Phono preamps, with its non-feedback, passive RIAA corrector., giving him a superior dynamic performance, reputedly difficult to rival... Here's the schematic :
1691964512720.png
The displayed photos of the actual instrument I have are rather nice, but a close examine reveals that the unit has been possibly possessed by a smoker, hence the typical greasy-mud-dust coat I found inside... So first a complete dismantling and cleaning is in progress now ! :)

Pictures to come - Wait and See ! ;)

T
 
Last edited:
Register to hide this ad
Is that a potentiometer I see just wired in laying inside the chassis to the right of the picture?
 
Is that a potentiometer I see just wired in laying inside the chassis to the right of the picture?

That's it @Lavane, exactly : it's a useless and miswired hum balance pot, poorly Neoprene-glued on the chassis :oops: - one of the cruedly / awkwardly made modifications made to this preamp... :eek::confused:

1691966069437.png

To be corrected, along with several other points ! I'll adress all this while doing the complete rewiring... ;)

T
 
Sure ! :rolleyes:

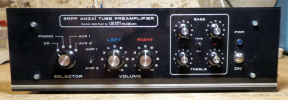
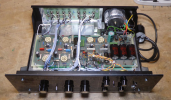
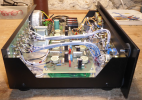
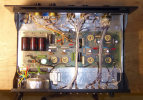
The end of the work approaches :

View attachment 2960711

View attachment 2960715

View attachment 2960717

View attachment 2960718

View attachment 2960721

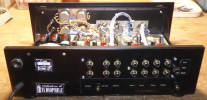
The back faceplate will have to wait September - the reopening of my engraver workshop :

View attachment 2960724

T
Super nice layout implementation!

Did you mod that faceplate? Or have a new one made?

How do you like those JJ caps? Their cans used to be the only option for replacement, many moons ago. Good stuff.

Thanks, and keep up the great work! :thumbsup:
 
really curious what they thought a hum balance on a DC heater circuit was supposed to do. I guess ideally there should be a ground reference but no need for a pot to be poorly glued in for that. A pair of resistors or a cap or whatever would do the job just fine and not be messy. Could also make the connection to pin 9 on any of the tubes.
 
really curious what they thought a hum balance on a DC heater circuit was supposed to do. I guess ideally there should be a ground reference but no need for a pot to be poorly glued in for that. A pair of resistors or a cap or whatever would do the job just fine and not be messy. Could also make the connection to pin 9 on any of the tubes.
I was thinking hum pot between the SRPP pair halves. But, its placement next to the PT prolly means heater line hum pot. Which, as far as I know, works only on AC heater lines. :idea:
 
Super nice layout implementation!

Did you mod that faceplate? Or have a new one made?

How do you like those JJ caps? Their cans used to be the only option for replacement, many moons ago. Good stuff.

Thanks, and keep up the great work! :thumbsup:
I've used JJ's before. I think I still have a few JJ dual cap cans.
 
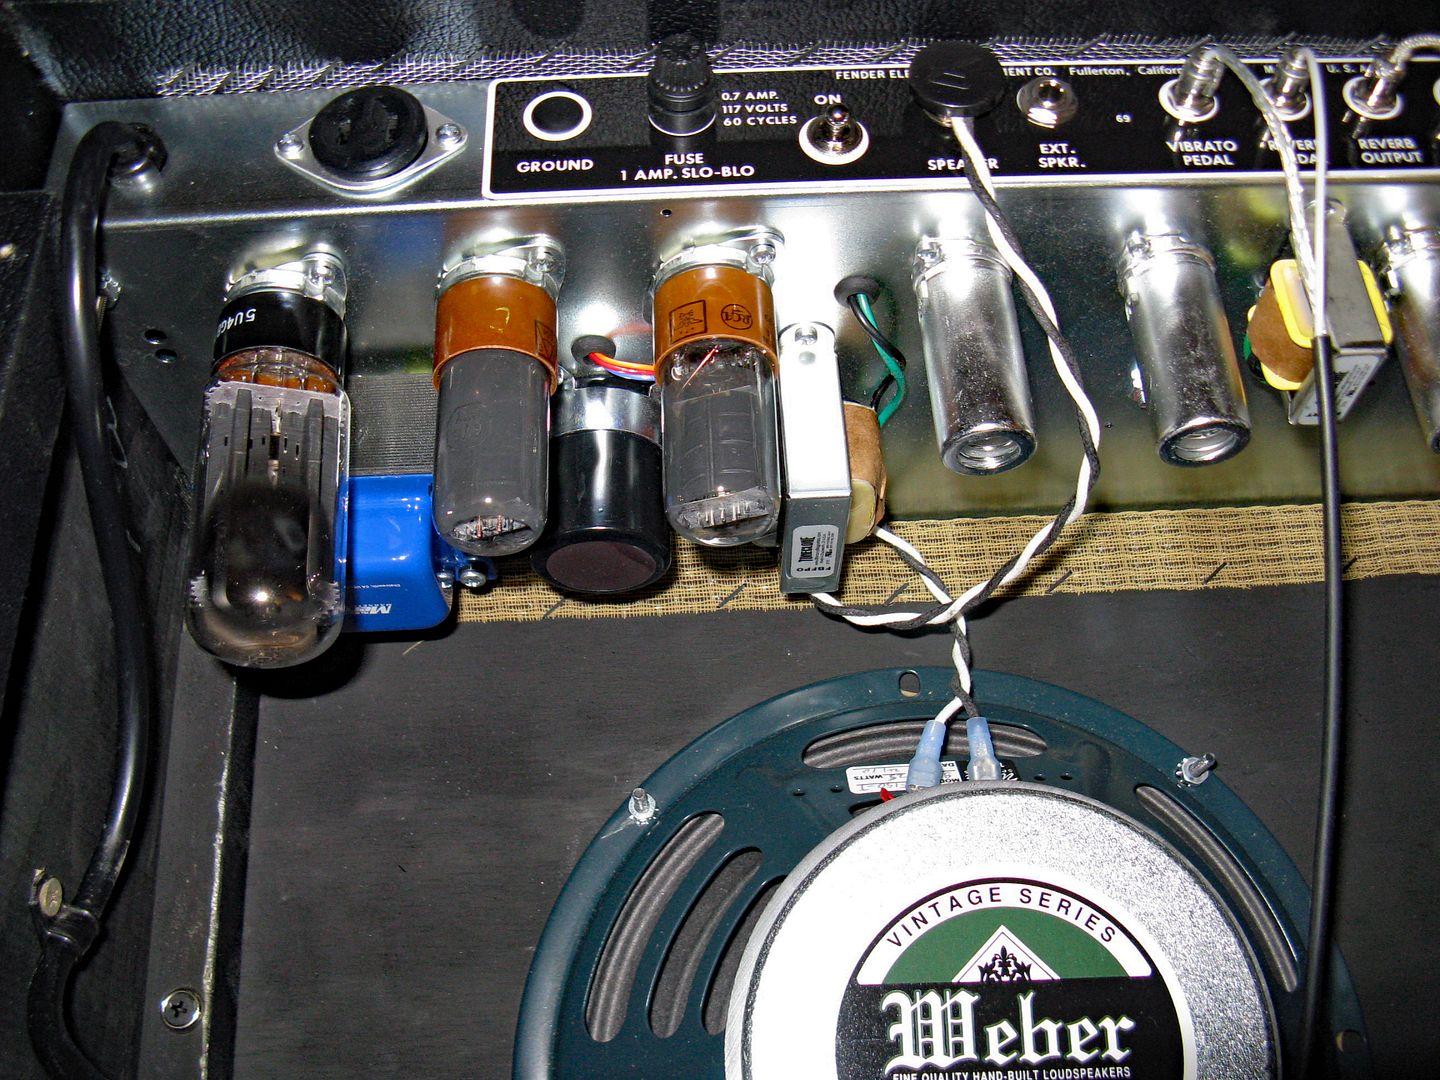
My DIY Princeton Reverb. Made 2010, with a JJ cap can. I used Mercury Magnetics iron (very good stuff).

I sold the amp.

As far as I know, it's still working. ;)

Princeton_1164_tubes.jpg
 
Nice work and a nice looking preamp.
Thanks! :)

The chassis and cabinet I bought pre-made. All the pots, parts, and iron were bought separately. You could build a DIY blackface clone for about $500-750, depending on the "boutiqueness" of the parts. Classic Blackface AA764 circuit.

Princeton Reverb 1164_right sideDIY.jpg
Under the hood.

Princeton reverb_LPS.jpg
I choose a 12-inch speaker cabinet.
 
Last edited:
Thank you Guys ! :cool: :cool: :cool:

Hum pot on a DC heater line setup?

Hmm...

No. Only a pair of 100R balancing resistor, connected to a 83VDC source to reduce filament-cathode voltage on the SRPP stages.

And yes : DC heating on 12.3VDC (10000µF/16V cap now).

Super nice layout implementation!

Did you mod that faceplate? Or have a new one made?

How do you like those JJ caps? Their cans used to be the only option for replacement, many moons ago. Good stuff.

Thanks, and keep up the great work! :thumbsup:

Thank you @Mr Boochie !

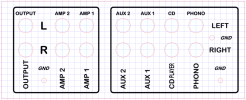
The faceplate is custom designed and is 2mm glossy Plexi painted black and back engraved. I simply put the new faceplate on the original one, which is a 3mm aluminium and serves now as a support for the new faceplate.

I still have the back faceplate to be released - on September :

1692301585328.png

Yes the JJ caps are absolutely fine - I use them also on my guitar amps (and on my SF PR, like you). I ususally rely on two brands for the electrolytic HV capacitors : JJ and F+T, which are easily available here in Europe.

really curious what they thought a hum balance on a DC heater circuit was supposed to do. I guess ideally there should be a ground reference but no need for a pot to be poorly glued in for that. A pair of resistors or a cap or whatever would do the job just fine and not be messy. Could also make the connection to pin 9 on any of the tubes.

Absolutely. It is obvious that this preamp has been heavily bricoled (Frenglish term = poorly/awkwardly modded/fixed). In fact, I nearly rebuild all the preamp itself because it was so badly constructed, neither done nor to be done... Fait à l'arrache, as we said here in France.

I will redraw the schematic of the rejuvenated-reinstated whole preamplifier circuit and post it here.

T
 
Last edited:
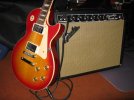
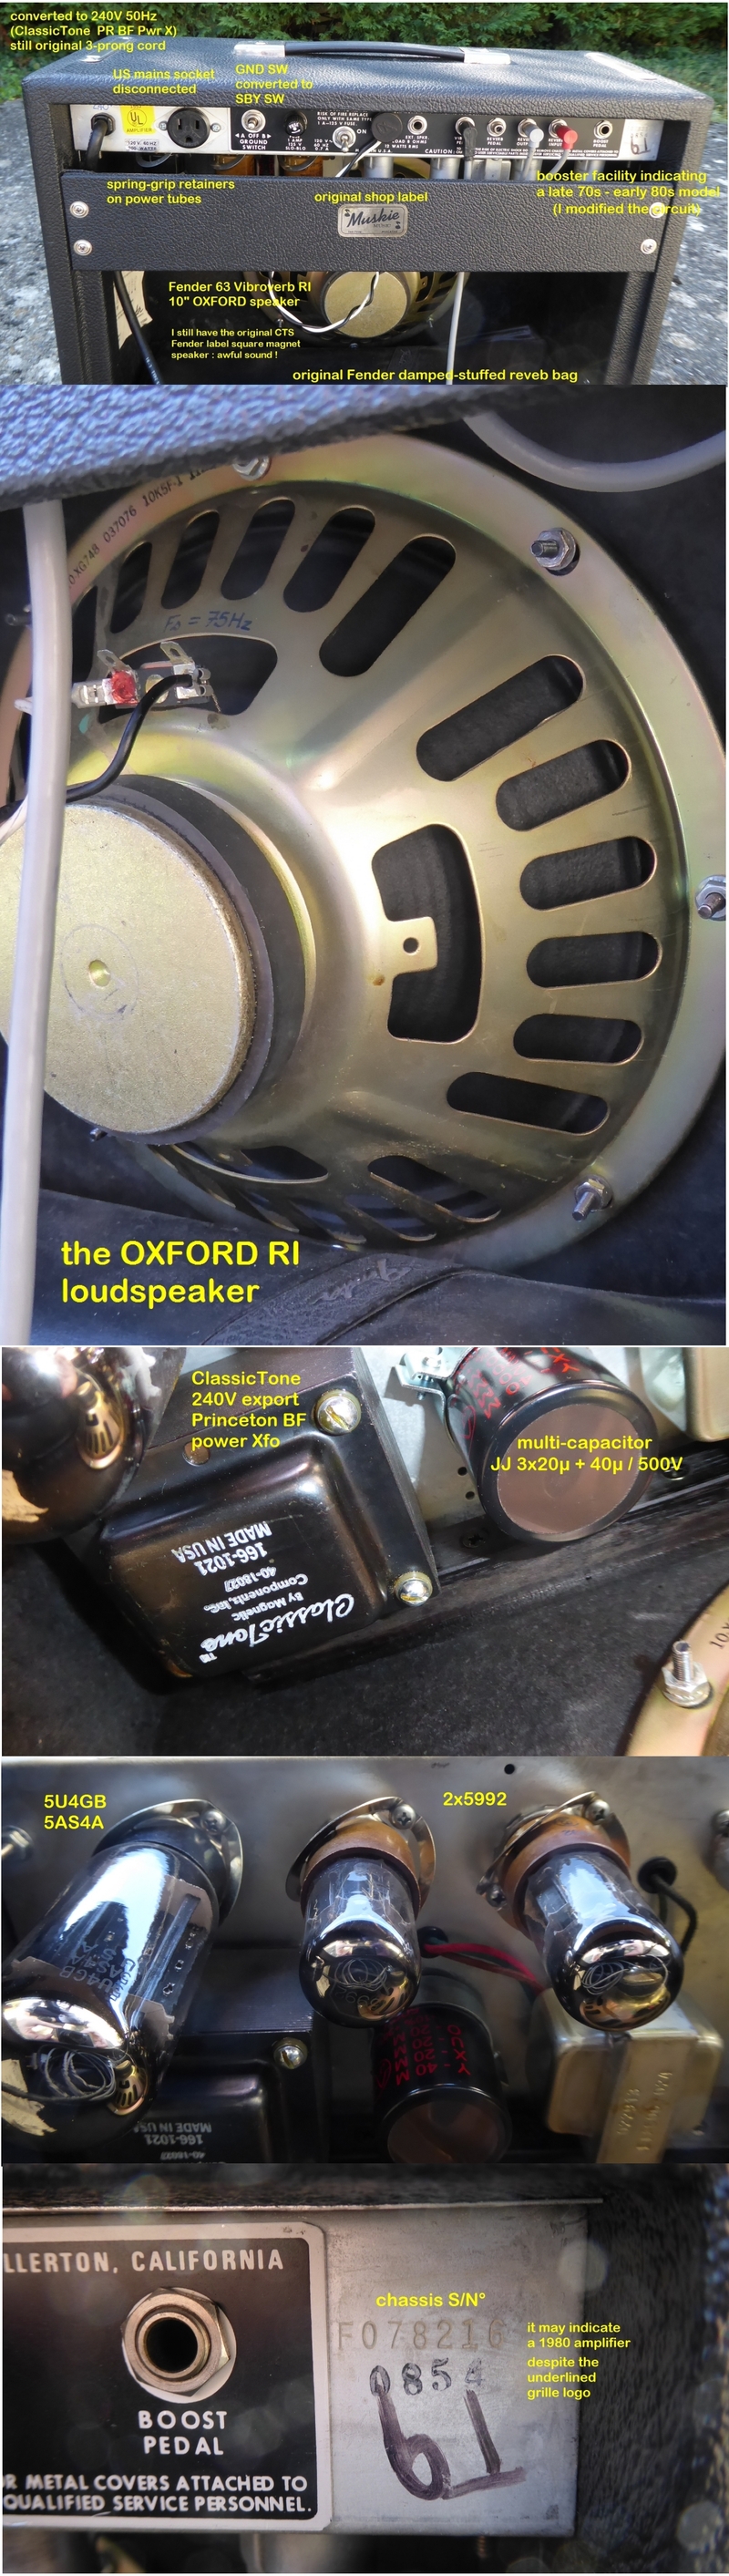
@Mr Boochie - for the occasion : my SF PR mods...

19101710024525019416467406.jpg


As you can see, like you I relied on a JJ 40+20+20+20 500V multi-cap. I thought that the replacement Pwr Xfo I installed was also a Mercury, but it is a Classic Tone.

T
 
Very nice amp.

"F0 + 5-digits" = 1980. Stamped on chassis.

Are there any numbers and/or letter codes are ink stamped onto the tube chart?
 
Last edited:
Thank you Guys ! :cool: :cool: :cool:


No. Only a pair of 100R balancing resistor, connected to a 83VDC source to reduce filament-cathode voltage on the SRPP stages.

And yes : DC heating on 12.3VDC (10000µF/16V cap now).


Thank you @Mr Boochie !

The faceplate is custom designed and is 2mm glossy Plexi painted black and back engraved. I simply put the new faceplate on the original one, which is a 3mm aluminium and serves now as a support for the new faceplate.

I still have the back faceplate to be released - on September :

View attachment 2960984

Yes the JJ caps are absolutely fine - I use them also on my guitar amps (and on my SF PR, like you). I ususally rely on two brands for the electrolytic HV capacitors : JJ and F+T, which are easily available here in Europe.


Absolutely. It is obvious that this amp has been heavily bricoled (Frenglish term = poorly/awkwardly modded/fixed). In fact, I nearly rebuild all the preamp itself because it was so badly constructed, neither done nor to be done... Fait à l'arrache, as we said here in France.

I will redraw the schematic of the rejuvenated-reinstated whole preamplifier circuit and post it here.

T
Thanks, for the update and clarifications.

Very nice layout, faceplate, and chassis work! :thumbsup:
 
Back
Top Bottom