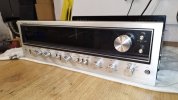
My first Pioneer receiver. According to my own rule of thumb - the worse the better - I bought a damaged sx737, missing parts, but new veneer on cabinet. Looked like my tech friend tried to give it a chance, but resigned. This whole resto work was economically unjustified mif you count labor, but the satisfaction... And I did it for me, not for sale.
Diagnosis - fried transformer. In my opinion faulty 13V power line caused too high current draw and it ended with a short on one of the secondary windings.
I managed to find a guy locally, who fixed that transformer.
While it was at his place, I started to replace parts. Found bad transistors in power supply board, replaced some of the el caps, replaced all Sanyo capsistors, a725, c1313 transistors, cleaned all potentiometers and switches, found replacement potentiometers because volume and balance ones were missing, made fresh set of knobs as two of the original ones were missing and rest was corroded, anodized them as well as I could, made new output transistor holder "fork" and then it was a waiting game.
Transformer came back. Did some wire management work, installed the trafo, double checked everything and plugged it in through DBT - no click. Dang.
I started new thread about relay click, asking for help. "bad transistor" - how? When it tests well, tester shows it's good and it's bad? Impossible. Well... I'm a newbie. It was possible. I had none to replace and I chased my own tail for a week changing caps, driver and bias transistors, but not the outputs.
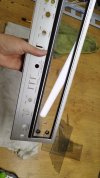
I gave up. Sent it back to tech guy who sold it to me - he replaced outputs and it worked like a charm. I assembled it all together, replaced broken glass window with cnc cut clear polycarbonate, adjust ed fm and it's all done.
Well - after a while I noticed poor FM sensitivity (max 1,5 on signal scale) and that volume pot I used isn't that good... Cheap flimsy stuff with rattle - I don't like it. Looking for more sturdy and smooth one online.
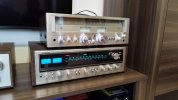
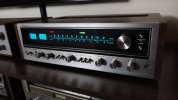
Another little victory. Another saved unit. Another receiver in my little rescued stuff collection.
Pics below.
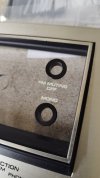
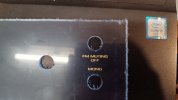
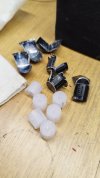
This is how I got it. Damaged panel, missing pots, broken glass, parts in Ikea zipbag, but fresh veneer on cabinet.
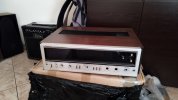
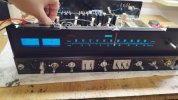
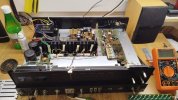
First look inside
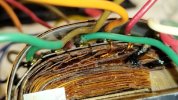
See the green wires? Thin wire winding, shorted.
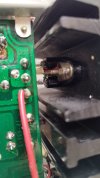
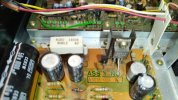
That to-92 transistor was a toast with corroded leg, probably whole trafo damage culprit.
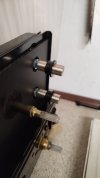
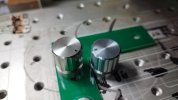
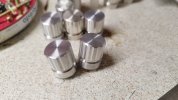
Time to machine new knobs, 7075 aluminum.

IMO they're good enough
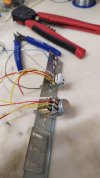
Installed and adjusted volume and balance pots. Smaller than OEM, need to be soldered with wires attached.
Diagnosis - fried transformer. In my opinion faulty 13V power line caused too high current draw and it ended with a short on one of the secondary windings.
I managed to find a guy locally, who fixed that transformer.
While it was at his place, I started to replace parts. Found bad transistors in power supply board, replaced some of the el caps, replaced all Sanyo capsistors, a725, c1313 transistors, cleaned all potentiometers and switches, found replacement potentiometers because volume and balance ones were missing, made fresh set of knobs as two of the original ones were missing and rest was corroded, anodized them as well as I could, made new output transistor holder "fork" and then it was a waiting game.
Transformer came back. Did some wire management work, installed the trafo, double checked everything and plugged it in through DBT - no click. Dang.
I started new thread about relay click, asking for help. "bad transistor" - how? When it tests well, tester shows it's good and it's bad? Impossible. Well... I'm a newbie. It was possible. I had none to replace and I chased my own tail for a week changing caps, driver and bias transistors, but not the outputs.
I gave up. Sent it back to tech guy who sold it to me - he replaced outputs and it worked like a charm. I assembled it all together, replaced broken glass window with cnc cut clear polycarbonate, adjust ed fm and it's all done.
Well - after a while I noticed poor FM sensitivity (max 1,5 on signal scale) and that volume pot I used isn't that good... Cheap flimsy stuff with rattle - I don't like it. Looking for more sturdy and smooth one online.
Another little victory. Another saved unit. Another receiver in my little rescued stuff collection.
Pics below.
This is how I got it. Damaged panel, missing pots, broken glass, parts in Ikea zipbag, but fresh veneer on cabinet.
First look inside
See the green wires? Thin wire winding, shorted.
That to-92 transistor was a toast with corroded leg, probably whole trafo damage culprit.
Time to machine new knobs, 7075 aluminum.
IMO they're good enough
Installed and adjusted volume and balance pots. Smaller than OEM, need to be soldered with wires attached.