My approach is a bit different for my EPI restoration projects.
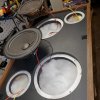
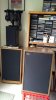
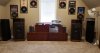
Shown is one of my M180V rebuilds. I currently have three EPI M180Vs
The first two came from upstate NY that my son was able to "uber" back after a trip to his inlaws. They were in awesome shape with blown woofer surrounds ($100)
The third one was a DUMP SAVE that a guy that lives in wealthy town haunts ($70). It also had blown surrounds, with a great cabinet, and a great grill. The fate of its mate is unknown... (moment of silence...)
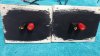
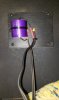
On all my EPI builds, I like to retain the original masonite crossover boards with the EPI logo and writing... (I also include the last pic of my EPI M150W terminal plate to illustrate the effect)
Why do I do this? I want to preserve that original vintage look and the serial number labels.
From the back, only the new gold plated 5-way hook-up terminals (Parts Express 260-302) pop-riveted in (with backing washers) give away something is different. I also leave a folded copy of the wiring schematic inside for prosperity (Hey!, I'm not going to live forever, someone is going to end up with these, eventually open them up, and wonder what the hell all that wiring is for).
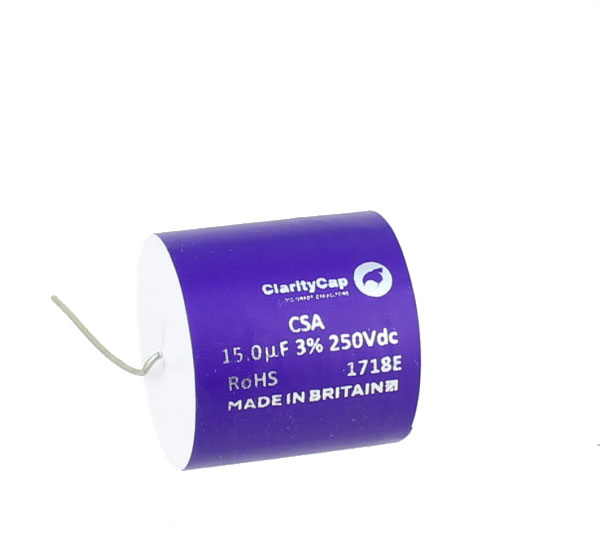
(NOTE: From the "Tweeters point of view" it makes no difference if the capacitor is on the NEG or POS side of the terminals. The use of the splice blocks is new with this build. I decided to try these after subjecting the wires connections to dissection, pulls, banging, and other forms of torture. Ths connections never failed. I tin the wires before insertion to add gripping power to the connection locks. So far they have worked flawlessly)
The rebuilt crossovers are secured with double-sided tape for an airtight seal with 5/8" screws used in each corner.
The final install is to add fiberfill over a layer of the original foam and a careful hand application of black paint between the surrounds and frame edge to subdue any shiny metal