• The move to the new server is done. There are some software and database maintenance updates in process. This has us passing the hat around to help out. We appreciate any donations. Seriously, even a dollar helps. The payment page may be found here - https://www.audiokarma.org/support.html

Another Restoration, 9090 non DB receiver

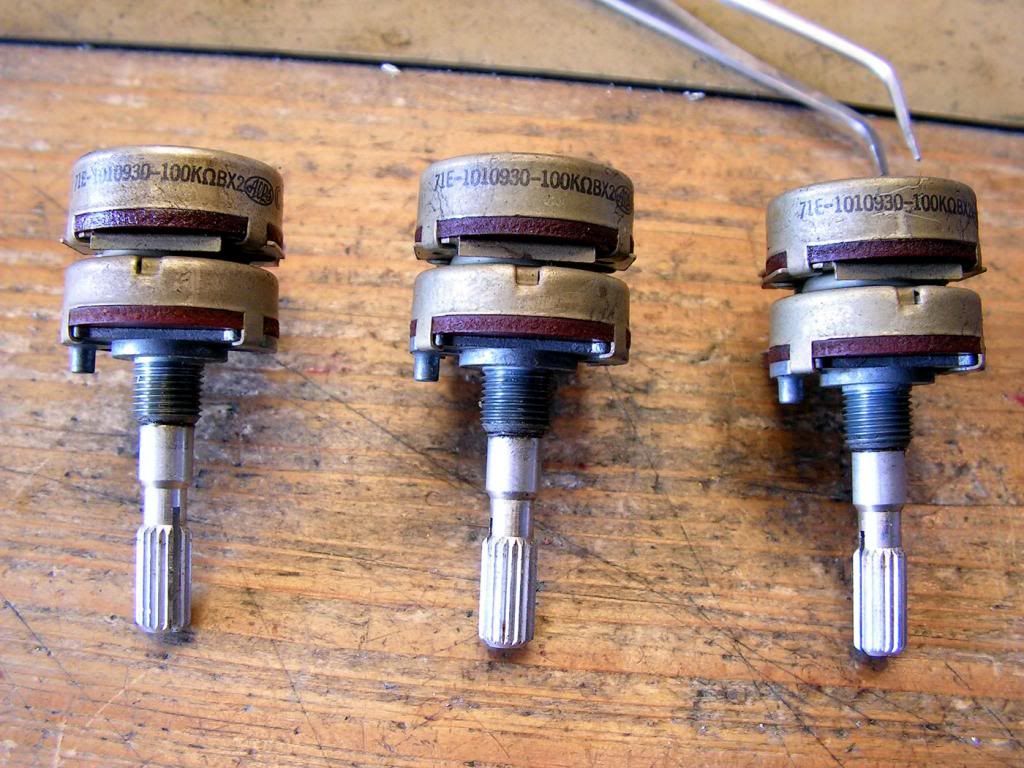
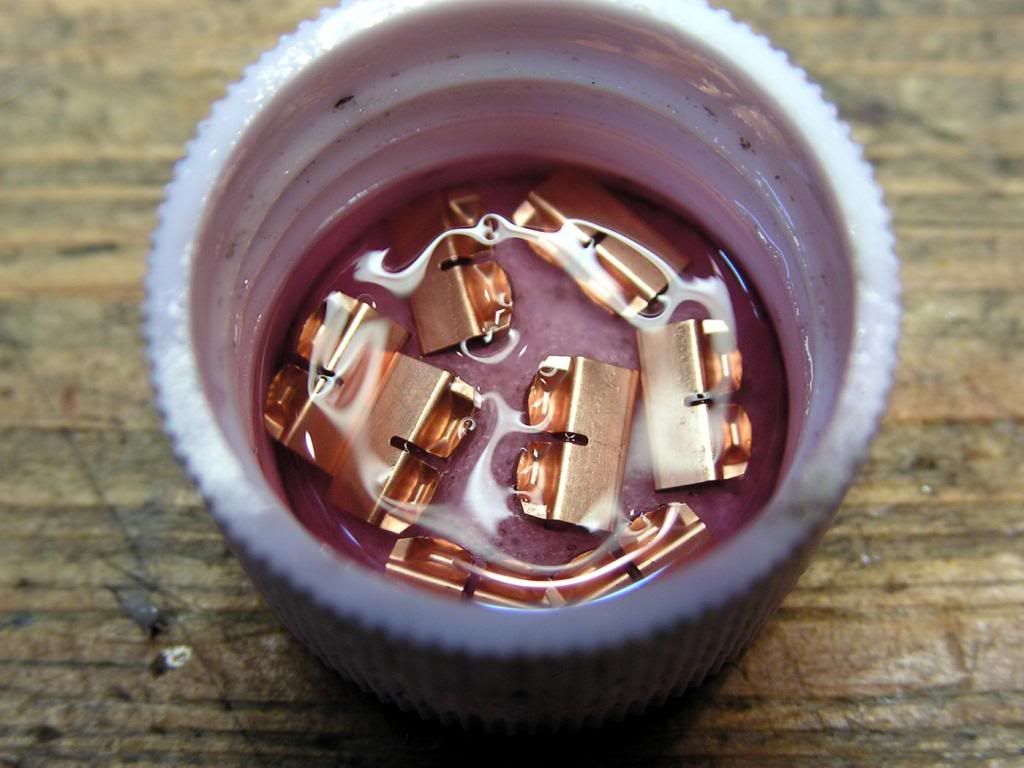
And now tone control potentiometers

PICT1516_zps82165f4d.jpg


As I already written, it is not so good to use contact cleaner without open those potentiometers, because those potentiometers has some grease inside of them, and that contact cleaner can make things worse if that grease finally arrived at potentiometers contacts
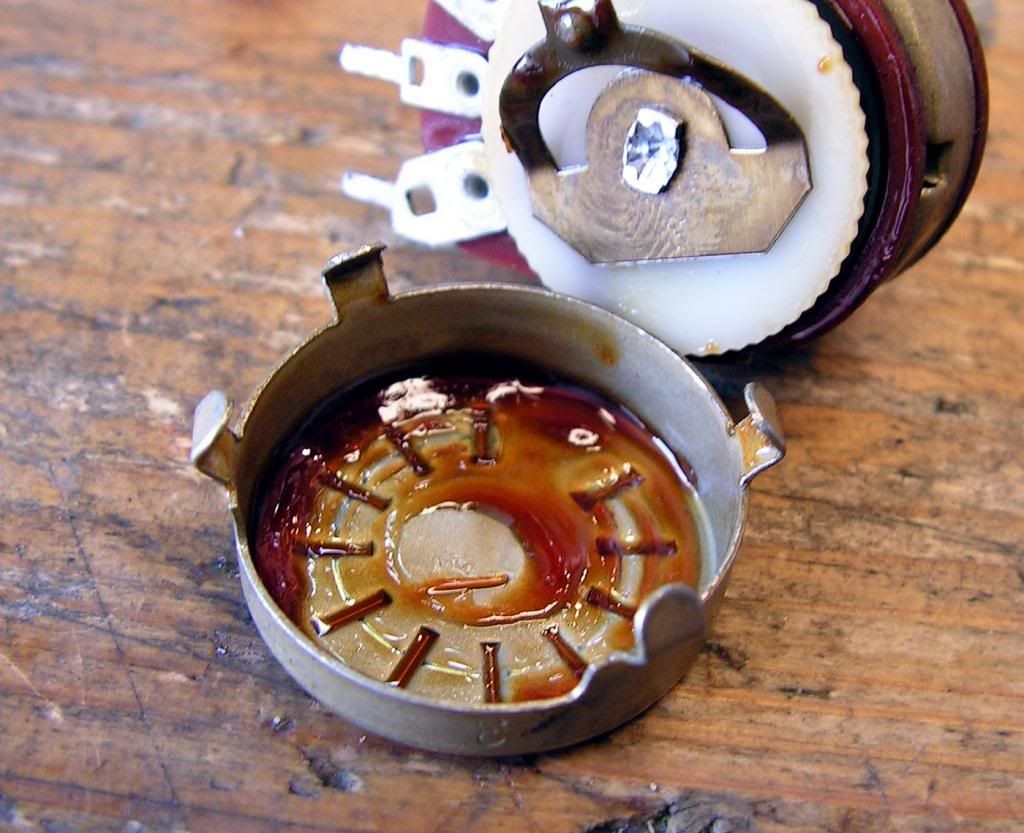
PICT1516_1_zpsf4d0ed64.jpg


Finally what I have cleaned until now…

PICT1518_zps83690e06.jpg
 
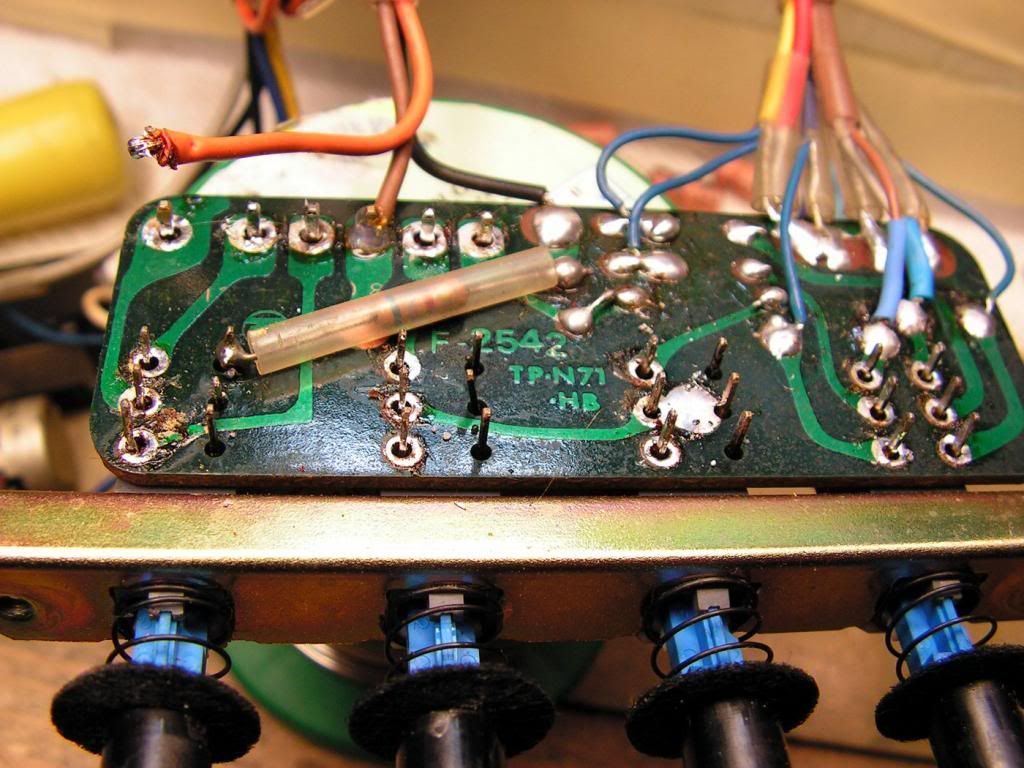
I wish to show you something… It was one thing which can make me a big trouble during dismounting switches from boards, please take a look at the next picture

PICT1501_5_zpsf40e5663.jpg


You see that bended switch pin? That pin was bent in the factory to fix that switch to the board before soldering, and if you didn’t remove all solder material from that point, you will damage solder point during removing that switch from board!

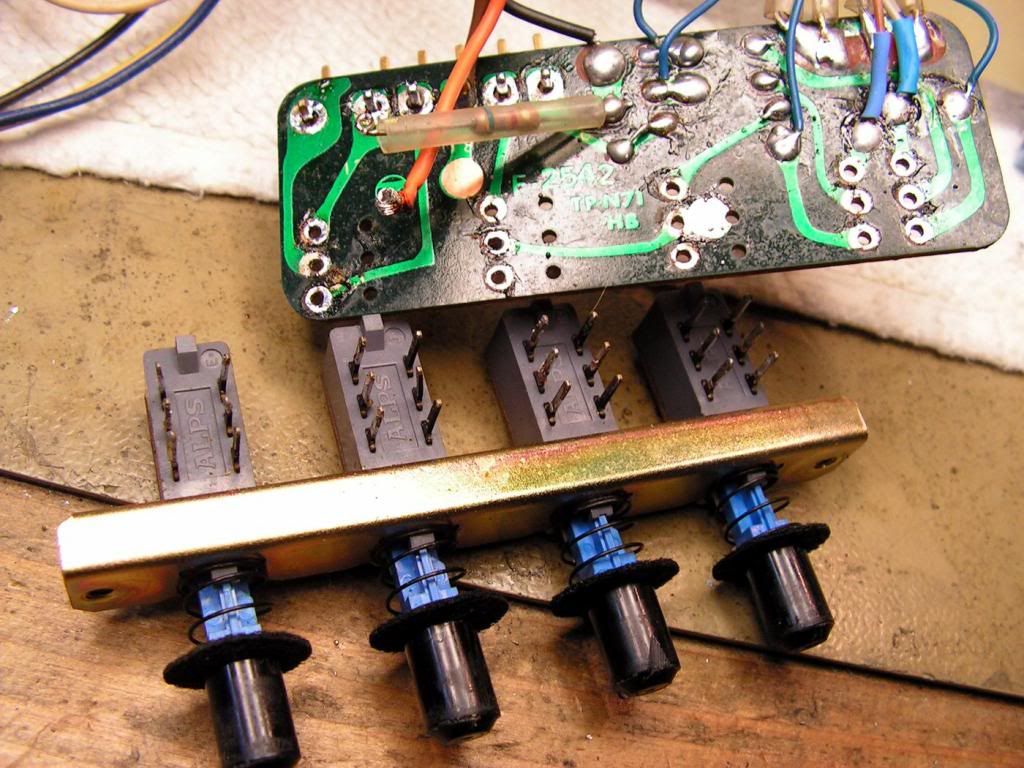
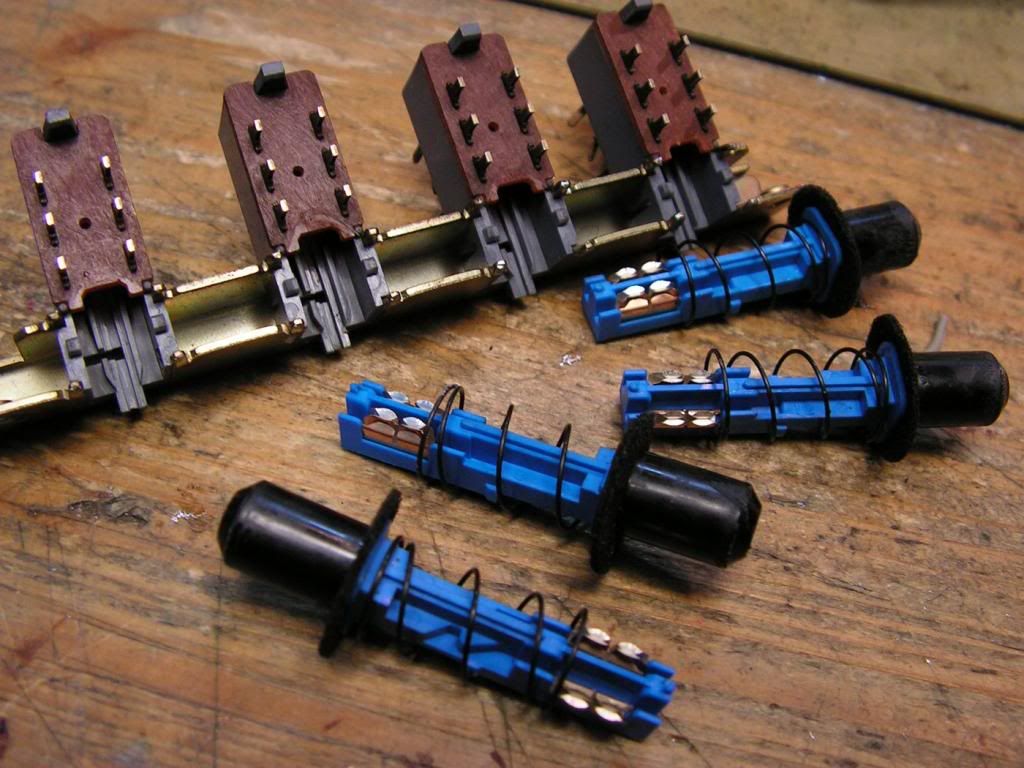
Another switches need to be cleaned…

PICT1526_zpsf21d1425.jpg


PICT1527_zps7b0ac228.jpg


PICT1528_zps4c26a0bf.jpg


PICT1529_zpsb8d710d5.jpg


And speakers selector…

PICT1542_zpsfa1e8670.jpg


PICT1543_zpsc78531d1.jpg


PICT1545_zps1413c274.jpg


And cleaned…

PICT1546_zpsde059b35.jpg


PICT1547_zps59f75b3c.jpg
 
At this stage of cleaning, the receiver looked like on that picture

PICT1533_zps2658ea6e.jpg


And there you can see tone control finished…

PICT1531_zps6d3acee9.jpg
 
And finished the Protection Board with Speakers Selector

PICT1551_zpsbdd306f2.jpg


And how it was (missing Speakers Selector)

PICT1549_zpsd08adce7.jpg
 
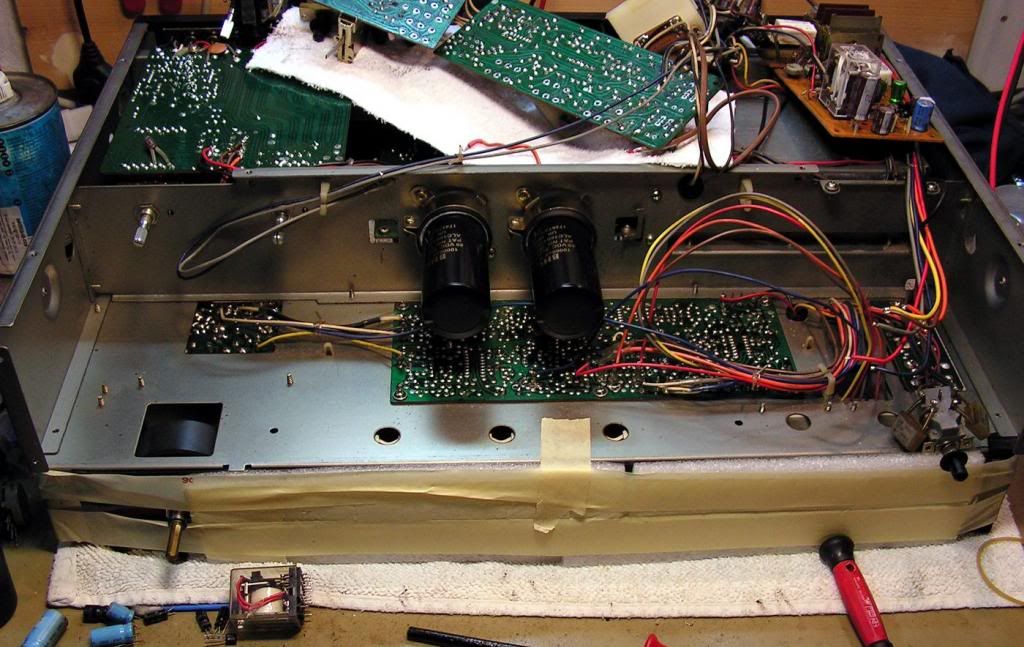
And now, how I installed a new main capacitors… The old ones was 6800uF 71V and with diameter 40 mm, I decided to install BHC Slit-foil capacitor 10.000uF 80V, but those new capacitors are 35 mm in diameter, so I have to adapt clamps to accept those new capacitors

PICT1553_zps9b5608e8.jpg


PICT1554_zps9bcd09d3.jpg


On the next picture is wiring of old capacitors…

PICT1552_zps550a16ea.jpg


For connection capacitors to the Ground, I used that cable (from one coaxial cable)

PICT1586_zpse575ddac.jpg


And finally, now it looks like on the next pictures

PICT1587_zps9c062093.jpg


PICT1588_zps1f17c015.jpg
 
Wow!

Fantastic job by the looks of the work you have done.
I am getting my 9090 done now at a local accredited shop.
I can only hope that their techs do even close to the type of detail you are doing.
Thanks for posting all the pictures .
Great Job!
 
And now, very specific part… The Front End of tuner section... The first thing I had to do was to desolder the connecting cables

PICT1556_zps504c3079.jpg


… and here it is…

PICT1568_zpsfb48e696.jpg


… on the next picture you can see one detail, mechanism for rotation of capacitor, and you should be very careful with that…

PICT1567_zpsabce543c.jpg


… now, it is out… and I can clean with deoxid contacts to the ground, wich is very important for proper work of that part

PICT1571__zps2a8d0c36.jpg


… installed back…

pict1573_zps623bfc81.jpg
 
Now… changing back-lighting of the power meters, very hard to do…

PICT1580_zps1f99ac8f.jpg


The old bulb…

PICT1581_zpsb7d4aba7.jpg


PICT1582_zpsfa5fb9af.jpg


New bulbs…

PICT1584_zps65898d54.jpg


And checking…

pict1594_zpsc2ba32fb.jpg
 
… driver board…

pict1595_zpsa118ff40.jpg


After I resoldered all solder points…

PICT1602_zps19425335.jpg


What I have changed on the driver board…

PICT1604_zps353d9987.jpg


PICT1609_zps8df81e05.jpg


Some details…

PICT1605_zps882cb8ad.jpg


PICT1607_zps88afe2bc.jpg


PICT1608_zps4228e950.jpg


PICT1611_zps83106867.jpg
 
Just one step until end… Tuner Power Supply Board

pict1412_zps86261322.jpg


There, I changed an original heat sink with better black aluminum heat sink, because that TO220 transistor generate heat, and I think that new one is much better than old…. But I had to adapt it to holes for fixing heat sink to the board…

PICT1576_zps9d5ba428.jpg


Finally it looks like on picture below…

PICT1638_zps6c8908ac.jpg


Almost finished… installed back power TO3 transistors…

PICT1642_zpse0992df4.jpg
 
Hi unbelievable job done on that from start to finish!! How do I get the privilege to be in line or be number 4 or 5 for you to work on my one owner 9090. She's in pristein cosmedicaly and never been touch by anyone or taking apart I mean. All switches are dirty tuner doesn't tune in like it use to. But it plays and works and all lights light up. I just put in away until I can find the right person to go through it . and if I could be so fortunate to have a complete Restoration on this prized Reciver like one you just did. It'd be like the closest thing to buying a bran new one just out of the factory today. I'm just afraid if I keep using it a cap will explode or somthing like that . there's a lot years on them parts. Where do we find tech's that will do this kind of job and of coarse be compensate fairly for this kind of quality repair / total restore. I know I would pay the right guy to do this kind of work that he's done here. Hey if you would consider working on a sansui 9090 that's in alot cleaner shape then this one was and restore mine shoot me a PM and I'll get right back ta ya. And ya if I'd had to waite 6 months for this kind of work to be done I would be thrilled. Heck even longer who doesn't want there gear worked on by a true pro!! You waite as long as it takes for him to get to your gear. Because in thee end it's So Worth it!! Please let me know about a restore thanks!!
 
Last edited by a moderator:
The grand Wizard of restoration has worked his magic. Any thoughts on the sound ?
...and thanks for sharing, your descriptions are almost as detailed as your work. It all takes time.
 
Last edited:
What is amazing is the time spent in control cleaning. They are a royal pain to rebuild, let alone all the tiny parts and springs in each one that love to run away and hide when released from their housings. It takes me about 30 minutes to deep clean just one IF no parts try to evade me on reassembly. Always a highlight to read your threads Kale, awaiting your next adventure :)
-Lee
 
Back
Top Bottom