• The move to the new server is done. There are some software and database maintenance updates in process. This has us passing the hat around to help out. We appreciate any donations. Seriously, even a dollar helps. The payment page may be found here - https://www.audiokarma.org/support.html

Beginner DIY Test Bench – Minimal Equipment Checklist (Feedback Welcome)

EchoForge

New Member
Note: I’ve read through the thread “What test equipment should I use? What are you using?” before posting this. My goal here is not to duplicate it, but to share a clean, structured checklist aimed at beginners starting from scratch. I hope it can serve as a practical entry point, and I’d love feedback from more experienced members.

Hello everyone,


I’m currently building a small DIY test bench to restore vintage HiFi gear — mostly integrated amps and preamps — and wanted to start with a low-cost, reliable, and safe setup.


Instead of going straight for high-end gear, I’ve gathered what I believe are the essential tools for careful, progressive learning and repair work. Here’s the setup I’m working from:


️ Measurement & Diagnostics​


Digital Multimeter (DMM)
Fluke 87 III (well-established reference) or Tenma 72‑2530 as a budget starter
Alternatives: Fluke 27/FM (rugged, often found surplus), Brymen BM235


ESR Meter
Peak ESR70 or DMR100 clones
→ Used to identify weak caps without desoldering


Oscilloscope
Rigol DS1054Z (widely recommended)
Alternative: Tektronix 2246 / 465 (vintage, more maintenance)


Signal Generator
HP 200AB (classic analog) or modern DDS unit (e.g. JDS6600)


Dim-Bulb Tester (DBT)
→ Simple DIY setup: 60–100 W incandescent bulb + socket + switch


Soldering & Board Work​


Temperature-controlled soldering station
Hakko FX‑888, Weller WE1010 or equivalent


Desoldering braid and pump
MG Chemicals SuperWick, Engineer SS-03

Optional: Powered Desoldering Stations​


For those working with delicate vias, multi-layer boards, or doing frequent recaps:

Hakko FR‑301 – professional-grade desoldering gun with internal pump, heat control, and replaceable nozzles
Aoyue 474A++ – affordable alternative for moderate use
→ Great for clean pad separation without lifting traces
→ Not required for beginners, but very useful for precision and speed


Documentation Setup​


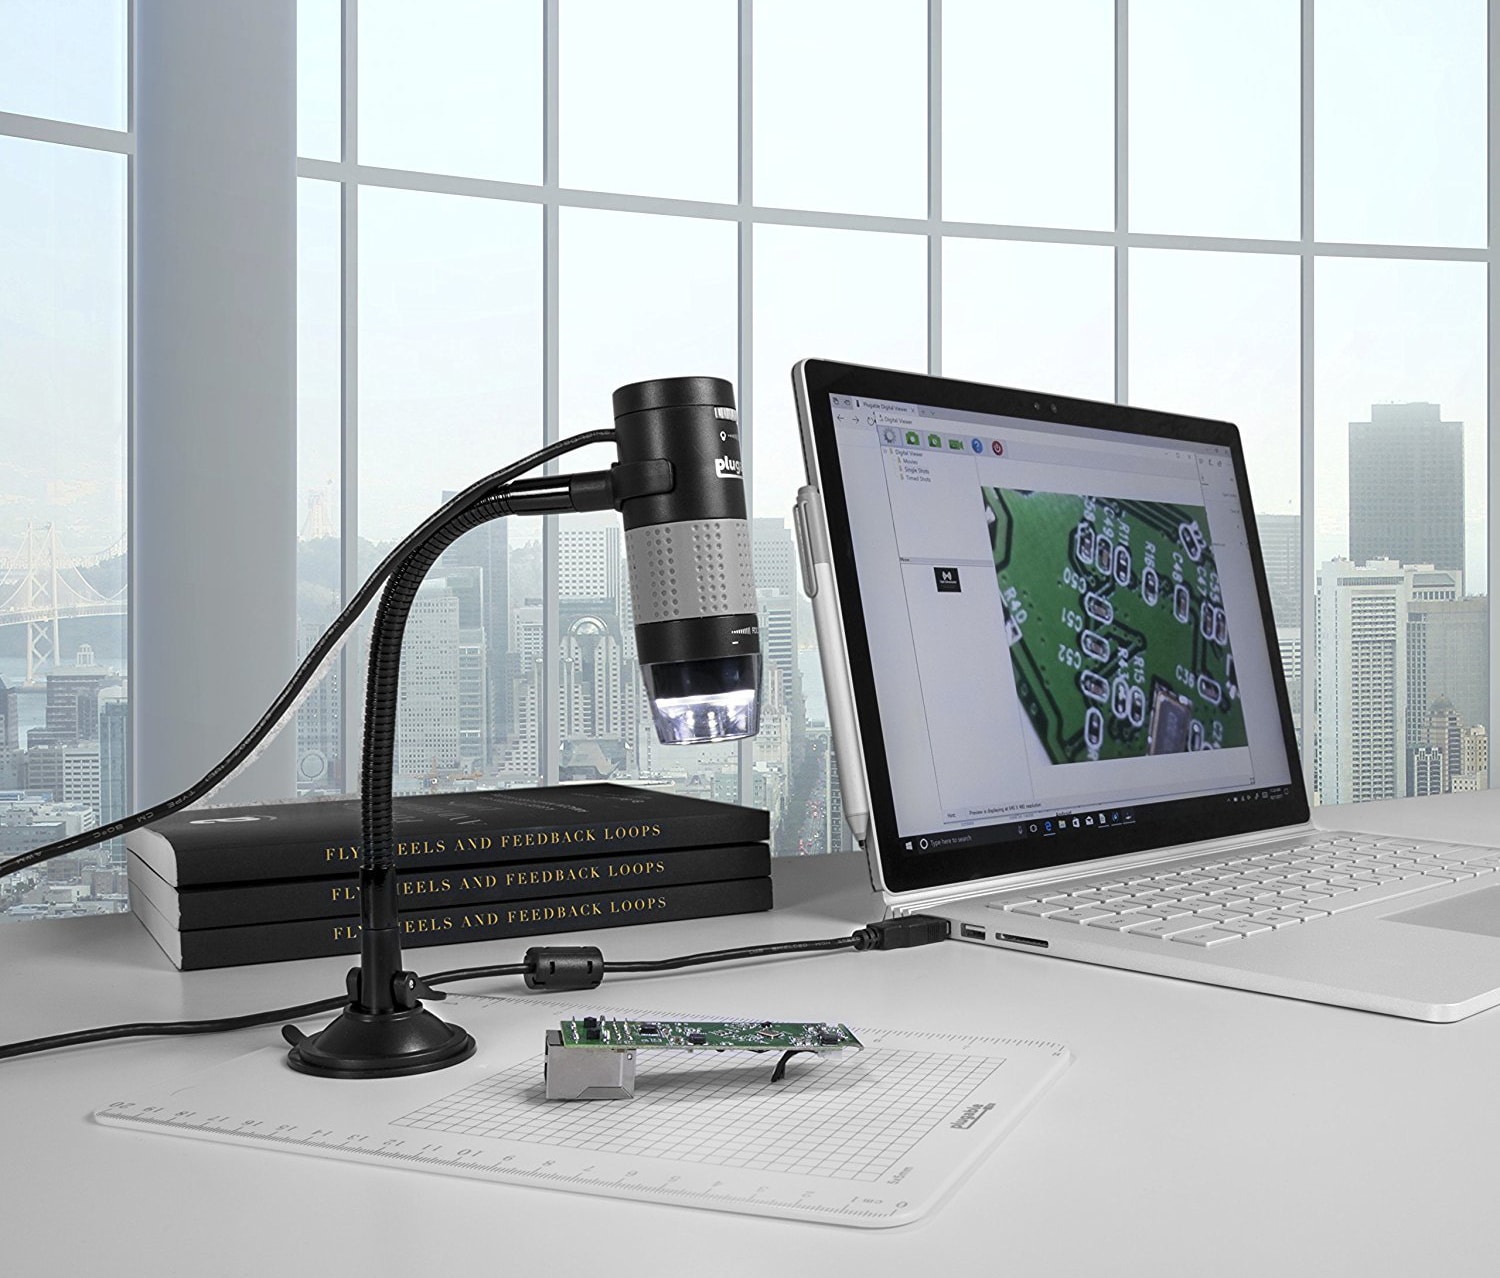
Smartphone + clip-on macro lens
→ Allows clear PCB photos at close range


Mini tripod + white LED desk lamp
→ Reduces blur, shadows, and reflections


Free software
GIMP or XnView for cropping, contrast and basic EXIF viewing


Goal​


My goal is to build a coherent, beginner-friendly test bench that lets me safely recap, diagnose, measure, and document every step of a restoration — while keeping costs reasonable.


Open Call for Feedback​


I’d really appreciate insights from more experienced members:


• Anything missing from this list?
• Tools or brands you’d swap or avoid?
• Tips for upgrading later on?


Thanks in advance to all contributors — I’ve learned a lot already from threads by Leestereo, MaxZ28, Echowars and many others.


EchoForge
 
Register to hide this ad
Your forethought and methodical approach are impressive and you've covered all the main areas for electronics repair. Other area would be cleaning supplies like solvents, lube grease, and polishing cream to rejuvenate faceplates, mechanical parts, etc. I'd say the above setup would be adequate for the average DIY'er beyond beginner level. Kinda depends on how much money you want to spend on it. My thoughts:
  • Some items are fairly pricey, like scope and desoldering station. Some people get by with just a hand-held solder sucker and basic soldering iron, but controllable soldering station with digital temp readout is better than pencil iron alone. Desoldering stations (I have a Pace) are pricey since they're a combination hollow-tip soldering iron and powered vacuum pump.
  • Variac variable transformer is useful to power up old gear slowly so caps aren't stressed right off.
  • Of course, goes without saying--spray can contact cleaner (DeOxit, CCI, etc.) is standard equipment.
  • Regarding safety, an isolation transformer is often used to separate AC mains power from equipment being worked on so there's no dangerous path to ground--like when you're working on a unit powered up with the cover off.
  • For taking pics to post or record disassembly steps I use a digital camera (Panasonic Lumix DCM-TZ5 with Leica lens, fairly cheap used) as it's easier than a smart phone to handle and frame up good shots and pics are easily transferred from SD card.
With a good sturdy bench you'll have it made.
 
thermal camera useful although can be a moderate price tag depending on your definition of "reasonable cost" and the parameters contained within.

variac and meter duo will help with dim bulb especially for chaotic power supply diagnostics.

re-engineering circuits on vintage gear should not be surprising, updating/improving component values and physical locations.

working on the first piece of gear typically helps piece together a shopping list for a bench.
 
The cap tester is not for caps that are in the gear. It's for the new ones that you're going to replace them with. I have yet to get a bad new cap, so I'd consider the cap tester a luxury, with the money better spent elsewhere. Film and mica caps don't usually fail unless the gear gets hit by lightning.

When I'm going to work on a piece of equipment that 15+ YO, I start with replacing all the electrolytic (and tantalum) caps. Don't bother testing, just replace them. The replacements are cheap and will save you from having to open the unit up every 6 months to hunt down another failed cap. I don't bother looking at anything else until those caps are all replaced.

Don't buy a vintage scope. You don't want to have to decide if what the scope is showing you is a problem with the amp you're testing or with the scope. Get a new DSO with the fastest sample rate and greatest memory depth you can afford. I have the Siglent SDS804X. I bumped it from 70 MHz to 200 MHz BW about an hour after it arrived. The 200 MHz Siglent scope has 100 Mb memory (the 70 MHz doesn't, but when you bump it to 200 MHz, you also gain access to the full memory depth). The BW of your measurement is a function of the sweep rate, memory depth, and number of channels in use. The advertised numbers for BW and sample rate are always the absolute best the unit can do (one channel in use, high sweep rate, full memory depth), not what it can do under every measurement setting. When you're looking for intermittent signals, waveform capture rate becomes important. Don't buy an 8 bit scope. 12 bit scopes are common and don't cost much more but capture more detail in the waveforms.

You're going to want a dummy load for amplifiers. You can buy high power rated resistors via ebay, but don't skimp on the heatsink. Those aluminum body resistors need a heatsink. And it's never a bad idea to have a fan blowing air across the heat sink.
 
Last edited:
And another opinion about a scope for a starter setup: start with a vintage analog scope… that already works.

Digital scopes are wonderful… for some people and some purposes. That said, if you’re still learning what the signal and the power is all about… and the analog scope makes you _set_ the right window to see what you’re looking for… and doesn’t have the bandwidth to assume you want that 15MHz signal bouncing around the room instead… you may do better starting with a simple analog scope.
 
Your forethought and methodical approach are impressive and you've covered all the main areas for electronics repair. Other area would be cleaning supplies like solvents, lube grease, and polishing cream to rejuvenate faceplates, mechanical parts, etc. I'd say the above setup would be adequate for the average DIY'er beyond beginner level. Kinda depends on how much money you want to spend on it. My thoughts:
  • Some items are fairly pricey, like scope and desoldering station. Some people get by with just a hand-held solder sucker and basic soldering iron, but controllable soldering station with digital temp readout is better than pencil iron alone. Desoldering stations (I have a Pace) are pricey since they're a combination hollow-tip soldering iron and powered vacuum pump.
  • Variac variable transformer is useful to power up old gear slowly so caps aren't stressed right off.
  • Of course, goes without saying--spray can contact cleaner (DeOxit, CCI, etc.) is standard equipment.
  • Regarding safety, an isolation transformer is often used to separate AC mains power from equipment being worked on so there's no dangerous path to ground--like when you're working on a unit powered up with the cover off.
  • For taking pics to post or record disassembly steps I use a digital camera (Panasonic Lumix DCM-TZ5 with Leica lens, fairly cheap used) as it's easier than a smart phone to handle and frame up good shots and pics are easily transferred from SD card.
With a good sturdy bench you'll have it made.
Thanks for the thoughtful reply, daybreak2350, lots of useful additions here.


Your points on the variac and isolation transformer make sense, especially for older gear or when working on units live. I’ll definitely look into those as potential future upgrades once I’ve built some confidence with lower-risk projects.


Contact cleaner is another good catch, I had deliberately kept chemical products out of the initial checklist to stay focused on hardware, but I’ll likely add a maintenance supplies section later (DeOxit, fader lube, lithium grease, etc.).


I also appreciate the comment on cameras. I’ve had decent results using a smartphone with a macro lens, but I agree a used compact camera might make sense for clearer PCB shots. I’ll keep that on the radar.


Glad to hear the current setup seems solid for a beginner to intermediate bench, I’m trying to build a clean workflow that grows with me.


Thanks again, this kind of grounded, experience-based feedback is exactly what I was hoping for.
 
you also need a magnified lamp like this one.

And Welcome to AK !!!

Nashou
Thanks for the nudge, Nashou66, fully agree.

I’ve been using a Donegan OptiVISOR (DA-4) and it’s been a real asset, especially for precise inspection of pads, vias, or aging traces. That said, I can also see the benefit of adding a magnifying lamp on an articulated arm, it would complement the visor well for documentation, soldering stability, and long sessions where hands-free magnification makes a difference.

Appreciate the reminder, both tools have their place on a well-rounded bench.
 
thermal camera useful although can be a moderate price tag depending on your definition of "reasonable cost" and the parameters contained within.

variac and meter duo will help with dim bulb especially for chaotic power supply diagnostics.

re-engineering circuits on vintage gear should not be surprising, updating/improving component values and physical locations.

working on the first piece of gear typically helps piece together a shopping list for a bench.
Thanks sae-7125, great reminder that no checklist is complete until you’ve worked on actual gear. I fully agree that the first rebuild often reveals what matters *in context*, beyond the theoretical list.

The variac + meter combo alongside a DBT makes sense too, especially for unstable power rails or protection circuits acting up. I’ll definitely keep that pairing in mind for diagnostic work.

As for the thermal camera, I haven’t used one yet, but I’ve seen how it can help pinpoint stressed components fast, might be worth watching for a deal at some point.
 
The cap tester is not for caps that are in the gear. It's for the new ones that you're going to replace them with. I have yet to get a bad new cap, so I'd consider the cap tester a luxury, with the money better spent elsewhere. Film and mica caps don't usually fail unless the gear gets hit by lightning.

When I'm going to work on a piece of equipment that 15+ YO, I start with replacing all the electrolytic (and tantalum) caps. Don't bother testing, just replace them. The replacements are cheap and will save you from having to open the unit up every 6 months to hunt down another failed cap. I don't bother looking at anything else until those caps are all replaced.

Don't buy a vintage scope. You don't want to have to decide if what the scope is showing you is a problem with the amp you're testing or with the scope. Get a new DSO with the fastest sample rate and greatest memory depth you can afford. I have the Siglent SDS804X. I bumped it from 70 MHz to 200 MHz BW about an hour after it arrived. The 200 MHz Siglent scope has 100 Mb memory (the 70 MHz doesn't, but when you bump it to 200 MHz, you also gain access to the full memory depth). The BW of your measurement is a function of the sweep rate, memory depth, and number of channels in use. The advertised numbers for BW and sample rate are always the absolute best the unit can do (one channel in use, high sweep rate, full memory depth), not what it can do under every measurement setting. When you're looking for intermittent signals, waveform capture rate becomes important. Don't buy an 8 bit scope. 12 bit scopes are common and don't cost much more but capture more detail in the waveforms.

You're going to want a dummy load for amplifiers. You can buy high power rated resistors via ebay, but don't skimp on the heatsink. Those aluminum body resistors need a heatsink. And it's never a bad idea to have a fan blowing air across the heat sink.
Thanks mrehorst, that’s a clear, no-nonsense perspective I can appreciate.

Your point about the ESR meter is well taken. I’ve mostly seen it as a tool for identifying suspect caps without desoldering, but I agree that once you’re into full recaps, especially with 15+ year-old gear, the economics shift toward straight replacement.

The scope recommendation is really helpful too. I hadn’t thought much about sample depth vs bandwidth vs channel count interaction, but that makes total sense when you’re chasing transient or unstable signals. I’ll definitely keep that in mind if I scale up from basic testing.

And good call on the dummy load and heatsinking, hadn’t factored that in as a bench essential, but now it’s clear why it matters.
 
And another opinion about a scope for a starter setup: start with a vintage analog scope… that already works.

Digital scopes are wonderful… for some people and some purposes. That said, if you’re still learning what the signal and the power is all about… and the analog scope makes you _set_ the right window to see what you’re looking for… and doesn’t have the bandwidth to assume you want that 15MHz signal bouncing around the room instead… you may do better starting with a simple analog scope.
Thanks Doug, I really appreciate your perspective, especially as someone still learning how to *read* signals, not just capture them.

That point about analog scopes forcing you to set the window consciously really resonates. It reminds me that part of the learning process is not just about seeing more, it's about seeing deliberately.

I hadn’t thought about how bandwidth and automation in DSOs might create false confidence. That alone makes a good case for spending some time with an analog unit, assuming I can find one that’s calibrated and stable.

Appreciate the thoughtful balance you brought to the scope discussion.
 
The variac + meter combo alongside a DBT makes sense too, especially for unstable power rails or protection circuits acting up. I’ll definitely keep that pairing in mind for diagnostic work.
variac is good for bring circuits up slowly, even if there is an aged protection circuit that may or may not work. a similar process known as ict (in circuit test) tests pathways for r/c/L with reference to various test points.

a low wattage dim bulb (40-80w) is an effective safety net since an unexpected low resistance or short circuit which requires lots of energy in order to do measurable damage. starving a dead short can be useful too, identifying questionable hot spots along the way.

nowhere is it written that a diagnostic requires full mains voltage/power at all times. full mains might help when reviewing schematics with voltages labeled at various test points (rare luxury for newer and vintage gear) but a solid state circuit can function (pass music) even at 50% mains albeit not all systems.

the meter between variac and dim bulb helps to monitor how much the device/system under test is consuming (at all times, heart/vitals monitor in an emergency room). the meter also helps when exercising a repaired amp/system in regards to dynamic power supply response (wattage consumed) and how quickly it throttles down (looking for potential bias runaway, thermally motivated).

since humans have poor eyesight when it comes to perceiving quantum activities of particles and waves, various apparatus are needed to see the invisible and... thats where the thermal camera is an exponential game changer. what gets hot and when to help determine why before more damage occurs might be one way of looking at it, thermionic strategy.

using an LCR meter (no circuit voltage applied) at 1khz or higher setting can help to compare a good channel vs suspect channel (control group vs test group), like a factory ict system (usually labview software is involved).

*details about my current electro-mechanical bench gargoyle with a hunchback silhouette

i should probably dial down my ranting about diagnostic modus operandi.


*an example, cost effective high v diff probe, not a brand endorsement

*other online calc/ref also exist

Screenshot 2025-07-12 at 09-45-29 work bench computing station at DuckDuckGo.png
*random visual examples of what a diag bench could look like, a wall of words shows nothing

Screenshot 2025-07-12 at 09-49-53 online circuit sim at DuckDuckGo.png
one last thought before nap time, easy to access circuit sim options (random photo examples)
 
I didn`t see any reference/suggestions mentioned about a clean waveform sine/square wave audio signal generator !
Preferred, IMO/E over some dubious Smart phone apps !

And a laptop/desktop computer for online researching & storing SM info & schematics can be very handy .
 
A couple of high power 8ohm dummy loads. Two for stereo output and you can switch them parallel to each other for 4ohm load.

I have made up most of my test cables. BNC’s on one end and various connectors such as RCA, Mini grabbers, and banana plugs. Several of each and adapters like RCA to BNC, BNC splitters, terminators, etc.

Lighting- I use one of those magnifier lamps and other flexible lamps. I also have a cheap flashlight handy.

Get a plastic tuning kit for those discriminator coils. I also found some cheap ceramic screwdrivers on Amazon also good for tuner adjustments.

Helping hands, Panavise, etc - something to hold things in place.

I get some cheap chip paint brushes and cut the bristles short. I use them along with various toothbrushes and paint brushes to clean boards and components. An air compressor is handy sometimes but not inside.
I used to use a small shop Vac with the hose on backward and blow out dust until once I did that after I had vacuumed a small amount of water and forgot to empty it. I spewed nasty dirty water all over the inside of a receiver. I don’t use it except to vacuum now.

I go through a lot of Qtips, alcohol on makeup remover pads, and Mr Clean erasers.
 
Back
Top Bottom