• The move to the new server is done. There are some software and database maintenance updates in process. This has us passing the hat around to help out. We appreciate any donations. Seriously, even a dollar helps. The payment page may be found here - https://www.audiokarma.org/support.html

Capacitors in vintage Sansui speakers (SP-2500X)

Pretzelogic

New Member
Does anyone know where the capacitors are mounted inside vintage Sansui speakers, specifically SP-2500X’s? I’ve done the DOT-3 trick with the surrounds and at this point I think the last thing they need would be new caps. Changing them doesn’t look too hard but knowing where they are in the speaker box would be good before I start pulling out the tweeters, midranges, woofer.
 
Register to hide this ad
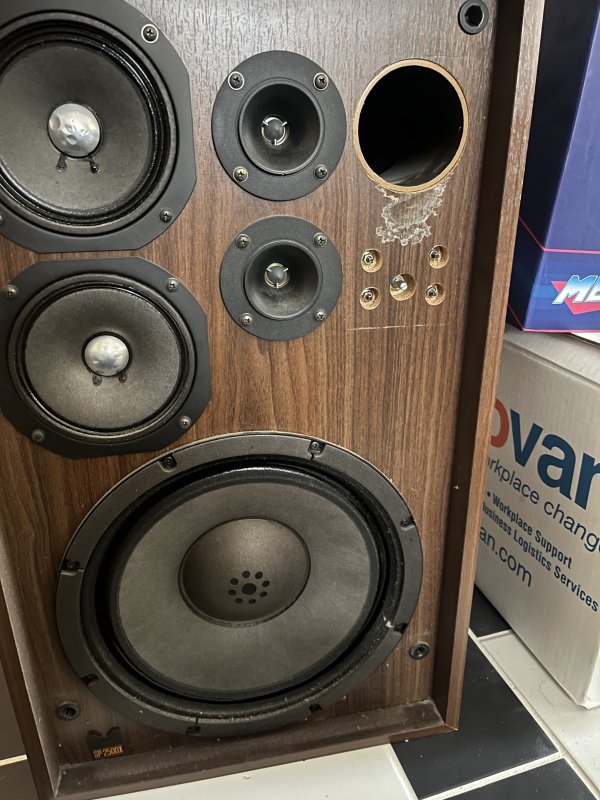
Crossover in SP-2500X should be under the port hole. The Sound Balance control rotary switch is part of the actual assembly.

SP-2500X assy.jpg
 
Last edited:
Never had my hands on an actual assembly. Maybe there's a nut and washer around the switch shaft behind the knob holding it all in ?
 
Never had my hands on an actual assembly. Maybe there's a nut and washer around the switch shaft behind the knob holding it all in ?
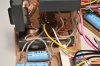
Looks like everything is on a little shelf behind the sound balance selector but no idea how to open these suckers up to access it. They don’t have the back plate with visible screws like the 2500’s do.
 
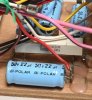
I can see the caps but can’t figure out how to easily access them. Looks like 4 caps per speaker.
Rubycon bipolar

50v 2.2uf

50v 3.3uf

50v 4.7uf

50v 10uf

They’re light blue and have a lead at each end. What type of caps are these and where do I find replacements?
 
non-polar or bi-polar electrolytic caps can be had from most of the electronics suppliers. Can also sub them for film caps in the same value if you want. Voltage isn't important, just don't go lower than 50v.

partsexpress ought to have all of these in both electrolytic and film.
 
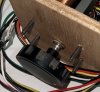
Four threaded studs protruding through front of the assembly:

4 studs.jpg

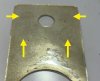
Very light impressions in back of control plate:

cntrl plt back.jpg

Looks like there are four nuts under the control plate, threaded down into the front baffle just below the surface.

Which means the plate needs to come off (VERY carefully) to get the crossover out.
 
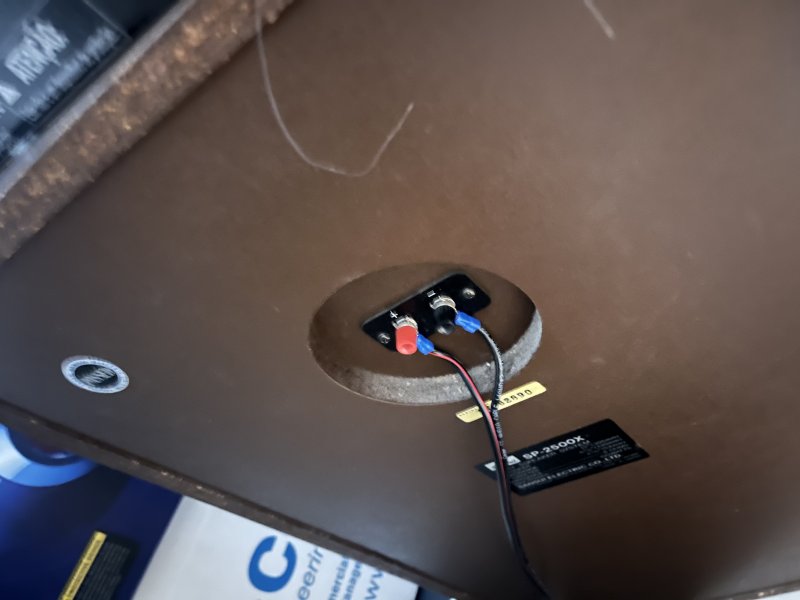
Hopefully not resurrecting an old thread, but how do you actually open the back of the cabinet? I'm able to access the nuts on the 4 studs mentioned above, but not sure how to access the shelf once I take off the nuts.
 
Hopefully not resurrecting an old thread, but how do you actually open the back of the cabinet? I'm able to access the nuts on the 4 studs mentioned above, but not sure how to access the shelf once I take off the nuts.
Once you take the nuts and knob off tug on the shelf. It should come loose. If yours is stuck it may just be from years of the wood to wood contact. Mine fell right off as soon as the nuts were out.
 
Sorry, but how do I even access the shelf? The only two screws I see are on the wire terminal plate...

The shelf is attached to the front of the speaker cabinet to the right of the tweeters. You have to remove the crossover sound selector knob and the metal name plate around it to access the 4 nuts holding the shelf to the cabinet.
 
I was able to remove the metal plate and I see the 5 nuts. But as it stands right now, I'm unsure of how to actually grab the shelf once those nuts are off. Should I just remove the big lower speaker and grab it that way?
 
I was able to remove the metal plate and I see the 5 nuts. But as it stands right now, I'm unsure of how to actually grab the shelf once those nuts are off. Should I just remove the big lower speaker and grab it that way?
The nut in the middle stays in. That’s attached to the shelf not the cabinet. I put the speaker on it back and removed the 4 nuts. When the last one was removed the shelf drops literally a few inches onto the 1”thick felt on the back wall of the speaker. The whole cabinet except for the front face plate is lined with that felt so nothing will get damaged.
 
Another thing, remove the bolts from all the speakers - woofer, tweeters and midranges. Pull them out and disconnect the speaker wires from the terminals. This will make it easier to take the shelf out and work on it. I think the only wires I didn’t remove from the shelf was the power feeds from the terminals on the back of the speaker to the shelf. Also when replacing the caps I found it way to easier to get a good pair of dikes and snip the leads on the caps themselves rather than unsoldering the leads from the terminals and solder points. Then rough in the new caps and shorten their leads to solder them in.
 
Use film caps throughout or at minimum on the mids and tweeters. I always had good results with film cap. These crossovers are easy to work on once out of box. Good luck
 
Back
Top Bottom