• The move to the new server is done. There are some software and database maintenance updates in process. This has us passing the hat around to help out. We appreciate any donations. Seriously, even a dollar helps. The payment page may be found here - https://www.audiokarma.org/support.html

Harman Kardon 330B (B-2) Restoration Thread - Information & Questions

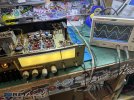
It can be a bit of a head scratcher interpreting the service manual but after hooking up 8 ohm 50 watt resistors to the speaker terminals, I turn it on and let it sit for 15 - 20 minutes to allow everything to warm up and settle down. Then the signal generator gets hooked up to AUX with a 1000 Hz 0.5 volt sine wave setting followed by the scope hooked across the same speaker terminals as the resistors are hooked up to.

Since I don't know how or if I can adjust the power output on my generator, I have the volume control on the receiver turned right down and slowly turn it up until I see clipping on the scope. Then the required VR gets adjusted to equalize the clipping on both the positive and negative waves. I don't keep the volume knob turned up too long as the resistors do get hot.View attachment 3585115

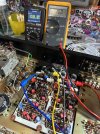
To adjust the idle, or bias current, I like to use two DVM's instead of the scope and hook them both up to the indicated emitter resistors and adjust the VR's so I can read both channels at the same time. I don't think the B2 has test pins for this purpose so you'll have to clip straight to the indicated emitter resistor. Mini grabbers come in handy here. (630 Twin shown on dim bulb before being switched to full line power)
View attachment 3585116
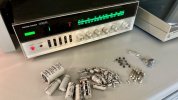
Resistors used.
View attachment 3585123

Thanks again for your help. I was able to align my first receiver after re-capping and changing most transistors on the predriver. First time using an oscilloscope and tone generator as well lol.

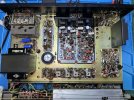
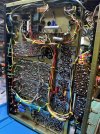
IMG_1613.jpegIMG_1614.jpeg
 
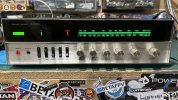
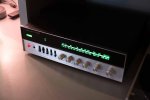
I think I'm done with the 330B repair for now and can pivot to my 630 next. When I first bought this locally it was blowing the left speaker fuse, scratchy knobs & switches, as well as a few of the lights out. The sound it was producing before the repair / refurb wasn't the best with static and noise even at idle. Physically it was pretty dusty inside and rough on the outside. The front panel and knobs were dirty and grimy, wish I took more before pics.

I've successfully done the following and it sounds & looks pretty damn good and no static / noise at idle.
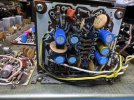
  • Replaced all electrolytic capacitors on all boards and under the chassis with all >10uF caps replaced with Nichicon capacitors & <=1uF replaced with MKS film capacitors.
  • Replace the tuner and meter lights with LEDs
  • Partially replaced some transistors and still debating whether to keep going
  • Installed female speaker banana terminal
  • Cleaned everything

IMG_1692.jpeg
IMG_1685.jpeg

IMG_1671.jpeg


IMG_1670.jpegIMG_1642.jpeg
330B-4.jpg
 
Last edited:
Back
Top Bottom