• The move to the new server is done. There are some software and database maintenance updates in process. This has us passing the hat around to help out. We appreciate any donations. Seriously, even a dollar helps. The payment page may be found here - https://www.audiokarma.org/support.html

JBL Speaker Refoaming

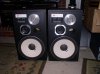
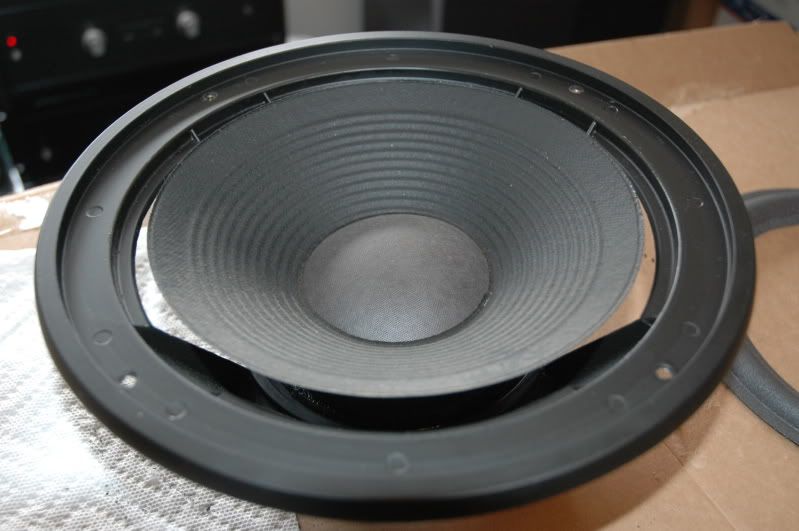
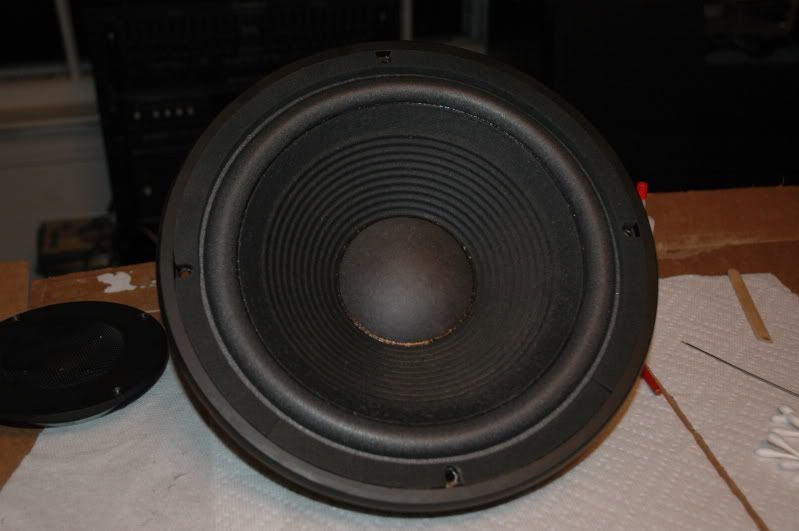
I studied your thread and was inspired to refoam a set of L112's I picked up at a thrift for $4 a few months ago. They have the 128H woofer. I have done a few Infinity's & Advents over the years, this is the 1st really nice vintage JBL's I've tried. The epay supplier I got the kit from said these would absolutely need to be shimmed, too. I cleaned off the old foam & started to cut into the cap. Dang you were right, Very thick & hard. I just could not force myself to chance damaging the cone. So, I went the CD route. I did one today. It centered up nicely when I put the foam on, no rubbing. Kept going back to the CD, I used Pink Floyd Wish you were Here, opening of track 2 "Welcome to the Machine", awesome bass. Let it set, put it back in the cab, hooked to my stereo. Damn, What bass! :D No rubbing, Yeah! :yes: I'll try to get to the other this weekend. Hope I have as good of luck with it.
 
Last edited:
Yes, the JBL dust caps are definitely difficult to work with. Good luck with the second speaker. :thmbsp:
 
JBL glue is MEK based. If you have good ventilation, mek (Methyl Ethyl Ketone) or acetone will soften it enough to remove the dustcap without destroying the dustcap or the cone. Always be careful with MEK or acetone - they are highly flammable, are very strong degreasers and have very potent fumes. Good luck - Steve
 
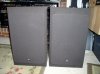
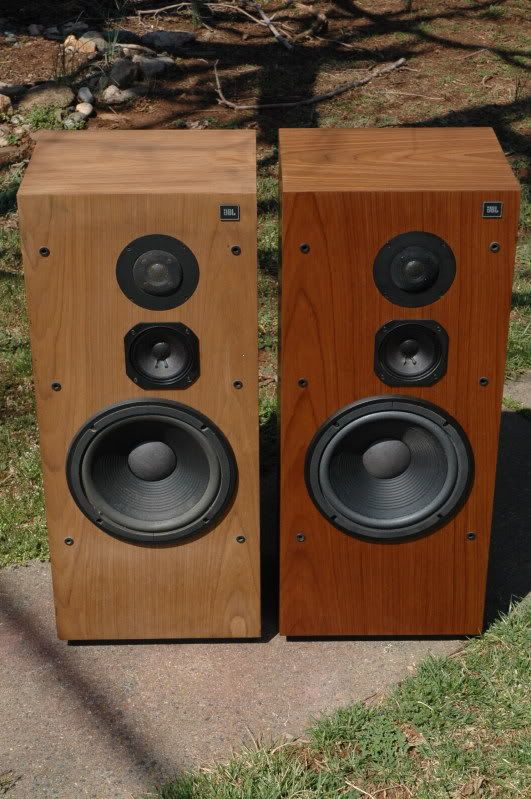
Finished refoam on JBL L112's.

I finished the refoam on the other 128H last night. Worked like the 1st one, did not need to cut the dust cap. :thmbsp: When I got them most of the old foam was there, probably helped to keep them from sagging. But, what I did not realize, that they were supposed to be a mirror image set. These are both left hand? side speakers. S/N 60027 & 60029. I assume that odd # are left & even # are right. Some were out there some one has the matching right side speakers, LOL. Anyway, they are amazing speakers. Deep bass & detailed mids & highs. Awesome. Only negative is some scratches to the top of one & the mid dust cap is dimpled on the other.
 

Attachments

  • L112a.jpg
    L112a.jpg
    66.1 KB · Views: 75
  • L112b.jpg
    L112b.jpg
    79.3 KB · Views: 33
Last edited:
Rick Cobb to get a JBL refoam kit? Thanks.

Hi, where can I get ahold of Rick Cobb to get a JBL refoam kit? Thanks.
 
another friendly bump - who else has some good JBL refoaming examples?

My first pair of L80Ts during restoration:

DSC_1389.jpg


DSC_1400.jpg


DSC_1402.jpg
 
RIP Cogs. I can still remember the day you found these JBLs, a few minutes from being thrown into the trash.....

index.php
 
Last edited:
Having just read that last post, I feel a bit sad posting this.

I'm glad I found this thread, I'm about to "refurb" an LE111A from my L110s. They've been out of action for a few months due to an accident involving a chair leg and the aforementioned speaker, I've got a complete kit as the voice coil is presumed broken too. So here goes...

RIP Cogs, I never knew you, but if it wasn't for people like you rescuing those JBLs and getting them repaired, people like myself wouldn't have the confidence and know how to try something like this. Thank you.
 
I did a UREI coaxial recently, its basically a JBL 2214 with a coaxial horn/tweeter ...
I use replacement surrounds from Rick Cobb as well.
I use a razor knife, a sharp chisel (gently) and a putty knife to clean.
I'm a firm believer in using MEK (outdoors, plenty of air!) to clean residual glue and remains of the disintegrating surrounds from the back of the cones and the metal frame ...


First picture shows the JBL 2214 on the left compared to the UREI coaxial with bad surround on the right.

2214-and-UREIs.jpg
Once all the bad gunk is cleaned off the speaker cone and frame, you can glue the new surround to the back of speaker cone.And I generally let that dry overnight.
And the next day, you can glue the outer edge of the surround to the speaker frame.
I use a 30Hz test tone to be sure the speaker cone is centered at that point.
Once you're sure its centered, you can attach the spacers on top, and hold it tightly in place with clothespins.

UREI-clothespined_9597.jpg

A day later you can screw the horn driver back onto the assembly, and put it to use.
UREI-Surround-redone_9598.jpg
 
Back
Top Bottom