• The move to the new server is done. There are some software and database maintenance updates in process. This has us passing the hat around to help out. We appreciate any donations. Seriously, even a dollar helps. The payment page may be found here - https://www.audiokarma.org/support.html

Pioneer SX-1250 recap and restoration thread!

First after pics! Have a look!

Right side of the chassis before cleaning

SX-1250+right+side+of+chassis+before.JPG


I didn't get a before of the left side chassis, I dove in without taking one. :smackshead:

And here is the after!

Right side

SX-1250+right+side+of+chassis+after.JPG


Left side

SX-1250+left+side+of+chassis+after.JPG


And now for some boards!

Left power amp after, all the pins were cleaned and the board dusted and cleaned as well. 5 caps, 2 transistors (the input pair) and 2 variable resistors were replaced

SX-1250+left+amp+board+after.JPG


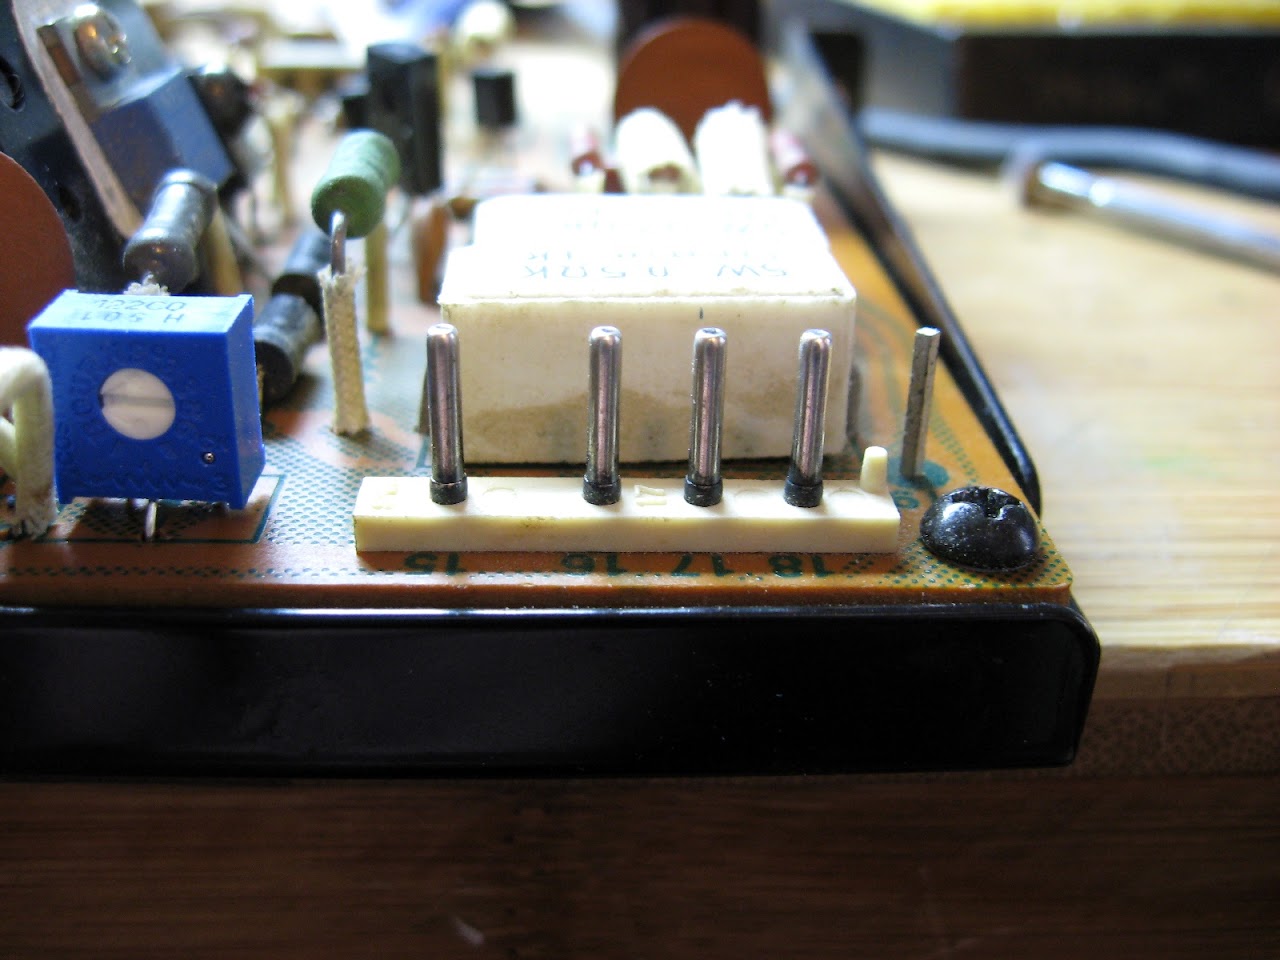
Pins before and after

SX-1250+left+amp+board+pins+before.JPG


SX-1250+left+amp+board+pins+before+2.JPG


SX-1250+left+amp+board+pins+after.JPG


SX-1250+left+amp+board+pins+after+2.JPG


Protection board, new relay, replaced three transistors, upgraded two of them to bigger TO-126 case styles and replaced 6 caps. Also cleaned the board and the pins.
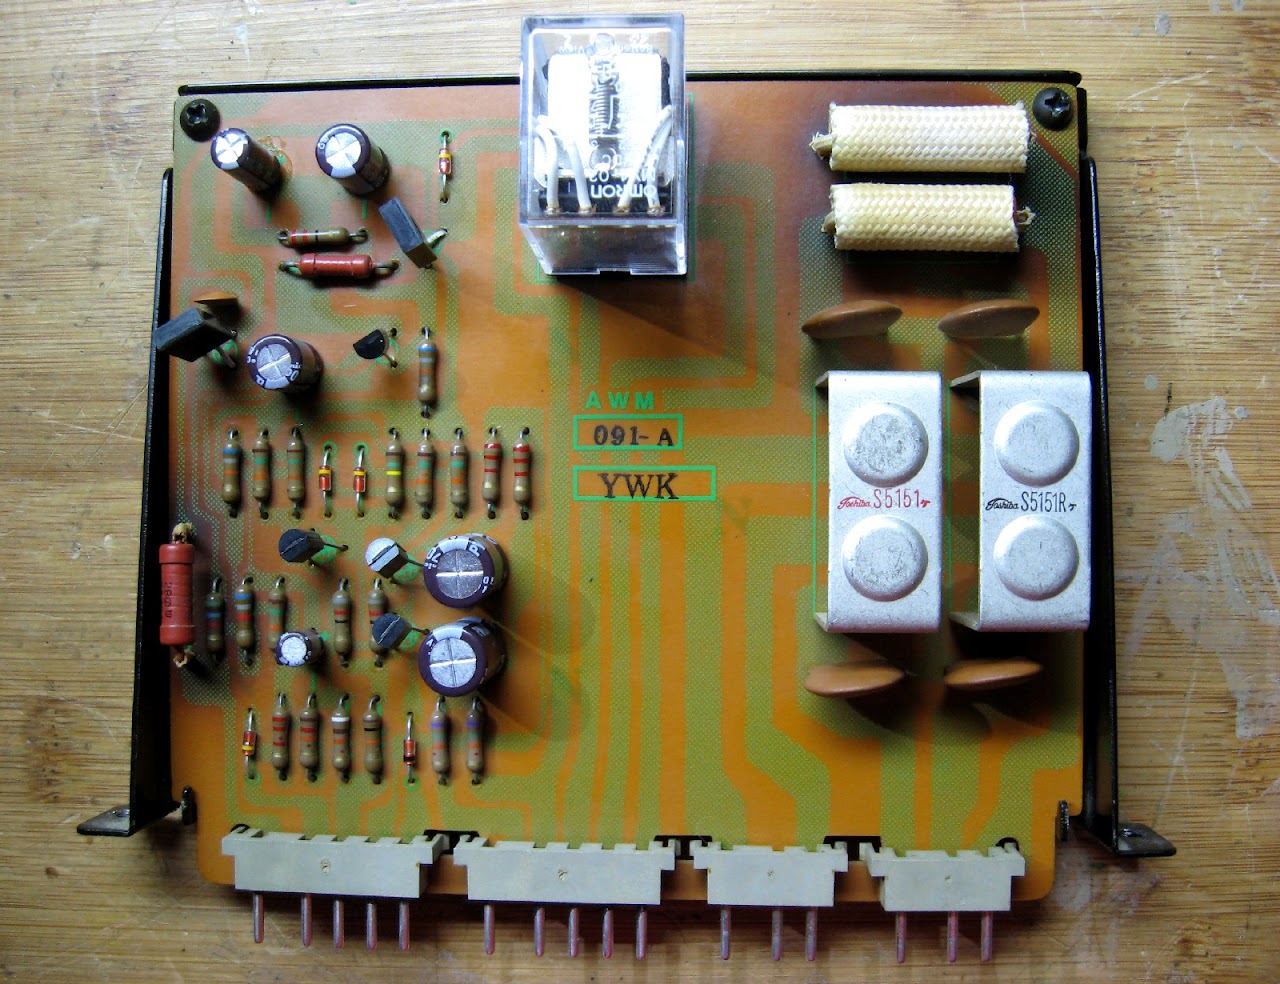
SX-1250+protection+board+after.JPG


Right amp board, same thing done as the left amp board

SX-1250+right+amp+board+after.JPG


Stabilizer board, 16 caps, 13 transistors, 6 diodes and 2 variable resistors were replaced. Board and the pins were cleaned as well, also the micas were replaced and new heatsink grease applied where needed.
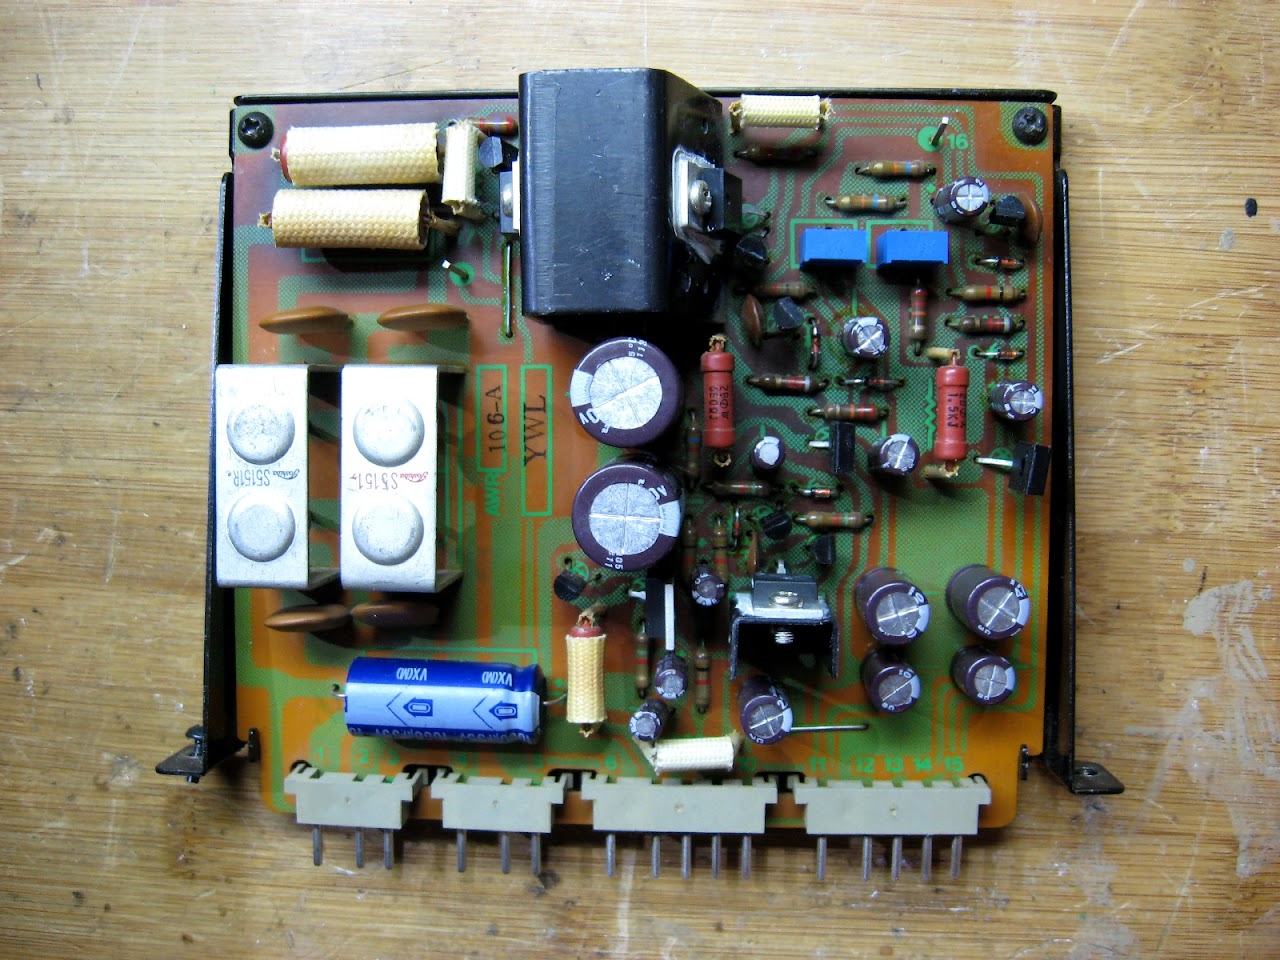
SX-1250+stabilizer+board+after.JPG


Left side back together minus the filter caps (still haven't arrived yet! :sigh:). New micas and heatsink grease were applied to all four outputs.

SX-1250+left+side+after+2.JPG


Coming up, the right side back together again and moving on to the bottom of the receiver.
 
Last edited:
Here are some of the heatsinks before and after.

Before:

Left heatsink

SX-1250+left+heatsink+before.JPG


Right heatsink

SX-1250+right+heatsink+before.JPG


And after!

Left heatsink

SX-1250+left+heatsink+after.JPG


Right heatsink

SX-1250+right+heatsink+after.JPG


And the right side put back together (still needs the filter caps).

SX-1250+right+side+after.JPG
 
Last edited:
Some more after pics

Control amp board, 26 caps and 4 transistors were replaced on this board, also the controls were given a Faderlube treatment and the switch Deoxited.

SX-1250+control+amp+after.JPG


Filter amp board, 4 caps and 2 transistors on this one, Deoxit was applied on all the switches as well.

SX-1250+filter+amp+after.JPG


Flat amp board, 12 caps and 6 transistors replaced, also Deoxited all the switches.

SX-1250+flat+amp+after.JPG


Power supply board, only 4 caps on this one, also checked the fuses for proper rating and any corrosion.

SX-1250+power+supply+board+after.JPG


Only thing left is the EQ amp and filter caps. Almost there, I can't wait!
 
Last edited:
And at last! The EQ board and filter caps are done!

Equalizer amp board, 12 caps and 14 transistors on this board.

SX-1250+equilizer+amp+board+after.JPG


New filter caps in place, I got them yesterday and they are now installed!

SX-1250+new+filter+caps+top.JPG


Left channel bottom view.

SX-1250+L+ch+new+filter+caps+bottom.JPG


Right channel bottom view.

SX-1250+R+ch+new+filter+caps+bottom.JPG


Old versus new.

SX-1250+filter+caps+old+versus+new.JPG


All back together!

SX-1250+top+view+after.JPG
 
Last edited:
Unbelievable amount of GREAT photos. This thread will forever be a reference! Nice work! Came out extremely clean and sounds amazing im sure!
 
And now, the moment you've all been waiting for! I checked everything before powering it up for proper orientation and polarity. I started with 100 watt bulb in the DBT and after trying in vain to calm my adrenaline flow (I was getting excited!) I hit the switch.

Bright bulb! It took forever to dim down, the soft start relay didn't close until about 8 seconds after flipping the switch. Once it dimmed down though and the SS relay closed, the protection relay clicked after about 4 seconds. The bulb was still glowing pretty brightly, so I shut it down and switched to a 150 watt bulb and this time it dimmed down almost all the way. I proceeded to set the bias and the 65 volt rails, no problems there so I turned the bias back to zero and took it off the DBT. Powered it up on line power, almost instant click of the SS relay and then the protection after 4 seconds. So far, so good! Set the 65 volt rails first, followed by the bias and then the DC-offset, those multi-turn pots work wonders in setting it! :yes:

Hooked it up to my CD player playing Rush's R30 Der Trommler and HPM-100's and pressed play.

:jawdrop::jawdrop::jawdrop::jawdrop::jawdrop: :music: :drool:

If I didn't know better, I would have sworn that Neal's drum set was in the room, the drums and the sound effects were spot on and bass drum actually kicked you in the chest! I can't say enough about this receiver right now, it's just amazing, it's the first piece of vintage equipment in a long time that's actually blown me away. I had high expectations for it, but it exceeded all of them by a mile. I'll have to see what it sounds like when it burns in. Photo's of it put back together coming up soon!
 
Last edited:
So far everything is going excellent, bias and DC-offset are steady as a rock, the + and - 65v rail voltages are perfectly steady, both holding at 65.14v. The sound keeps getting better and better, I think I've found my new favorite Pioneer receiver. :yes: I got to test the phono input and I've never heard my SL-1900 and M97xE sound better. I'm about to clean up the faceplate, knobs and top cover and use some of my magical formula on the wood case, it'll look almost mint by the time I'm done.
 
Way to go, Matt! Glad that it's bringing you pleasure.:yes:

Congrats on a job well done.:thmbsp:

...R1
 
I can't post the link here, but search Adcom 22000uF on eBay and they'll come up. They're not cheap, but they work very well, I had a SX-1050 that I used them in and now the SX-1250 with excellent results, I just had to enlarge the holes in the connectors a little as the screws on the new caps are bigger then the originals.
 
I can't post the link here, but search Adcom 22000uF on eBay and they'll come up. They're not cheap, but they work very well, I had a SX-1050 that I used them in and now the SX-1250 with excellent results, I just had to enlarge the holes in the connectors a little as the screws on the new caps are bigger then the originals.


Adcom 22,000uF will yield 0 results. Try Adcom 100V;).

...R1
 
Back
Top Bottom