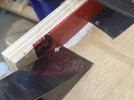
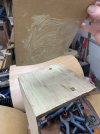
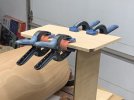
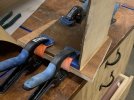
Let the glue cure over night. There is a BIG difference between glue "setting up" and "curing". Always let it cure before working on it.
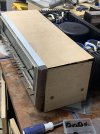
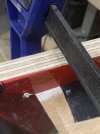
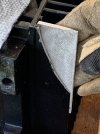
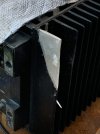
I trimmed off the majority of the excess with a scissors. I find that the router gets angry if the bit is making contact on both sides.

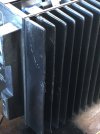
Then I used a flush trim bit on a little router. Set the bit as shallow as possible so that if you do not hold the router base perfectly flat you will minimize the gouge you take out of the veneer. The router bit will leave a tiny edge of paper that I clean up with a solid sanding block. Do not use a spongy block as it will dull the edge.
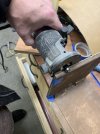
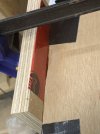
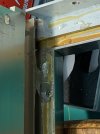
Then mask off the sides and glue up the top. The masking will keep the glue off the side veneer and also keep the bearing on the router from making any marks. I find all my bearings are glued up and I don't always notice when they are sticking.
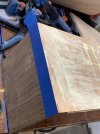
You can see the flange in the above picture.
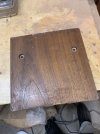
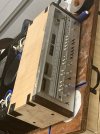
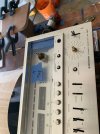
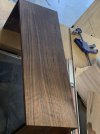
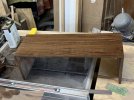
Glue on the top and use all the clamps you have to hold it in place. Let the clue cure and trim with a router. See if it still fits:
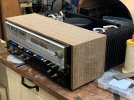
You can probably see the figuring in the walnut now. After 3 or so coats of poly that figure will become somewhat iridescent (if that is the right word). It seems to move when you view it at different angles. Waterfall edges!!
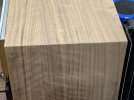
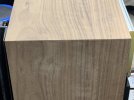
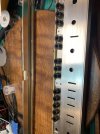
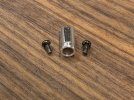
You can see why having the exposed veneer edge on the side is worth a little planning. Now it is time to drill out the screw holes that the veneer covered up. Use a tiny bit and mark the center of the hole from the back side of the case. Be as precise as possible. Maybe even use a brad point bit the size of the hold and just tap the tip through. I though of that just now. . .
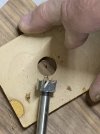
Regardless you will not have enough thickness of veneer to hold your forstner bit centered. So drill a hole in a scrap board and use that to center the forstner bit as you are drilling. I think I used a bit that was a little too big. Measure yours first.
Continued. . .



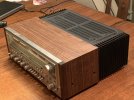
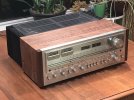
 . He even rounded up some missing knobs and feet.