

You are using an out of date browser. It may not display this or other websites correctly.
You should upgrade or use an alternative browser.
You should upgrade or use an alternative browser.
Sir.Byrd's 2226H based super speaker project
- Thread starter Sir.Byrd
- Start date



4343
Super Member
... The woofers and flushmounted, and the waveguides will be after we figure out how we will do that... ...
I just posted a thread on my experience flushing in an odd shaped woofer. The technique applies to any shape you want to recess.
http://www.audiokarma.org/forums/sho...d.php?t=332577
For round it's easier with the Jasper Jig, just do the recess before you cut out the center.
Start shallow at the outside diameter then move the pin a 1/4" smaller at a time till you get to the mounting diameter (You may have to make several passes if your recess is very deep). Finally make cuts at increasing depth at the mounting diameter 'til you are through. I like to leave about 1/8" then turn over and finish from the back, that way when the final cut finishes any slop/slippage when your center lets go is hidden inside you box.:thmbsp:

Sir.Byrd
Lunatic Member
Those are looking outstanding, Byrd! I believe that you are going to be really pleased with the finished product also :yes:
RC
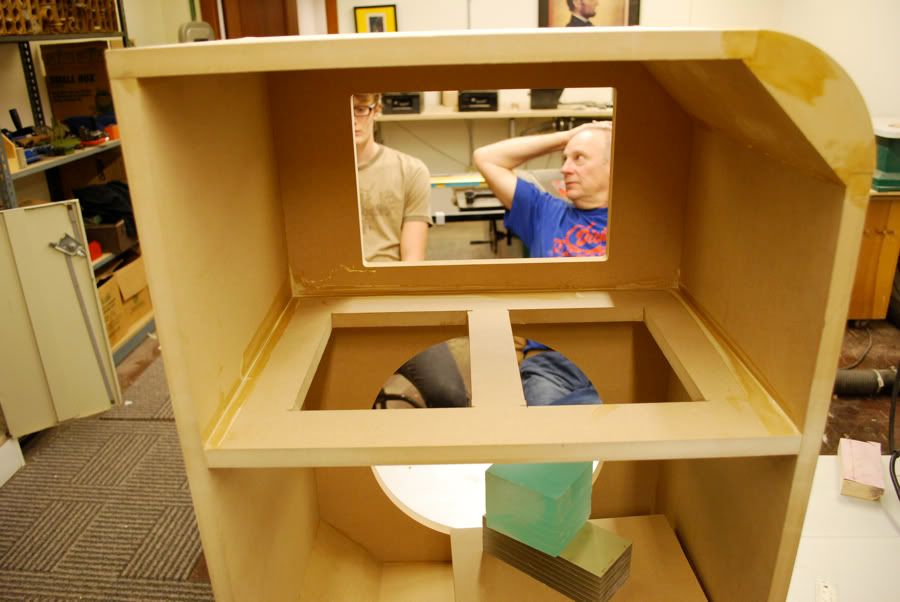
They are certainly coming together. Tomorrow we will work on them again. It is really exciting to see my drawings and designs coming into life, I've never built something this large before, restore yes, build no.
Did you go with the tapeease 1/4 round mdf piecs? It appears so from the pic.
I went with the corners you recommended, these are the 4" radius type.
Looking good. Use any biscuits? Type III PVA has longer open time if you need it. Great taste in clamps, I love those K Bodies.
No we did not use biscuits but rather some square drive wood screws, about 1" long, they were my dad's favorite type of screw. I don't think he has a biscuit jointer but my step dad does.
You can never have too many clamps.
I just posted a thread on my experience flushing in an odd shaped woofer. The technique applies to any shape you want to recess.
http://www.audiokarma.org/forums/sho...d.php?t=332577
For round it's easier with the Jasper Jig, just do the recess before you cut out the center.
Start shallow at the outside diameter then move the pin a 1/4" smaller at a time till you get to the mounting diameter (You may have to make several passes if your recess is very deep). Finally make cuts at increasing depth at the mounting diameter 'til you are through. I like to leave about 1/8" then turn over and finish from the back, that way when the final cut finishes any slop/slippage when your center lets go is hidden inside you box.:thmbsp:
Luckily the flange of the woofer is about 1/2" thick. So we surface mounted the 2226H and then cut the 1/2" plywood to the larger diameter and it is just dandy!
4343
Super Member
...
Luckily the flange of the woofer is about 1/2" thick. So we surface mounted the 2226H and then cut the 1/2" plywood to the larger diameter and it is just dandy!
Ahh, that's what I refer to as a JBL Sandwich. Done that a few times myself. I put another layer on the inside to keep the Tee nuts from falling out too, sometimes just a ring.
http://www.audiokarma.org/forums/attachment.php?attachmentid=197647&d=1267134515
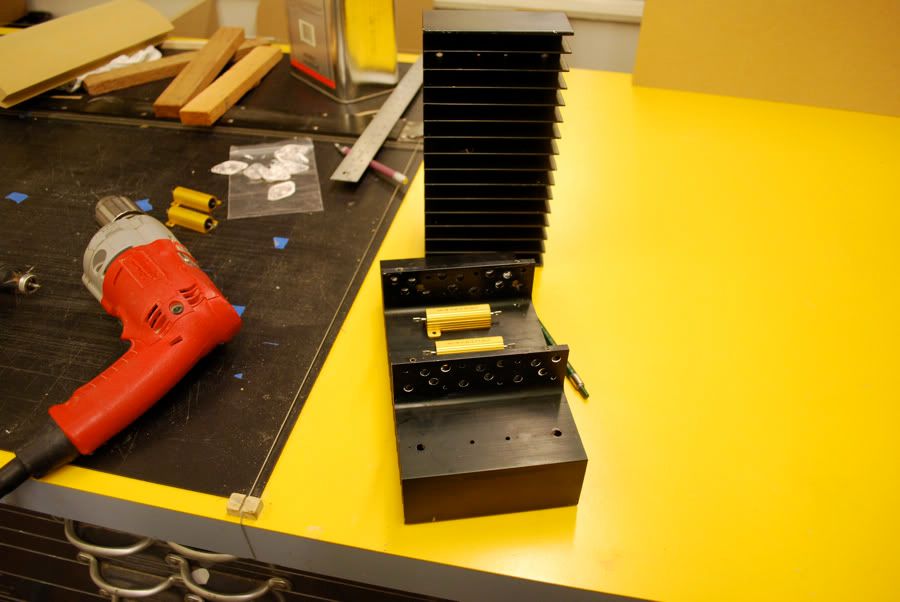
This set has three layers, with the middle 3/4" ply rabbeted into the four sides, 5/8" MDF on the inside, 1/2" particle board outside.






aidynphoenix
Super Member
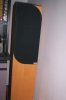
wow im interested in how that will turn out.


aidynphoenix
Super Member
You mean you weren't before
i ment the leather specifically.
thats definetly a first.

TerryO
Super Member
Hi Will,
Your latest project is looking pretty good. Will you be demonstrating them at next Summer's meet?

BTW: If you're interested, at the PNWAS Meeting in January we're inviting all those whose speakers were entered in last Summer's speaker contest to display and play their entries as well as answer questions from the membership about them. I believe that your Super Sevens would be a real highlight.
:thmbsp:
Best Regards,
Terry
Your latest project is looking pretty good. Will you be demonstrating them at next Summer's meet?
BTW: If you're interested, at the PNWAS Meeting in January we're inviting all those whose speakers were entered in last Summer's speaker contest to display and play their entries as well as answer questions from the membership about them. I believe that your Super Sevens would be a real highlight.
:thmbsp:
Best Regards,
Terry

aidynphoenix
Super Member
i think i like rosewood finishes the best. but it will be really interesting to see how black leather will look on a speaker cab.