• The move to the new server is done. There are some software and database maintenance updates in process. This has us passing the hat around to help out. We appreciate any donations. Seriously, even a dollar helps. The payment page may be found here - https://www.audiokarma.org/support.html

Stylus shapes under a microscope

multirock

Active Member
Hello everybody,
Today I bought a cheap microscope and tried to get pictures from some of my stylus (all for Pickering XV-15).
It's hard to get them, but with patience and time I think I took some nice ones.
What do you think about them?

Jico D-1200:


625DJ:


4606-DEX:
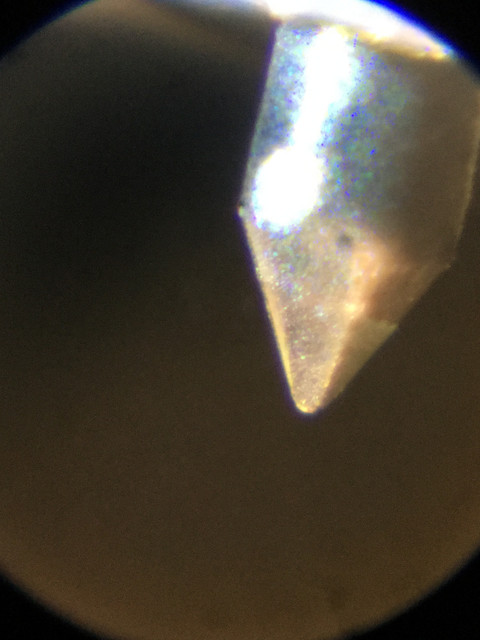


Analogis AN4955: (very different from the others, isn't it??, a bit rough...)
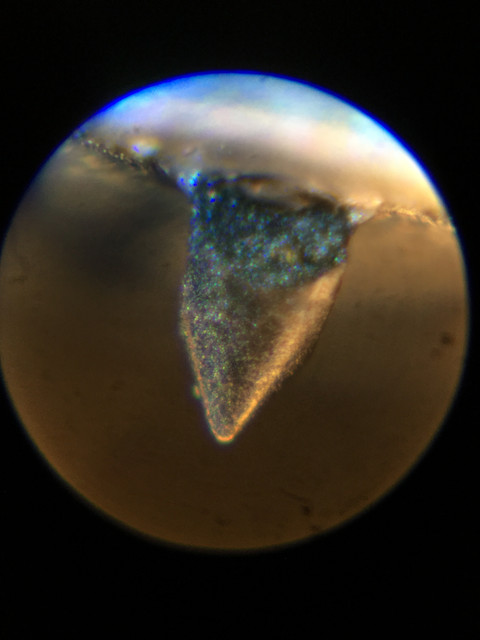


Fox-Indelson 611 dst-e
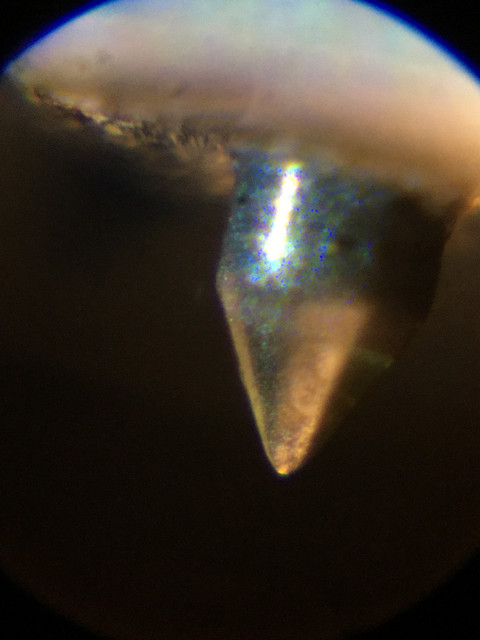
 
Last edited:
Register to hide this ad
I like your pictures. To look at wear, you need to up end the styli and look at the tip head on, with lights on both sides to reflect the two wear flats on each side of the stylus. .
 
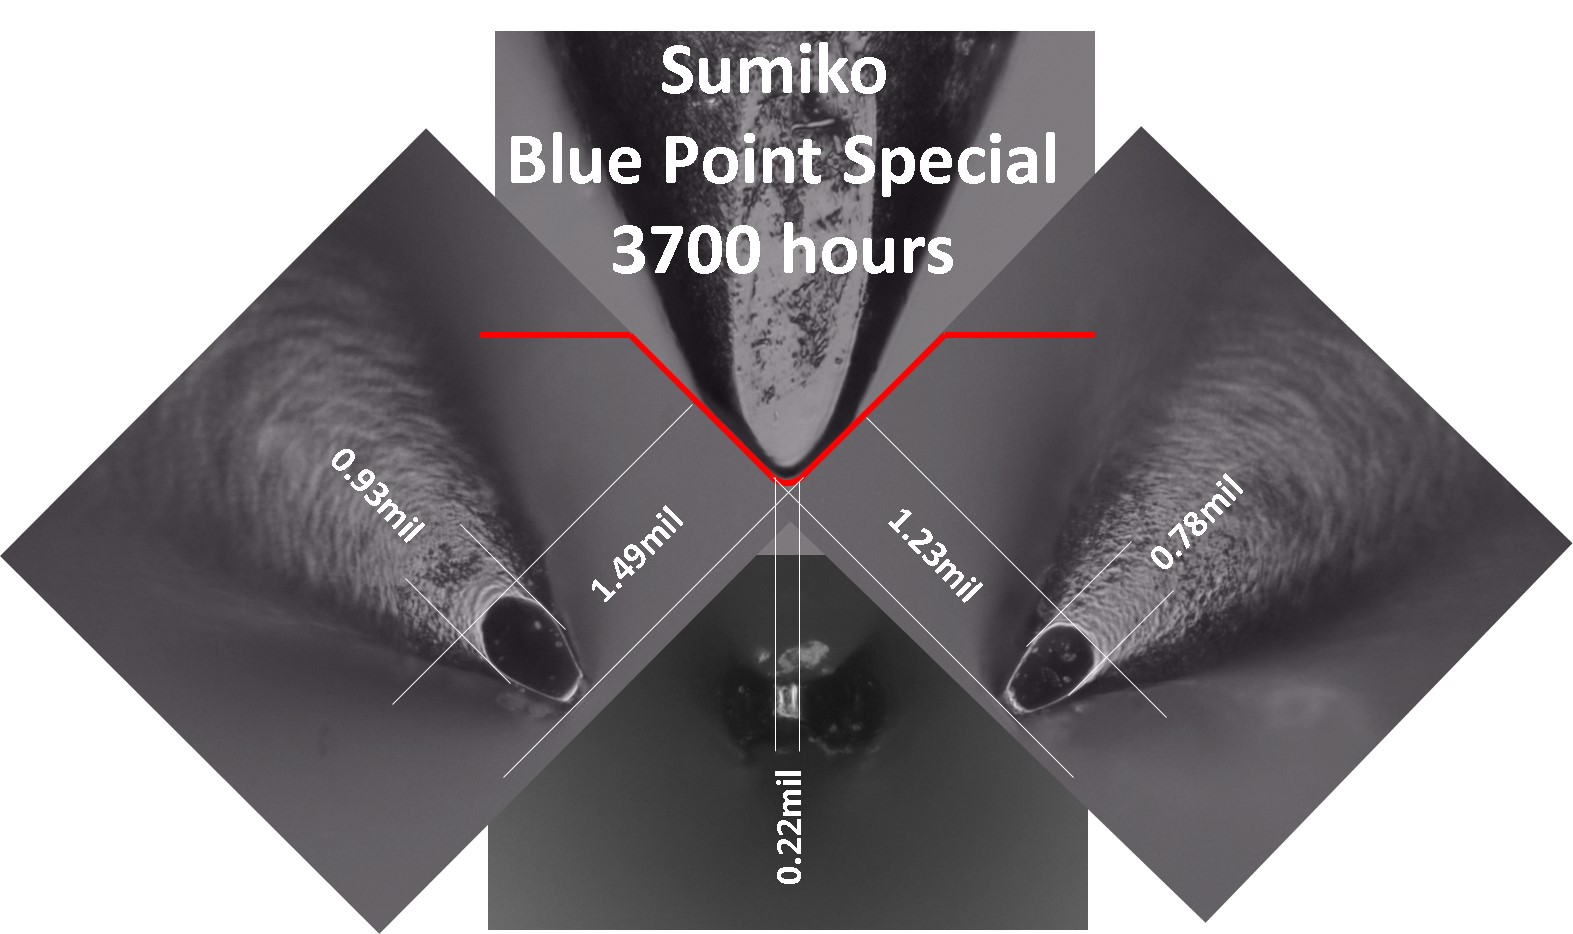
Viewing needles for wear. Like this.

Sumiko-BPS-3700hr.jpg
 
Yes, really nice pictures @multirock! Chris, isn't that too little magnification to determine wear? And of course the lighting needs to be adjusted based on what I've understood you to say in the past. Nice pictures though.....hard to imagine that what we're looking at here in these pictures will actually fit down in such a tiny groove in the record!
 
Too little magnification and wrong needle position to tell the wear level.
Also - most of them look bushed, and the tips are not missing completely.

That's all what can be said with certainty about them.
 
Thanks for your replies!
I've used a 200x microscope to take this pictures.
I've been trying to take picures from above to see the stylus wear, but its difficult. I keep practicing.
 
With these 200× it is possible to access the wear.
You have to position the needle to be pointing on you, the two light sources should be placed to the left and right of it so that the flat spots (like here, see those 0,93×1,49 and 0,78×1,23 patches) would reflect the light towards you.
Then, if you have a photo of your needle "when new", you could compare the size of the now-developed flats on it. That's all what you can do "at home".
 
Thanks a lot!
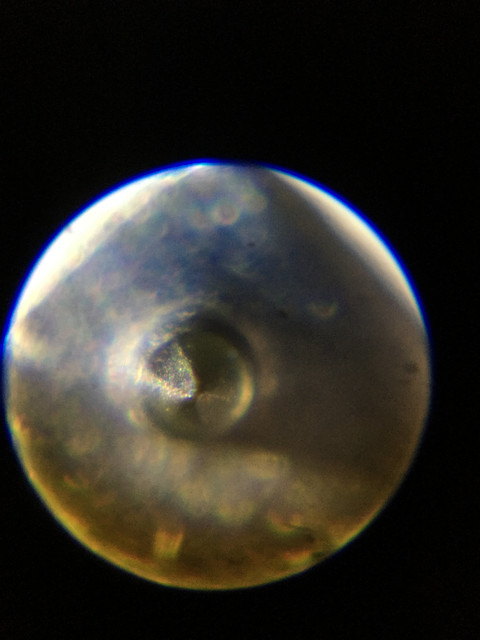
I've continued trying to get pictures to the stylus from above, in order to see the condition of the stylus.
Do you think these are good enough to see if they are worn? I think maybe I need better light...


I've continued trying to get pictures to the stylus from above, in order to see the condition of the stylus.
Do you think these are good enough to see if they are worn? I think maybe I need better light...
better light and an example of the exact same, unused stylus to compare to
 
Thanks for your replies!
I've used a 200x microscope to take this pictures.
I've been trying to take picures from above to see the stylus wear, but its difficult. I keep practicing.
Take a front view pic.
From the front you see the wear flats are at a different angle, and eventually the flats meet making the tip sharp.
A front view is a very fast was to get an idea on wear, no angle formed, a new or very low hours, angle obvious then set up top view and see how far gone it is.
Micro ridge i would only do front view.
Chris
 
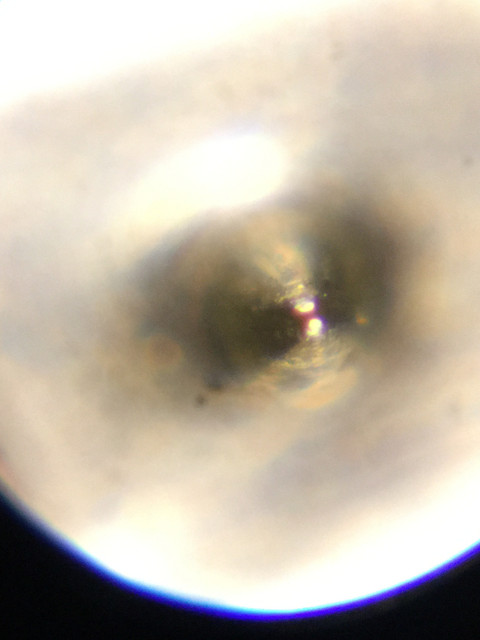
This one is the most informative.
Try to take other in the same way.

Those two bright spots - are the flat patches you are supposed to look for.

Thanks for your kind advice!
What I must look on those bright spots? The size of them? If they are togheter or if they leave a dark space between them?
In your opinon, is this stylus worn?
Thanks!
 
Take a front view pic.
From the front you see the wear flats are at a different angle, and eventually the flats meet making the tip sharp.
A front view is a very fast was to get an idea on wear, no angle formed, a new or very low hours, angle obvious then set up top view and see how far gone it is.
Micro ridge i would only do front view.
Chris

That's a nice tip!! I'll certainly do it. Is it neccesary to place lights at both sides when you take pictures from the front?
Thanks!
 
Your latest picture shows the flat spots. Can you rotate your scope relative to the positioning of the stylus? That way, you can determine which flat spot is which side of the stylus.

Your pictures are huge, at least in comparison to what I see under a regular microscope, so it is a bit hard for me to evaluate how bad the wear is. That is why comparisons can be helpful. To compare the size of the flat spots to the distance between them does help a bit, though you would also need to take into consideration the shape of the stylus. Maybe cafe latte's advice to take a front view would help clarify some of these issues?
 
Last edited:
I don't have the same unused stylus to compare with...
Okay, but at some point you will need a new stylus. Why not get another now?......... they don't last forever

1) you will have a back-up
2) you will have a perfect example of what to look for, only then will you know for certain how badly your stylus is worn
 
Back
Top Bottom