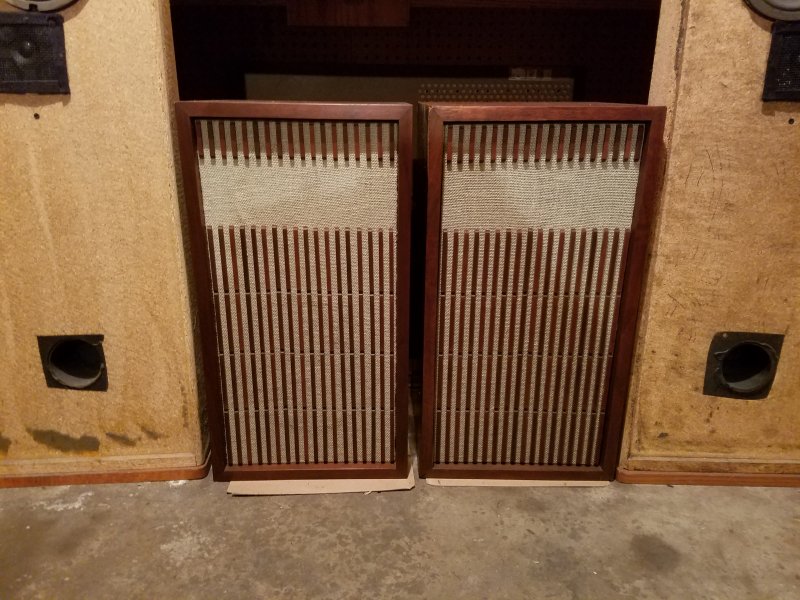
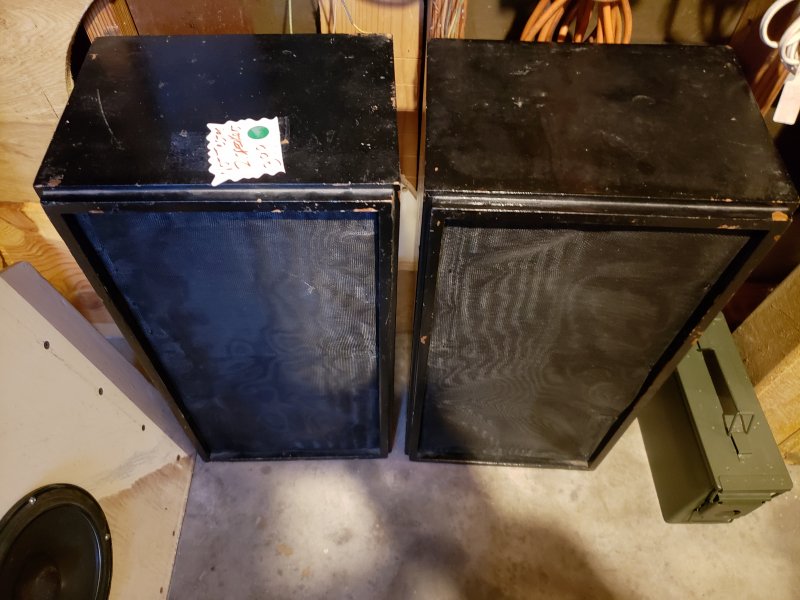
This could become a trend.
Recently, I posted that I rediscovered my KLH model 6 speakers which had been relegated to a closet for a decade or two. I was so impressed when I hooked them up to a good source (even without replacing capacitors) that I decided to try to find another pair for my office. After reading up (thanks for all the great posts here) I bought a pair of KLH Model 17 speakers off an auction site where the cabinets seemed to be in good shape and the seller indicated all was working.
So sort of backwards, here's how I went about restoring these speakers:
The cabinets were in great shape - just a couple of minor dings, though the finish was pretty flat and muddy. Turns out one binding post was loose, but I figured no big deal as I was going to open the cabinets up anyway - easy fix. I decided to gently refinish the cabinets first, before checking out the innards:

Masked the front of the speaker so no dust would get inside.

I lightly sanded the cabinets using 320 grit sandpaper with a rubber block just enough to eliminate surface imperfections and age without sanding into the veneer color (except in one small spot). Then I used Howard's Restore a Finish followed by a coat of paste wax. Personally, I have a fair amount of experience with wood finishing and my taste generally would have been to sand the veneer gently clean, apply an aniline dye stain and cover with a shellac finish that is lightly rubbed followed by wax. That would give a little bit more shine than the original flat oil finish. But I was fine with the result.

I started by removing the woofer and underneath was the linen shroud that protects the woofer from the fiberglass insulation. Then, using gloves, I gently removed all of the fiberglass from the inside - there were about five or six separate pieces.
Here's a good example of the crossover before I replaced the capacitors.


Unfortunately, I didn't take a lot of pictures once I actually had replaced the crossovers, but i do have a few observations. When disconnecting the woofer and the tweeter, i carefully labeled each wire and where it was connected, even though i had the wiring diagram. I found it easier to clip the wires of the old capacitors attached to the crossover (the double 2mf unit) rather than try to desolder them and then to solder the new caps to the terminals.
For the 8mf capacitor, I used two 4mf capacitors wired together and used a little hot melt glue to attach the assembly to the cabinet after I had connected the appropriate wires. In many cases, it was just as easy to use wire nuts (which is what KLH used originally for many of the attachments) to make connections (but not on the crossover itself).
Here's the new capacitors with the crossover and 8mf ready to be connected (2 4mf capacitors not yet wired or glued in)

Note that I did not insulate one leg of the capacitor on the crossover - that was a mistake, though not a fatal one - as the size of the capacitor will keep the wire from touching the back plate and creating a short. When I did the second speaker, I insulated all the capacitor wires with sleeves made from the plastic covering of large wires - could have used electrical shrink wraps but didn't have any around.
Here are the old caps I replaced

Then I reconnected the woofer and tweeter and gently replaced the fiberglass. It may be easier to replace one batt of the fiberglass that goes in the top of the cabinet before remounting the woofer and tweeter. Once all the fiberglass is in, replace the shroud! I did on the first speaker and forgot on the second and had to go back to the garage and remove the woofer again so i could replace it. The linen seems fairly fragile, so again, I gently stuffed in back in.
Next step was testing both speakers - both were working before and sounded decent- but no question that both seem a little sharper with instruments and voices more distinctive. Last step was applying the butyl rubber compound to the surrounds and as i write the speakers are still in the garage allowing some of the solvent to dissipate further.
We'll have to see if the dissolved rubber goo supplied by VintageAR and RoyC does its job on the bass. Very happy with the outcome of the early tests - will update after a few hours of listening.
Next step- redoing the KLH Model 6's that are upstairs.
Recently, I posted that I rediscovered my KLH model 6 speakers which had been relegated to a closet for a decade or two. I was so impressed when I hooked them up to a good source (even without replacing capacitors) that I decided to try to find another pair for my office. After reading up (thanks for all the great posts here) I bought a pair of KLH Model 17 speakers off an auction site where the cabinets seemed to be in good shape and the seller indicated all was working.
So sort of backwards, here's how I went about restoring these speakers:
The cabinets were in great shape - just a couple of minor dings, though the finish was pretty flat and muddy. Turns out one binding post was loose, but I figured no big deal as I was going to open the cabinets up anyway - easy fix. I decided to gently refinish the cabinets first, before checking out the innards:
Masked the front of the speaker so no dust would get inside.
I lightly sanded the cabinets using 320 grit sandpaper with a rubber block just enough to eliminate surface imperfections and age without sanding into the veneer color (except in one small spot). Then I used Howard's Restore a Finish followed by a coat of paste wax. Personally, I have a fair amount of experience with wood finishing and my taste generally would have been to sand the veneer gently clean, apply an aniline dye stain and cover with a shellac finish that is lightly rubbed followed by wax. That would give a little bit more shine than the original flat oil finish. But I was fine with the result.
I started by removing the woofer and underneath was the linen shroud that protects the woofer from the fiberglass insulation. Then, using gloves, I gently removed all of the fiberglass from the inside - there were about five or six separate pieces.
Here's a good example of the crossover before I replaced the capacitors.
Unfortunately, I didn't take a lot of pictures once I actually had replaced the crossovers, but i do have a few observations. When disconnecting the woofer and the tweeter, i carefully labeled each wire and where it was connected, even though i had the wiring diagram. I found it easier to clip the wires of the old capacitors attached to the crossover (the double 2mf unit) rather than try to desolder them and then to solder the new caps to the terminals.
For the 8mf capacitor, I used two 4mf capacitors wired together and used a little hot melt glue to attach the assembly to the cabinet after I had connected the appropriate wires. In many cases, it was just as easy to use wire nuts (which is what KLH used originally for many of the attachments) to make connections (but not on the crossover itself).
Here's the new capacitors with the crossover and 8mf ready to be connected (2 4mf capacitors not yet wired or glued in)
Note that I did not insulate one leg of the capacitor on the crossover - that was a mistake, though not a fatal one - as the size of the capacitor will keep the wire from touching the back plate and creating a short. When I did the second speaker, I insulated all the capacitor wires with sleeves made from the plastic covering of large wires - could have used electrical shrink wraps but didn't have any around.
Here are the old caps I replaced
Then I reconnected the woofer and tweeter and gently replaced the fiberglass. It may be easier to replace one batt of the fiberglass that goes in the top of the cabinet before remounting the woofer and tweeter. Once all the fiberglass is in, replace the shroud! I did on the first speaker and forgot on the second and had to go back to the garage and remove the woofer again so i could replace it. The linen seems fairly fragile, so again, I gently stuffed in back in.
Next step was testing both speakers - both were working before and sounded decent- but no question that both seem a little sharper with instruments and voices more distinctive. Last step was applying the butyl rubber compound to the surrounds and as i write the speakers are still in the garage allowing some of the solvent to dissipate further.
We'll have to see if the dissolved rubber goo supplied by VintageAR and RoyC does its job on the bass. Very happy with the outcome of the early tests - will update after a few hours of listening.
Next step- redoing the KLH Model 6's that are upstairs.