avantbored
Active Member
Friends,
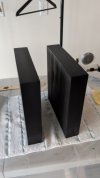
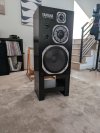
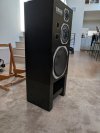
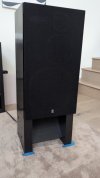
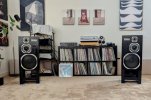
I'm pleased to share this post with you all in what I hope fellow enthusiasts will find productive and useful. As the title suggests, included in this post are a set of cutsheets my girlfriend's father prepared for the content of this post: An as-correct-as-possible reproduction of the Yamaha SPS-500 speaker stands. Why I'm so excited is that he more or less figured out the right placement for the holes to enable repositioning the center board!
I don't have all of the pictures documenting the entire process, as I had to operate a drill press or guide a piece of wood through a saw.
I hope you all find the material enjoyable, and on this thread, I hope I can answer any clarifying questions you may have about the process.
Background: Originally, we sought to find MDF that was more or less 55mm or 52mm thick. However, the prices for local suppliers in the LA area were prohibitive. We opted for gluing together three 3/4" boards to attain about 57mm.
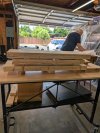
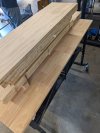
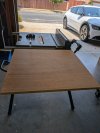
As you can see, we had to get a little creative to fashion a set up that could accommodate the board length. Once these were cut down, we proceeded to drilling holes.
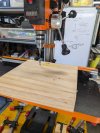
The throw was not quite deep enough to fully pass through the thickness of the board. This caused great consternation and required some careful and sextuple-checking positions as we flipped boards for accuracy. We got there in the end!
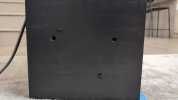
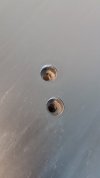
We used Forstner bits to cut out about a 1/2" into the surface to accommodate screw caps to cover the holes. Here's the final raw results:
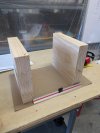
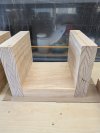
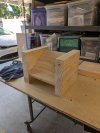
Chester was the more experienced one here, and he opted to complete the initial staining on his own, as he knew that when it came to clear coat, it would be tedious.
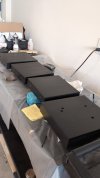
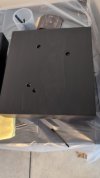
I see that I've hit the post-count limit with attachments! See below for the next and final phases...
I'm pleased to share this post with you all in what I hope fellow enthusiasts will find productive and useful. As the title suggests, included in this post are a set of cutsheets my girlfriend's father prepared for the content of this post: An as-correct-as-possible reproduction of the Yamaha SPS-500 speaker stands. Why I'm so excited is that he more or less figured out the right placement for the holes to enable repositioning the center board!
I don't have all of the pictures documenting the entire process, as I had to operate a drill press or guide a piece of wood through a saw.
I hope you all find the material enjoyable, and on this thread, I hope I can answer any clarifying questions you may have about the process.
Background: Originally, we sought to find MDF that was more or less 55mm or 52mm thick. However, the prices for local suppliers in the LA area were prohibitive. We opted for gluing together three 3/4" boards to attain about 57mm.
As you can see, we had to get a little creative to fashion a set up that could accommodate the board length. Once these were cut down, we proceeded to drilling holes.
The throw was not quite deep enough to fully pass through the thickness of the board. This caused great consternation and required some careful and sextuple-checking positions as we flipped boards for accuracy. We got there in the end!
We used Forstner bits to cut out about a 1/2" into the surface to accommodate screw caps to cover the holes. Here's the final raw results:
Chester was the more experienced one here, and he opted to complete the initial staining on his own, as he knew that when it came to clear coat, it would be tedious.
I see that I've hit the post-count limit with attachments! See below for the next and final phases...