cosme
New Member
I thought I'd let everyone follow along as I restore a set of Dynaco Mark III mono block amplifiers.
I have benefited greatly from this community (general discussion, KLH Model 6 restore thread, etc.) and thought I'd create this thread for anyone else looking to do a full restoration this year (or in the near future).
I'll try to be as detailed as possible throughout this project. Don't hesitate to ask questions (or offer tips!).
The Units
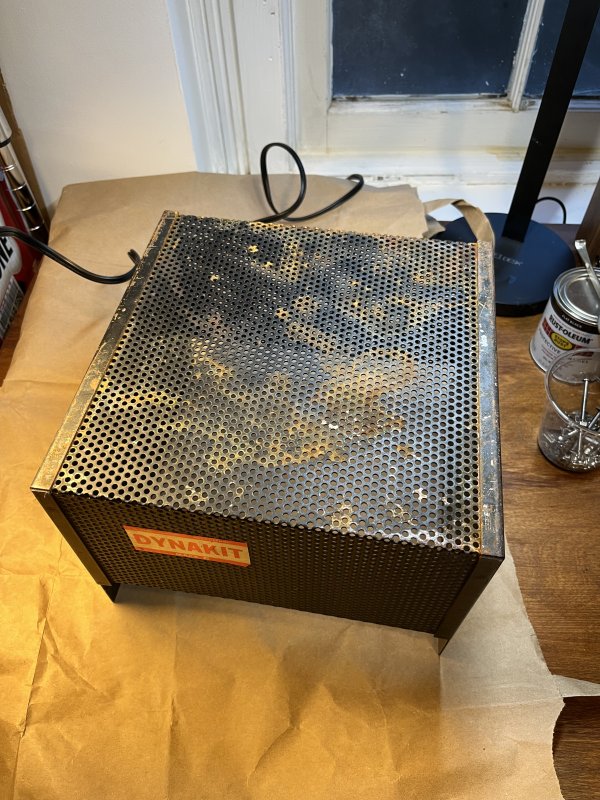
This is what I'll be working with (or at least one of them):
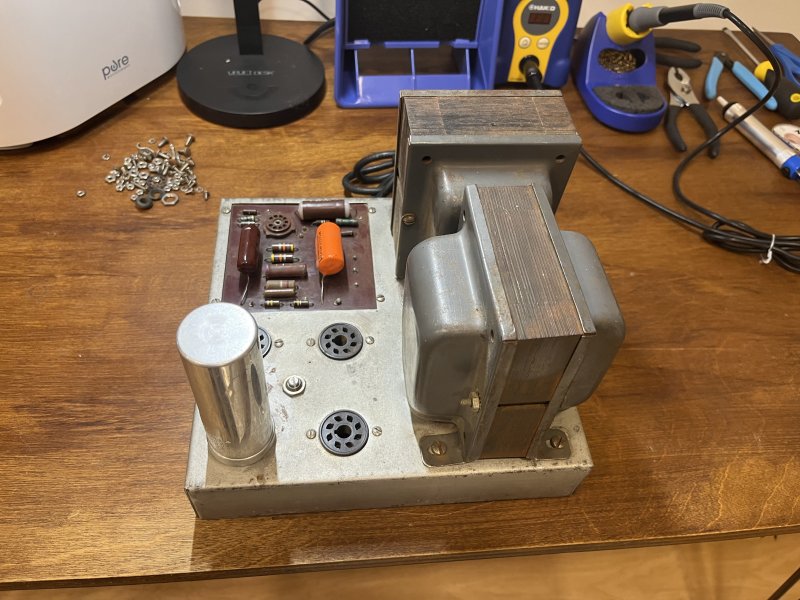
Here we have a side-by-side after I stripped one of the units of all its components:
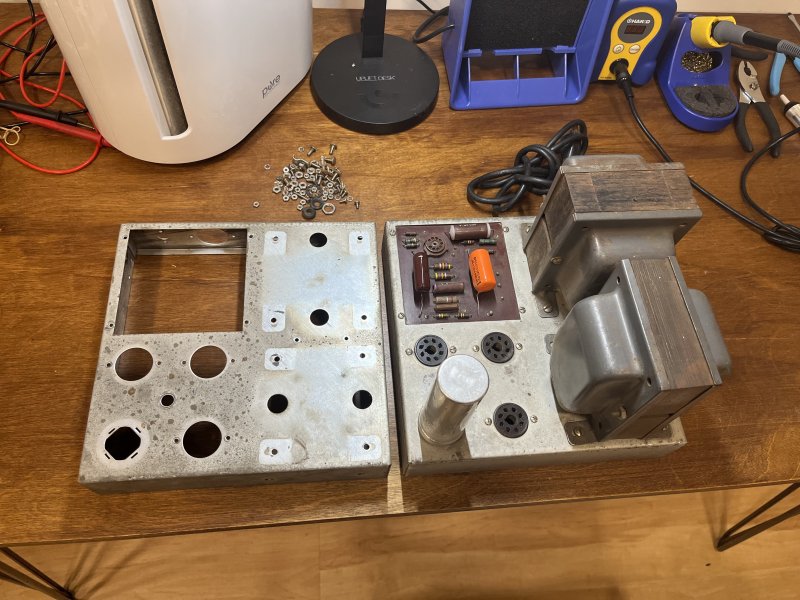
Nothing much to look at from the back:

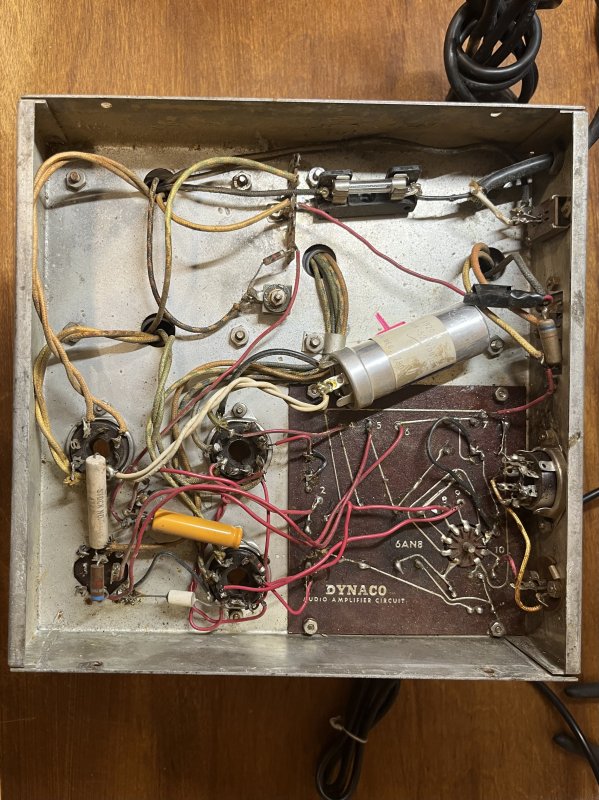
The inside of one unit (with a choke); notice the choke placement is on the side, which is different from what you normally see in a Mark III unit:
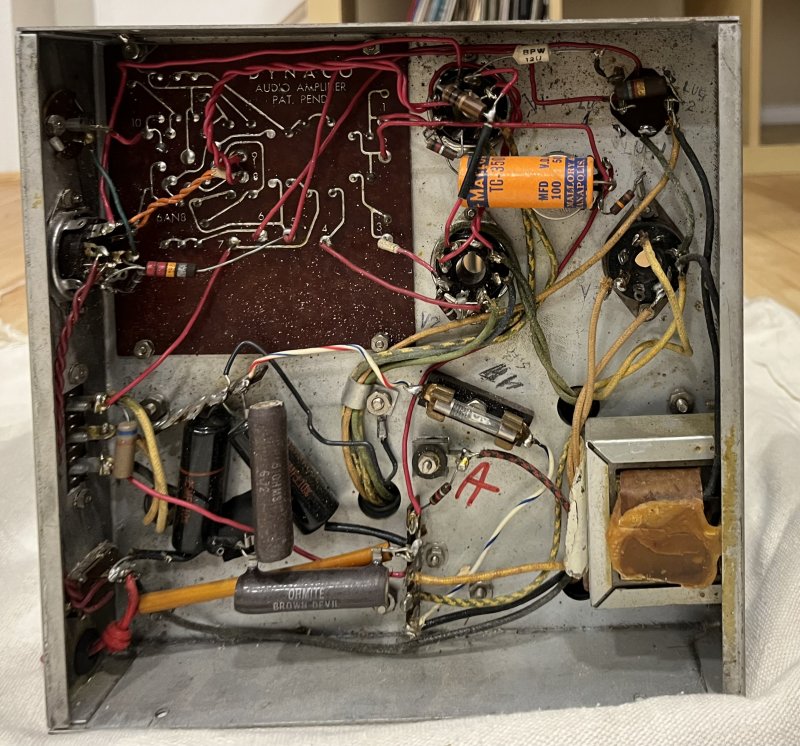
And the inside of the other unit (currently without a choke):
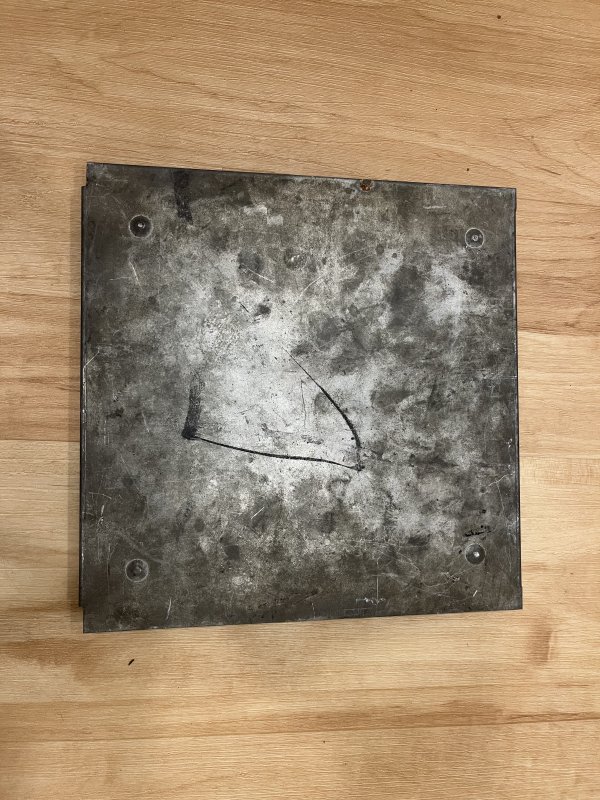
Finally, one of the bottoms:
Restoring the Chassis
Bottom Plate Covers
I initially thought that the chassis was stainless steel. Thinking that, I first soaked the bottom plate covers in a sink with dish detergent and scrubbed off the surface dirt and grime. I followed that with a deeper clean using Barkeeper's Friend. The bottom covers still had a lot of work needed so I took out my sander and gradually progressed from 240 grit sandpaper, to 320, 400, 600, and finally to 800.
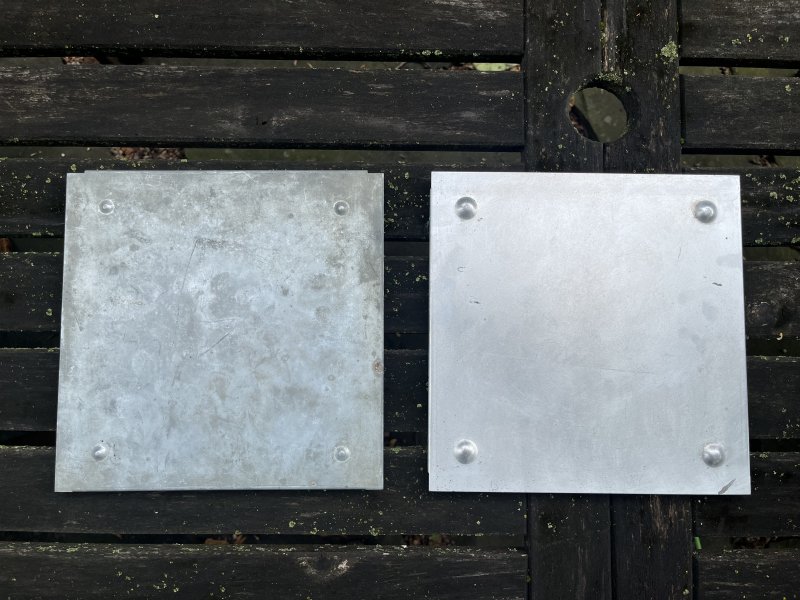
The photo compares a washed (soap + Barkeeper's Friend) bottom plate cover on the left, with a sanded one on the right:
And here's a side-by-side after I finished sanding both:
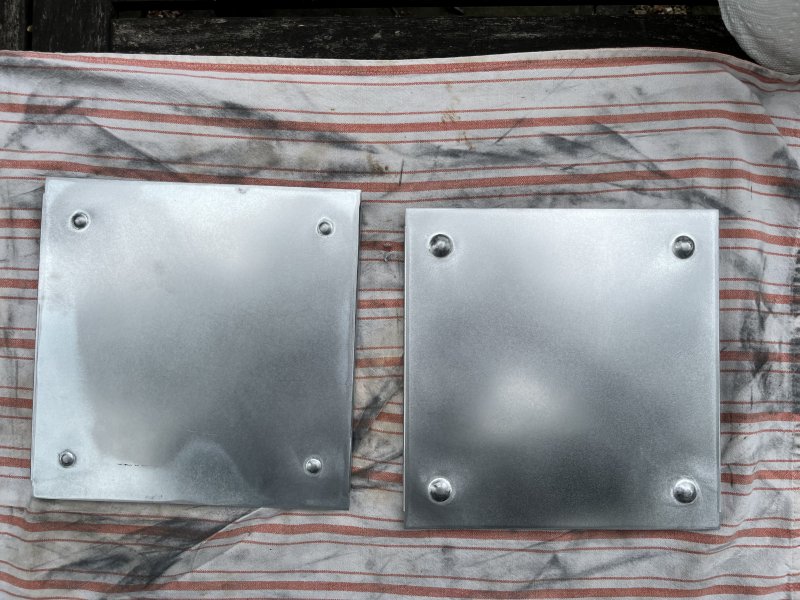
I soon realized that I was working with galvanized steel rather than stainless steel and the blemishes are areas that still had the original zinc plating or where it had eroded over time (or I had sanded off).
Having realized that these were zinc plated, I have decided to take them to a local electroplating service provider near me. I should be getting those back in a week or two.
Transformer End Bells (Covers)
Up next we have the transformer end bells, or covers.
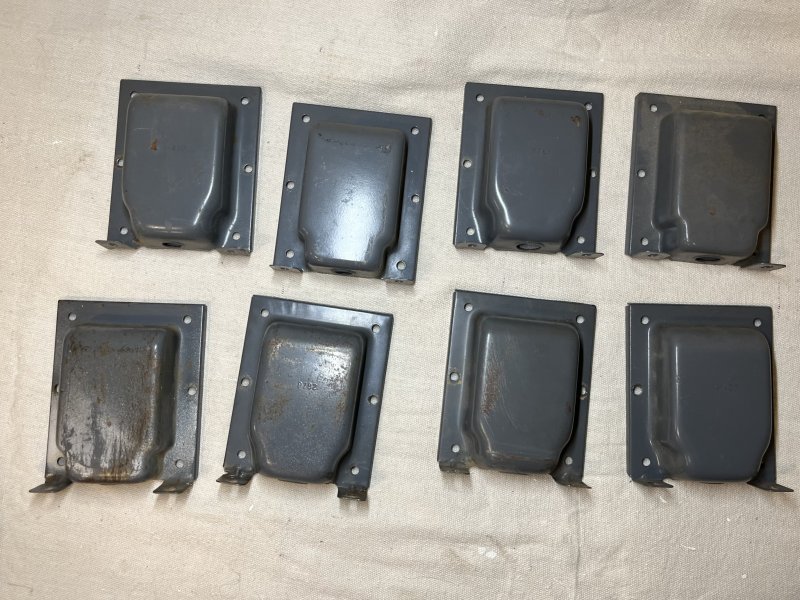
Here is what they looked like on the outside:
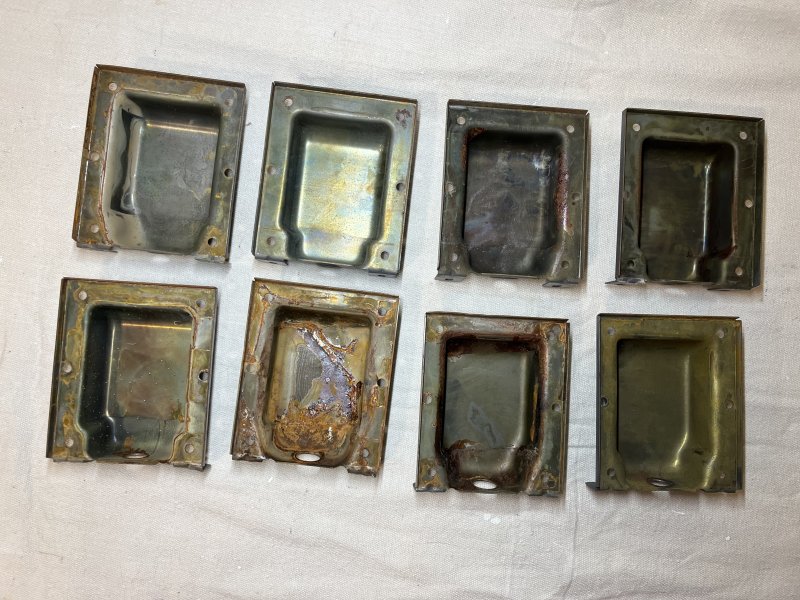
And from the inside:
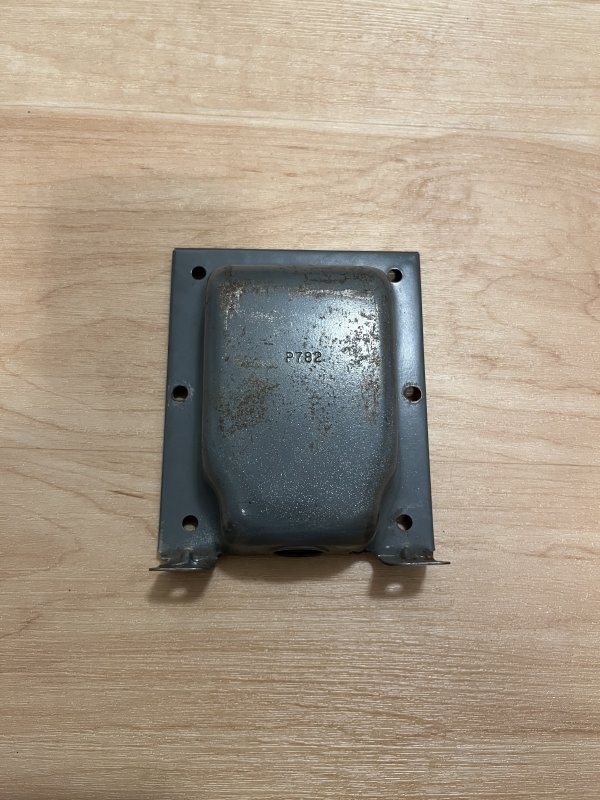
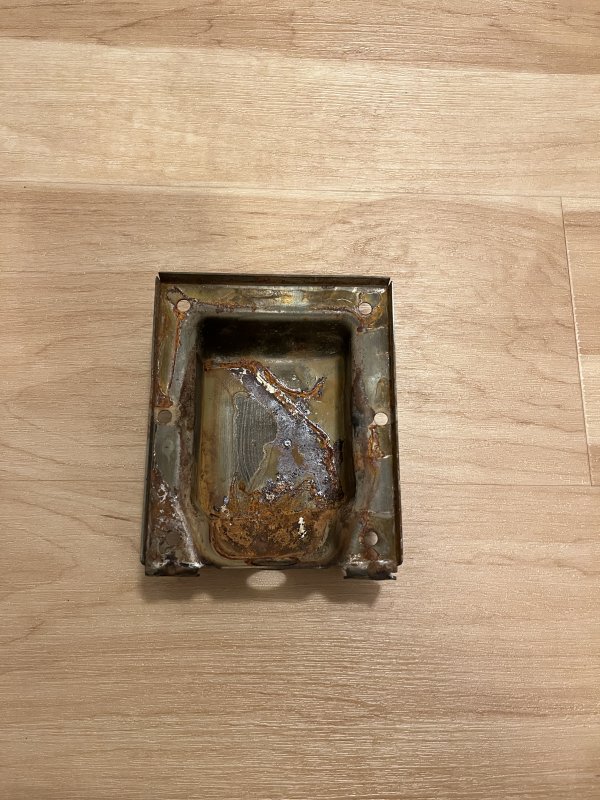
Here's a close up of the gnarliest looking on:
My plan here is to paint them a metallic (anodized) blue, specifically Dupli-Color's MC201 Blue Metalcast. I have a 3-year-old who loves tinkering and helping me with electronics. I asked him if he'd wanted to have these in his house one day and he emphatically said "Yes!", so I've let him pick out the color.
To get good results with Dupli-Color's metalcast paints, you need either a shiny or chrome finished surface. I opted for the latter and spray painted these end bells with Rust-Oleum's Metallic Silver finish (#340648):
Outside:
 Inside:
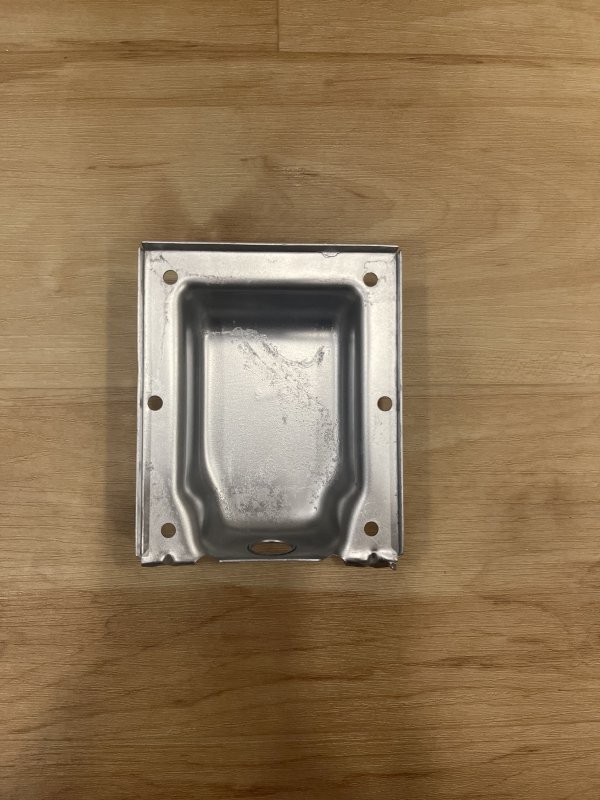
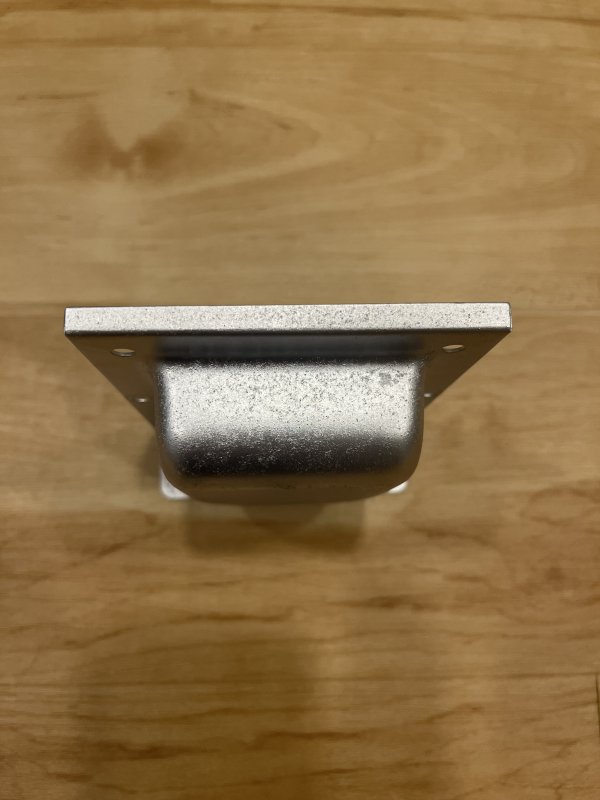
I tried to take a shortcut and didn't bother sanding these down. Big mistake, especially when seeing these from the top:
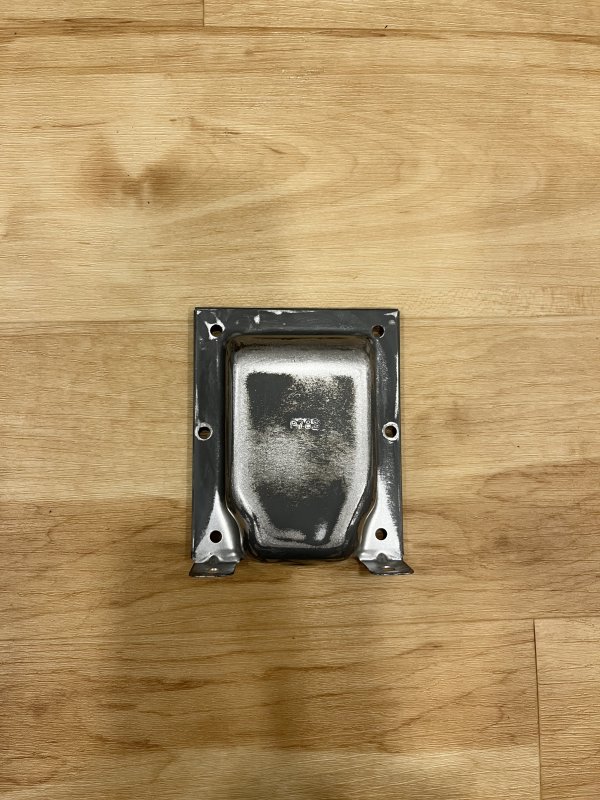
So I took out the sander and gave each of them a quick pass:

And then re-applied the Rust-Oleum Metallic Silver:

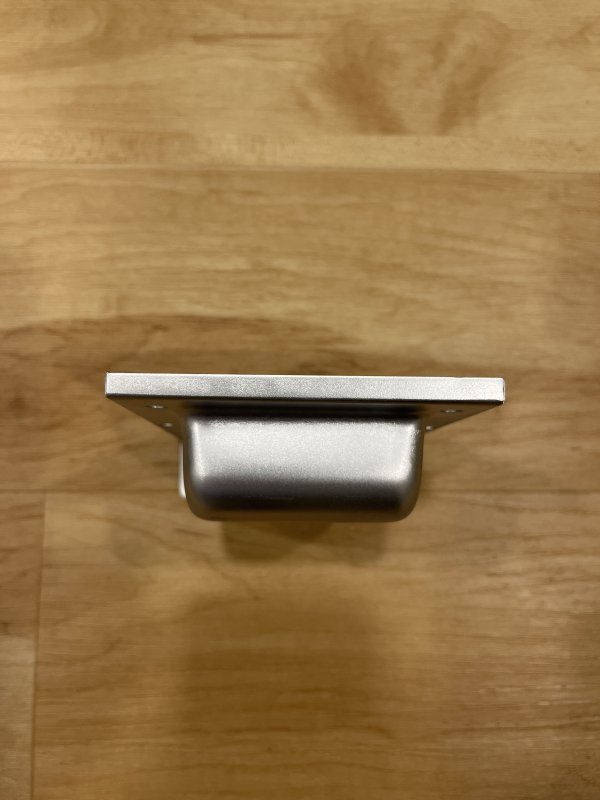
Huge improvement (as one should have assumed)!
Next up on the to-do list for these is to apply the Dupli-Color metalcast paint. Stay tuned.
I have benefited greatly from this community (general discussion, KLH Model 6 restore thread, etc.) and thought I'd create this thread for anyone else looking to do a full restoration this year (or in the near future).
I'll try to be as detailed as possible throughout this project. Don't hesitate to ask questions (or offer tips!).
The Units
This is what I'll be working with (or at least one of them):
Dynaco 01 - Top
2023 restoration of Dynaco Mark III mono block amplifiers.
Here we have a side-by-side after I stripped one of the units of all its components:
Dynaco 02 - Side-by-Side
2023 restoration of Dynaco Mark III mono block amplifiers.
Nothing much to look at from the back:
Dynaco 03 - Back
2023 restoration of Dynaco Mark III mono block amplifiers.
The inside of one unit (with a choke); notice the choke placement is on the side, which is different from what you normally see in a Mark III unit:
Dynaco 04 - Inside A
2023 restoration of Dynaco Mark III mono block amplifiers.
And the inside of the other unit (currently without a choke):
Dynaco 05 - Inside B
2023 restoration of Dynaco Mark III mono block amplifiers.
Finally, one of the bottoms:
Dynaco 06 - Bottom
2023 restoration of Dynaco Mark III mono block amplifiers.
Restoring the Chassis
Bottom Plate Covers
I initially thought that the chassis was stainless steel. Thinking that, I first soaked the bottom plate covers in a sink with dish detergent and scrubbed off the surface dirt and grime. I followed that with a deeper clean using Barkeeper's Friend. The bottom covers still had a lot of work needed so I took out my sander and gradually progressed from 240 grit sandpaper, to 320, 400, 600, and finally to 800.
The photo compares a washed (soap + Barkeeper's Friend) bottom plate cover on the left, with a sanded one on the right:
Dynaco 07 - Bottom Side-by-Side
2023 restoration of Dynaco Mark III mono block amplifiers.
And here's a side-by-side after I finished sanding both:
Dynaco 08 - Bottom Restoration
2023 restoration of Dynaco Mark III mono block amplifiers.
I soon realized that I was working with galvanized steel rather than stainless steel and the blemishes are areas that still had the original zinc plating or where it had eroded over time (or I had sanded off).
Having realized that these were zinc plated, I have decided to take them to a local electroplating service provider near me. I should be getting those back in a week or two.
Transformer End Bells (Covers)
Up next we have the transformer end bells, or covers.
Here is what they looked like on the outside:
Dynaco 09 - Transformer End Bells (Outside)
2023 restoration of Dynaco Mark III mono block amplifiers.
And from the inside:
Dynaco 10 - Transformer End Bells (Inside)
2023 restoration of Dynaco Mark III mono block amplifiers.
Here's a close up of the gnarliest looking on:
Dynaco 11 - Transformer End Bell (Outside 1)
2023 restoration of Dynaco Mark III mono block amplifiers.
Dynaco 12 - Transformer End Bell (Inside 1)
2023 restoration of Dynaco Mark III mono block amplifiers.
My plan here is to paint them a metallic (anodized) blue, specifically Dupli-Color's MC201 Blue Metalcast. I have a 3-year-old who loves tinkering and helping me with electronics. I asked him if he'd wanted to have these in his house one day and he emphatically said "Yes!", so I've let him pick out the color.
To get good results with Dupli-Color's metalcast paints, you need either a shiny or chrome finished surface. I opted for the latter and spray painted these end bells with Rust-Oleum's Metallic Silver finish (#340648):
Outside:
Dynaco 13 - Transformer End Bell (Outside 2)
2023 restoration of Dynaco Mark III mono block amplifiers.
Dynaco 14 - Transformer End Bell (Inside 2)
2023 restoration of Dynaco Mark III mono block amplifiers.
I tried to take a shortcut and didn't bother sanding these down. Big mistake, especially when seeing these from the top:
Dynaco 15 - Transformer End Bell (Top 1)
2023 restoration of Dynaco Mark III mono block amplifiers.
So I took out the sander and gave each of them a quick pass:
Dynaco 17 - Transformer End Bell (Outside3)
2023 restoration of Dynaco Mark III mono block amplifiers.
Dynaco 16 - Transformer End Bell (Top 2)
2023 restoration of Dynaco Mark III mono block amplifiers.
And then re-applied the Rust-Oleum Metallic Silver:
Dynaco 18 - Transformer End Bell (Outside 3)
2023 restoration of Dynaco Mark III mono block amplifiers.
Dynaco 19 - Transformer End Bell (Top 2)
2023 restoration of Dynaco Mark III mono block amplifiers.
Huge improvement (as one should have assumed)!
Next up on the to-do list for these is to apply the Dupli-Color metalcast paint. Stay tuned.