• The move to the new server is done. There are some software and database maintenance updates in process. This has us passing the hat around to help out. We appreciate any donations. Seriously, even a dollar helps. The payment page may be found here - https://www.audiokarma.org/support.html

Help me restore my grandfather's beloved SX-770!

NickDeO

Active Member
Hello AK!

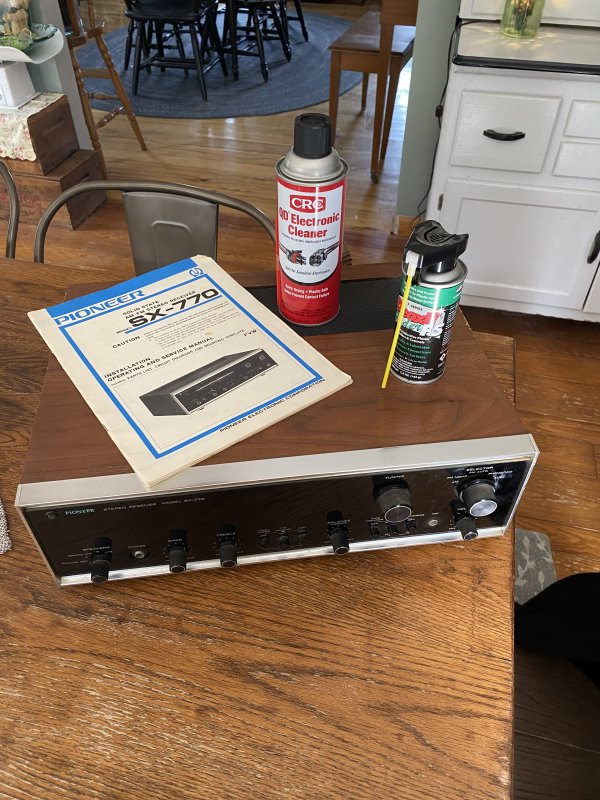
I'm a first-time poster, but long-time reader. I'm 20 years old and quite into vintage stereo equipment. After successfully recapping my JVC Ja-S22, my grandfather asked me to take a look at his old Pioneer receiver that he purchased back in 1970 while he was stationed in Germany while in the Air Force. It's a Pioneer SX-770, complete with all of the service manuals, etc. When I recapped my JVC, I had no trouble finding equal value replacement (nice ELNA and Nichicon) audio-grade caps on Mouser using a parts list from an old service manual I found online. I was quite happy to see that he had all of the original papers, so I figured this would be an easy project. Unfortunately, this was not the case... As it turns out, many of the caps listed in the manual don't seem to be manufactured anymore, at least by ELNA or Nichicon. Examples include 10uf 10VDC caps that litter the surfaces of almost all of the boards. Furthermore, other than cleaning the pots and switches with Deoxit, I wonder what really needs to be replaced and what doesn't. I have no problem buying and soldering as many parts as the stereo would need, but the manual seems to be laid out in a confusing manner.

Essentially, I want to fully-restore the SX-770 for my grandfather so he can enjoy listening to his favorite music on the stereo he enjoyed for decades prior.

It currently "works", but is riddled with many problems, such as:
- Dead Phono channel
- All lamps are dead (I'd like to find some nice LED replacements)
- Horrible, loud popping/crackling when Balance/Bass/Treb/Vol knobs are touched (at any volume)

Basically, I'd almost rather replace everything (within reason) and fully restore the entire unit, rather than spend time troubleshooting to replace a few broken components. Has anyone fully gone-over one of these units before? Would anyone be able to provide me with a complete list of capacitor values that would need to be replaced? What about Fuses, Lamps, Transistors, etc.?

I would love to hear any tips from those of you who have experience. I'm all ears Many thanks in advance!

Nick

P.S. - If this post gains any traction, I'm more than happy to add as many pictures as needed!
 
Register to hide this ad
First step is to hose down all pots & switches(if accessible to contact cleaner) to clear up the scratchiness issues. I use CRC QD electronic cleaner, since it's readily available at the big box hardware stores. Caution! not all such items are plastic-safe! Ask me how I know. After that, give a listen, then proceed if other problems show up. You may likely have to at least recap the power supply, then go from there. Shotgunning parts can lead to unwanted consequences. replace what is needed.For bulbs, the easiest thing will be new original-style incandescents, LEDs may require more work for satisfactory results, as they are sometimes more directional as to light projection and may need resistors to "light right". If bulbs are on an AC buss, stick with originals. @dgwojo can usually provide these, for cheap. So, clean all controls & proceed accordingly. Lots of coaching here to help!
 
First step is to hose down all pots & switches(if accessible to contact cleaner) to clear up the scratchiness issues. I use CRC QD electronic cleaner, since it's readily available at the big box hardware stores. Caution! not all such items are plastic-safe! Ask me how I know. After that, give a listen, then proceed if other problems show up. You may likely have to at least recap the power supply, then go from there. Shotgunning parts can lead to unwanted consequences. replace what is needed.For bulbs, the easiest thing will be new original-style incandescents, LEDs may require more work for satisfactory results, as they are sometimes more directional as to light projection and may need resistors to "light right". If bulbs are on an AC buss, stick with originals. @dgwojo can usually provide these, for cheap. So, clean all controls & proceed accordingly. Lots of coaching here to help!
Thanks, @Catmanboo!
I'll give everything a good cleaning first before messing with the soldering iron... I had really good results with LED axial lamps in other receivers, but I'll look into this more for the Pioneer. I appreciate the advice!
 
Hope it helps. Keep us posted on results, usually a good cleaning clears up all issues. I have several receivers I need to hit with same, always with the desired results. If you put LEDs on AC. they tend to flicker at 60 Hz, noticeable, so it sux. Incandescents react slow enough to not notice, that's why the mfgrs used them. Besides, that's all that was available then.
 
Hello there and welcome you are in the right place!
You should have no trouble finding caps that will suit, in the example you provided, bump the voltage a bit and you should find 10uf 16v caps easily, in fact i would imagine you should be able to find 10v variants also, mouser or digikey should be easy enough

As long as you do not mess with the UF value it is ok to go up in voltage a bit.
Clean the pots and switches with deoxit D5, a little goes a long way, and follow up with a shot of faderlube.

When that is done report back on the state of things.

Build a DBT before you replace any components!!
For bulbs DWojo (i think thats the name) is audiokarmas favourite bulb guy, he is a gentleman and extremely helpful, he will do right by you.
The unit is probably littered with some of the top ten worst transistors. These are generally replaced no matter if they are currently good or not, as they are problematic. Your phono board is probably full of them. I am not familiar with the SX770 myself.

Good luck, i hope this helps you get the ball rolling
 
Thanks everyone! I’ve got the Deoxit products coming in the mail tomorrow. I’ll post pictures/updates when I’m finished. I’ll do some research on the bulbs, as I’d like to go with LED replacements if possible so my grandfather can have brighter lights when tuning the FM signal. The info about capacitor voltage helps a ton, @paultlaw ! I’ll be sure to look into transistors as well. Would you say it’s worth replacing ALL caps and transistors? (even small ceramic caps?) Also, what is a DBT? I’m admittedly rather new to this. Thanks again!
 
DBT: Dim Bulb Tester diagram pictorial... please feel free to copy and post.
A vital piece of equipment that may save you its cost 100 times over, in blown expensive components.
When you are looking for caps, sometimes the hardest part will be finding one that has the proper lead seperation so it drops into place. Check that as you order.
Just looked into the DBT. It’s a great idea to prevent shorting and frying components. I’ve run into problems with caps not fitting (larger 3-pronged snap-in caps), but was able to find some adapters on eBay that worked quite well. I’ll have to see what I’m looking at tomorrow when I try to decipher the service manual again.
 
What I usually do is go through each board, I mean the actual pcb boards, and make a list of what is actually there. Makes it more accurate so you know exactly what you need as sometimes the manuals are slightly different.
Same with transistors.
Lots, and I mean lots of pictures too, they are so helpful, take these before you replace anything
A cheap Chinese component tester really is brilliant tool as it allows you to pull a transistor, test it, identify the leg layout, then pop your new transistor in and do the same, really helps you get the pin outs correct when replacing transistors.
Also need to look at the cap types you need for each position, I use ukl nichicon for low leakage caps and upw nichicon are good pretty much everywhere else.

Nichicon PW series for the Pioneeer CEA capacitors
Nichicon KL series for the Pioneeer CEANL capacitors

I'm looking forward to seeing how it turns out, past time for some pictures too
 
Last edited:
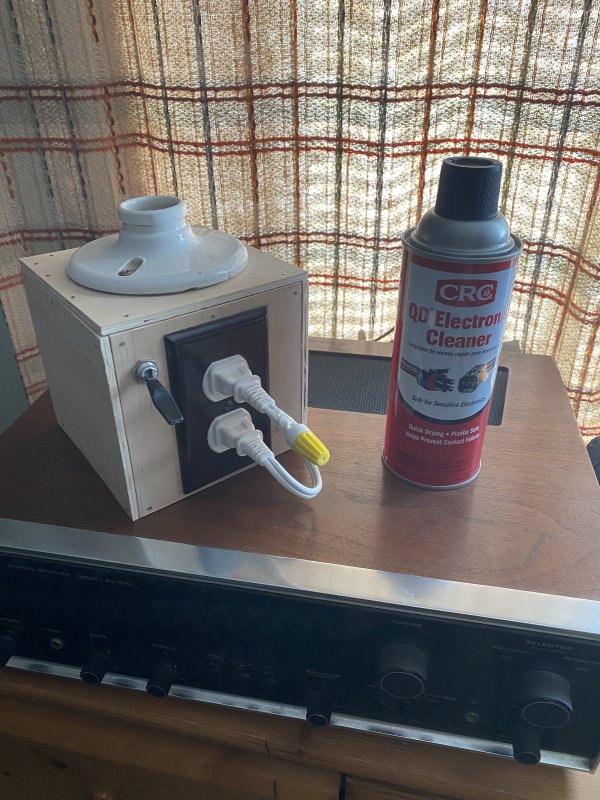
Sorry for the delay, I spent most of the day getting the DBT put together. I was actually able to find everything I needed in my grandfather’s shop. He was happy to help! The cleaning solutions also came in the mail yesterday, so today I’ll be cleaning all of the contacts. I’ll try to send some more pictures of the manual, but I like the idea of looking directly at each board individually. More to come!
 
A bit about cleaning switches and pots. The QD will remove any contaminants that have gotten into your controls but will not affect any corrosion, it will leave you with clean corrosion. Deoxit D5 breaks down corrosion so that exercising the switch will wipe it away. D5 cleans pots too, but also removes lubricant (so does QD), they will wear out quickly without lube. Deoxit F5 replaces the lube in the pot, protecting the resistive surface. Get some D5 as well for your switches. Switches don't need F5.
 
Last edited:
Just sprayed the switches and pots with QD. I’ll give it some time and hit it with the F5. I’ll have to pick up some D5 if the problem persists. I’ll keep everyone updated!2C822714-0C10-4FD4-B844-24606DC7A5B2.jpeg
 

Attachments

  • 9555A013-D426-41BE-93AA-96FE8A6BA8F5.jpeg
    9555A013-D426-41BE-93AA-96FE8A6BA8F5.jpeg
    99 KB · Views: 14
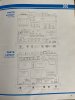
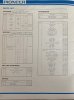
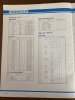
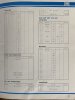
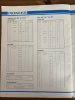
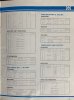
Also, here’s the parts section of the manual. I’m confused as to what the parts on pg. 17 are for, as there’s no blue header that says a corresponding board. What do you mean by CEA and CEANL caps? I’m seeing CEMX and CQMA. The ceramic caps look like nice Nichicons and I’m not sure if they need to be replaced. Electrolytics will likely all be replaced. As for the transistors, I’m curious as to how replacements are found, as I’ve never replaced transistors before. I’ll be looking into a meter/tester here soon and I’ll probably watch a few YouTube videos to learn how to test the transistors. Seriously, thank you all for the help, it means a lot!
 

Attachments

  • C6A33ADA-6DF5-40C4-B1FA-A82FFF1F9E55.jpeg
    C6A33ADA-6DF5-40C4-B1FA-A82FFF1F9E55.jpeg
    47.2 KB · Views: 18
  • 54E87A11-5F3D-4E98-89F4-0CACA05C341F.jpeg
    54E87A11-5F3D-4E98-89F4-0CACA05C341F.jpeg
    51 KB · Views: 15
  • 9EAA9984-442E-4A76-B10E-6F8F4D013938.jpeg
    9EAA9984-442E-4A76-B10E-6F8F4D013938.jpeg
    47.7 KB · Views: 16
  • 40159894-BAEE-4BA4-BD0B-DE9E8122EC57.jpeg
    40159894-BAEE-4BA4-BD0B-DE9E8122EC57.jpeg
    52.8 KB · Views: 15
  • BAF39285-2FE6-4520-8EE4-DF124C337394.jpeg
    BAF39285-2FE6-4520-8EE4-DF124C337394.jpeg
    47.3 KB · Views: 14
  • 28061DBD-FA36-41A2-AA32-BA9C217E22FB.jpeg
    28061DBD-FA36-41A2-AA32-BA9C217E22FB.jpeg
    47.4 KB · Views: 14
  • 36864FF0-F76B-4DE4-A02C-1C52A7E86513.jpeg
    36864FF0-F76B-4DE4-A02C-1C52A7E86513.jpeg
    52.2 KB · Views: 16
The way I find replacement transistors is by leaning on the efforts of the highly experienced techs here like markthefixer, mattsd and others who have created and previously posted BOM lists. They and others will take those lists as well, as times goes by and update them, removing obsolete transistors and putting in newer replacements. You can search for a transistor on AK for individual transistors, or by the unit you are working on to find more comprehensive lists. This is not a completely blind process, the application is important too. Then build your own list, post it in this thread and likely it will be revetted and suggestions made. Once it is finalized make your order from a reliable reseller like Mouser or digi-Key or similar. Resist buying 'originals' from unknown sellers on 'bay or from China. Fake parts that don't work or don't last are likely what you will receive.
 
I restored one of these last year. Check to see if you see any known troublesome transistors are in there using
https://audiokarma.org/forums/index...ilure-prone-whatever-and-replacements.731653/

Transistor substitutions listed here https://audiokarma.org/forums/index.php?threads/transistor-substitutions.688515/

10uf 10v caps can be substitued with 10uf 16v or 10uf 25v. Going up one or two ratings in voltage isnt a problem. Increasing a 220uf 35v to 330uf 50v shouldnt be a problem either. There are tons of threads that discuss how to select caps. Its was easy to work on so you shouldnt have too many issues. No such thing as a stupid question so go slow and report back if you have any issues.
 
It looks like the parts on page 17 are on the chassis, and not part of another sub-assemply like a PCB. It is a bit hard to read the picture.
 
I restored one of these last year. Check to see if you see any known troublesome transistors are in there using
https://audiokarma.org/forums/index...ilure-prone-whatever-and-replacements.731653/

Transistor substitutions listed here https://audiokarma.org/forums/index.php?threads/transistor-substitutions.688515/

10uf 10v caps can be substitued with 10uf 16v or 10uf 25v. Going up one or two ratings in voltage isnt a problem. Increasing a 220uf 35v to 330uf 50v shouldnt be a problem either. There are tons of threads that discuss how to select caps. Its was easy to work on so you shouldnt have too many issues. No such thing as a stupid question so go slow and report back if you have any issues.
This helps a lot, thank you!
 
It looks like the parts on page 17 are on the chassis, and not part of another sub-assemply like a PCB. It is a bit hard to read the picture.
Thanks, I believe you’re right. Sorry about the image quality, the pictures got compressed to the high heavens...
 
Generally its the old electrolytic caps that are an issue. Its actually a paste in there that can dry out over time. The similar vintage SX-1500TD I just restored had two small electrolytic caps on the tone board (3.3 uF) that had blown the bottom seals out. Old tantalums can be an issue too but I don't think this unit would have them. Can use film caps for the smaller electrolytic caps - around 3.3 uF the price starts going up along with the size.

Late 60s up to the mid 70s a number of transistors were used that did not age well, seems Pioneer liked to use a lot of them.

Do one section or board at a time. That way when there is a problem you know where to look. Cap in backwards, transistor in wrong, missed solder joint, bleeding across traces, broken wire, etc. Mistakes will be made, hopefully not often. Here the DBT can be your friend.
 
Back
Top Bottom