or a wooden matchstickThe toothpick method is the way to go. It has never failed me. A toothpick (or a few toothpicks) set in glue in an oversized hole provides enough wood for the screw to bite into.


You are using an out of date browser. It may not display this or other websites correctly.
You should upgrade or use an alternative browser.
You should upgrade or use an alternative browser.
Renovation of my KLH 17's is complete (long)
- Thread starter specialidiot
- Start date
just picked up a pair yesterday. don't yet know if original inside. missing one screw on badge. had one grill redone.New to the forum,
Awaiting delivery of KLH Model 17's from a recent eBay purchase. Great thread on recap job.
-Thanks OP.
Attachments


What a Night/Day difference in my KLH Model 17's after the Re-Cap. This is what I was hoping to hear.
Thanks again for the info to make it an easy update.
Thanks again for the info to make it an easy update.
Swingboyla
New Member
Hello -- I don't have any 17s -- 1 pair of 23 & 1 pair of 24 and 1 pair of 33. I have a bad tweet on 1 of the 33. Looking for a replacement -- heard I can use from 17, 6, & possibly 20 -- others? Let me know if you have the definitive list -- and if you have any spares laying around you might part with. Thanks. Otherwise I'll try to read through this great thread from 1 to 24 when I can make time -- looks like lots of great info here.

theboxgobler
New Member
I have had this thread saved for months and finally got around to wanting to do my 17's and all the photos are gone!!! What happened???
theboxgobler
New Member
Doesn't work.

Dswankey
Lunatic Member
... all the photos are gone!!! What happened???
I can see all of them, might be an issue with how you're viewing AK,

I'm having same issue, cleared cache, tried MS Edge and Chrome, no luck so far.
Edit: Tried Firefox, it worked!
Edit: Tried Firefox, it worked!
theboxgobler
New Member
I'm on Firefox, strange.

specialidiot
Break Glass, Smoke Lucky
OP here.
They've been gone for a couple of years, at least. I got hacked and didn't pay the ransom.
But y'all can use your imagination, right?
They've been gone for a couple of years, at least. I got hacked and didn't pay the ransom.
But y'all can use your imagination, right?

specialidiot
Break Glass, Smoke Lucky
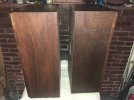
A couple of weeks ago I won an ebay auction for a pair of KLH Model 17s. The price was quite cheap, and the seller charged actual shipping so my cash outlay was about $45 shipped. Unfortunately, the speakers sounded like crap when I gave them their first listen. No highs at all, what sound was there was quite muddy. To make matters worse, the seller taped directly to the cabinet and they looked like crap. Luckily there was no cabinet damage and to my surprise were built from solid walnut.
A quick check on the AK forums indicated that they were definitely worth rebuilding. So began my first speaker renovation project.
I used to work as an electronics tech in the early 80's, and my wife generously assesses my tinkering around the house skills as "handy", so I looked forward to this effort.
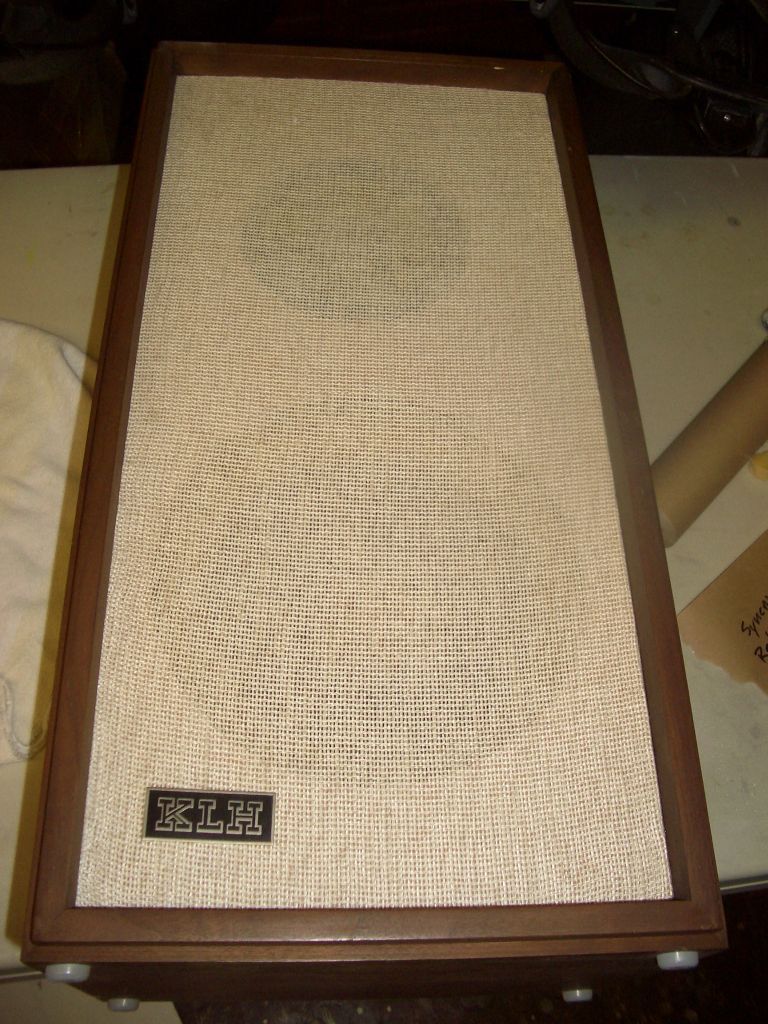
The first step is to approach the speaker in a confident manner. Here's the subject:
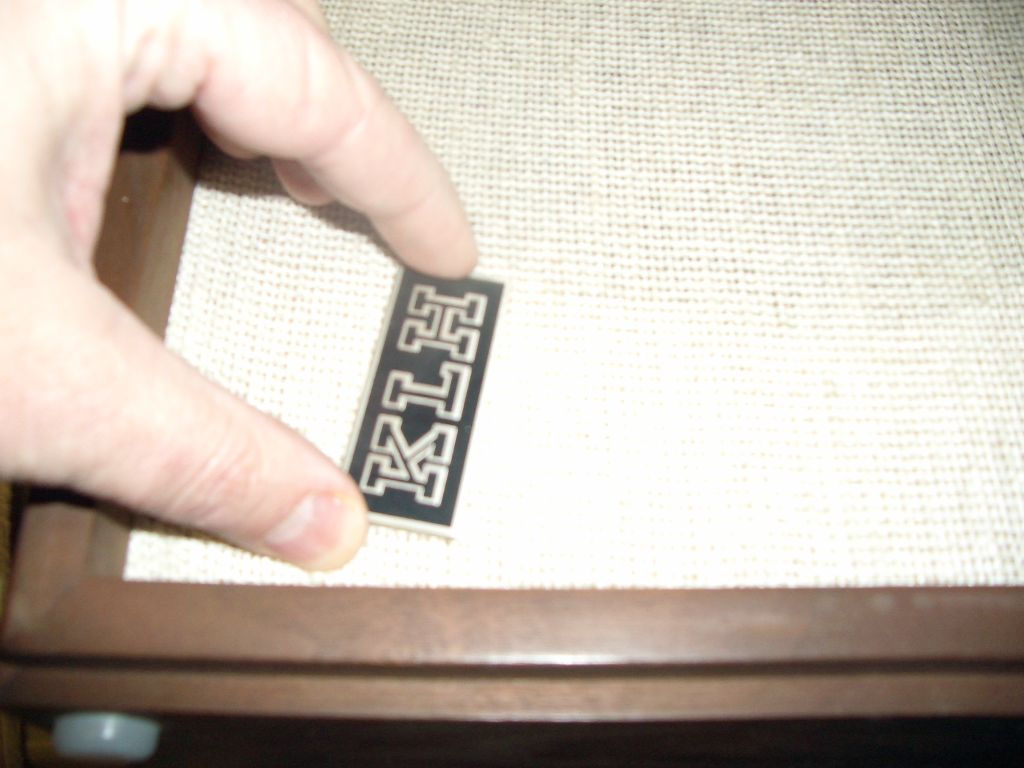
Remove the KLH badge and set it aside for later
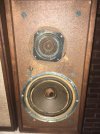
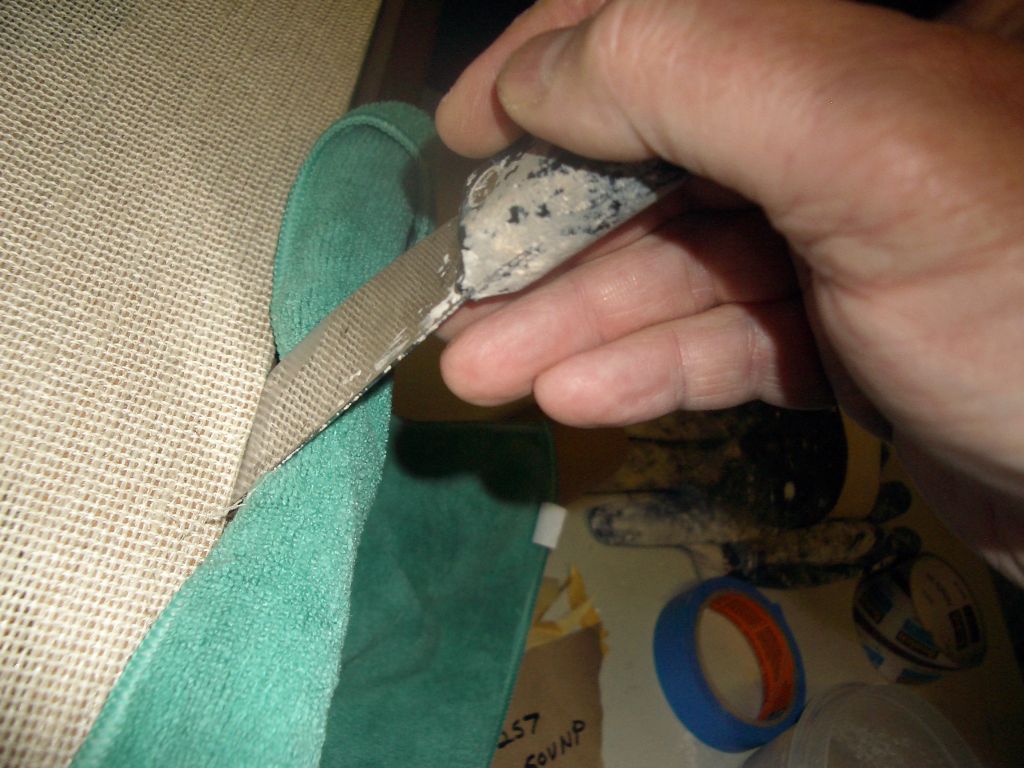
Carefully remove the grill. Mine was fastened by velcro, I've heard of them being glued on too. The grill is a thin piece of fiber board - like peg board without the holes - that has the speaker openings cut out and the grill cloth stapled to the back.
I used a 1-1/2 inch flexible putty knife. Use a towel where the knife meets the cabinet.
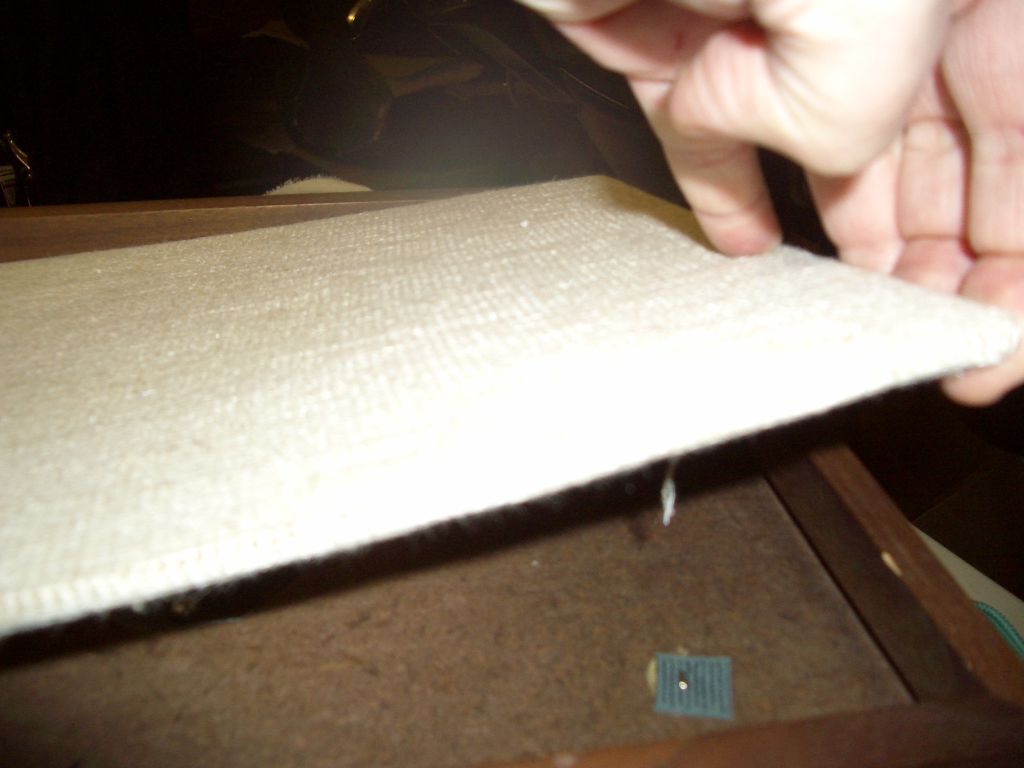
Once you can get your fingers under an edge, just start lifting it out
remove the screws from the tweeter
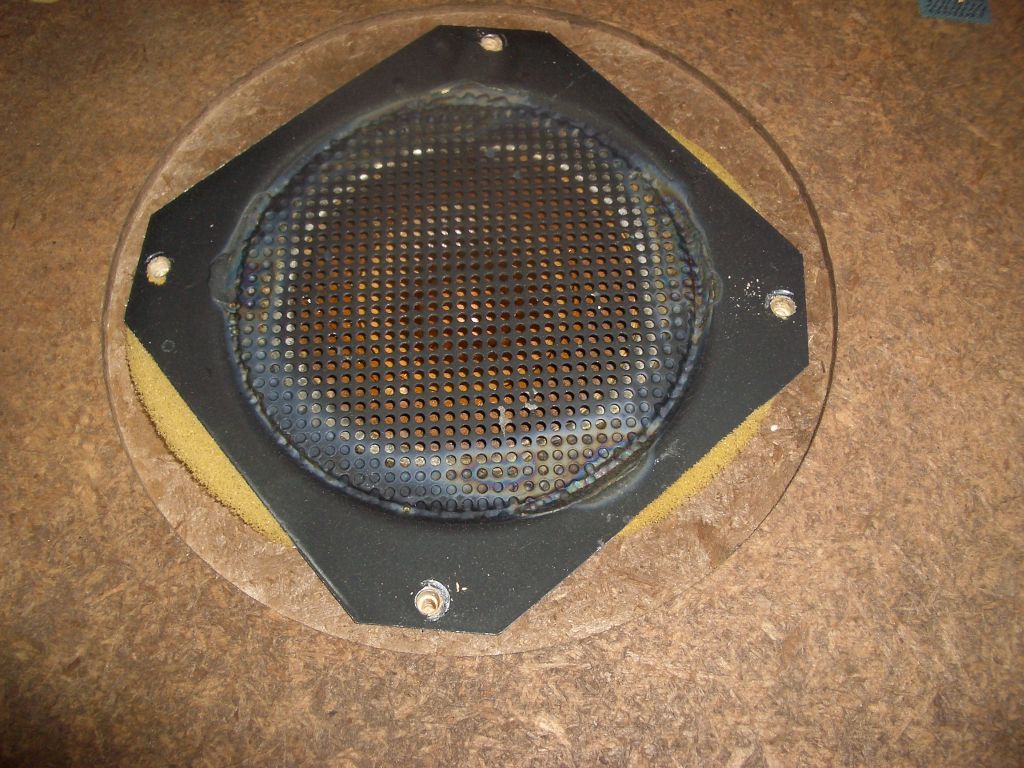
catch a fingernail under the tweeter and lift it out. Yep, that's fiberglass insulation in there!
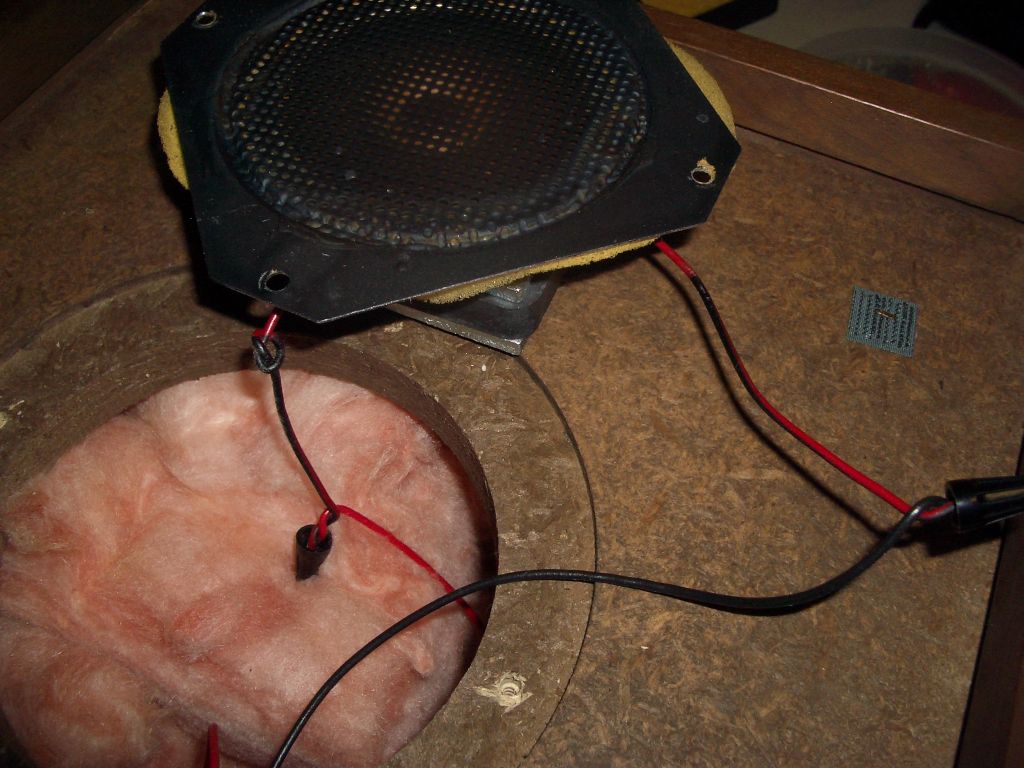
Label the wiring as you remove it. Failure to do so could cause some head scratching later
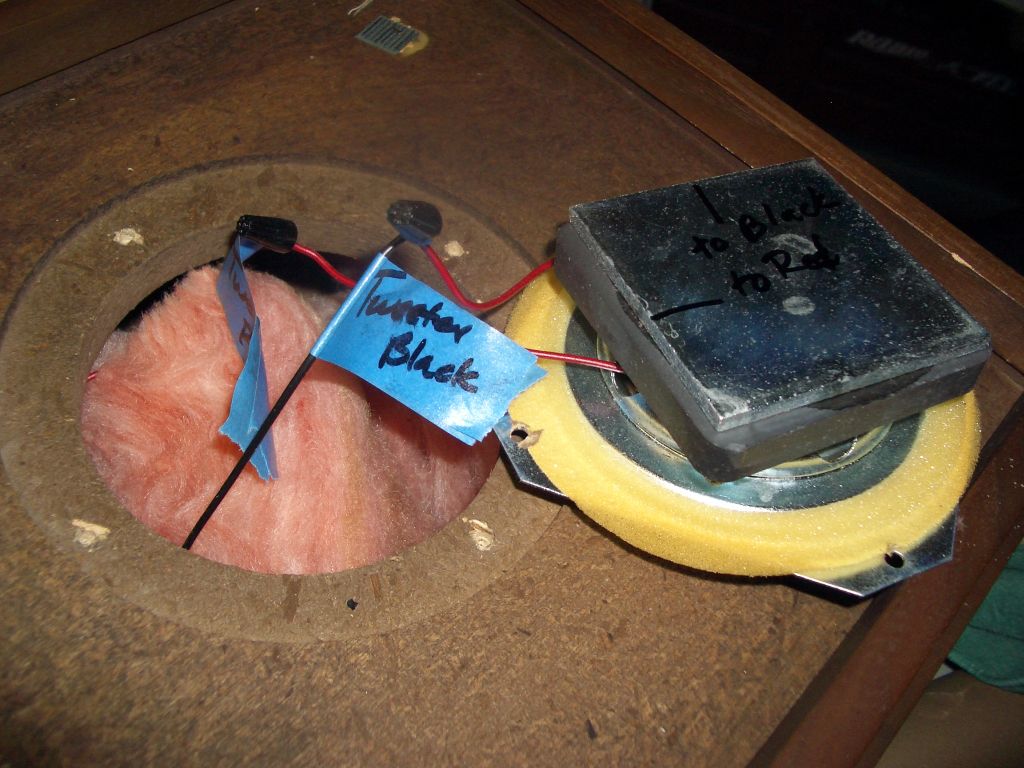
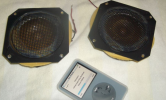
remove the wirecaps, set them aside for later, unsolder the leads, and put the tweeter in a safe place. I tested mine out with a sine sweep file provided by spkrdood. Make sure you put a 10MF cap in series with the positive lead of the tweeter to block the lower frequencies. Thankfully both of the tweeters worked great.
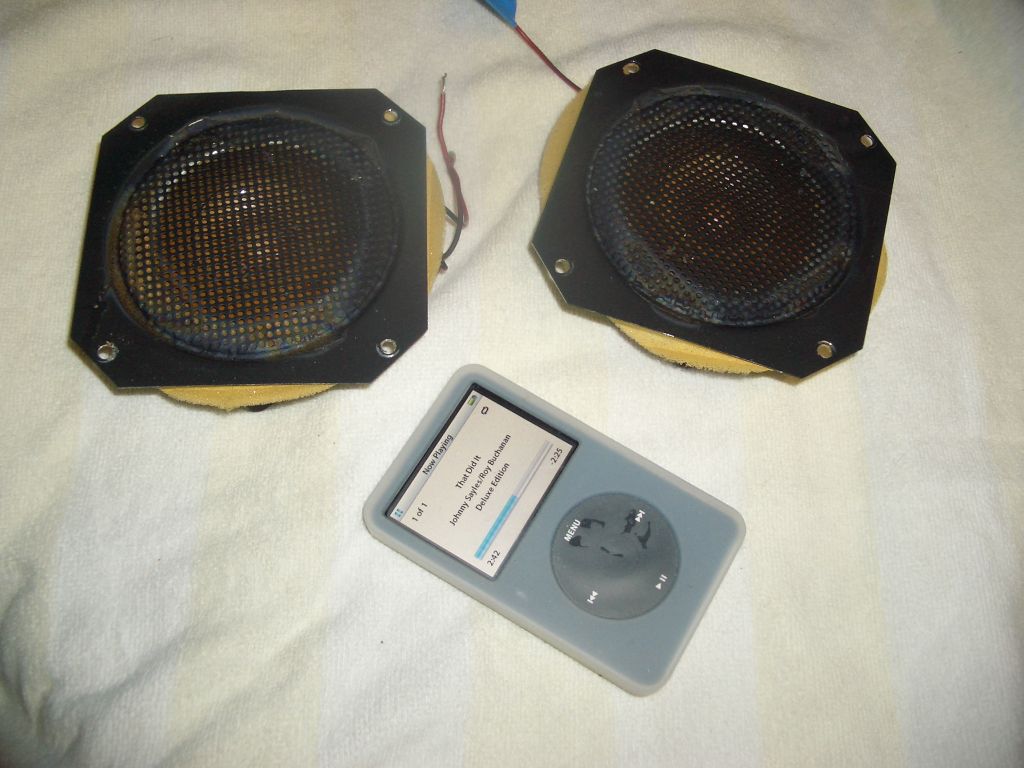
Remove the 8 screws holding in the driver and pull it out
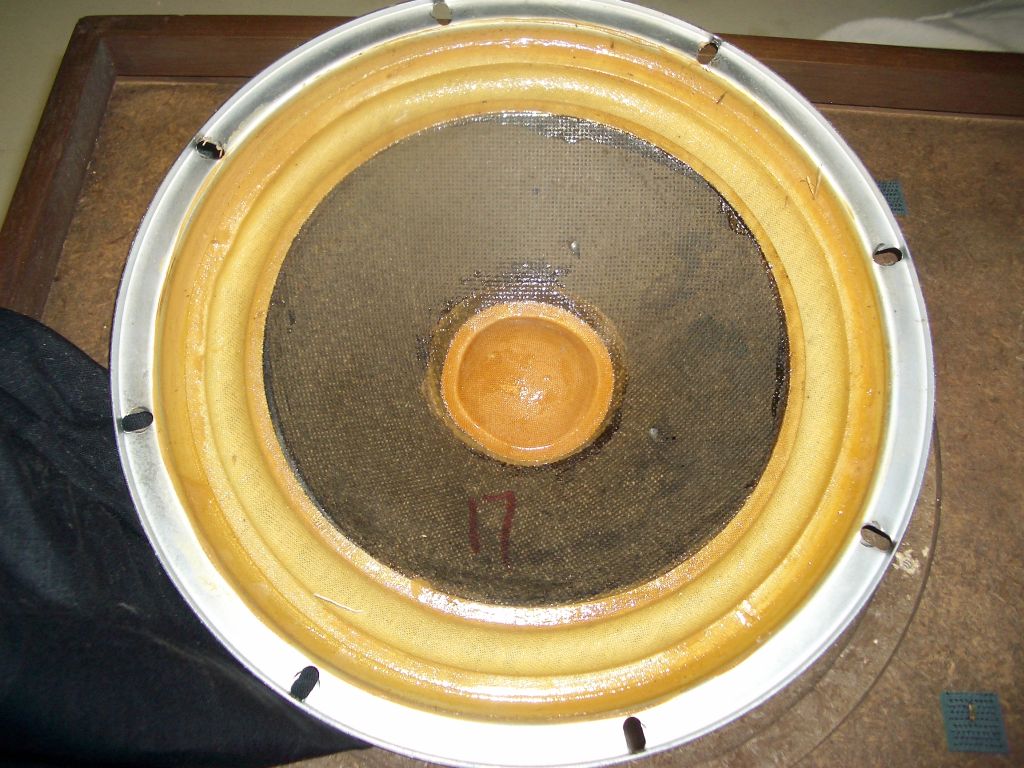
One thing I forgot to take pictures of and thanks to AK'r neilsvanm2, I've added this part in. The drivers have cloth surrounds, not foam. The good news is that cloth doesn't disintegrate like foam, but it does need to be re-sealed. I used some standard household latex caulk, thinned with 2 parts water. I used a glue brush and real lightly coated the surrounds. I then set the drivers aside for a couple of days as I waited for my parts to come in.
There is a piece of black fabric under the woofer, looks kinda like a shroud to me. Remove it and set aside for later. Label and unsolder the red and black wires
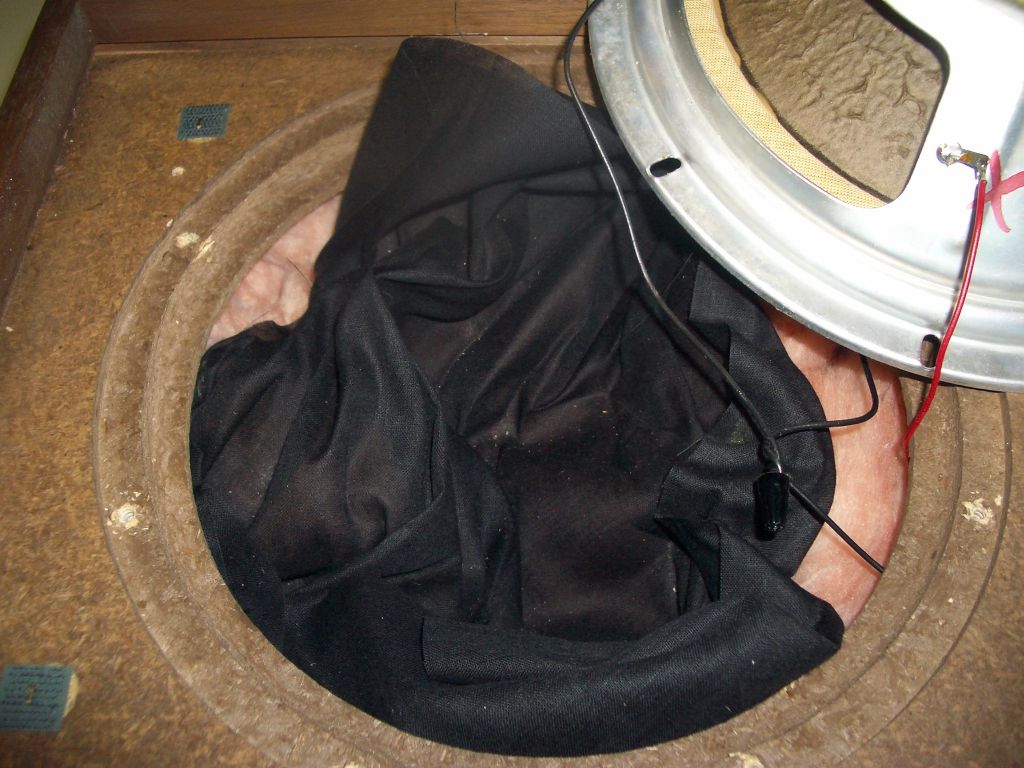
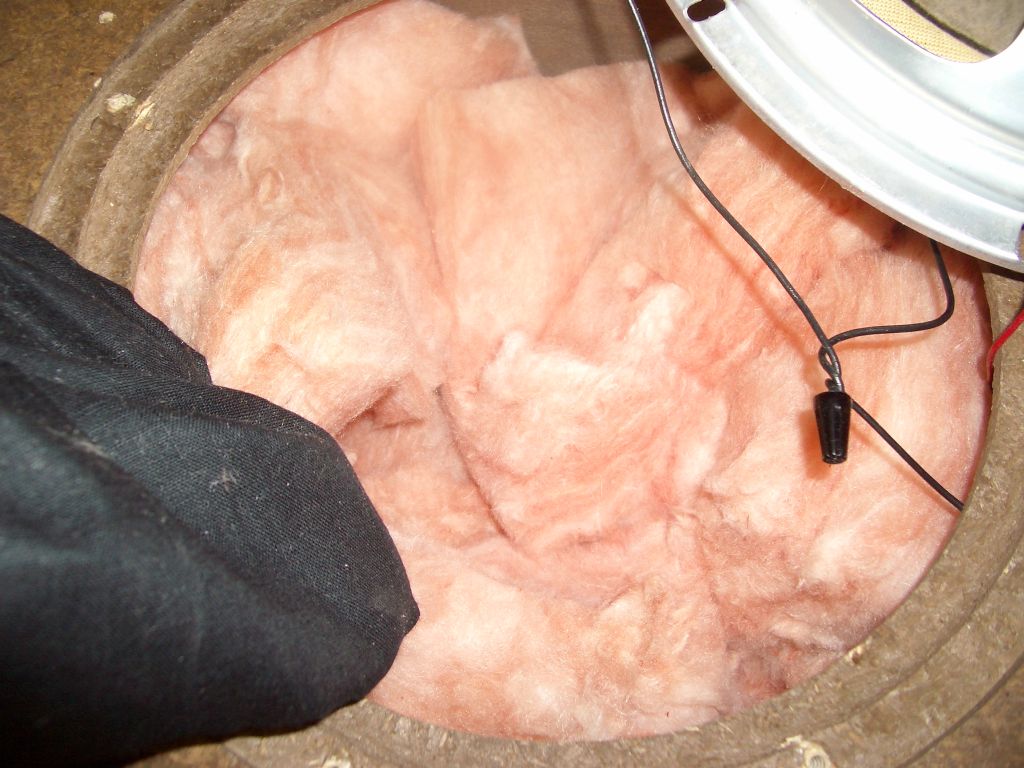
Here's the cabinet with the tweeter and driver removed, wires labeled.
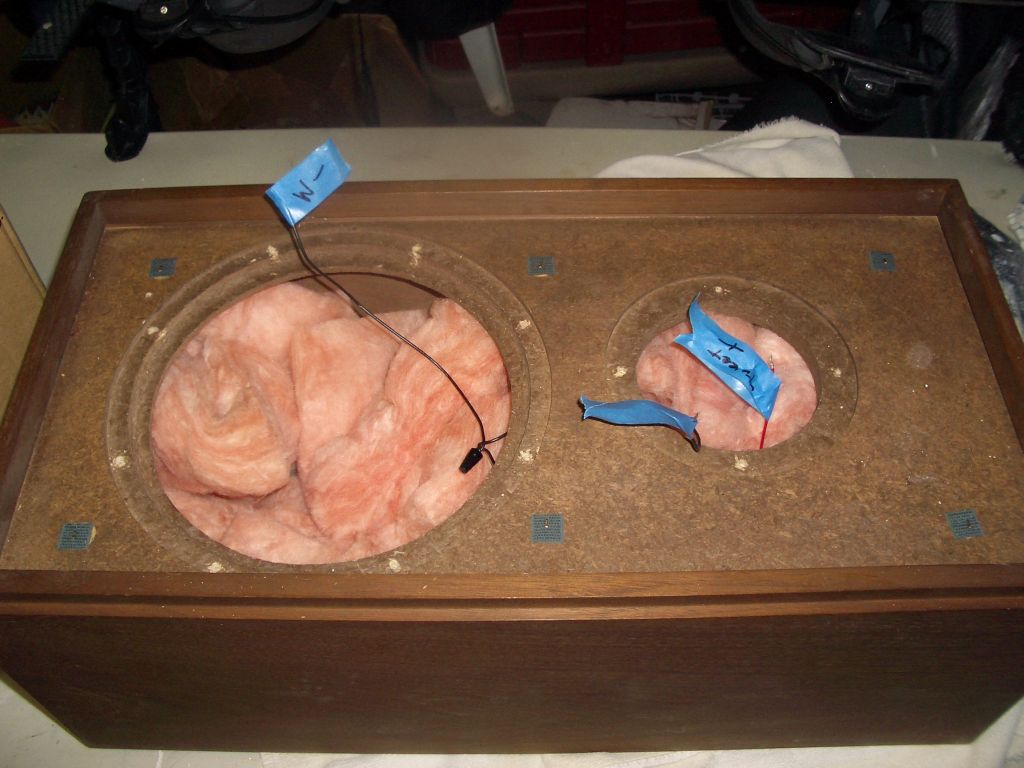
Put on some gloves and remove the blocks of insulation. A paper shopping bag is large enough to hold the stuffing for one speaker. Put the "shroud" in the bag too.
When you get the stuffing out, you can see the crossover (XO) mounted to the back of the cabinet.
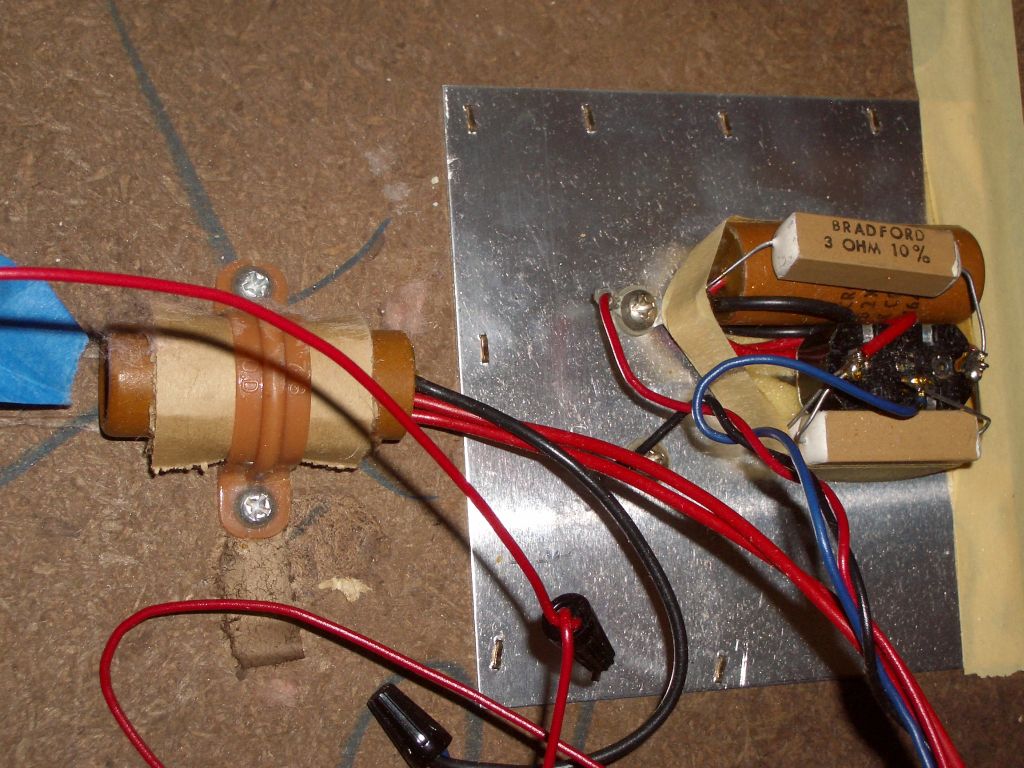
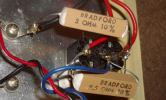
Remove the tape holding the XO together, make note of how the caps are connected. Note that these are some type of dual caps. The black lead is common, and the red lead goes to each side of the 2 pole switch. The switch lets you set how much high frequency you want to pass to the tweeters.
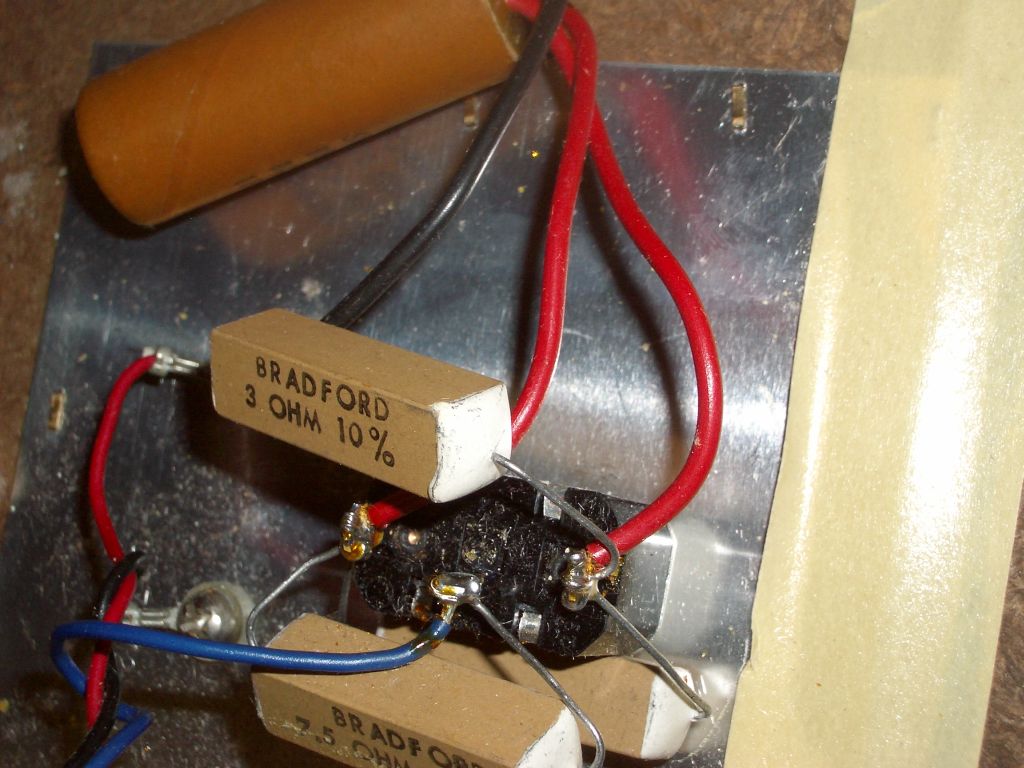
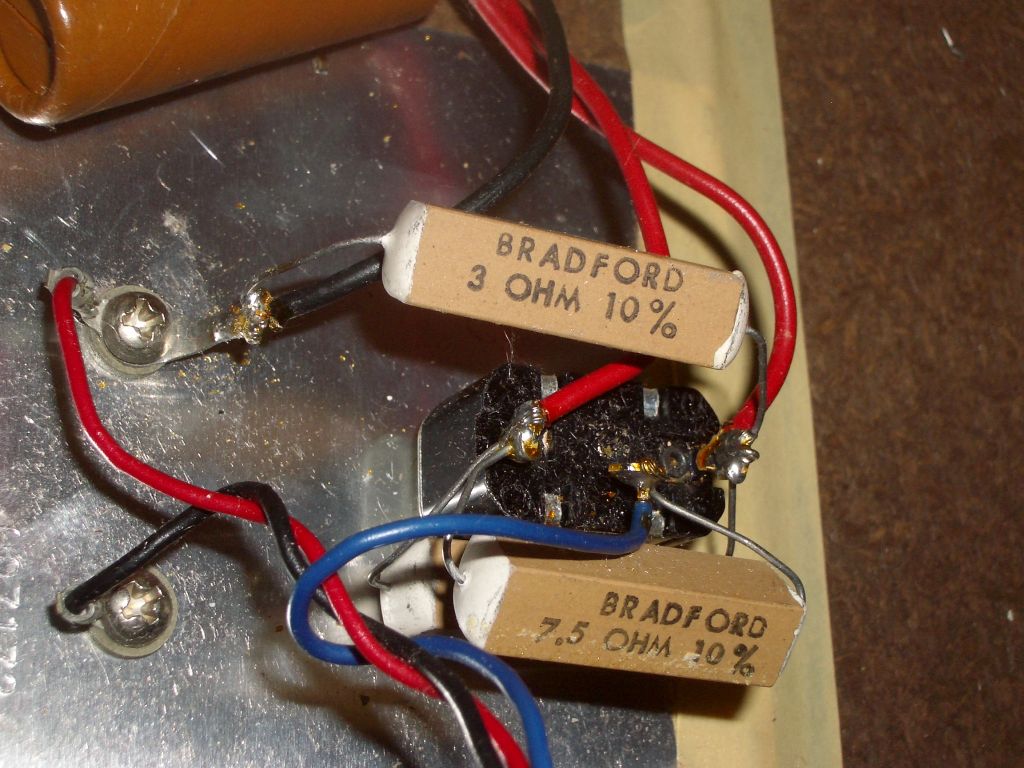
Part two coming up
Right click on the image and copy the image location. What's the URL?^ Dude the pictures are there, it's definitely an end user issue.
Here's some random screen grabs from pics you posted circa 2007
View attachment 3394099
View attachment 3394100
View attachment 3394101

specialidiot
Break Glass, Smoke Lucky
The reason I'm asking is that the domain I used to post pictures to AK is long gone. I'm assuming you have them in cache somewhere.Right click on the image and copy the image location. What's the URL?

RxDx
Speaker collector
, for instance.
theboxgobler
New Member
I don't know. Tried different browsers. Tried right clicking into another tab but get a load error.
Tried on my phone but jpg links are broken there as well. Its showing as a security issue on my end to load the photos and I'm not puter savvy enough to figure it out I guess. Its not even allowing me to copy the photo link on the thread.
Tried on my phone but jpg links are broken there as well. Its showing as a security issue on my end to load the photos and I'm not puter savvy enough to figure it out I guess. Its not even allowing me to copy the photo link on the thread.