Part two
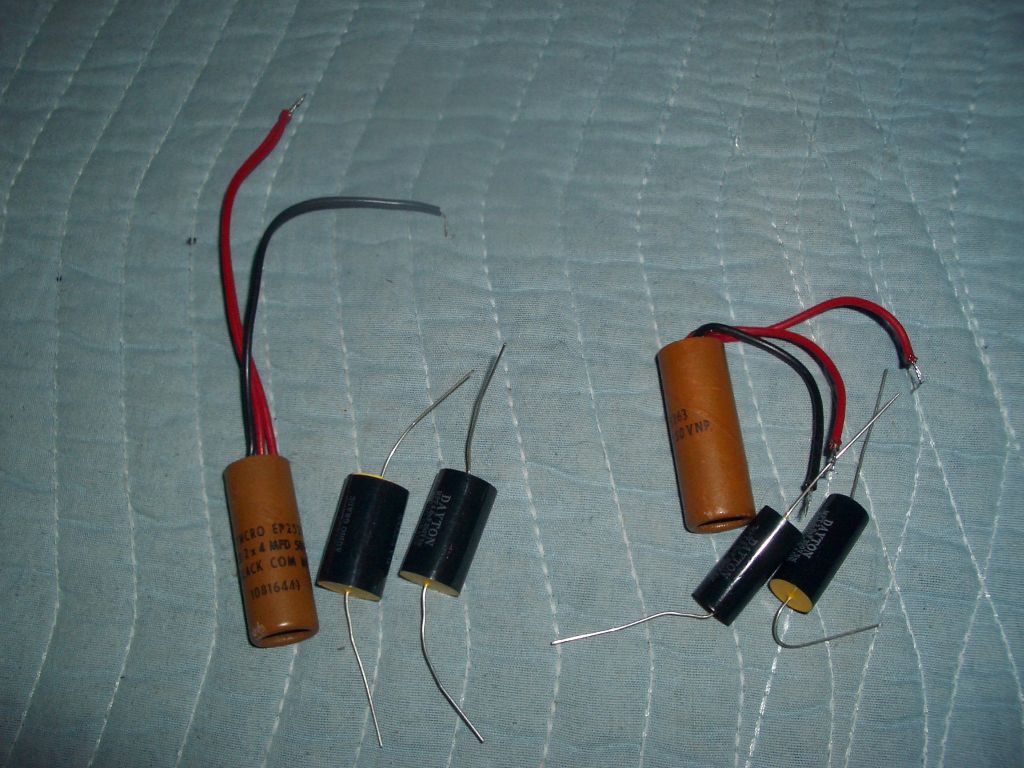
Here are the old and new caps side by side.
I purchased the caps from Parts Express at
Parts Express: Speakers, Amplifiers, Audio Parts and Solutions. It only took 3 days for the caps to arrive, and I added in a few other items I needed too.
Here's what I ordered:
027-414 DAYTON DMPC-2.0 2.0uF-250V PO .. qty 4 $1.52 ea.
027-421 DAYTON DMPC-4.0 4.0uF-250V PO .. qty 4 $1.85 ea.
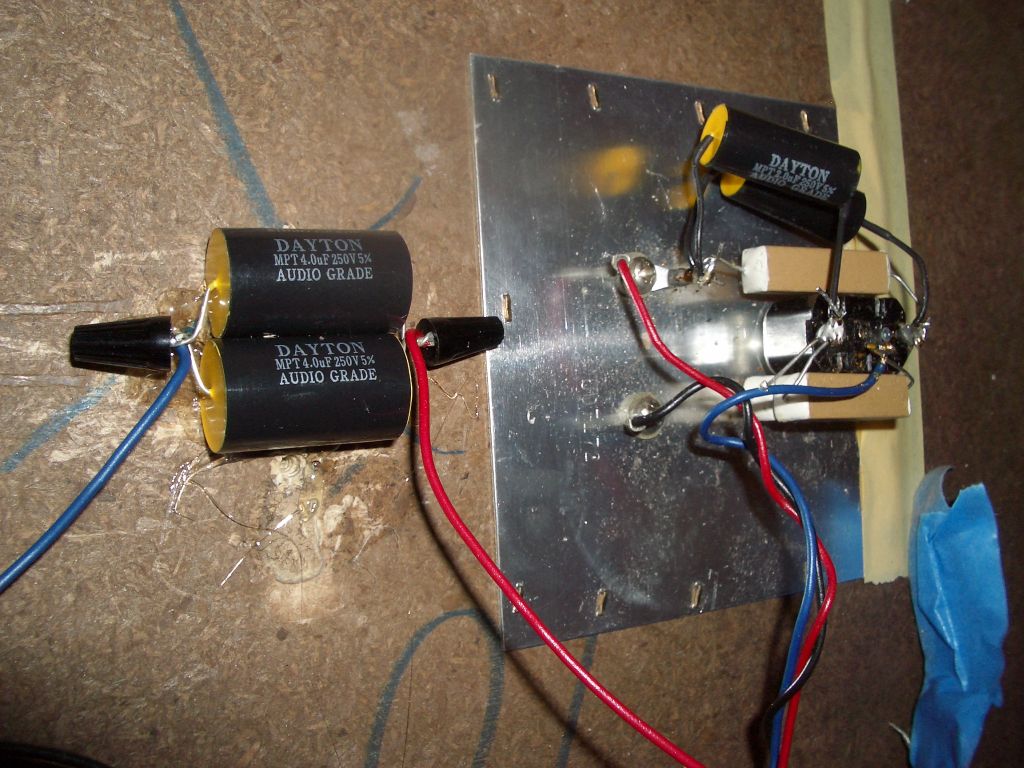
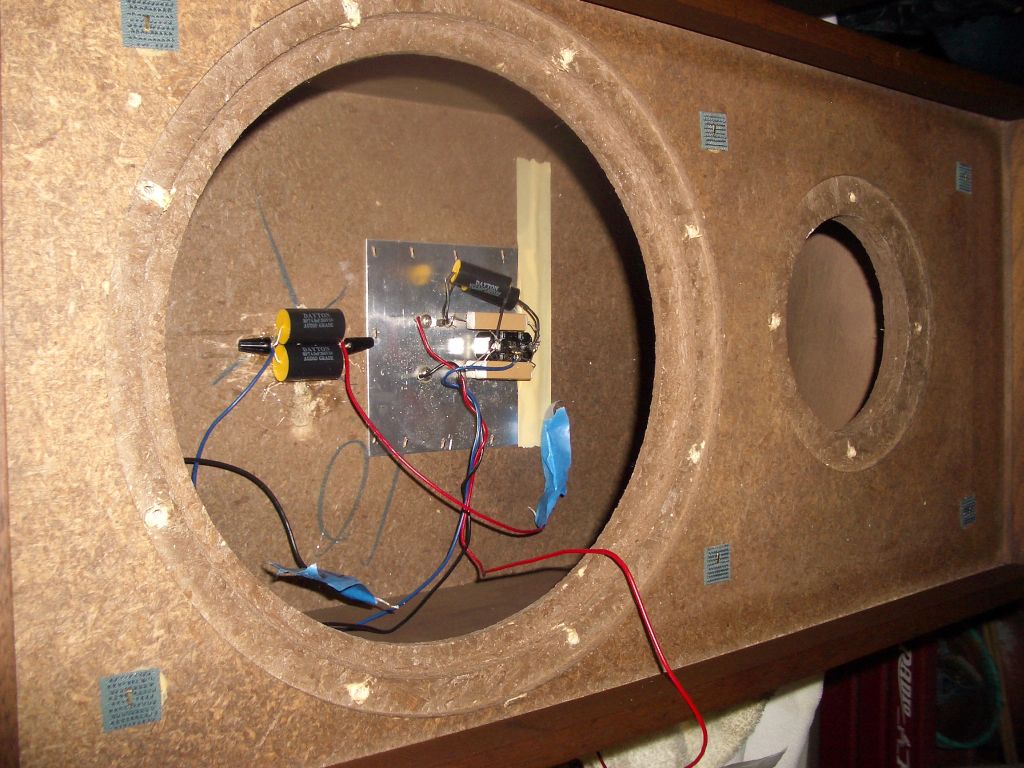
Here is the reassembled crossover with the new caps. I used hotmelt glue to fasten the double caps. Note that the two 4MF caps are in parallel, giving a total of 8MF.
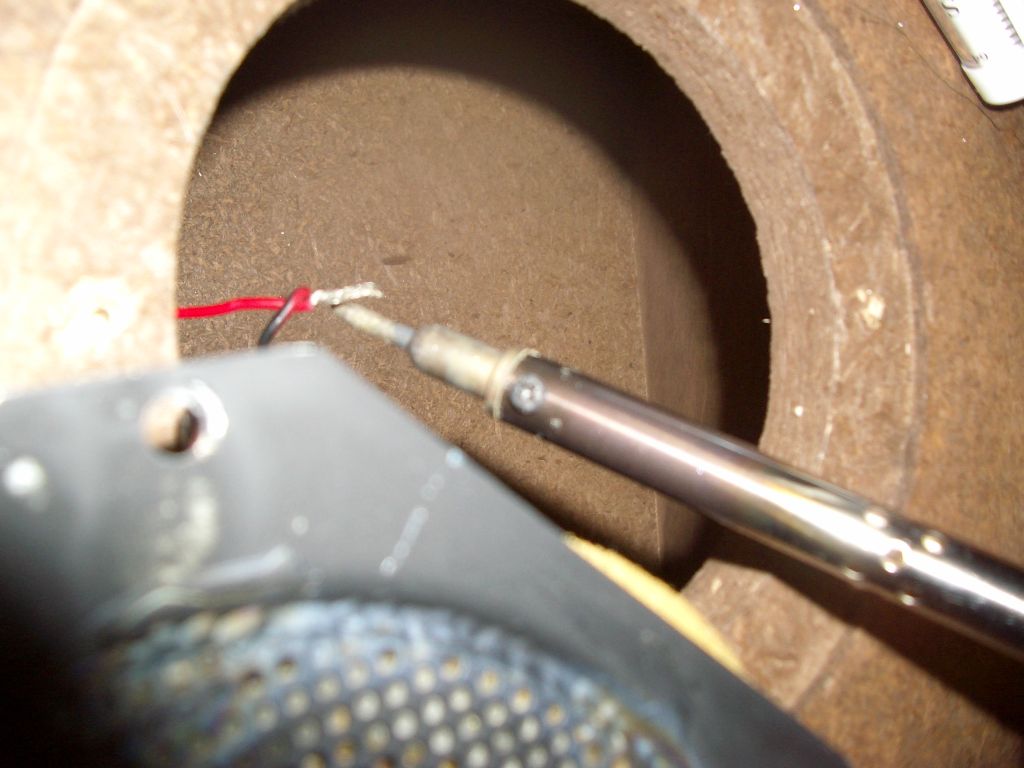
Solder and wirecap the tweeter leads, and put it back in it's place
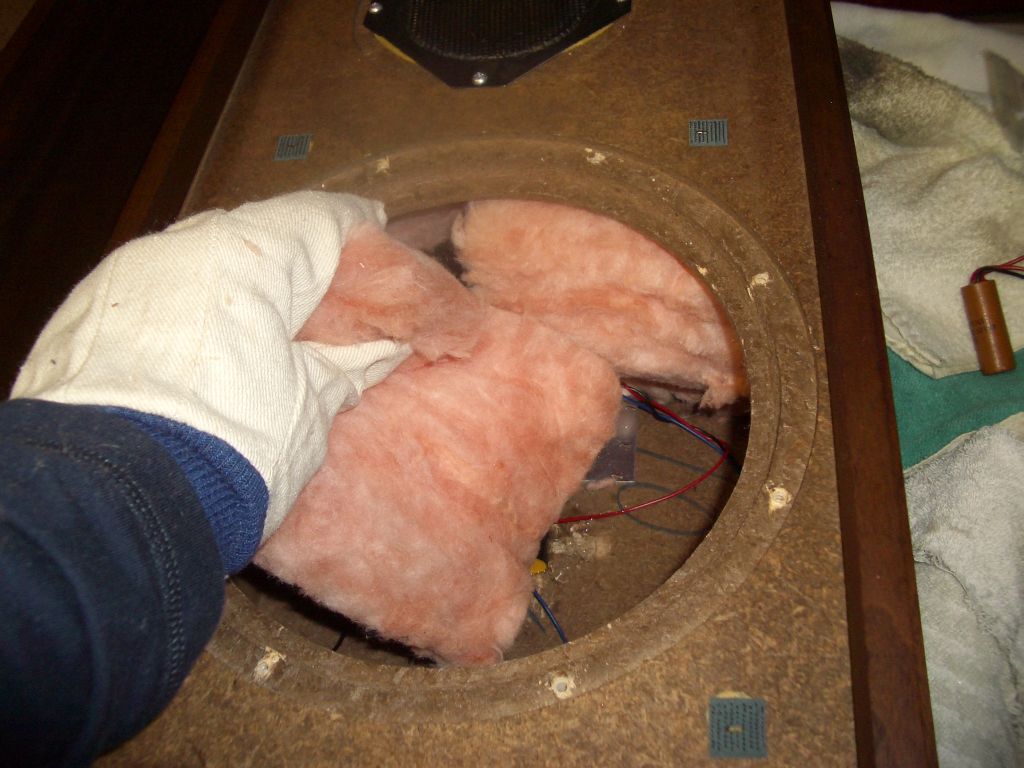
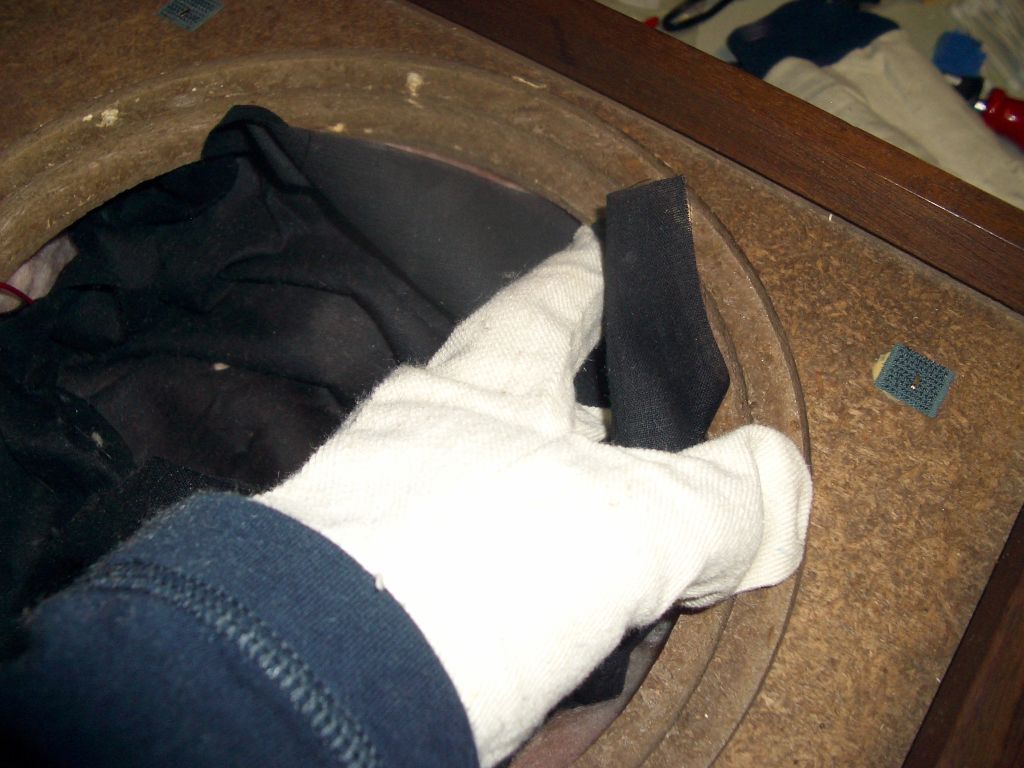
Before you put the driver back in, its time to put the stuffing and shroud back in place. Don't forget the gloves.
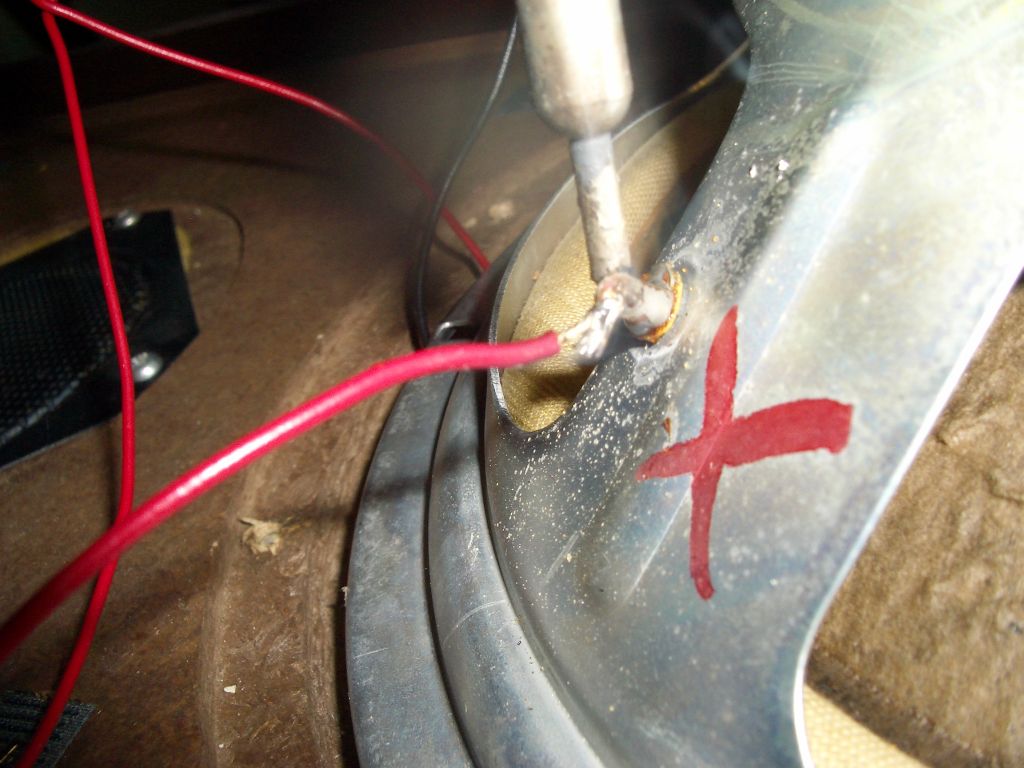
Solder in the driver leads, and mount it back on the cabinet with the 8 screws that you haven't lost.
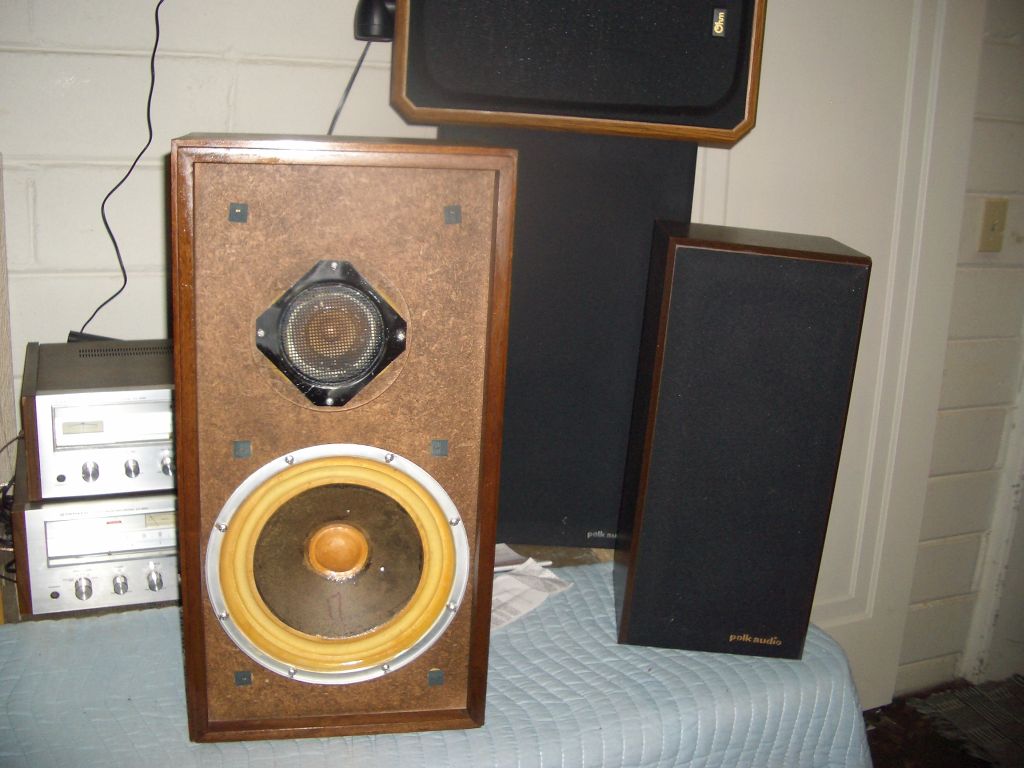
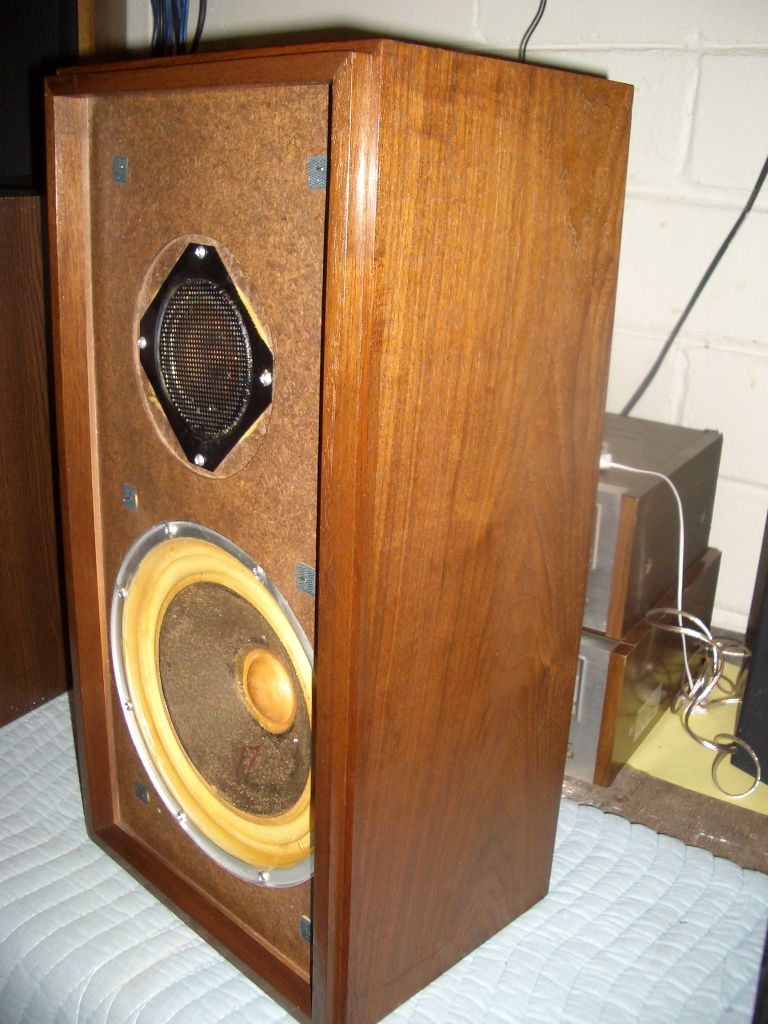
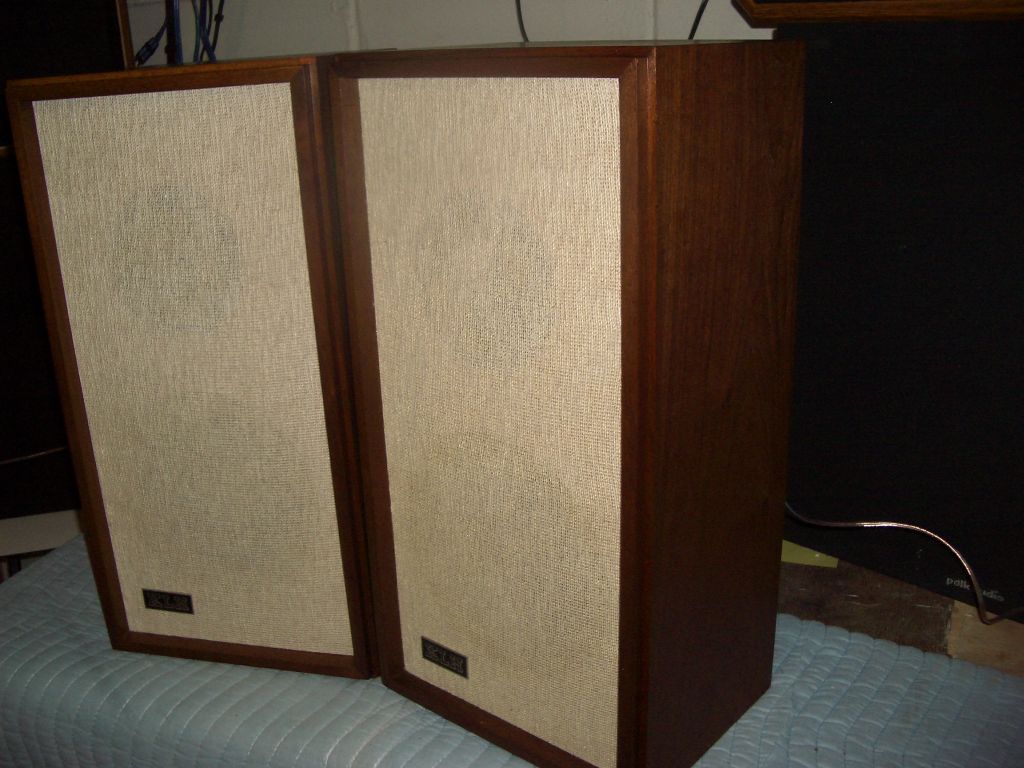
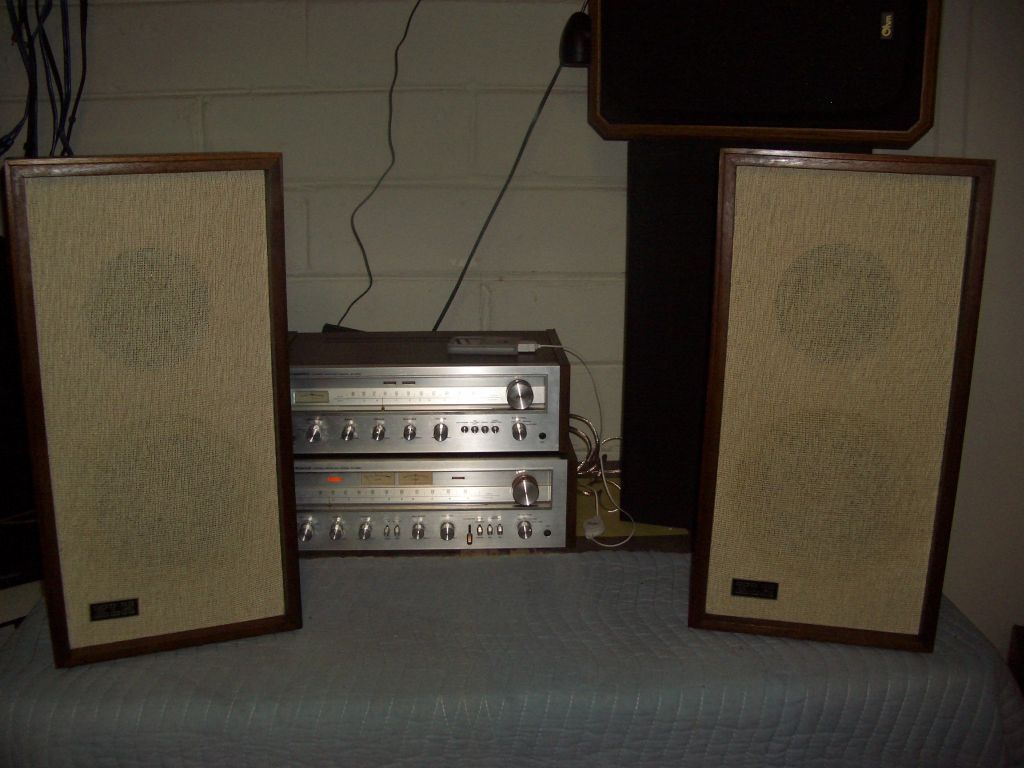
With any luck, here's how it looks! Note that I cleaned and oiled the cabinets.
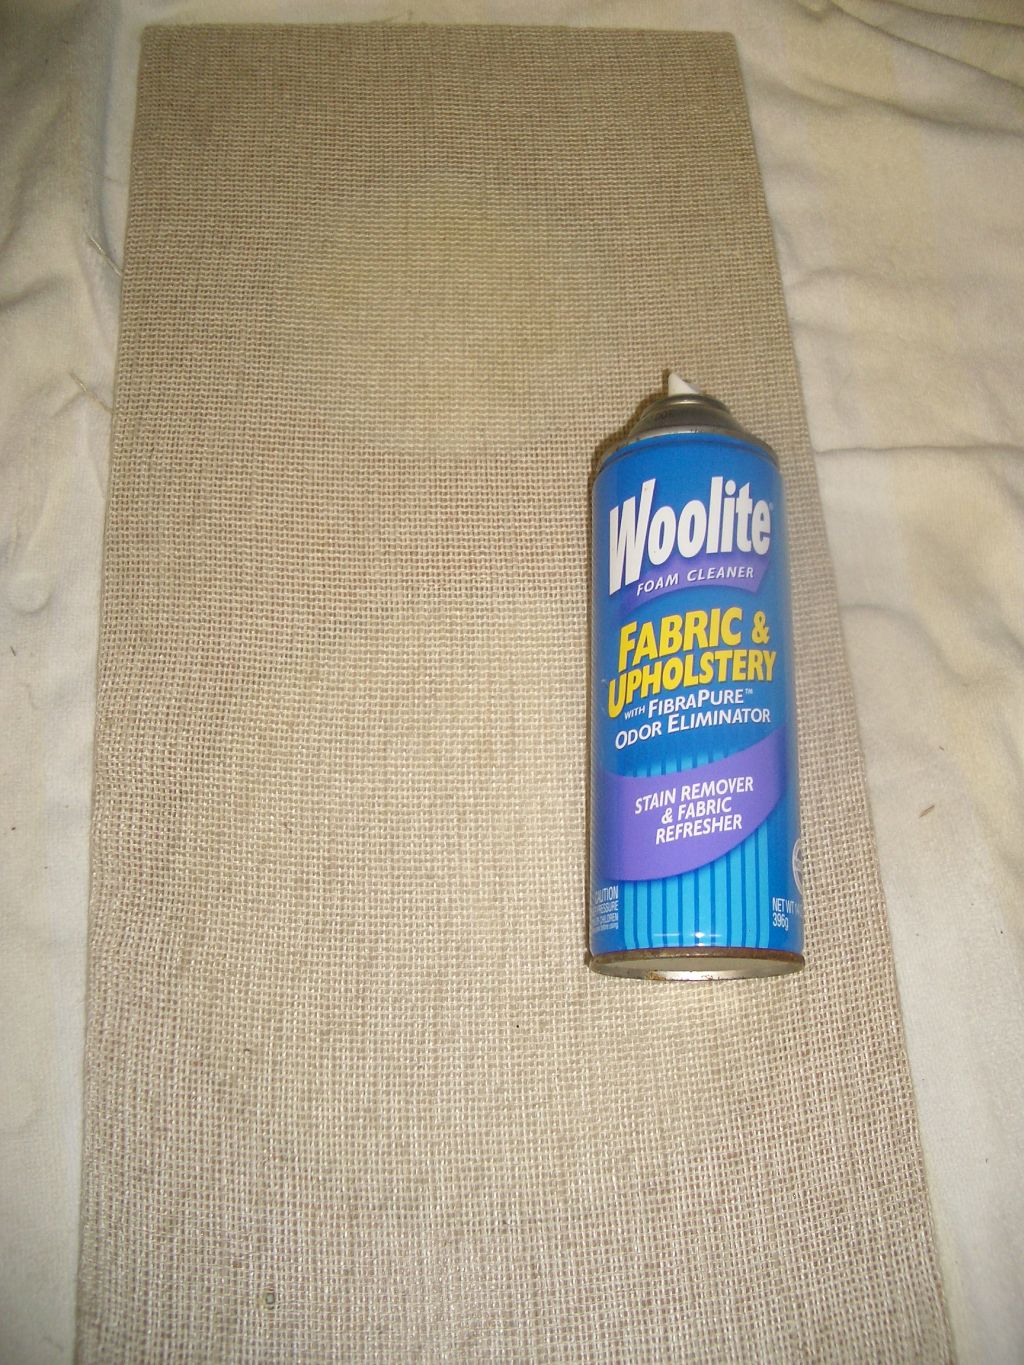
Just a couple of steps yet. Since the cabs were filthy, I figured the grills were too. They were in perfect shape, so instead of replacing the grill cloth, I used a fabric cleaner to freshen them up. Screw the logo back in place and you are DONE!
Here are a couple more shots of the finished product.
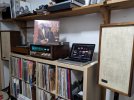
I must say that I'm VERY pleased with how these turned out. Total time invested was about 4 hours, including taking pictures. I've moved them up to my home office, driving them with my Marantz 1060 being fed by iTunes via a dbx 3BX-DS. I had planned on selling them, but oh my they sound mighty nice!
I've listened to a nice variety of music as I've put this together. I hope someone can find this post useful and maybe it will inspire someone to take on a project like this themselves.





 . There is more than enough sealant to do a few pairs of woofers.
 My son in law remarked holy sh*te listen to that low end! (on Ray Browns bass).