• The move to the new server is done. There are some software and database maintenance updates in process. This has us passing the hat around to help out. We appreciate any donations. Seriously, even a dollar helps. The payment page may be found here - https://www.audiokarma.org/support.html

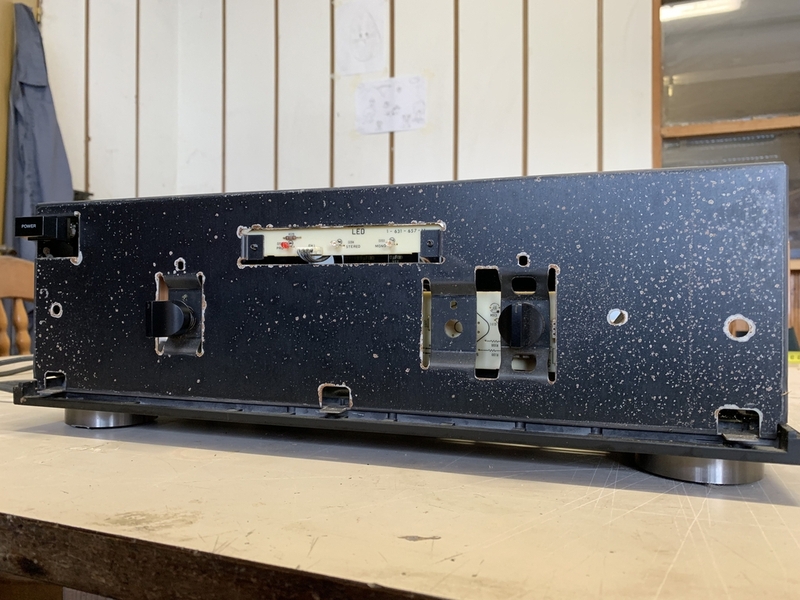
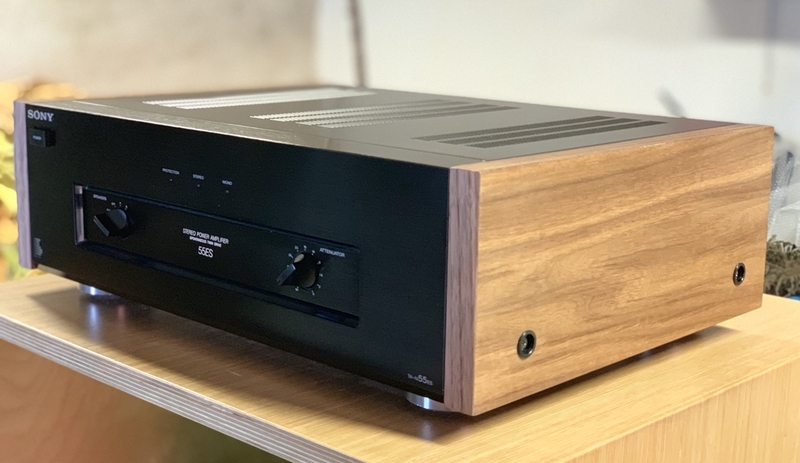
Sony TA-N55ES Restoration

amr2

Well-Known Member
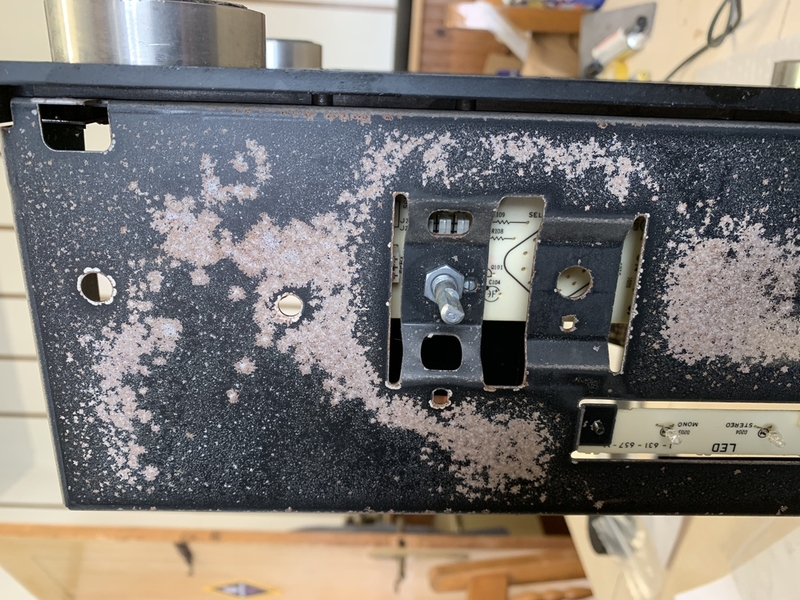
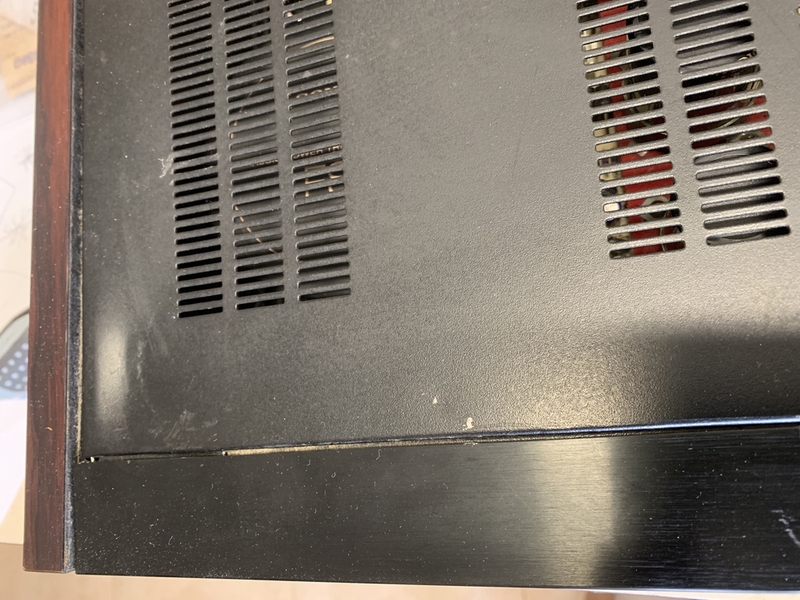
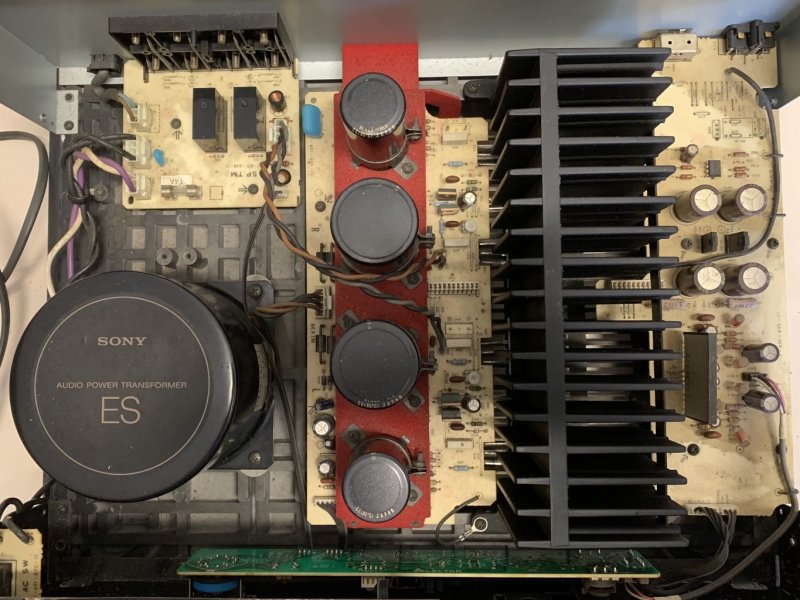
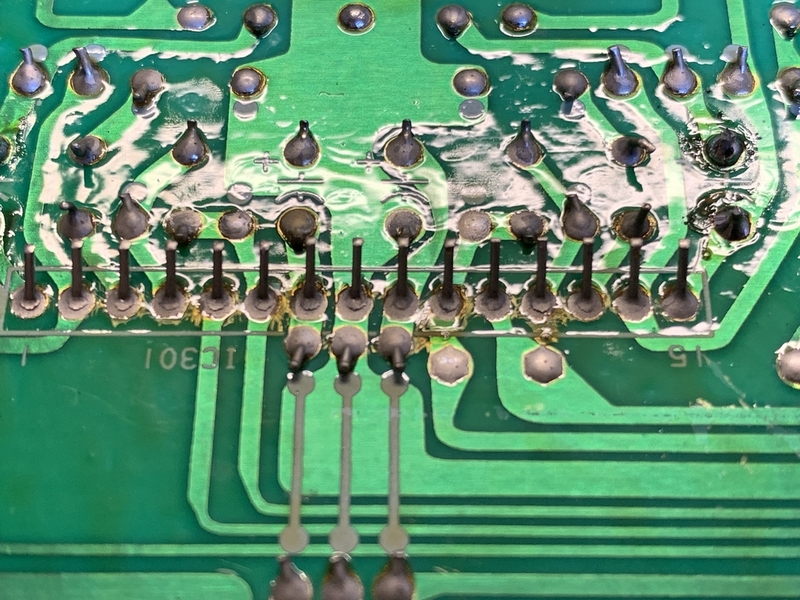
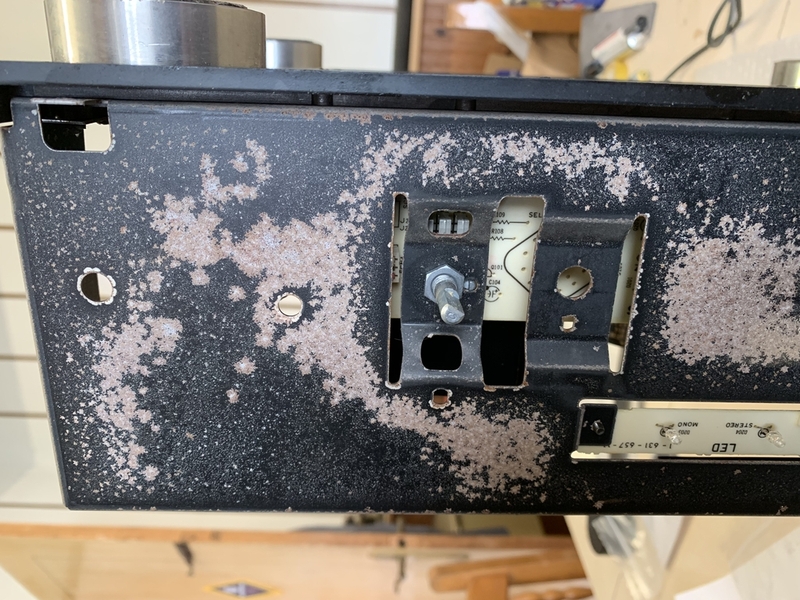
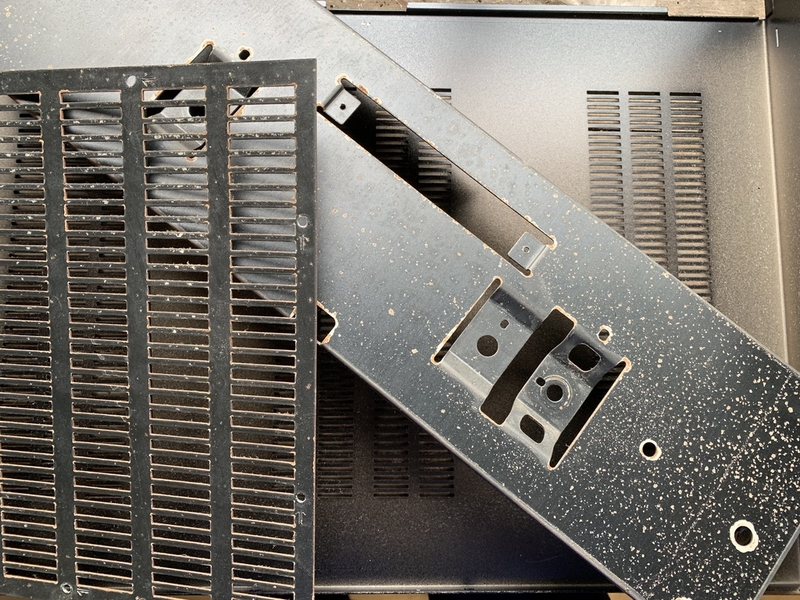
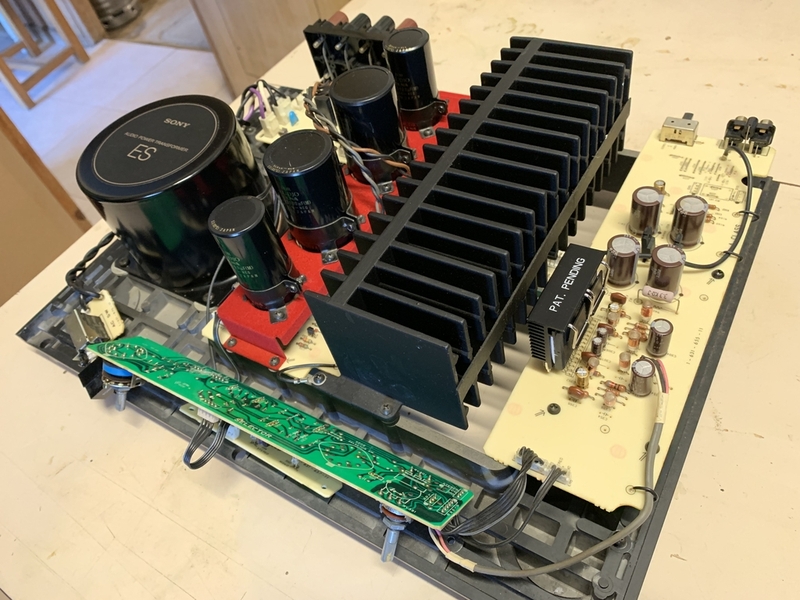
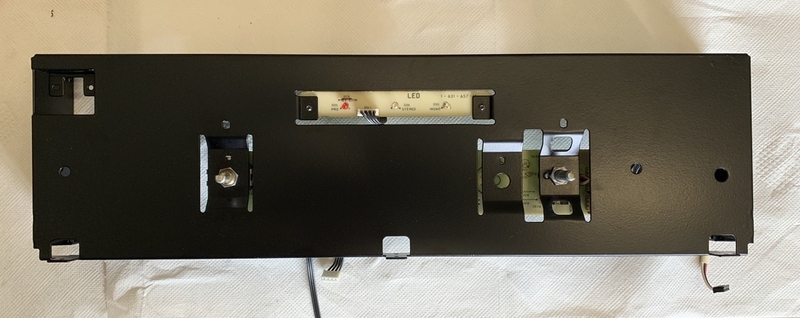
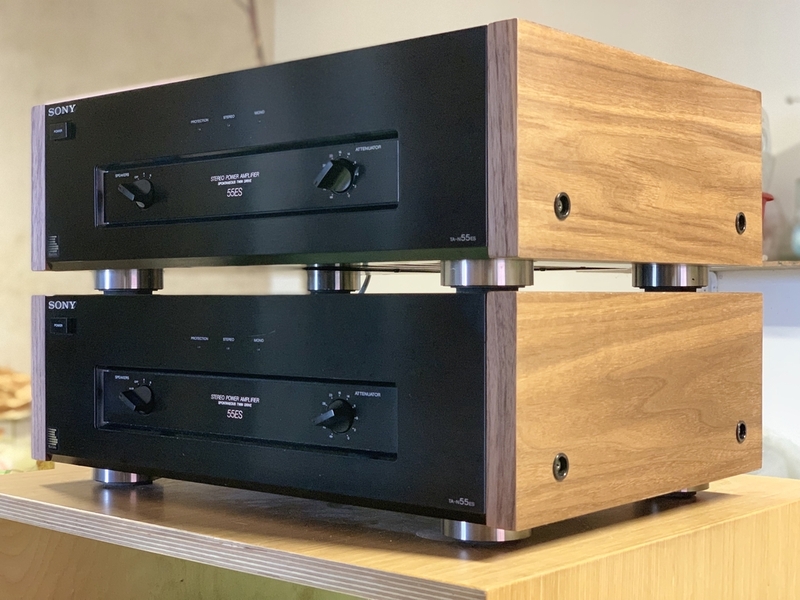
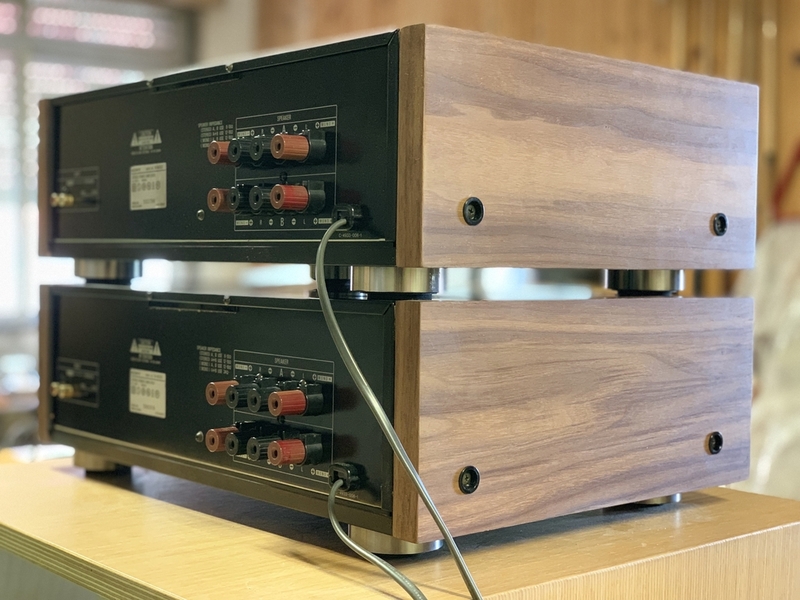
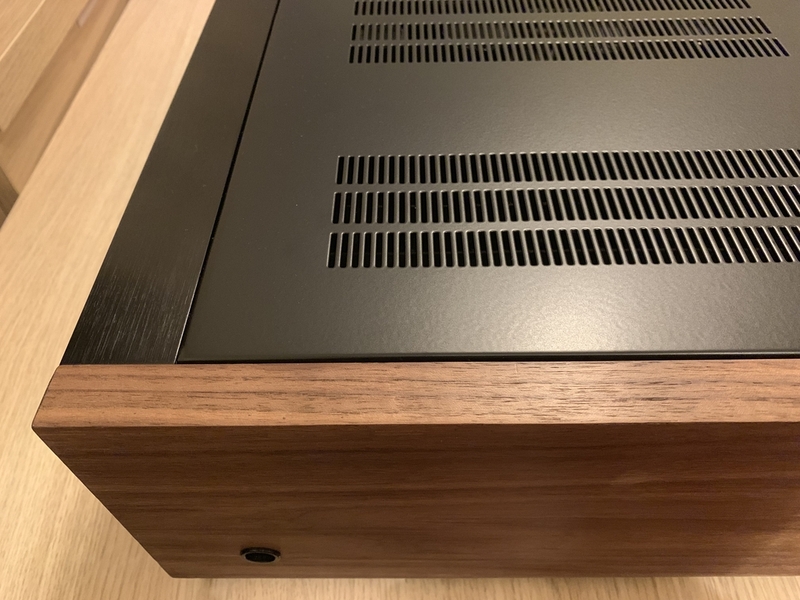
Some pics :)


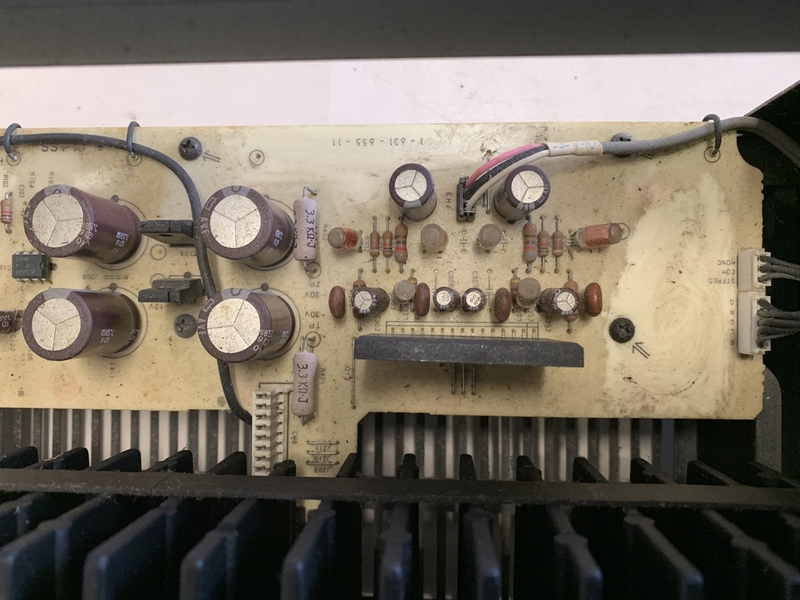
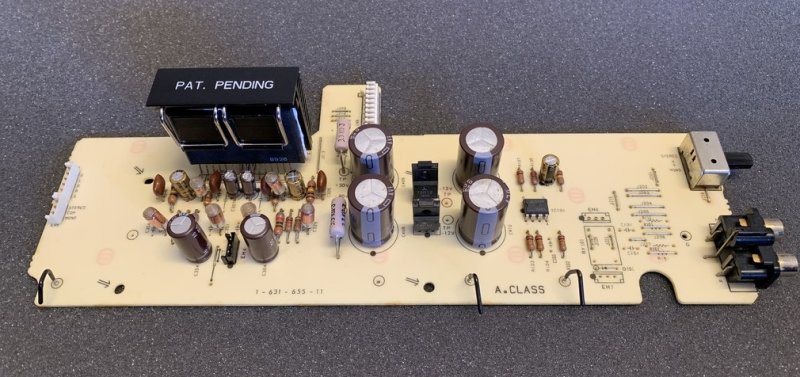
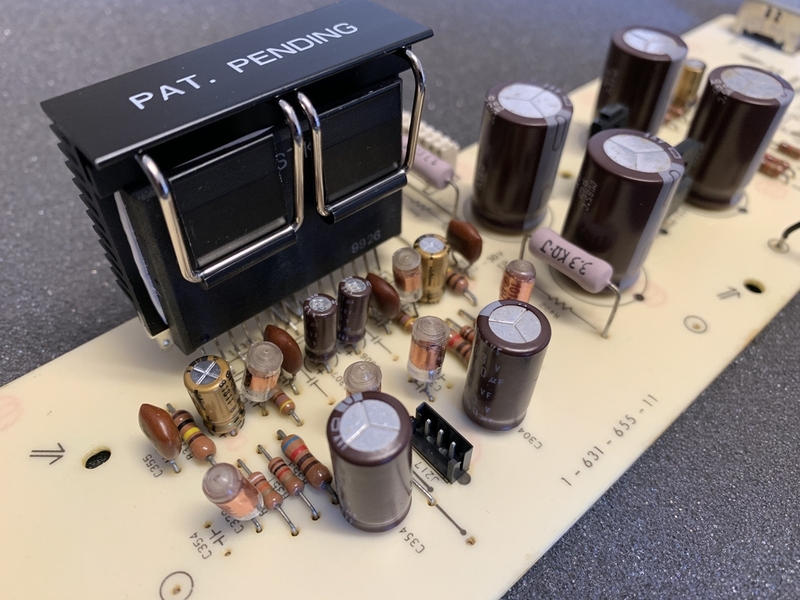
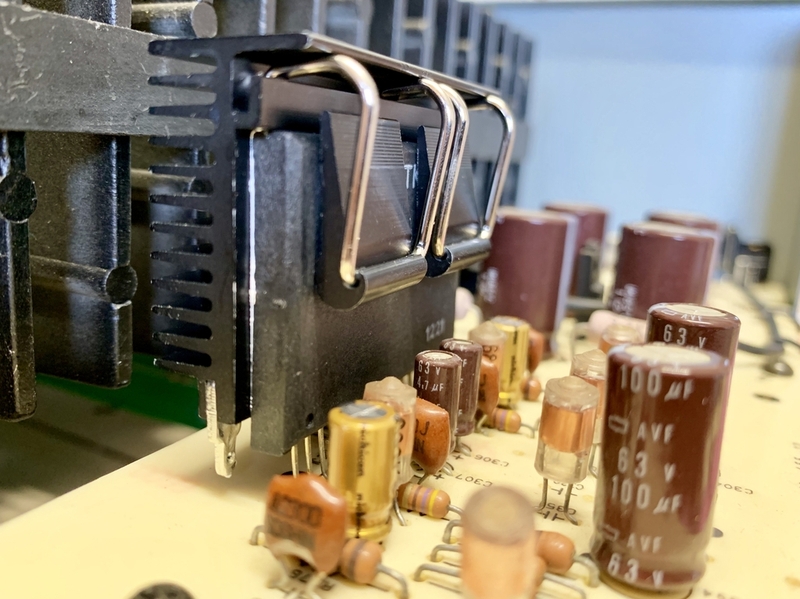
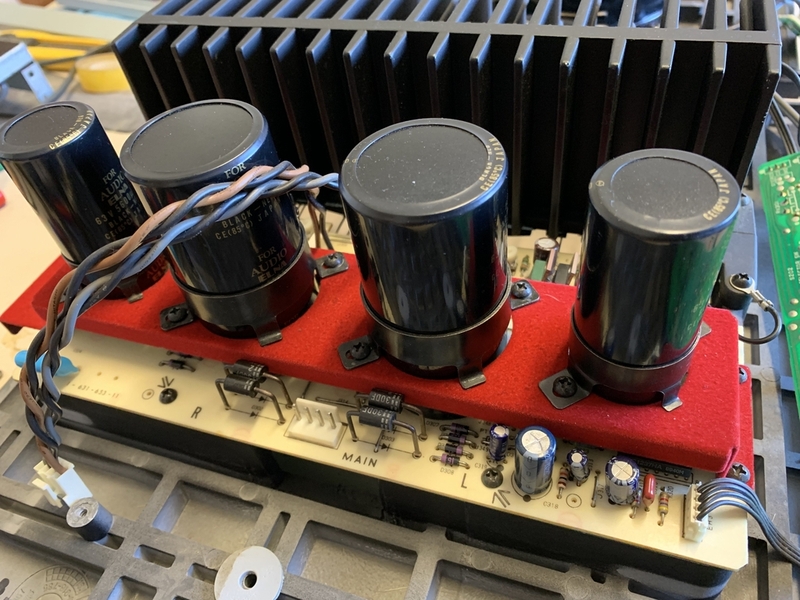
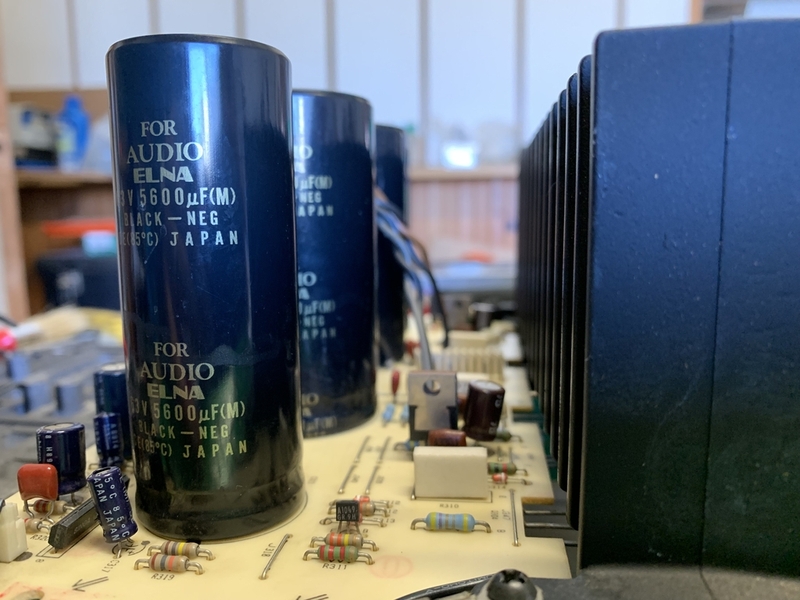
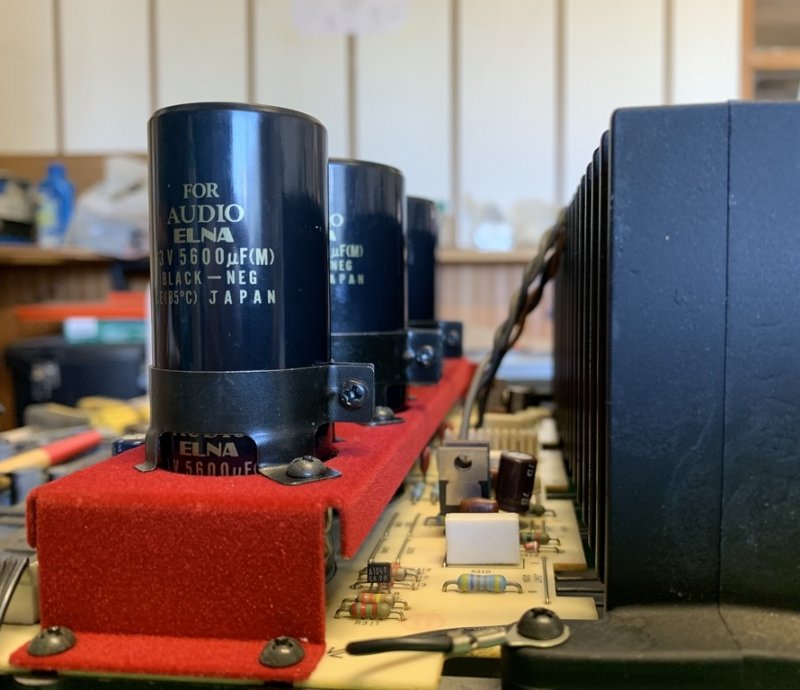
A Class Board - Cleaning, Nichicon FG for audio path capacitors, heatsink for STK, cold joints fixed:


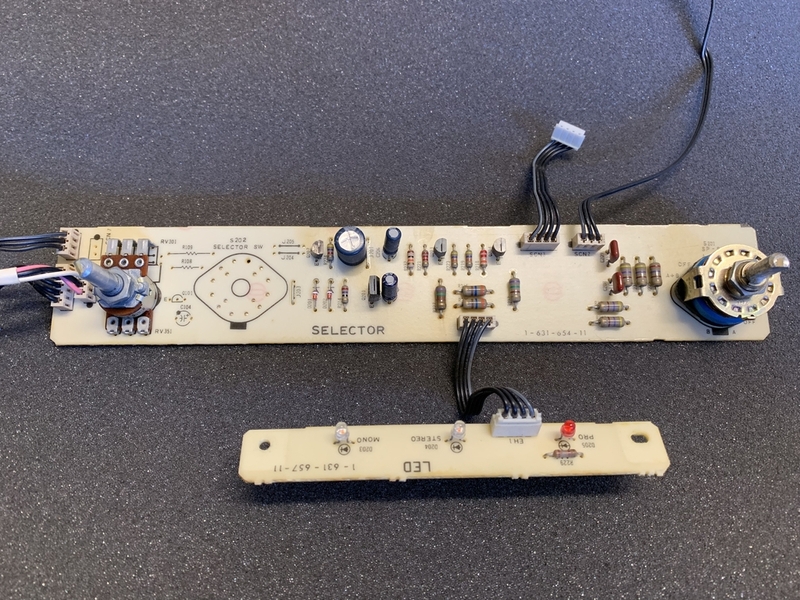
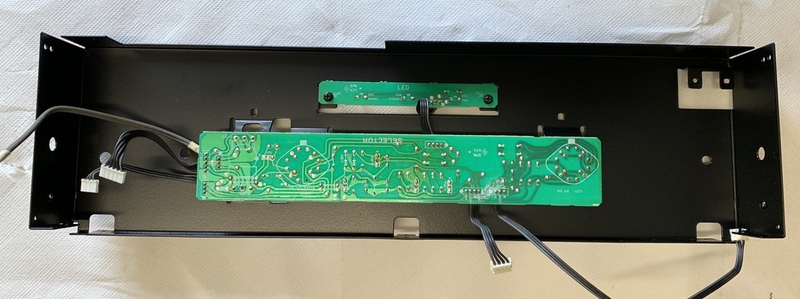
Selector Board - Cleaning and lubrication:


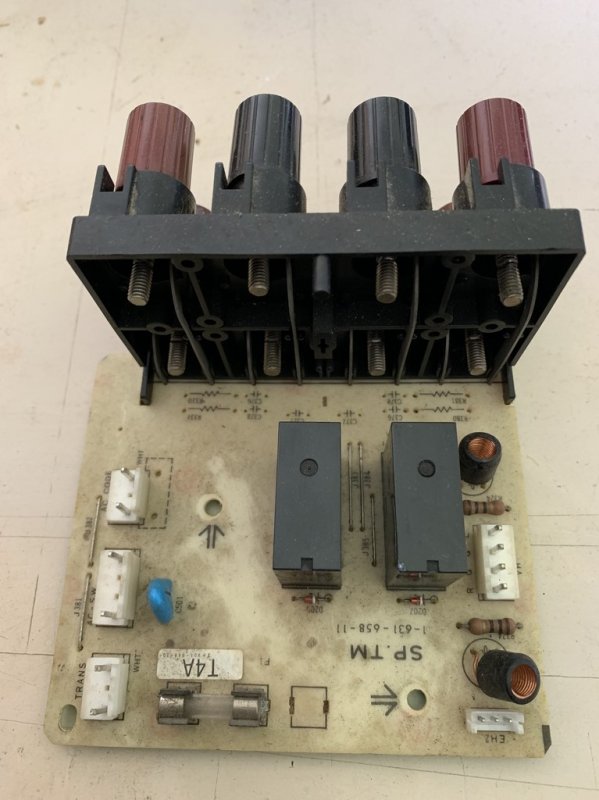
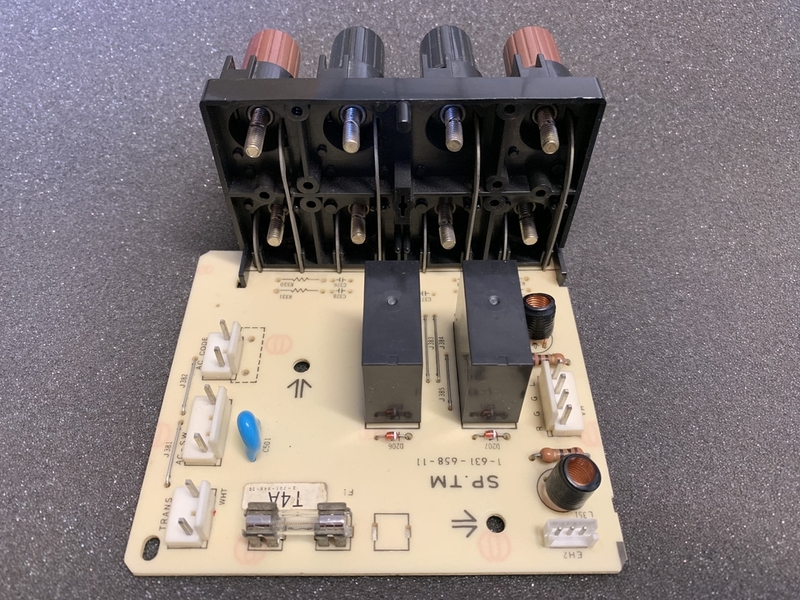
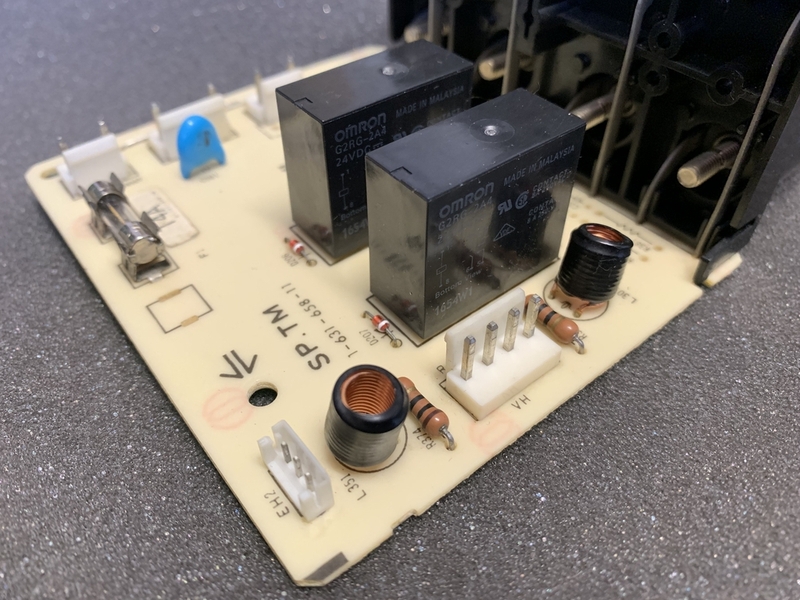
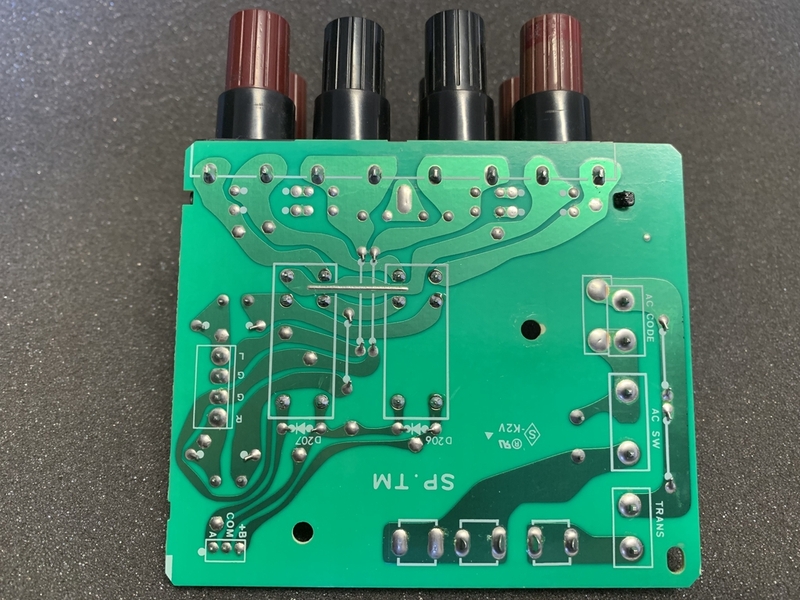
SP. TM Board - Cleaning, new speakers relays:


Main board - Cleaning, cold joints fixed, bias adjusted:
 
Register to hide this ad
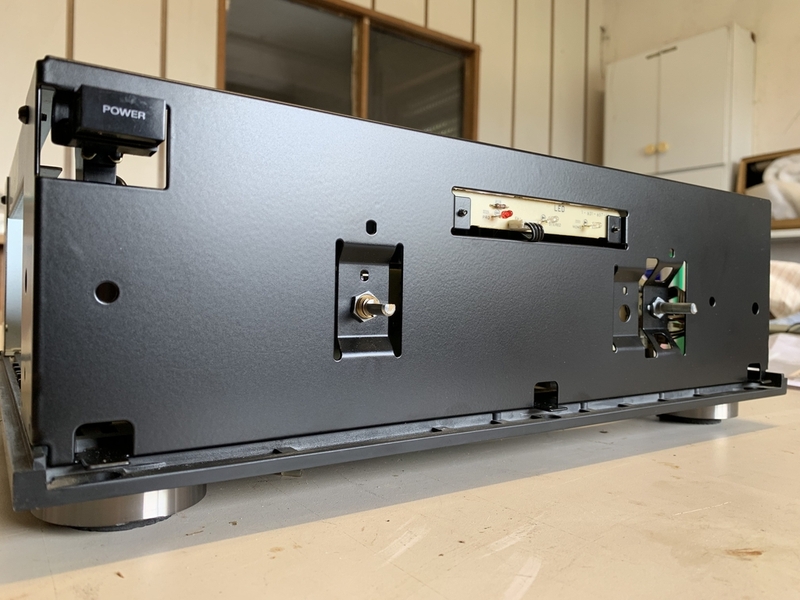
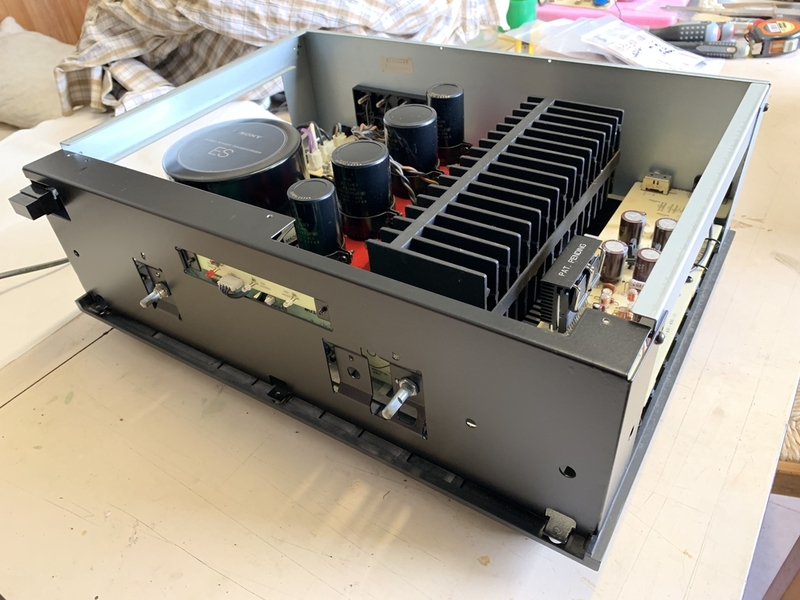
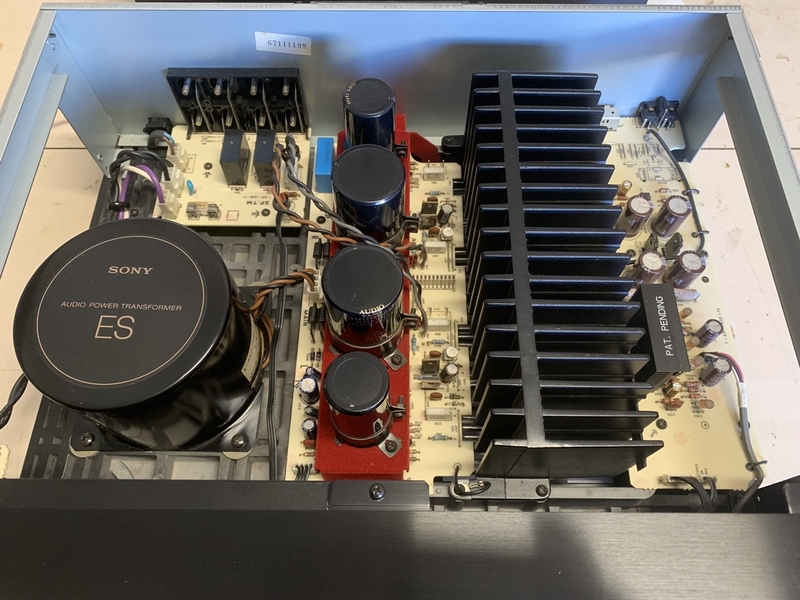
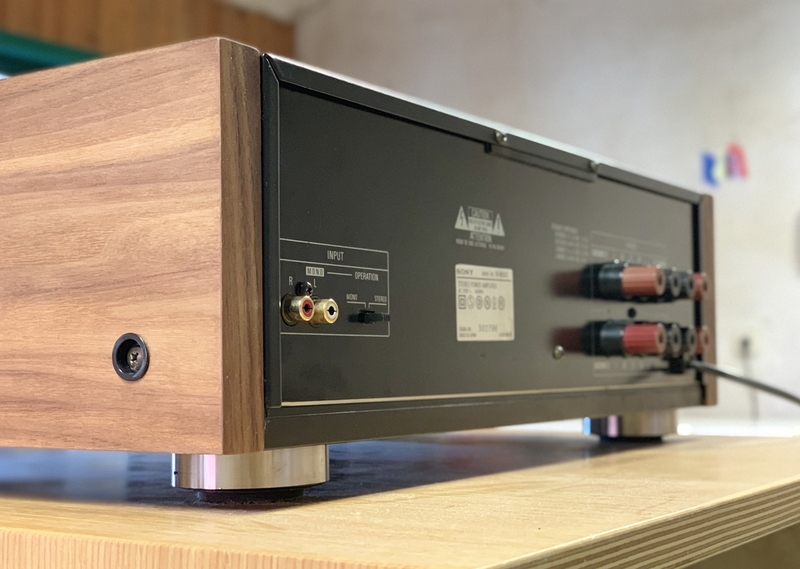
Putting it all together:

 
Beautiful work. The power coating looks fantastic. The wood work looks great. Looks better than new!!. Like the Power supply caps. Question is how does it sound?
 
Nothing I can do except echo what others have said - beautiful restoration! Well done and thanks for sharing!

And yes, sonic impressions would be appreciated!
 
Beautiful work!

That poor beast had seen better days. It's great to see it put back right.

For the wooden side pieces, did you use the hardware off the original pieces, or find something else that would work? ...I have a TA-N55ES that came without the wooden sides, and I've been thinking of making some, similar to yours (which are beautiful BTW.)
 
Thank you! Despite not being top of the line of the ES series, they sound great. But I still haven't been able to test them properly, I will talk about them in a few days.

For the wooden side pieces, did you use the hardware off the original pieces, or find something else that would work? ...I have a TA-N55ES that came without the wooden sides, and I've been thinking of making some, similar to yours (which are beautiful BTW.)

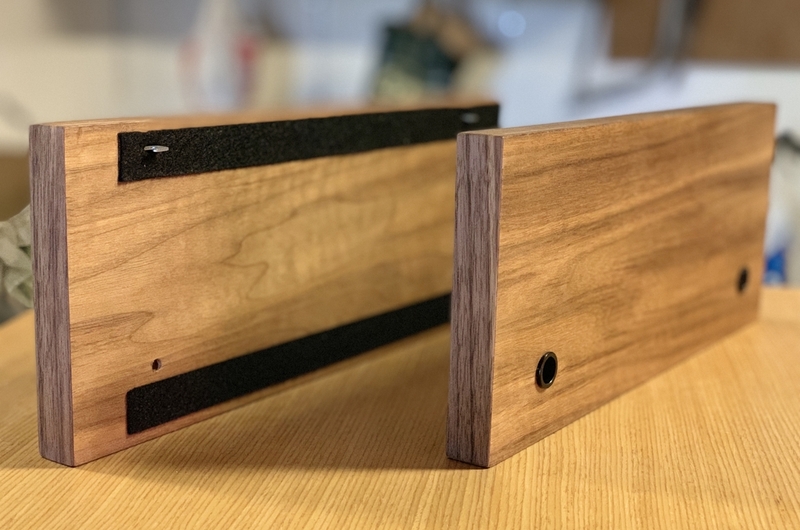
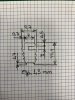
I used the original hardware and new adhesive felt. For the plastic pieces you can use the female part of the Monacor MBF-83 frame dowels, they are very similar in size:

G124240A.jpg

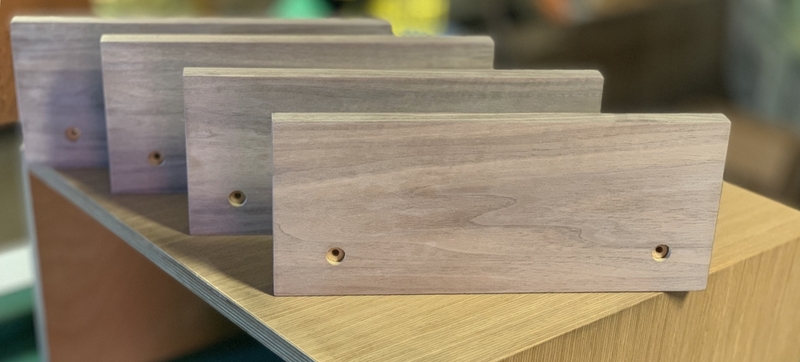
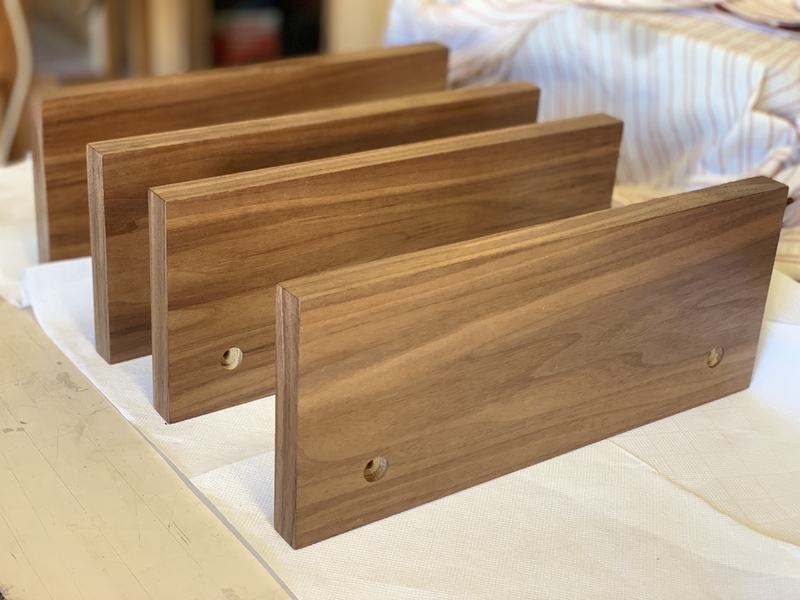
I used walnut veneer, treated with wood oil and wax. I liked it better than rosewood, but this is my personal taste ;)

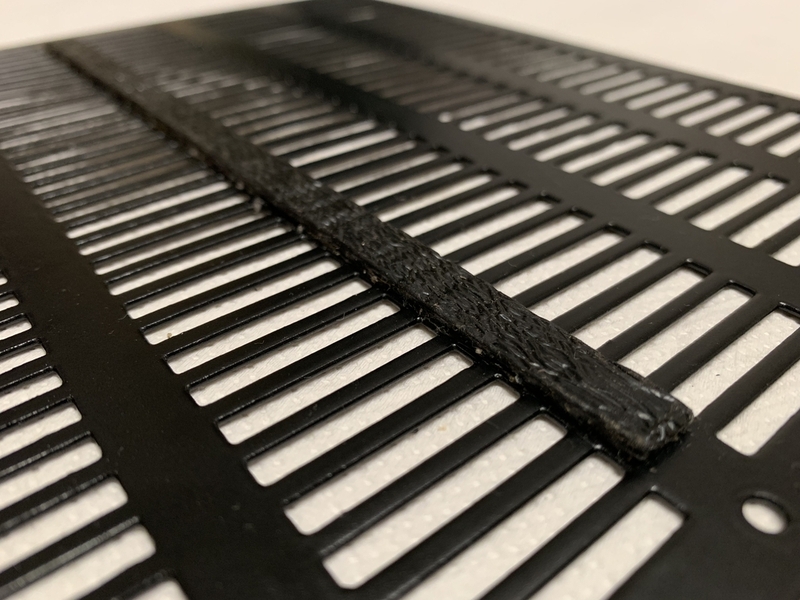
IMHO, It's important that you use some kind of heatsink on the STK, it runs very hot, and if it fails, its very difficult to find. Normally a high dc offset at the speaker outputs indicates problems in this IC. Also cold joints are common in this STK and driver transistors.
 
The cabinet, panel and woodwork is truly excellent, well done. Nice to bring back a 55es from the edge. I really admire the wood panels, I wish I had those skills.

It's important that you use some kind of heatsink on the STK, it runs very hot, and if it fails, its very difficult to find. Normally a high dc offset at the speaker outputs indicates problems in this IC. Also cold joints are common in this STK and driver transistors.

So you've re-purposed a heatsink for the VAS IC but my concern here is the heatsink is not secured to the PCB and the fins are horizontal, not vertical.

The additional elevated heatsink mass will place more stress on the solder joints and the amplifier is unlikely to survive unscathed if shipped anywhere.

upload_2019-8-26_18-55-22.png
 
Yes, you are right, I would also prefer vertical fins, but I was unable to find it. Although is not showed in that picture, I ended up lowering the IC, so that the "feet" of the heatsink rest on the PCB. The stress on the solder joints are minimized in this way. Anyway, it is not a perfect solution...
 
I used the original hardware and new adhesive felt. For the plastic pieces you can use the female part of the Monacor MBF-83 frame dowels, they are very similar in size:

I used walnut veneer, treated with wood oil and wax. I liked it better than rosewood, but this is my personal taste ;)

IMHO, It's important that you use some kind of heatsink on the STK, it runs very hot, and if it fails, its very difficult to find. Normally a high dc offset at the speaker outputs indicates problems in this IC. Also cold joints are common in this STK and driver transistors.

I didn't realize you used veneer. Beautiful, very clean work!

Thanks for the tip on the plastic pieces. I guess I'll have to fab something for the top brackets. Seeing yours is helpful... at least gives me an idea of how they catch. It would be nice to find someone w/ a ruined set of sides, willing to sell the brackets, but I think that might take a lot of luck. Are the brackets made of steel?

I'd also like to put a heat sink on my STK. Somewhere I saw a post from someone who had an image of an adhesive-backed heat sink with vertical fins that fit almost perfectly. I should have made a note of the source (if it was listed.) Maybe one of the places that supplies computer modders would have something like that. Meanwhile, I have a spare STK on hand, just in case!
 
Are there any guides or tutorials available on making the side panels? I have a N77ES with damaged panels (in shipping) and a gx10es I want new panels for... yours look really nice!
 
Yes, steel:

You can mount the side panels it without these brackets, but they are better fixed with them.

Thank you for the detailed images and drawing! That's fantastic! I should be able to fab something up that will work.

Interesting that they're straight w/ barbs, to anchor in a slot. I'd imagined a right angle w/ a hole, to anchor w/ a fastener. I guess the slot could be cut with a router. Is that what you used?

Thank you again!!
 
Interesting that they're straight w/ barbs, to anchor in a slot. I'd imagined a right angle w/ a hole, to anchor w/ a fastener. I guess the slot could be cut with a router. Is that what you used?

More simple. You have to drill a hole, 9 mm diameter x 10mm depth. Then put the clips with pressure. You don’t see these holes in the pics because they are covered by the felt.
 
More simple. You have to drill a hole, 9 mm diameter x 10mm depth. Then put the clips with pressure. You don’t see these holes in the pics because they are covered by the felt.
Ah! Very simple! I guess there's no need to worry about the clips rotating in the hole. The slot in the steel case will keep them aligned.

Again, beautiful work on the entire restoration!!
 
Thanks! No, you don’t have to worry about the clips, they doesn’t rotate once placed.
 
Are there any guides or tutorials available on making the side panels? I have a N77ES with damaged panels (in shipping) and a gx10es I want new panels for... yours look really nice!

They are not difficult to make. You can use MDF and natural veneer glued with contact adhesive. Once sanded, apply wood oil. Finally apply transparent wax. Sorry for my English, is very basic.
 
They are not difficult to make. You can use MDF and natural veneer glued with contact adhesive. Once sanded, apply wood oil. Finally apply transparent wax. Sorry for my English, is very basic.

Your english is great! Thanks for your response.

I guess I am wondering about the veneer how did you cut it into strips and the right sizes with a ruler and exacto knife?
 
I guess I am wondering about the veneer how did you cut it into strips and the right sizes with a ruler and exacto knife?

You have to cut strips greater than the size of the piece. Then glue the veneer withe the aid of a piece of wood with a blunt edge, pasting and applying pressure in the direction of the grain. Cut the leftover with a exacto knife, putting the veneer upside down, and leaving some leftover (1mm or less). Finally, finish off the edge with sandpaper.
 
Back
Top Bottom