

You are using an out of date browser. It may not display this or other websites correctly.
You should upgrade or use an alternative browser.
You should upgrade or use an alternative browser.
Mini-tutorial: How to disassemble Marantz pushswitches for better cleaning/de-Oxiting
- Thread starter Leicalover
- Start date


grampa48
New Member
Page 3 of the thread. They are still there on my feed.Hmmmm. Did the images disappear from page 1? I cannot find a way to make them visible.
Page 3 of the thread.
Ah. Thanks.

At least the blue switches can be serviced without more than disassembly of parts. The transparent ones that have a perpendicular action have to be approached differently, requiring prising metal apart, as I mentioned in a post last week.
Last edited:
grampa48
New Member
Transparent? I suppose mine might have been transparent back in the 70's. They are ivory colored now.
Mike
AND, i have put the restoration on hold because I found i can use my Onkyo Home Theater for everything except my turntables. I want to use the 2015 but there could be too much wrong and i have to get back to my other projects. I have most of my vinyl on cassette tape and i got a JVC cassette player for $3.75 at good will that seems to be as good as new. I am enjoying that cost saving too much to stop using the tape deck!
Mike
AND, i have put the restoration on hold because I found i can use my Onkyo Home Theater for everything except my turntables. I want to use the 2015 but there could be too much wrong and i have to get back to my other projects. I have most of my vinyl on cassette tape and i got a JVC cassette player for $3.75 at good will that seems to be as good as new. I am enjoying that cost saving too much to stop using the tape deck!
Spiffpeters
Member
Thank you for the tutorial. I was able to take care of a ouple of switches that despartly needed deep cleaning.
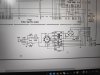
Does anybody have any experience with disassembling (AND re-assembling to working state again) the power switch from Marantz receivers or amps?
Im haveing issues with mine on 2226B and trying to figure out how to disassemble it for cleaning. Spraying and working out the switch (with analogue of Deoxyit) didnt work...
Its the switch on the pic... anyone :scratch2:
thx :thmbsp:

/edit - the white plastic bit is blocking the access to the metal pin, and it has a small metal spring between the pin and white plastic part... and the problem is on the other end, where two blue wires come to the switch, it works every 5th time or so ...
Hi
10 years passed since you did this job
Now I need to do the same for my 2252b European version.
I didn't dissasemble the switch yet, but from what I can see in my eyes and from the manual, there are only 4 wires soldered to the switch (and two capacitors)
I don't see 2 more smaller wires.
?!?
If I will buy a replacement switch, I need to make sure I have more than 4 pins on it?
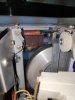
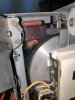
I wonder why this (original) power switch is like made of two pieces.. the front narrow and the wide rear piece.
Attachments






Scott Muni
Well-Known Member
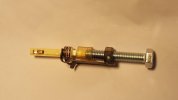
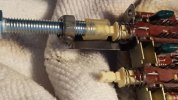
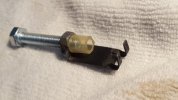
I'm rebuilding a 1060, and decided to clean the switches. Made this spring compressor from a brake pad rattle clip. Welded a nut to the clip, and the clear tube keeps it centered. Works good. Hope this helps someone.
Attachments

Paul Malloy
Active Member
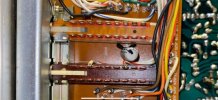
Can anyone tell me it there something special that needs to be done with a Marantz 125 AM/FM push button toggle switch to disassemble them? Is the piece between the two push button that switches between AM and FM independent of the internal contacts? Looks like to remove the contacts, it would just need to lift the plastic tab.
Paul
Paul
dave milster
New Member
I'm repairing a Marantz 2026B. The Tape1 Monitor switch is horribly intermittent. Depressing it between in/out positions results in losing the left channel sometimes or it's weak and crackly sounding. I read all the threads on this mini tutorial but this doesn't seem to help my situation.
Take a look at these photos. There are five switches on the tone board and appear to be in one steel frame block. Is this how the other switches are made, too?
In this first image you see the offending switch.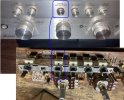
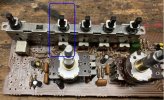
The switch has the spring similar to those in the threads above.
However this whole switch assembly appears to have contacts near the circuit board, not along the plunger rod.
Am I missing something and the rod still needs to be removed as described above?
Can I buy a replacement switch? or switch assembly? If a switch, I presume I have to first desolder all these switches, then on a work bench carefully dismantle this assembly to extract the offending switch?
Does this white plastic block on the side hold the U shaped retainer on this style and with that removed am I able to remove the rod as in the above thread?
Any help is very much appreciated.
Take a look at these photos. There are five switches on the tone board and appear to be in one steel frame block. Is this how the other switches are made, too?
In this first image you see the offending switch.
The switch has the spring similar to those in the threads above.
However this whole switch assembly appears to have contacts near the circuit board, not along the plunger rod.
Am I missing something and the rod still needs to be removed as described above?
Can I buy a replacement switch? or switch assembly? If a switch, I presume I have to first desolder all these switches, then on a work bench carefully dismantle this assembly to extract the offending switch?
Does this white plastic block on the side hold the U shaped retainer on this style and with that removed am I able to remove the rod as in the above thread?
Any help is very much appreciated.

I have this exact problem with my 2270. I hope someone offers some good advice.
10/10 do not recommend as the kids seem to say, unless you are a skilled nano surgeon. In all seriousness, this is a tricky process to get down but is doable. Once you have a good process, repeating it is not so bad.
Most definitely work in an area where tiny springs flying around can be easily retrieved. The dental floss method is great for compressing the spring. I use 4 knots @ 90 degrees around the circumference and this give you plenty of room to work.

Coolhandjjl
Embiggened Pompatus
I have a tiny 1/2 bath with a tile floor. I laid a piece of cardboard over the sink and sat on the toilet to work. It’s that small. And springs did go flying. Easy to find in this room though.
I moved to the bathroom and worked there too. :toilet emoji:I have a tiny 1/2 bath with a tile floor. I laid a piece of cardboard over the sink and sat on the toilet to work. It’s that small. And springs did go flying. Easy to find in this room though.

muttoni
New Member
Tenho o mesmo problema com meu 2226BEstou consertando um Marantz 2026B. O switch Tape1 Monitor é terrivelmente intermitente. Pressioná-lo entre as posições in/out resulta na perda do canal esquerdo às vezes ou em um som fraco e estridente. Eu li todos os tópicos deste mini tutorial, mas isso não parece ajudar na minha situação.
Dê uma olhada nessas fotos. Existem cinco interruptores na placa de tom e parecem estar em um bloco de estrutura de aço. É assim que as outras opções também são feitas?
Nesta primeira imagem você vê a opção ofensiva.View attachment 3154684View attachment 3154687
O switch possui mola semelhante às dos fios acima.
No entanto, todo este conjunto de interruptores parece ter contatos próximos à placa de circuito, e não ao longo da haste do êmbolo.View attachment 3154688
Estou faltando alguma coisa e a haste ainda precisa ser removida conforme descrito acima?
Posso comprar um interruptor de substituição? ou conjunto de interruptores? Se for um switch, presumo que primeiro terei que dessoldar todos esses switches e, em seguida, em uma bancada de trabalho, desmontar cuidadosamente esse conjunto para extrair o switch problemático.
Este bloco de plástico branco na lateral segura o retentor em forma de U neste modelo e com ele removido posso remover a haste como na rosca acima?
Qualquer ajuda é muito apreciada.

Leicalover
Love vintage cameras too!
Unfortunately the picture hoster, where I uploaded the photos for my tutorial, is down and will be down forever. Sorry for that!
As this is a sticky, I will try to find the pics on my computer and will upload them again here so that this tutorial will be useful again.
Please be patient, thank you!
As this is a sticky, I will try to find the pics on my computer and will upload them again here so that this tutorial will be useful again.
Please be patient, thank you!
Leicalover
Love vintage cameras too!
Hi all,
I could find most of the pics. Here you go! Hope this helps:
We all know, that the switches of the Marantz receivers often cause problems. In most cases, it is sufficient to spray de-oxit in there as often recommended here on AK. But the spray will go all over the board, too. I don't like that so much... ;-)
Sometimes, I also had really dirty switches with bad contacts. The switch even did not MOVE properly. So I thought it is better to remove the switch. You can easily clean all contacts then.
Here is how I do. You do not even need access from the inside of the receiver. (but it`s of big advantage though....)
One word on the beginning: please use this small tutorial at your own risk! If your switches are working well, there is probably no need to do this, of course. It's on you to decide! Make yourself familiar with how the switch works before you start! This is just, how I do it. If you don't feel to have very skilled fingers, better don't do it. Thank you.
Here we go:
First remove the front of course and put the receiver upside down. Here it is a 2245.
VERY IMPORTANT: the switch has to be in the OFF-position:


Pull the little spring towards yourself and hold it in that position until you have access to the little metall piece you see on the top.

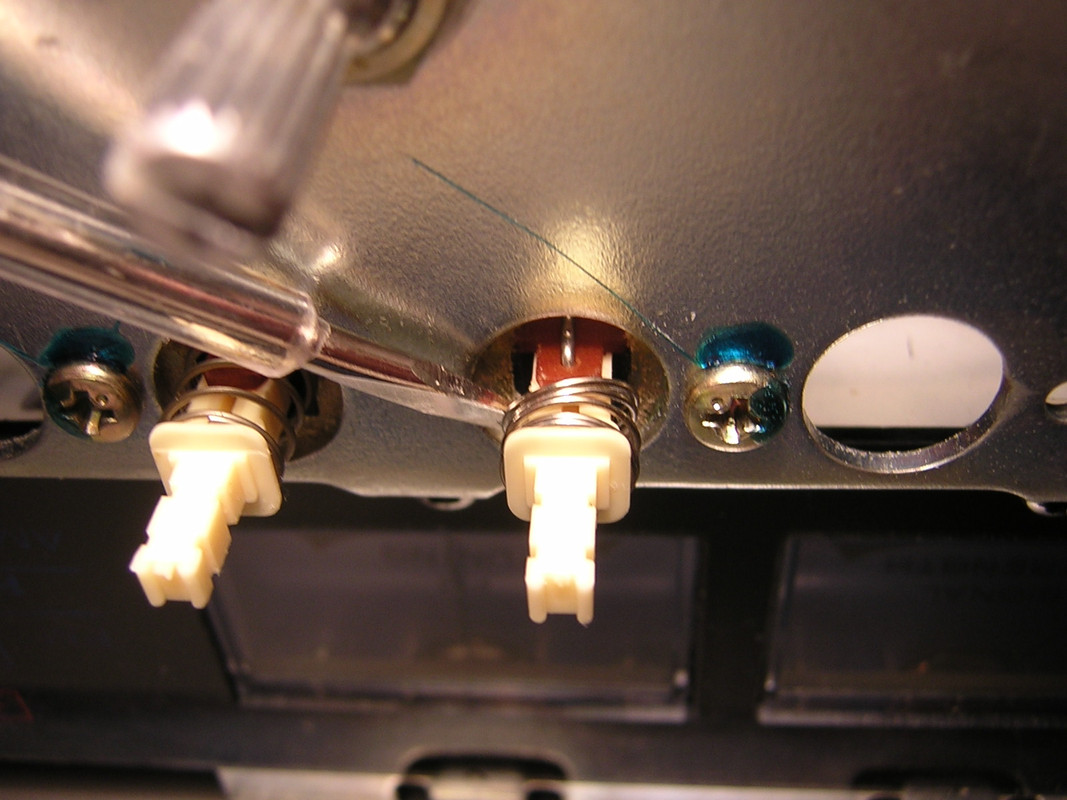
Now, lift up that piece carefully and pull the switch out. It's a good idea to have a look inside too, to see how it works. If you know, and with a little bit of practice, it's possible to do it from outside only...

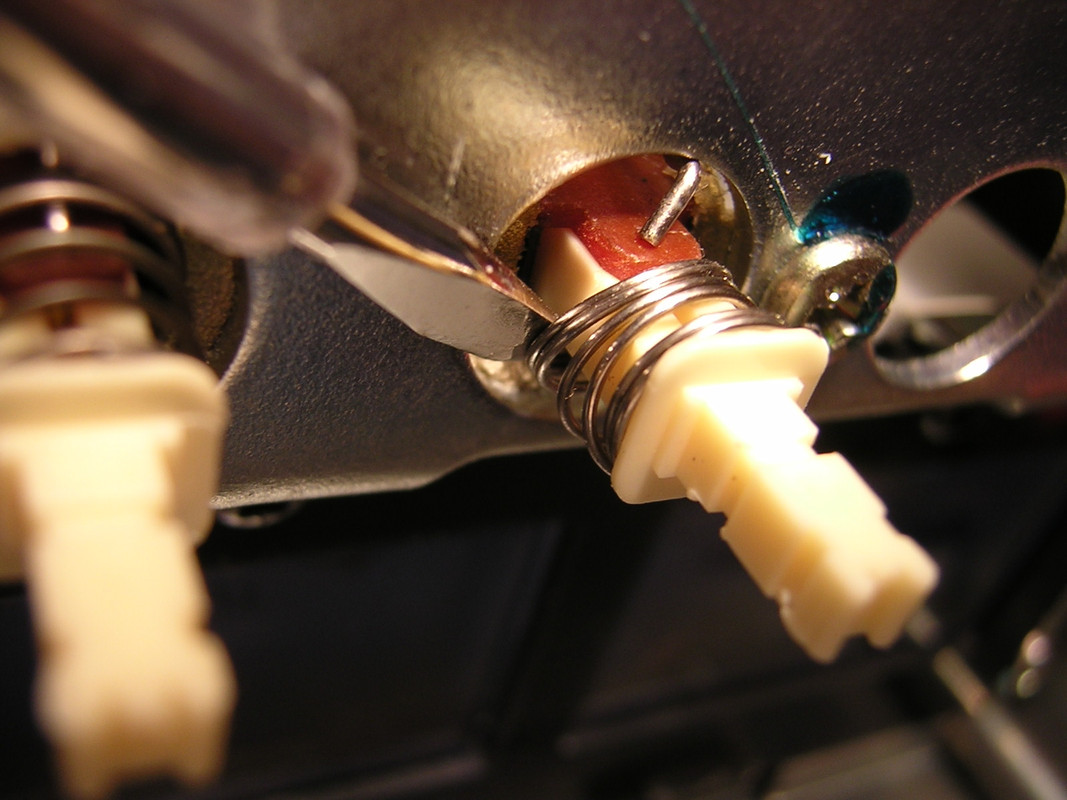
Take care of the little springs inside. There is a spring behind every contact on the stick. They easily get lost and tend to fly through the whole working room!

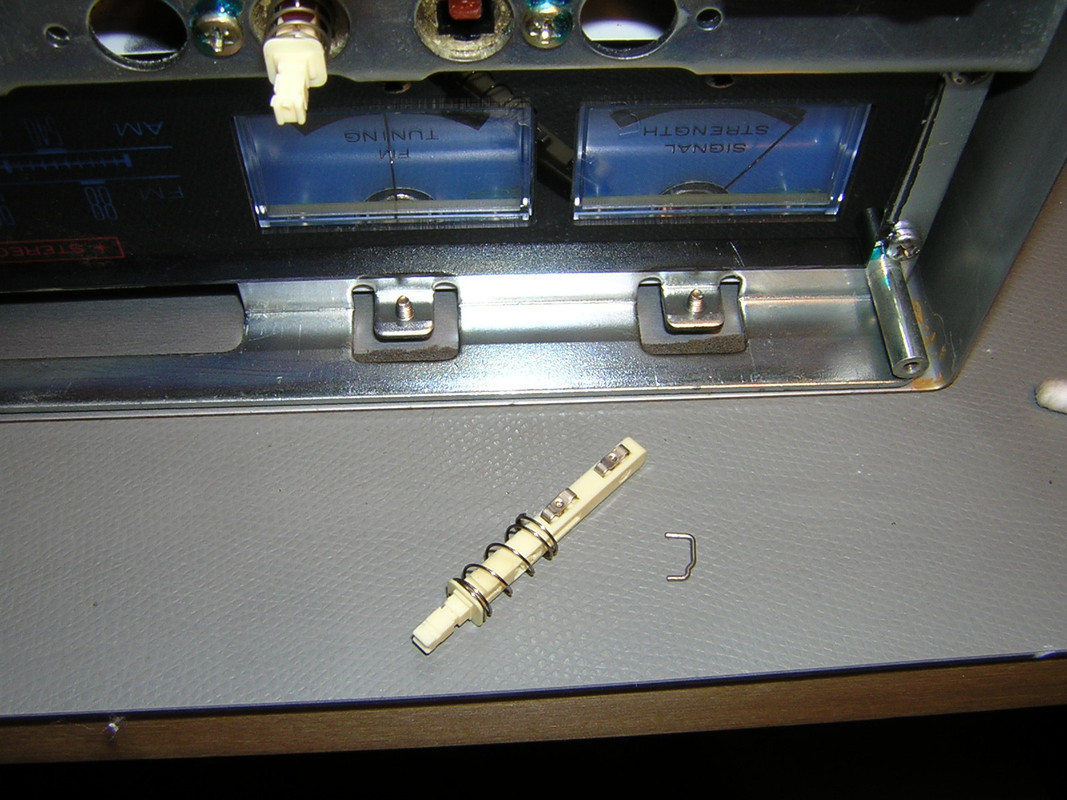
WARNING AGAIN!!! EDIT: As of today (January 2011) I receive nearly every second week a message from people who lost at least one of these little springs! I have not many left and if you loose this spring, I cannot help you anymore with spare part springs! So, be careful! And again: If you do not feel to disassemble the switch, don't do it. Thank you for your understanding!
Here I added a photo, of what you can expect:

I could find most of the pics. Here you go! Hope this helps:
We all know, that the switches of the Marantz receivers often cause problems. In most cases, it is sufficient to spray de-oxit in there as often recommended here on AK. But the spray will go all over the board, too. I don't like that so much... ;-)
Sometimes, I also had really dirty switches with bad contacts. The switch even did not MOVE properly. So I thought it is better to remove the switch. You can easily clean all contacts then.
Here is how I do. You do not even need access from the inside of the receiver. (but it`s of big advantage though....
)One word on the beginning: please use this small tutorial at your own risk! If your switches are working well, there is probably no need to do this, of course. It's on you to decide! Make yourself familiar with how the switch works before you start! This is just, how I do it. If you don't feel to have very skilled fingers, better don't do it. Thank you.
Here we go:
First remove the front of course and put the receiver upside down. Here it is a 2245.
VERY IMPORTANT: the switch has to be in the OFF-position:

Pull the little spring towards yourself and hold it in that position until you have access to the little metall piece you see on the top.

Now, lift up that piece carefully and pull the switch out. It's a good idea to have a look inside too, to see how it works. If you know, and with a little bit of practice, it's possible to do it from outside only...

Take care of the little springs inside. There is a spring behind every contact on the stick. They easily get lost and tend to fly through the whole working room!

WARNING AGAIN!!! EDIT: As of today (January 2011) I receive nearly every second week a message from people who lost at least one of these little springs! I have not many left and if you loose this spring, I cannot help you anymore with spare part springs! So, be careful! And again: If you do not feel to disassemble the switch, don't do it. Thank you for your understanding!
Here I added a photo, of what you can expect:
