

You are using an out of date browser. It may not display this or other websites correctly.
You should upgrade or use an alternative browser.
You should upgrade or use an alternative browser.
Sansui Turntable - Particularly XR-Q11


Regarding the FR-D4, the FSM for the XR-Q9 instructs one to refer to the FR-D4 FSM for a more detailed explanation of how the mechanism operates. Not sure if the XR-Q11 states that also, but Sansui had a periodic habit of using one FSM to build on another so that they didn't have to reprint the "full monty" in each related model's manual.
I guess this made some sense, as back in the day only authorized service stations would have the factory manuals, and typically they would have a full set (up to current offerings at any given time) to refer to.
I guess this made some sense, as back in the day only authorized service stations would have the factory manuals, and typically they would have a full set (up to current offerings at any given time) to refer to.
Last edited:

Regarding the ground wire, after cutting the original connection I installed a ring terminal on the wire and used one of the mounting screws to attach it back to the mechanism. That had no adverse effects on the operation, but did make it a LOT easier to install and remove several times while performing all the repairs and adjustments.

mootej
Active Member
Regarding the ground wire, after cutting the original connection I installed a ring terminal on the wire and used one of the mounting screws to attach it back to the mechanism. That had no adverse effects on the operation, but did make it a LOT easier to install and remove several times while performing all the repairs and adjustments.
 Been meaning to do that but I think I either ran out of spades or am not sure where I put them. So I approached this from the lazy one's direction and, for the moment, moved my soldering iron...
  .
.

mootej
Active Member
I started working from the bottom as the assembly sits in the turntable...
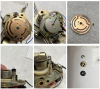
First, I pulled off the really cool copper piece that acts as a releasable clutch and can move up and down with the solenoid. As previously mentioned, a pretty ingenious engineering solution to do this...
Next, on to the little rubber friction wheel that turns the copper wheel. Note that the brass washers on the rubber wheel face up and down, away from the copper. Also note the rubber wheel is actually two pieces. Here's a more detailed sequence:
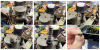
These little rubber runners are really hard!
First, I pulled off the really cool copper piece that acts as a releasable clutch and can move up and down with the solenoid. As previously mentioned, a pretty ingenious engineering solution to do this...
Next, on to the little rubber friction wheel that turns the copper wheel. Note that the brass washers on the rubber wheel face up and down, away from the copper. Also note the rubber wheel is actually two pieces. Here's a more detailed sequence:
These little rubber runners are really hard!
Last edited:
That stack of washers and rubber tires appears to include a spring to maintain drive tension. While the FSM shows that for the XR-Q11, it was not part of the XR-Q9 I was working on, and that is one thing I needed to shim to get a more reliable engagement of the drive.
I think you will find the cuing clutch drive very interesting.
I think you will find the cuing clutch drive very interesting.
mootej
Active Member
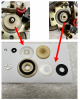
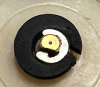
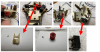
And you're left with this base:
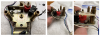
Upon the very first disassembly, the whole mechanism that lifts the tonearm (the red and white plastic parts in the right hand image) were completely stuck with old hardened grease. I had hoped that cleaning and re-lubricating that would solve everything, but no. Second disassembly involved only the partial disassembly (first part above), and again, did not completely solve the problem, however, now the tonearm moves. The up-down still does not function. Thus, this time, complete disassembly, complete cleaning and checking the operation of everything on reassembly.
All the rubber clutch parts are really stiff and hard. I'm a chemist so I'm going to get into that more later. I hope you like the smell of wintergreen oil!
Upon the very first disassembly, the whole mechanism that lifts the tonearm (the red and white plastic parts in the right hand image) were completely stuck with old hardened grease. I had hoped that cleaning and re-lubricating that would solve everything, but no. Second disassembly involved only the partial disassembly (first part above), and again, did not completely solve the problem, however, now the tonearm moves. The up-down still does not function. Thus, this time, complete disassembly, complete cleaning and checking the operation of everything on reassembly.
All the rubber clutch parts are really stiff and hard. I'm a chemist so I'm going to get into that more later. I hope you like the smell of wintergreen oil!
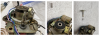

mootej
Active Member
And we're left with a whole bunch of parts to clean, check, reassemble and lubricate:
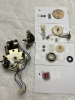
Oh yes, one extra brass washer fell out of somewhere (2nd 3x5 card down). I finally figured out where. When you remove the solenoid base assembly (two screws), one side has the ground lug underneath the leg. The very industrious Sansui engineer wanted to make sure the whole solenoid assembly was true and level, so installed a brass washer under the other leg! Probably a good idea since you want the soleniod to run straight and true into the base. Smart guy!
Anyway, don't lose that one.
Oh yes, one extra brass washer fell out of somewhere (2nd 3x5 card down). I finally figured out where. When you remove the solenoid base assembly (two screws), one side has the ground lug underneath the leg. The very industrious Sansui engineer wanted to make sure the whole solenoid assembly was true and level, so installed a brass washer under the other leg! Probably a good idea since you want the soleniod to run straight and true into the base. Smart guy!
Anyway, don't lose that one.
Last edited:
mootej
Active Member
But here's a problem...
Two microswitches that sense whether the arm is up or down. Ok, they work, when the red cam spins, they hit a detent and go from open (pin on the switch depressed) to NC (normally closed with the little pin on the switch released). Infinite resistance when open but one of the two switches really varies for resistance when closed. 3 ohms to several hundred. Probably dirt or corrosion inside. I tried re-soldering in case it was a cold joint (no luck), tried contact cleaner (no luck, I don't think the spray can really get in the switch). It's an Omron switch and it looks like maybe they still sell at least this size.
Anybody know if they are available and which one will work? The D2MFS code gets close but no cigar and the 3A250V AC seems like a vast overall. Approx dimensions are 18mmx9mmx6mm so it is pretty close or the same as their type S basic switch.
Two microswitches that sense whether the arm is up or down. Ok, they work, when the red cam spins, they hit a detent and go from open (pin on the switch depressed) to NC (normally closed with the little pin on the switch released). Infinite resistance when open but one of the two switches really varies for resistance when closed. 3 ohms to several hundred. Probably dirt or corrosion inside. I tried re-soldering in case it was a cold joint (no luck), tried contact cleaner (no luck, I don't think the spray can really get in the switch). It's an Omron switch and it looks like maybe they still sell at least this size.
Anybody know if they are available and which one will work? The D2MFS code gets close but no cigar and the 3A250V AC seems like a vast overall. Approx dimensions are 18mmx9mmx6mm so it is pretty close or the same as their type S basic switch.
mootej
Active Member
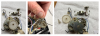
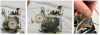
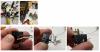
Lordy, I love when things work out! Check this out, the Omron switch can be [carefully...] disassembled and cleaned!

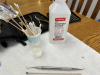
Pop off the top at the green arrows, don't lose the little pushbutton and be really careful with the copper spring/armature. My ohmmeter indicated most of the unwanted resistance in the switch was at the contact but it looks like the other end of the spring is also just friction contact. Electrosolve Contact Cleaner helped a little but really, best was to scratch both contact surfaces with a really, really tiny screwdriver and/or my dental pick. If you don't have a dental pick, spend some dollars on a good one or make an offer your dentist can't refuse.
All set, resistance is now less than 1 ohm closed (button out) and inf when open (button depressed). Sorry I may have had it wrong above...
Next, what to do about the broken rubber washer and how to revitalize the rubber so the clutches are back in shape. Hint: Rubber Renue contains wintergreen oil, a hopefully magic bullet for one of these problems. And, unlike most of the solvents I use, my wife doesn't complain about the smell.
Pop off the top at the green arrows, don't lose the little pushbutton and be really careful with the copper spring/armature. My ohmmeter indicated most of the unwanted resistance in the switch was at the contact but it looks like the other end of the spring is also just friction contact. Electrosolve Contact Cleaner helped a little but really, best was to scratch both contact surfaces with a really, really tiny screwdriver and/or my dental pick. If you don't have a dental pick, spend some dollars on a good one or make an offer your dentist can't refuse.
All set, resistance is now less than 1 ohm closed (button out) and inf when open (button depressed). Sorry I may have had it wrong above...
Next, what to do about the broken rubber washer and how to revitalize the rubber so the clutches are back in shape. Hint: Rubber Renue contains wintergreen oil, a hopefully magic bullet for one of these problems. And, unlike most of the solvents I use, my wife doesn't complain about the smell.
Last edited:
That looks strikingly familiar:
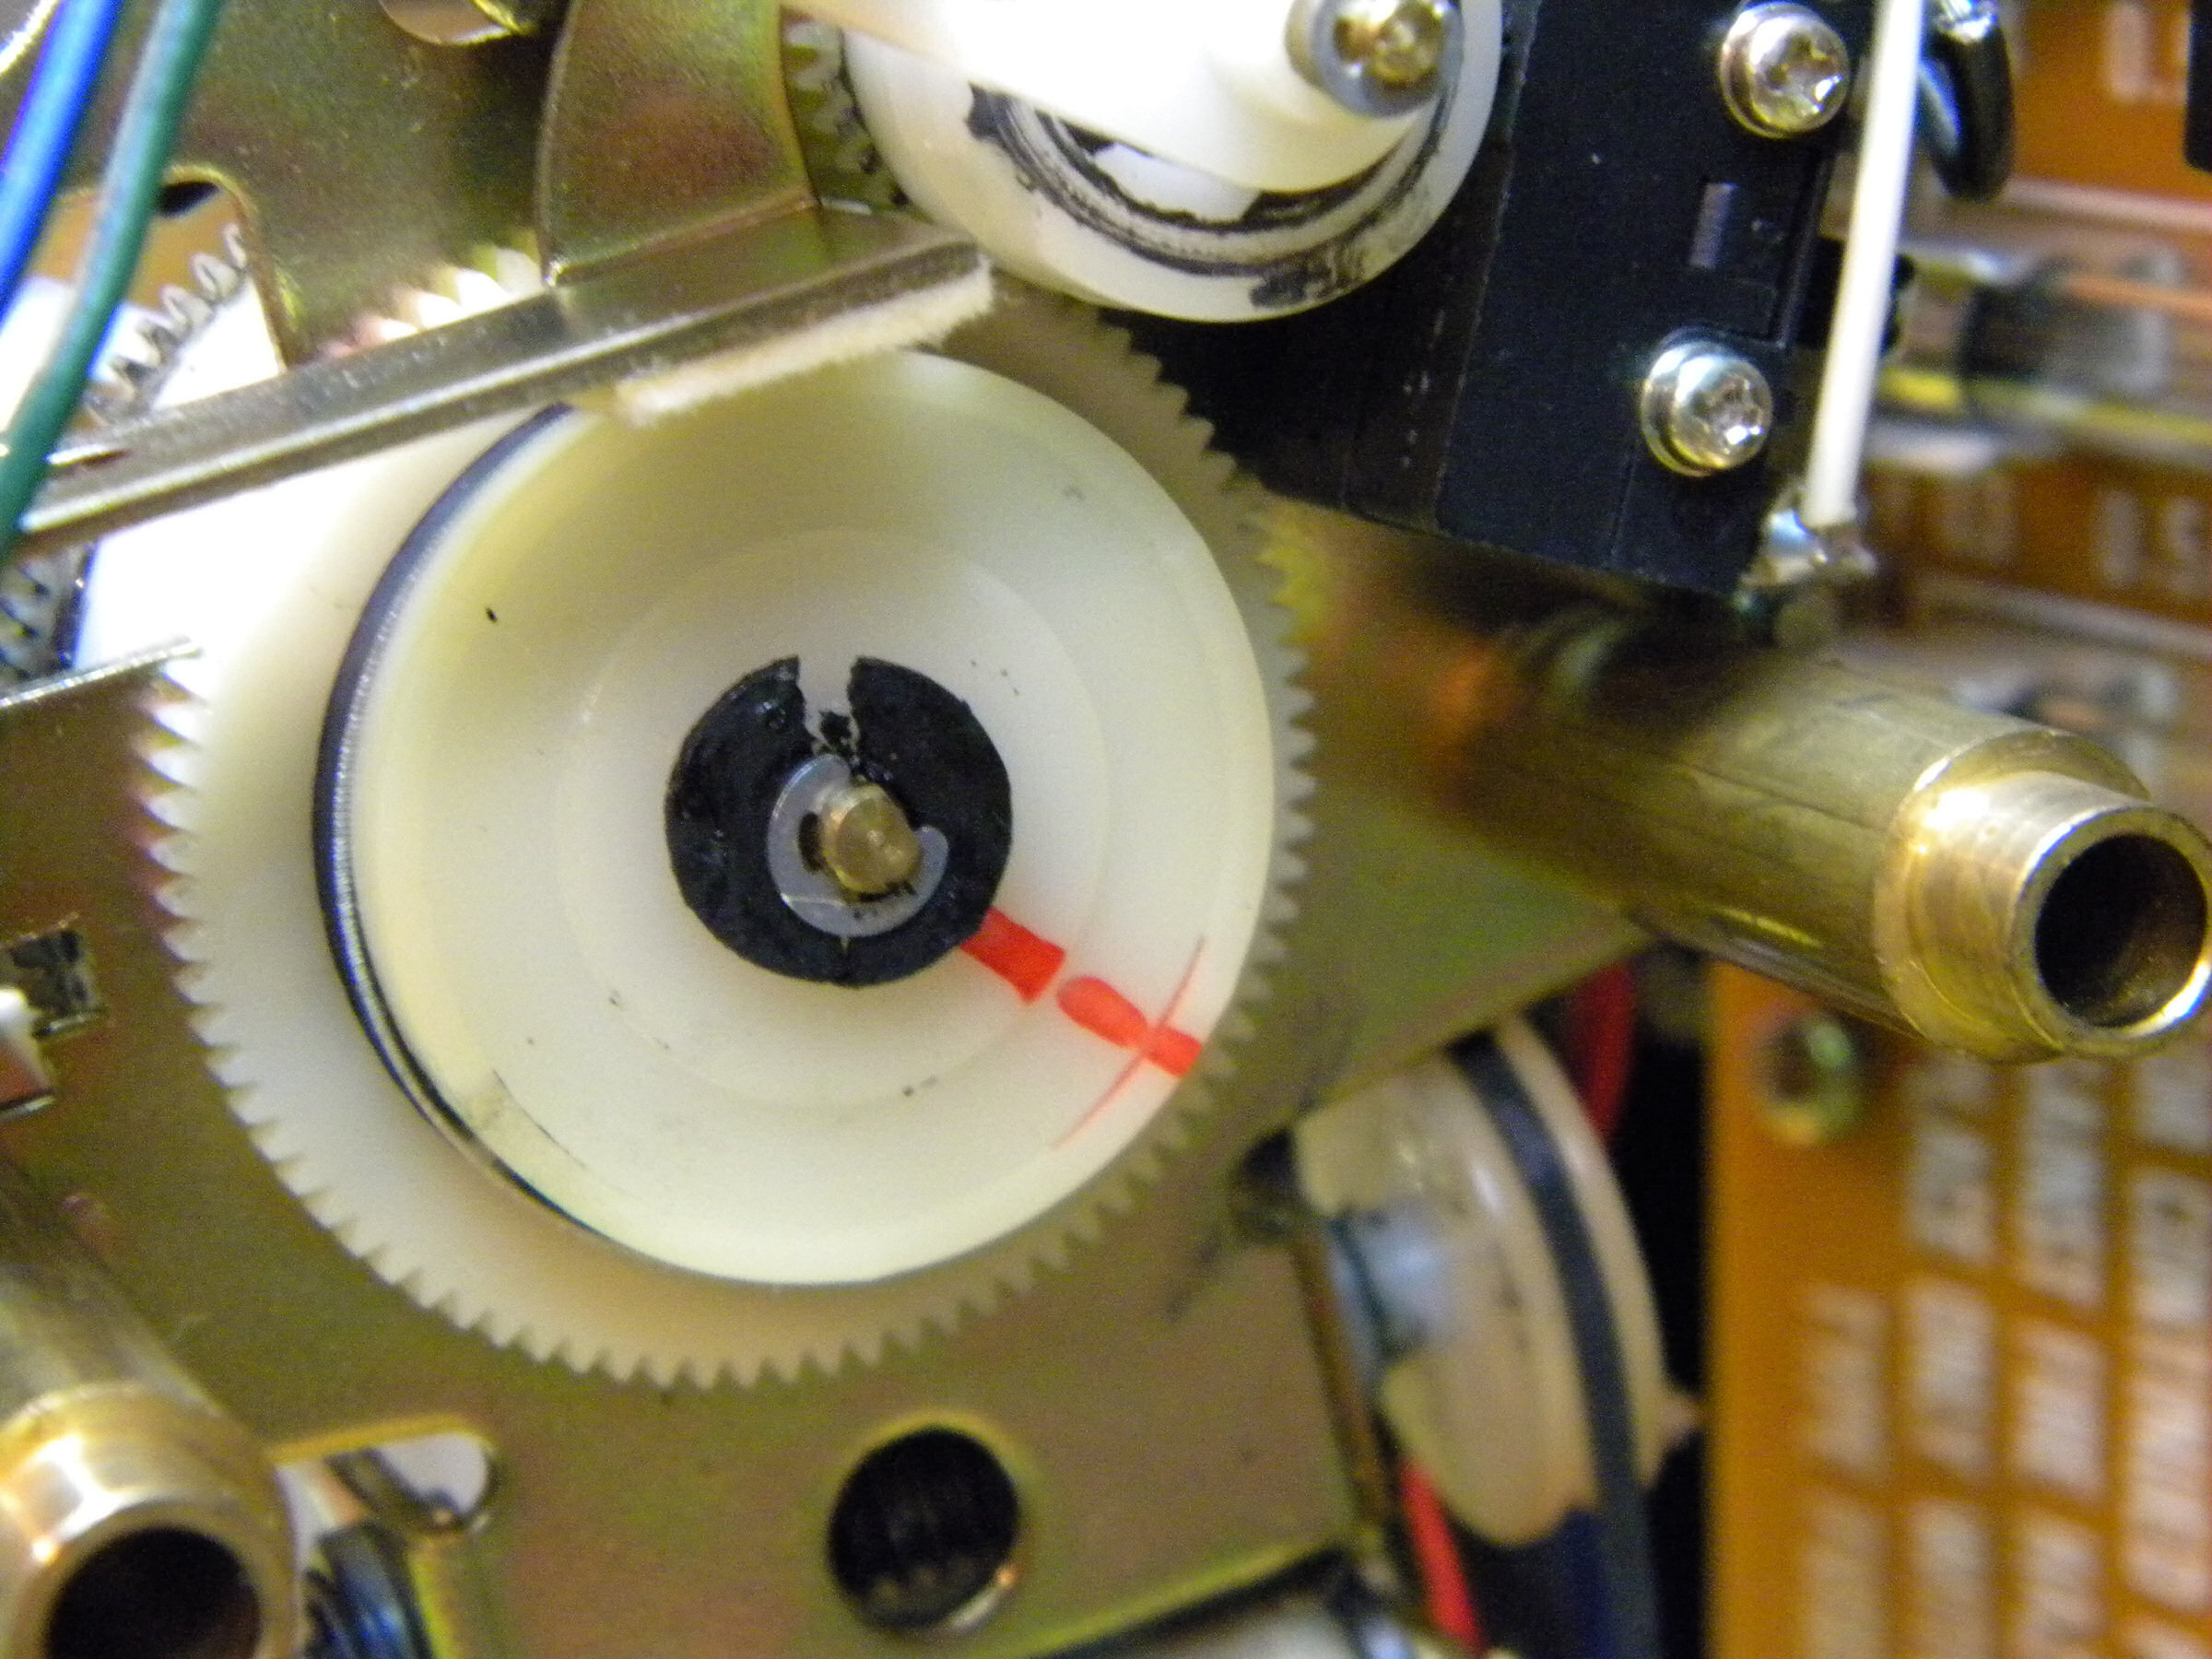
FWIW, I have about a third of a liter of methly salicylate left, used just for that purpose. You might not like the musical selection, but it will have a fresh, minty aroma.
As for the split rubber damper washer, try fabricating a 1mm thick fiber washer to take its place. That worked well in the Q9 cueing clutch.
As for the split rubber damper washer, try fabricating a 1mm thick fiber washer to take its place. That worked well in the Q9 cueing clutch.
mootej
Active Member
Yes very familiar. It was actually in one piece the first two times I took this apart. Third time was a charm.FWIW, I have about a third of a liter of methly salicylate left, used just for that purpose. You might not like the musical selection, but it will have a fresh, minty aroma.
As for the split rubber damper washer, try fabricating a 1mm thick fiber washer to take its place. That worked well in the Q9 cueing clutch.
I was lucky to find a replacement rubber washer about the same size in the bin:
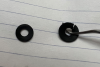
It was just a little bit thinner, but:

Service manual lists it as one of two damping washers. I think that is engineering speak for, "The prototypes are making a horrible metal-on-metal 'clank' when it switched from from "raise the tonearm" to "swing the tonearm. You gotta fix that Mr. Engineer!" "OK, Mr. Manager, I'll add a 0.5 cent rubber damper washer."
So, probably not too critical to the function. It might even function without it.
mootej
Active Member
So, ready to reassemble. I'm going to remember to grease this at the indicated locations:

Though I'm going to skip the last one. It doesn't make a lot of sense to me to have a rubber friction disk turning a copper disk and then greasing it. Personally, I'm going to use a teflon grease, mostly because I have some kicking around from a previous project and I think it will be far superior to any grease. Did you know grease is just a fatty acid like fat from a cow (stearic acid) add a alkali (base) like lithium hydroxide and get a grease, an alkali salt of a fatty acid? Anything that reacts one way can go backward and create some nasty stuff, given enough time and environment. Teflon shouldn't do that. Super-non-reactive, super slippery, plastic compatible, works in temperature extremes...anyway, this should be good for another hundred years!
Also, I will probably lubricate this at a few more places that I think make sense. Not in the clutches, obviously. But I think they missed a few spots in the service manual.
Though I'm going to skip the last one. It doesn't make a lot of sense to me to have a rubber friction disk turning a copper disk and then greasing it. Personally, I'm going to use a teflon grease, mostly because I have some kicking around from a previous project and I think it will be far superior to any grease. Did you know grease is just a fatty acid like fat from a cow (stearic acid) add a alkali (base) like lithium hydroxide and get a grease, an alkali salt of a fatty acid? Anything that reacts one way can go backward and create some nasty stuff, given enough time and environment. Teflon shouldn't do that. Super-non-reactive, super slippery, plastic compatible, works in temperature extremes...anyway, this should be good for another hundred years!
Also, I will probably lubricate this at a few more places that I think make sense. Not in the clutches, obviously. But I think they missed a few spots in the service manual.