• The move to the new server is done. There are some software and database maintenance updates in process. This has us passing the hat around to help out. We appreciate any donations. Seriously, even a dollar helps. The payment page may be found here - https://www.audiokarma.org/support.html

Technics Dustcover Fix

I encountered the same prob as ''dispair'' did with the need to remove material from the under the tongue to clear the TT base when closed. No one else had this prob?

Yes, I had that come up too. I mentioned it in the OP but probably wasn't detailed enough. This happens because the original tongues molded into the cover aren't as thick as the 1/8" thick angle so they stick down farther. Trouble is, the thinner angle that's available (1/16") is much too thin.

What I did was simpler than removing material from the dustcover to create notched recesses for the tongues but sort of "low rent". I just dropped something, wire insulation as I recall, into the hinge pockets on the back of the turntable so that the hinges wouldn't go all the way in, thus raising the dustcover. Oddly, I don't remember having to do this on the SL-Q2, just the SL-D3.

I ended up buying 4' of 1" alum angle 1/8" thick from OSH $15. I tried cutting some stock I had but just didnt like the results. the 1" angle fits the bill. I'll post pics of the job when done. both before assembly and after.

Yeah, that crap's expensive. Lucky for me, I have a salvage lot in the back of my local hardware store. They sell scrap metal by the pound (minimum charge of $5.00 or $7.00 I think). I was able to find a piece of 1" x 1/8" angle there, probably around 1' long. I got it for the minimum.

Note: I just added a link to this post in the first post where I didn't explain this issue well enough.

John
 
Last edited:
thanks boreas I'll try that. can still shave abit of alum if needed, but I like your fix.
So far Its the best fix Ive ever seen for theas broken tab dustcovers. Im sure it can be carried over to other makes of similar construct.
photos will be comming.
 
Dustcover fix completed with pics.
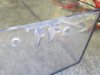
1> old tab sawed off with exacto saw showing mtrl removed for DT clearance.
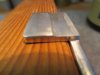
2> new bracket with mtrl removed for DC clearance.
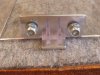
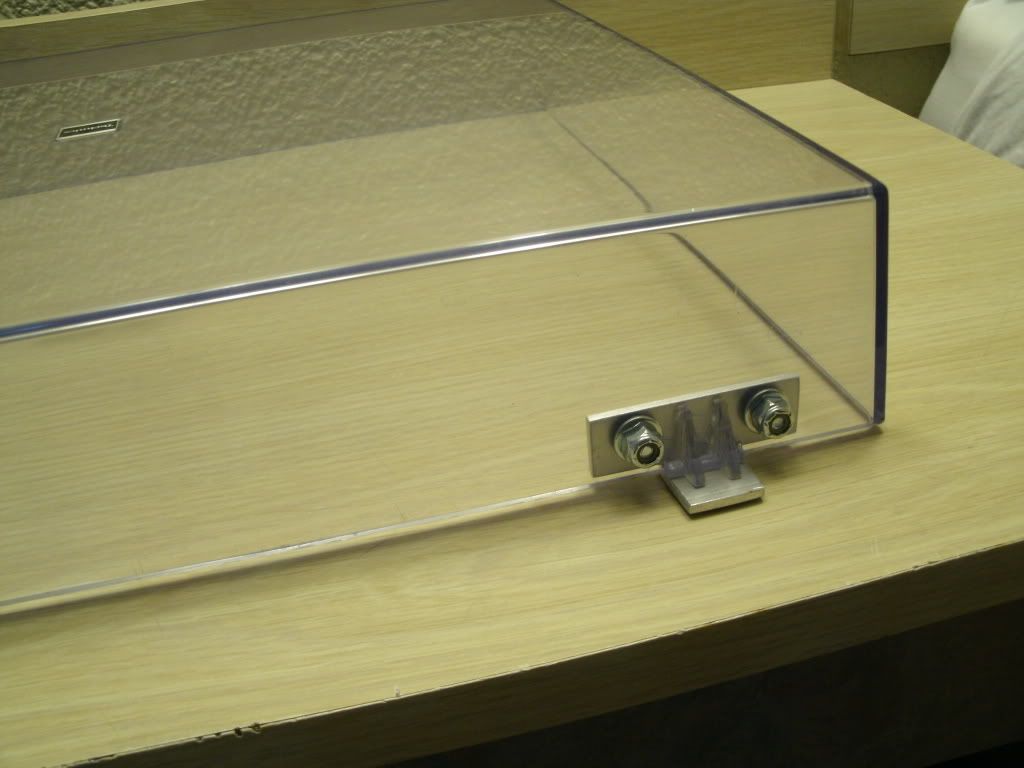
3> new bracket mounted.
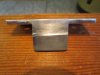
4> new bracket showing mtrl removed .
5> fixed dustcover installed on TT base.

I tried the pieces of wire insulation but chose to do material removal.
Still plenty aluminum remains for strength. Found that removing some plastic from the DC allowed even more clearance.
Trial fit with semi loose screws let the DT settle right into place where it was heppy and sat down on the base perfectly.
Am very pleased with the results.
Hope some of this helps othere to do the same thing. Its a good fix. 3 cheers for boreas ***
 

Attachments

  • dust cover fix pics 008.jpg
    dust cover fix pics 008.jpg
    42 KB · Views: 256
  • dust cover fix pics 011.jpg
    dust cover fix pics 011.jpg
    38.4 KB · Views: 261
  • dust cover fix pics 014.jpg
    dust cover fix pics 014.jpg
    90.3 KB · Views: 256
  • dust cover fix pics 012.jpg
    dust cover fix pics 012.jpg
    61.5 KB · Views: 242
  • dust cover fix pics 020.jpg
    dust cover fix pics 020.jpg
    66.6 KB · Views: 267
Last edited:
Dustcover fix completed with pics.
1> old tab sawed off with exacto saw showing mtrl removed for DT clearance.
2> new bracket with mtrl removed for DT clearance.
3> new bracket mounted.
4> new bracket showing mtrl removed .
5> fixed dustcover installed on TT base.

I tried the pieces of wire insulation but chose to do material removal.
Still plenty aluminum remains for strength. Found that removing some plastic from the DT allowed even more clearance.
Trial fit with semi loose screws let the DT settle right into place where it was heppy and sat down on the base perfectly.
Am very pleased with the results.
Hope some of this helps othere to do the same thing. Its a good fix. 3 cheers for boreas ***

:thmbsp: Good going! :thmbsp:

John
 
Just picked up an SL-3200 today that has one broken hinge. So it'll be my turn to try this out soon.
 
Ugh! What a crappy design!

Good luck.

John

My previous table was an MCS made by Technics with the same plastics tongues that eventually snapped. I came up with a similar repair to yours albeit not as elegant and ended up with the dustcover permanently sitting open half an inch. Taking that into account I've always been really careful with this one, but with the recent weather here in southern California I assume the heat was just too much for it. Bah.
 
I used a small benchtop drill press to do my drilling but a steady hand with a variable speed hand drill woll do the job both on the alum. and the plastic dustcover.
I used a combination of a hack saw, exacto saw and a dremel rotary with a cutoff disc, files and grinder to work the alum. down to size to fit. takes time and patience but worth the effort. the result is a hinge tab/tounge that will last forever. use 1/8" thick by 1" alum. angle. even if you have to buy a 4' piece for $15 as I did. it's a hole lot less than a new dustcover. And it doesn't look bad either. I only did one tab on mine. If the other side brakes later I'll do it again.
 
Last edited:
Boreas, I just checked out the SKU # you posted. This was your original starting piece? http://m.homedepot.com/p/Everbilt-1...n-Thick-801367/204273950?N=5yc1vZc2gcZ1z0yf8o

What did you use to cut/drill the aluminum? Imagine I'm starting with zero materials to work with. What do I need to make this happen?

That's the right stuff. Make sure it's 1/8" thick as in he Home Depot description.

For tools, all you really need is a hack saw, a variable speed drill and perhaps a file. You'll also need a vise or something to hold the aluminum steady while you work.

John
 
That's the right stuff. Make sure it's 1/8" thick as in he Home Depot description.

For tools, all you really need is a hack saw, a variable speed drill and perhaps a file. You'll also need a vise or something to hold the aluminum steady while you work.

John

Thanks for that. I've been looking for an excuse to purchase such things.
 
Last edited:
Is there any chance the metal hinges on the back can can be replaced/line up with a sl-1200 mk5 dust cover? There's someone local selling one for cheap.

There are two problems here. First, there are the hinge sockets on the back of the turntable. You'd need to saw them off and then figure out how to mount the 1200 hinge kit. Difficult but possible. What's not possible to work around is the fact that the 1200 dustcover is too big.

Really, though, I don't see a need for this. The weak link here is the tabs on the dustcover. You're about to deal with that. Once that's done, no more issues.

The table I first did this on has been doing service for my landlord all this time, nearly 4 years, and there have been no problems.

John
 
I finally got around to starting this today. Going through a lot of trial and error due to buying the wrong tools. Perhaps I'll do a write up with a bit more detail in the materials if I'm happy with the finished product.
 
I finally got around to starting this today. Going through a lot of trial and error due to buying the wrong tools. Perhaps I'll do a write up with a bit more detail in the materials if I'm happy with the finished product.

Go for it! And don't be shy about asking for advice.

Good luck.

John
 
Then I attached them to the dustcover.....

TechnicsDustcoverRepair004.jpg
Can you tell me exactly what size/kind of screws/nuts you used? Of course that's the one thing I thought I already had and don't.
 
Back
Top Bottom