• The move to the new server is done. There are some software and database maintenance updates in process. This has us passing the hat around to help out. We appreciate any donations. Seriously, even a dollar helps. The payment page may be found here - https://www.audiokarma.org/support.html

Yet another Heath W5M rebuild

So ... what were the updates and why? Does it matter?

-SD:

Some of the updates were changes in the power supply dropping resistors and cathode bias resistors in the front end and driver stage for better (more linear) operation. The mechanical surgistor was added to ease power-on stress on the power transformer. Yes, they matter.
 
Ok, my twisted mind likes the John Deere idea. So would you do the John Deere green on the chassis and the transformer covers white?

Two tone John Deere colors. Green chassis and the John Deere yellow on the transformer bells.
 
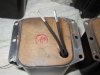
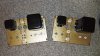
Here's a shot of the finished chokes. It's really hard to get a good photo of these. Something I started doing some time ago with 50+ year old transformers and chokes is putting heat shrink on the leads. The old cloth covered wire is usually cracked in many spots due to time and exposure and this is cheap insurance, especially if the owner of the amps lives half a continent away!

Just make sure you have a way of identifying the leads on transformers (such as the color of the heat shrink) and you're good.
 

Attachments

  • DSCF7099.jpg
    DSCF7099.jpg
    61.5 KB · Views: 181
  • DSCF7097.jpg
    DSCF7097.jpg
    83.4 KB · Views: 177
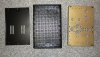
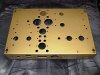
Oh my....the chassis came back from the powder shop today! Looks like I'm gonna be slinging some solder this weekend!

These guys did a FANTASTIC job on these former rust buckets.
 

Attachments

  • DSCF7107.jpg
    DSCF7107.jpg
    102.3 KB · Views: 195
  • DSCF7108.jpg
    DSCF7108.jpg
    77.2 KB · Views: 208
Done for the night, time to hit the rack! I'll mount the output transformers tomorrow after I get some new mounting hardware for the end caps.
 

Attachments

  • DSCF7114.jpg
    DSCF7114.jpg
    95 KB · Views: 171
  • DSCF7115.jpg
    DSCF7115.jpg
    95.9 KB · Views: 121
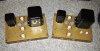
Heath W5M update: Output transformers mounted on both amps. New hardware installed in the output transformer endcaps. I just couldn't deal with the original, dull and corroded pig metal sheet screws.

Crap, I guess it's time to start polishing the original aluminum body can caps, even though they will only be on the amp for the sake of appearance. Let's see how well 50+ years of dirt and grime will come off.
 

Attachments

  • DSCF7122.jpg
    DSCF7122.jpg
    68.5 KB · Views: 172
  • DSCF7123.jpg
    DSCF7123.jpg
    66 KB · Views: 157
Coming along nicely. In any kind of rebuild on this scale, it makes no sense to reuse anything stock other than the iron and restored chassis.
 
Got the output transformers wired in and the first filter cap section in place.
 

Attachments

  • DSCF7124.jpg
    DSCF7124.jpg
    97.3 KB · Views: 206
Looks like everything is coming along great. I appreciate your attention to detail, plus it's a pleasure to see someone that takes pride in what they do, let alone enjoy what they do.

Cheers ...
 
Looks like everything is coming along great. I appreciate your attention to detail, plus it's a pleasure to see someone that takes pride in what they do, let alone enjoy what they do.

Cheers ...

Thanks, I appreciate the kind words!
 
Hello All,

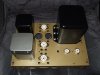
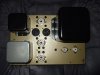
I'm another proud owner of one of Jim's W5m rebuilds. The rebuilt/modded monoblocks have been very dependable and sound great.:music: Here's a couple of photos showing the guts of an original unit and the completed rebuild.
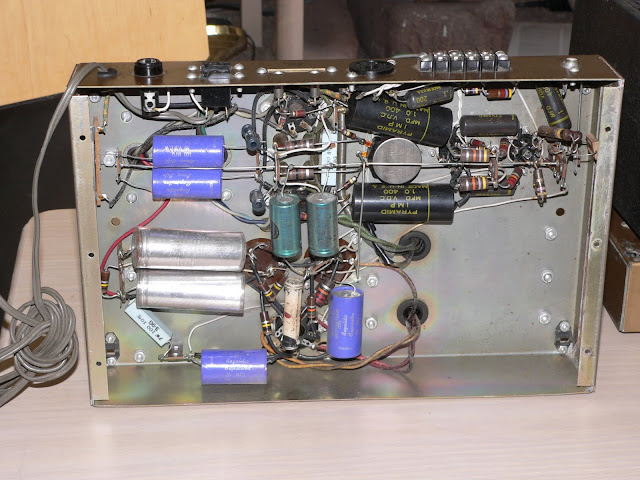
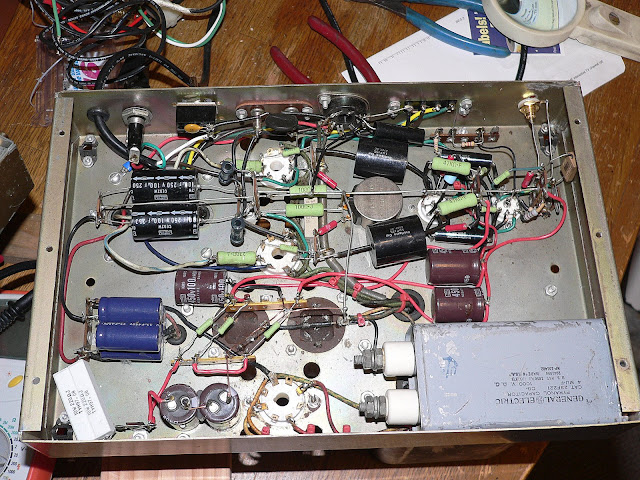
Jim... Thanks again for the well executed rebuild.

Regards,

Roy

Before:
P1060665.JPG


After:

P1060902.JPG
 
Roy! Long time no hear! That has to be going, what, 5 or 6 years now? I'm proud to say my work quality has increased just a tad since then!
 
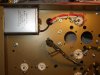
Got the 5R4 rectifier socket wired in and the HV center-tap going to the ground side of the 4uF oil filled first node filter cap. Next up will be the heater wiring.
 

Attachments

  • DSCF7129.jpg
    DSCF7129.jpg
    87.8 KB · Views: 142
  • DSCF7130.jpg
    DSCF7130.jpg
    94.8 KB · Views: 110
Hi Jim,

Well... the most important thing is that they're sounding excellent and still running.

Have you discovered any more "improvements" that could be implemented in my units? Somewhere I heard that some have used 6sn7's in place of the 6cg7's.

Roy
 
Yeah, I have a few improvements to the power supply and biasing for the front end and driver tubes. We can put install them in a couple of hours.

Well, since the 6CG7 is, for the most part, a 6SN7 in a 9-pin bottle, I'm not sure how much you would gain by the swap. I do have a good supply of Sylvania 6SN7GT "bad boys" and we could try with a couple of those socket adapters that are around being sold.

Are you still using the same setup at home?
 
Yeah, I have a few improvements to the power supply and biasing for the front end and driver tubes. We can put install them in a couple of hours.

Well, since the 6CG7 is, for the most part, a 6SN7 in a 9-pin bottle, I'm not sure how much you would gain by the swap. I do have a good supply of Sylvania 6SN7GT "bad boys" and we could try with a couple of those socket adapters that are around being sold.

Are you still using the same setup at home?

My setup is still pretty much the same with the AVA T7 pre, Heathkits and Omega single driver bipoles as the core.

However..... I'm about to embark on a speaker build using SEOS 18 waveguides, BA750 compression drivers and Acoustic Elegance TD15M mid woofers to go along with my 3 subs. I'll probably add a Rythmic sub to the mix in the future.
P1080116.JPG

P1080082.JPG
 
Back
Top Bottom