• The move to the new server is done. There are some software and database maintenance updates in process. This has us passing the hat around to help out. We appreciate any donations. Seriously, even a dollar helps. The payment page may be found here - https://www.audiokarma.org/support.html

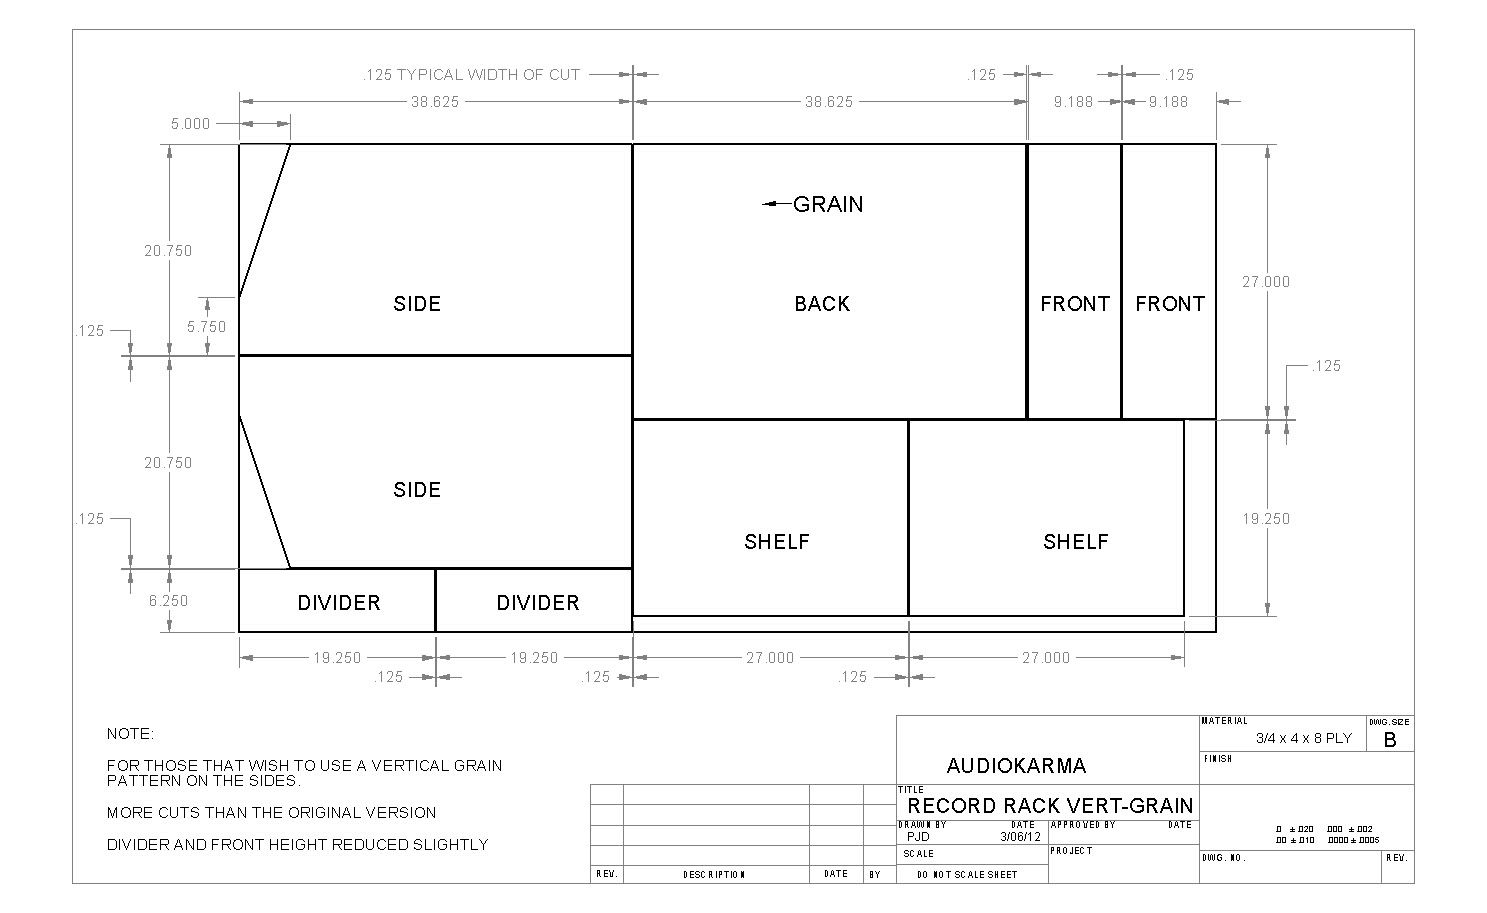
Record Bin From single 4 x 8 Sheet of Plywood - Plans

Thanks Perry, I went last night to Lowe's, about 45 minutes before closing, when I knew they would slow. I schmoozed with the lumber guy for a bit, showed him the plans, and was really happy to help out. He was very patient and careful with the measuring, so that all went well. But, you are right, the blade is a bit rough, even though he was fairly careful. I think a bit of sanding and the orientation of the panels will allow me to hide / display minimal splintering.
 
I have to give some props to sxty8goats for making this available to everyone here at AK.
Thanks Chimpkin, I just took what you had and ran with it. Many of us here contributed to the design changes.

Thanks for this great project plan! But, you offer 4 cuts to get it home, what about those of us that are table-saw challenged?
If I have this right, I need to pay for 9 separate cuts, and I think I labeled them correct and in order to ensure I get home with all the right pieces.

At $.50 a cut, I'm happy to pay $4.50 versus struggling with a hand saw or circular saw. Do you see a flaw in this lazy-man's approach?

Thanks again for the collaboration and sharing these plans, and for any feedback on the viability of this option.
Seems like you already found a solution. :) But you are correct, I was assuming that people taking on this project would have some wood working experience. I used to have a pick up truck but now I'm down to a sedan. That is where the '4 cuts' to fit it in a car' bit came from. If I had my choice, I'd be taking home full sheets and building them in my garage. Alas, I no longer have a truck or access to my garage...(House is in another state.)

The only flaw is that the saw at Home Depot, may tear up mthe edges pretty good, and they are not known to be accurate at measuring.

Very good point. I was in HD Friday night thinking on those same lines and wondering if they would let me cut my own board, or at least measure and mark before the cut.

Thanks Perry, I went last night to Lowe's, about 45 minutes before closing, when I knew they would slow. I schmoozed with the lumber guy for a bit, showed him the plans, and was really happy to help out. He was very patient and careful with the measuring, so that all went well. But, you are right, the blade is a bit rough, even though he was fairly careful. I think a bit of sanding and the orientation of the panels will allow me to hide / display minimal splintering.
Kudos.
 
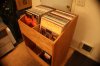
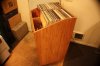
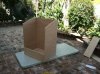
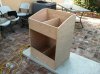
I've been on a kick to reorganize my stereo room and thus had to make a new record cabinet. I used cuts from more than 1 sheet to keep the grain pattern the same direction. I used the remaing pieces to make something else, so it all worked out.
 

Attachments

  • IMG_1339.jpg
    IMG_1339.jpg
    54.1 KB · Views: 1,190
  • IMG_1345.jpg
    IMG_1345.jpg
    60 KB · Views: 1,030
  • IMG_1353.jpg
    IMG_1353.jpg
    54.4 KB · Views: 1,011
I've been on a kick to reorganize my stereo room and thus had to make a new record cabinet. I used cuts from more than 1 sheet to keep the grain pattern the same direction. I used the remaing pieces to make something else, so it all worked out.

Vertical Grain Version added to first post.
 
Here is my version of the AK record bin next to the media case I built a couple of weeks ago.

I built it so that I can remove the screws and knock it down for moving. More pics, and a better description on my website.
One thing I want to mention here, so others can learn from my mistake. As you can see, I used the plan with the grain running vertical. But in my ‘version’, the grain on the back runs horizontally.
I started by having HD crosscut the sheet at the 39” mark so I could fit in my Grand Cherokee. And so I could maneuver the sheets alone on the table saw. I cut the sides out of the one piece with no problem. Then I went to cut the back and shelf pieces. Since the table saw can only rip to 24” or so, I set the fence to 48” minus the width of the back. So it kind of reverses my normal way of cutting.
In my mind, the good piece is the one between the blade and the fence, and the waste piece is to the left of the blade. But the way I had to rip this it was the opposite.
So I set the piece to the right off to the side, and grabbed the ‘waste’ piece to rip the shelves… Oops. I discovered it when I went to rip the fronts and dividers.
It worked out as I was able to turn the grain and by splining two pieces together, I could get a piece large enough for the back even though the .grain is horizontal. You really can’t see the back anyway and the seam is virtually invisible.

Thanks to sxty8goats for posting this, easy, fun project. And usefull too...

 
Just finished mine this weekend. I still need to stain it, but I'm super excited about how it turned out. I screwed up the 2 front pieces (cut too short) so I replaced it with some panel board I found at Lowes. I think it turned out pretty good; I just wish I could have got the front 2 pieces in vertical grain like the rest of it. Next up will be staining, but probably not for a while.

I used the vertical plans and had Lowes cut most of the wood a into 3 pieces for easy transport. The oak 3/4 ply was around $45. I needed to buy some clamps as well so it cost me a bit but it was totally worth it.

http://i.imgur.com/iZnUC.jpg
 
Last edited:
Awesome! Thanks for sharing this. Started working on mine this past Saturday. Haven't stained it yet, but I'd say it's coming along nicely!
 

Attachments

  • recordshelf00.jpg
    recordshelf00.jpg
    75.4 KB · Views: 776
  • recordshelf01.jpg
    recordshelf01.jpg
    112.5 KB · Views: 770
  • recordshelf02.jpg
    recordshelf02.jpg
    95.8 KB · Views: 805
  • recordshelf03.jpg
    recordshelf03.jpg
    54 KB · Views: 908
Awesome! Thanks for sharing this. Started working on mine this past Saturday. Haven't stained it yet, but I'd say it's coming along nicely!


Real nice work John...I like the multiple beer shots, Yuengling in one and Corona in the other. Be careful with power tools and alcohol!:banana::banana::banana:
 
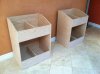
Finally built a second one. I think that'll have to do. The rest of my records will remain in milk crates out in the back room. Just no way I can get over 4700 records in my cave
 
Here is mine, just built in the last 2 nights.

I need to fill the holes, and some sort of stain.

I had to get Home Depot to make 3 cuts so I could get it in my car. I must say I'm impressed with their huge machine that made some accurate cuts! The rest I did with a circular saw and jigsaw. I really need a table saw if I'm ever going to make anything like this again.

DSC_1446.jpg

DSC_1447.jpg
 
Woodworking plans

Hi,
I am new to AudioKarma and like what you have done to this unit by adding drawers and the top shelving unit. Would you have the plans for the addition and the shelves?
Thanks.

Norm Daigneault


Great work guys!

Here's my version. I never saw this thread and just saw them on the lpbin website and decided I wanted to take it a step farther and add some drawers with dividers to hold all paraphernalia that goes along with turntables and albums. I lined the drawers with black velvet as in a jewelry box. They are made out of baltic birch plywood and finished with ebony stain and polyurethane.

DSCN0349.jpg


DSCN0351.jpg


DSCN0350.jpg


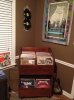
I also made a matching wall rack for cds and dvds

DSCN0352.jpg
 
Back
Top Bottom