

You are using an out of date browser. It may not display this or other websites correctly.
You should upgrade or use an alternative browser.
You should upgrade or use an alternative browser.
Sansui AU 20000 restoration - many... many pictures
- Thread starter Kale
- Start date


Kale
Super Member
Thank you guys for really nice words!

Yes you have seen correctly, one capacitor (of those 4) I installed like marks on the board, but by mistake, and I changed that when i noticed that mistake, but I didnt take a new picture.
BTW it was C01, not C03.
The right way is how it was working 30 yearsI was studying your pictures in post #32. On the meter circuit board......how did you orientate the capacitors that were in the wrong way? I noticed that you put 2 caps in the 'wrong' way and 1 cap(C03) in the 'right' way.....how do you know which is correct?
GREAT JOB and GREAT STORY!
Yes you have seen correctly, one capacitor (of those 4) I installed like marks on the board, but by mistake, and I changed that when i noticed that mistake, but I didnt take a new picture.
BTW it was C01, not C03.
Last edited:
Kale
Super Member
And now the final step... changing main capacitors...
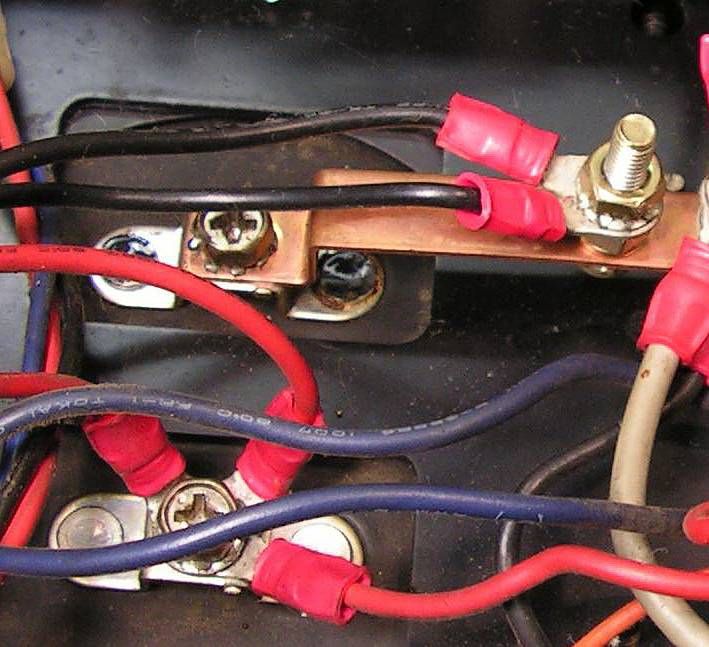
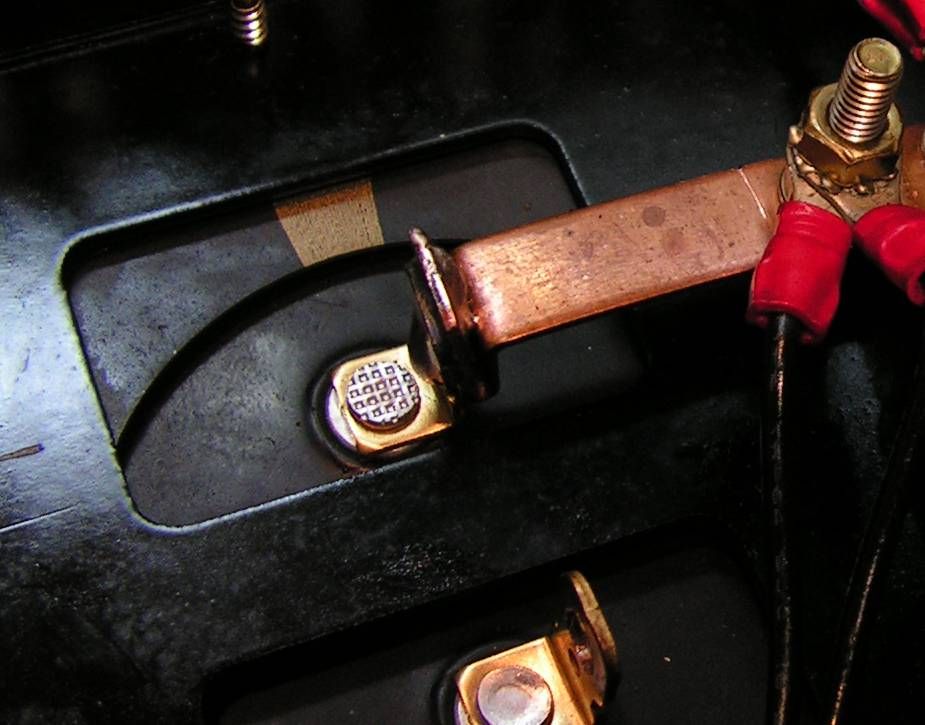
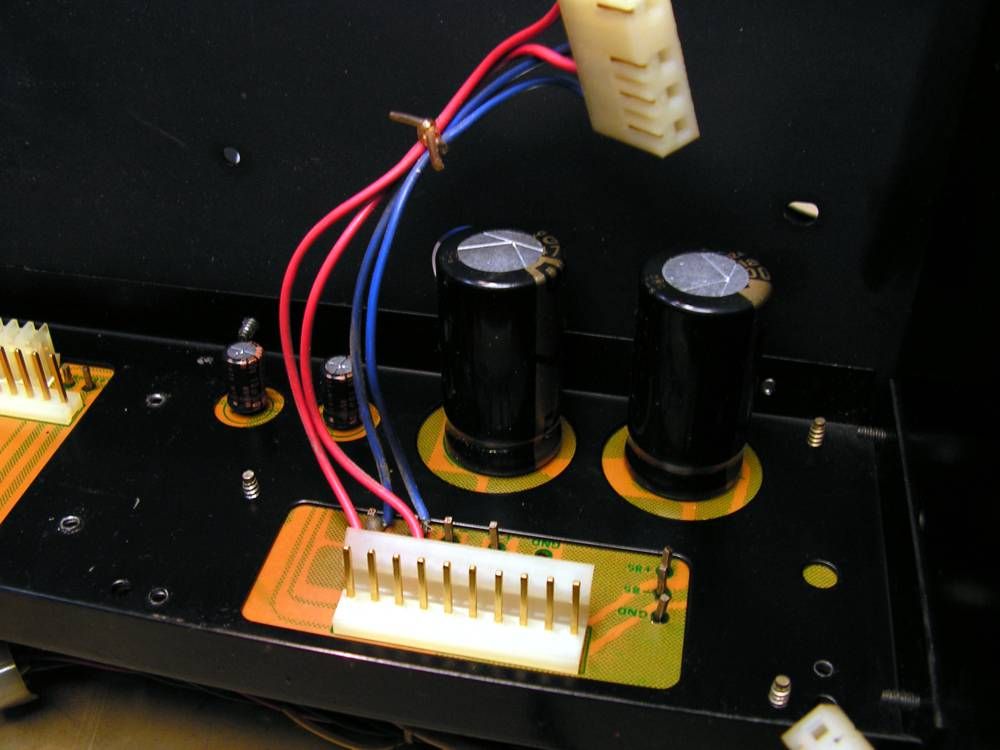
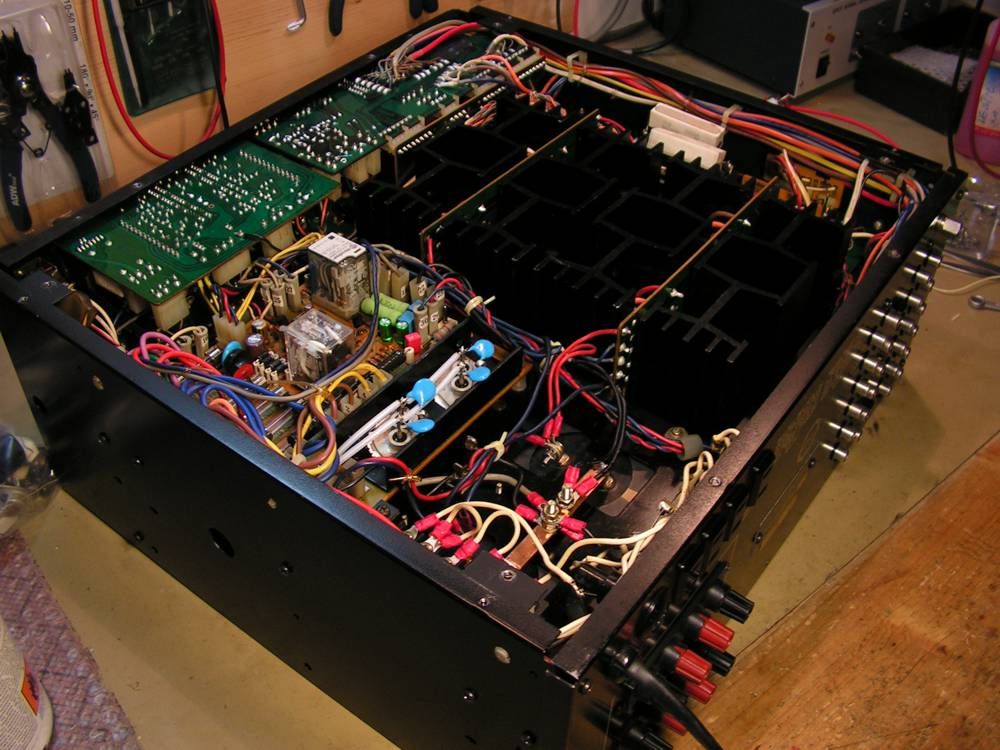
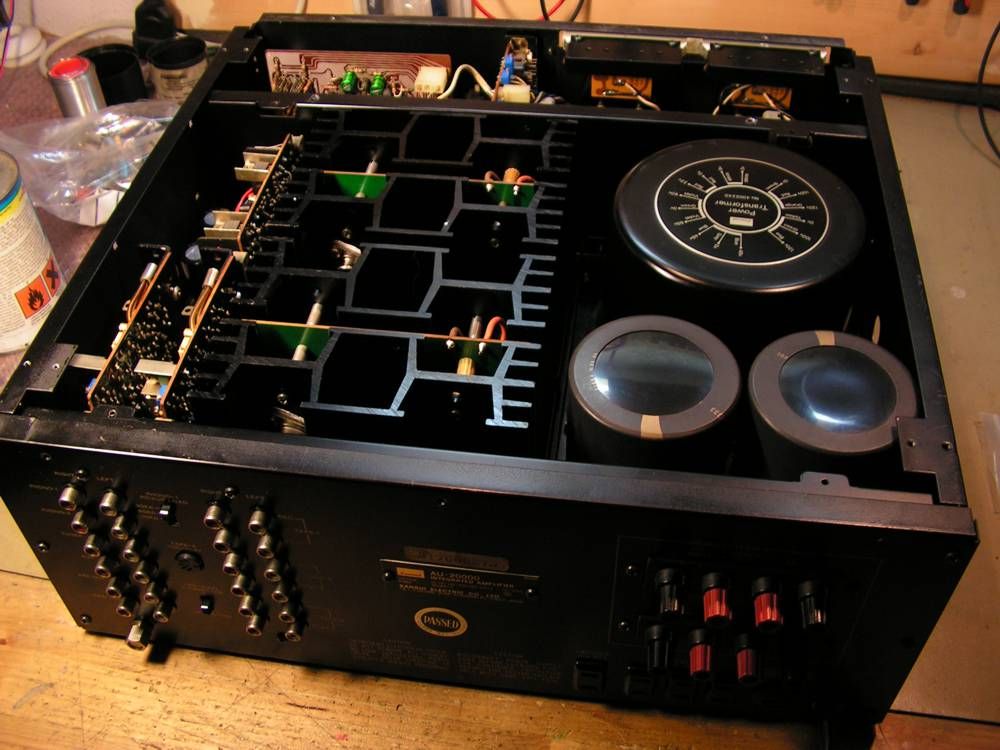
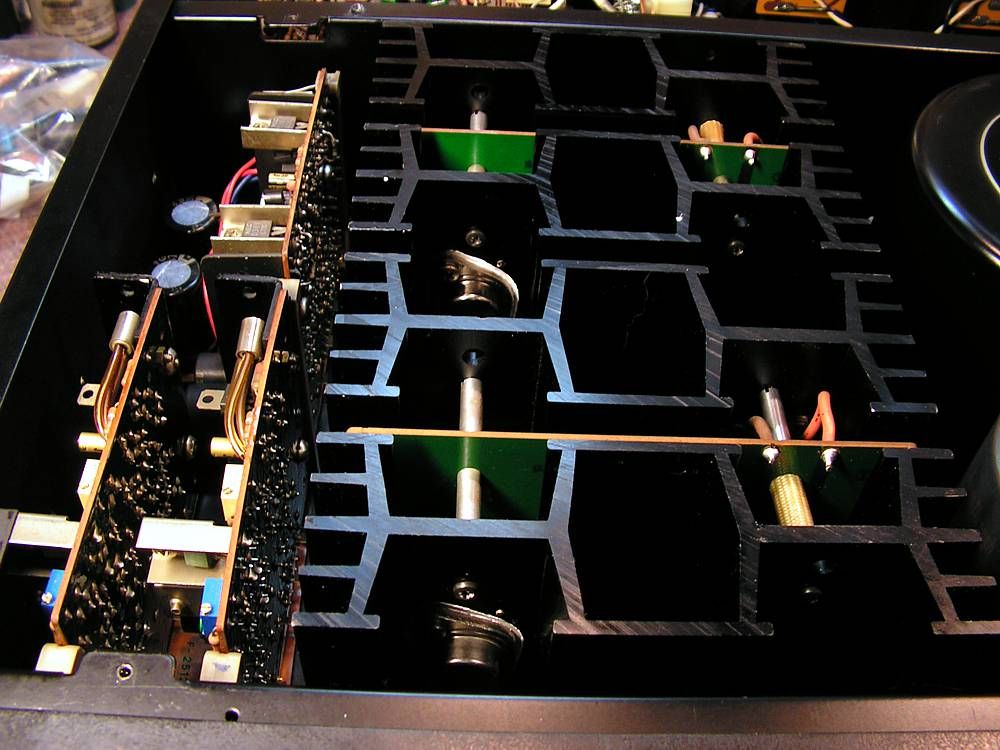
My choice for that amp (and for BA3000) is Nichicon 22000uF 80V KG Super Through. This is very good capacitor, and with exact the same dimensions as old ones... but they are solder lug (for soldering wires), and old capacitors has contacts by screw and nut... so we have to adopt type of connections...
Old connection
New ground connection
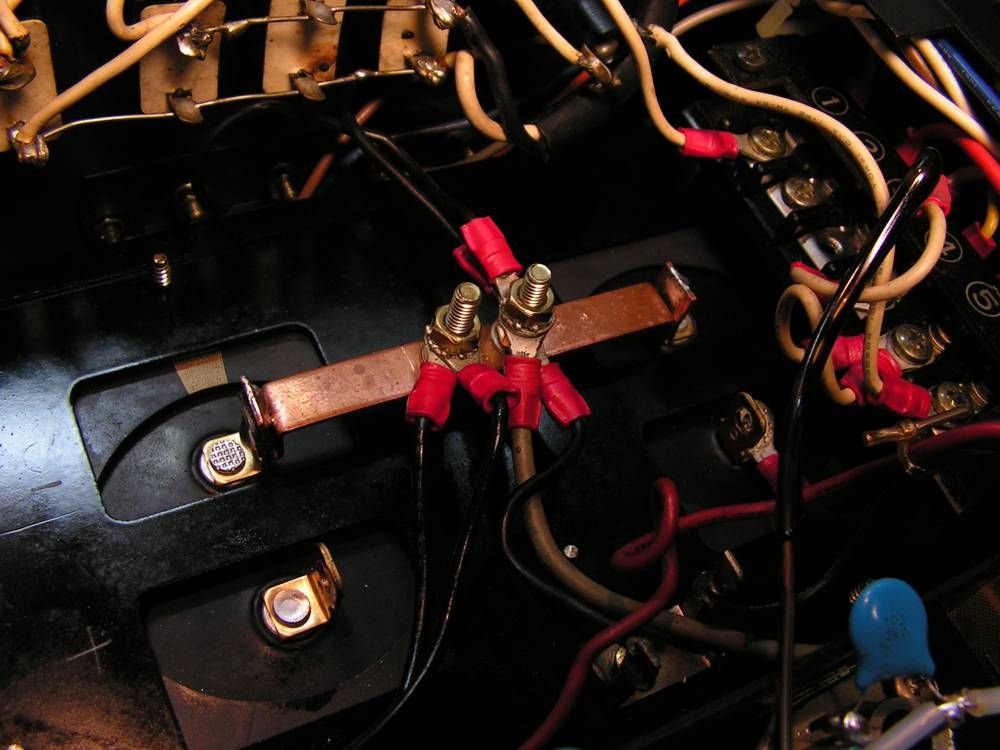
New capacitors
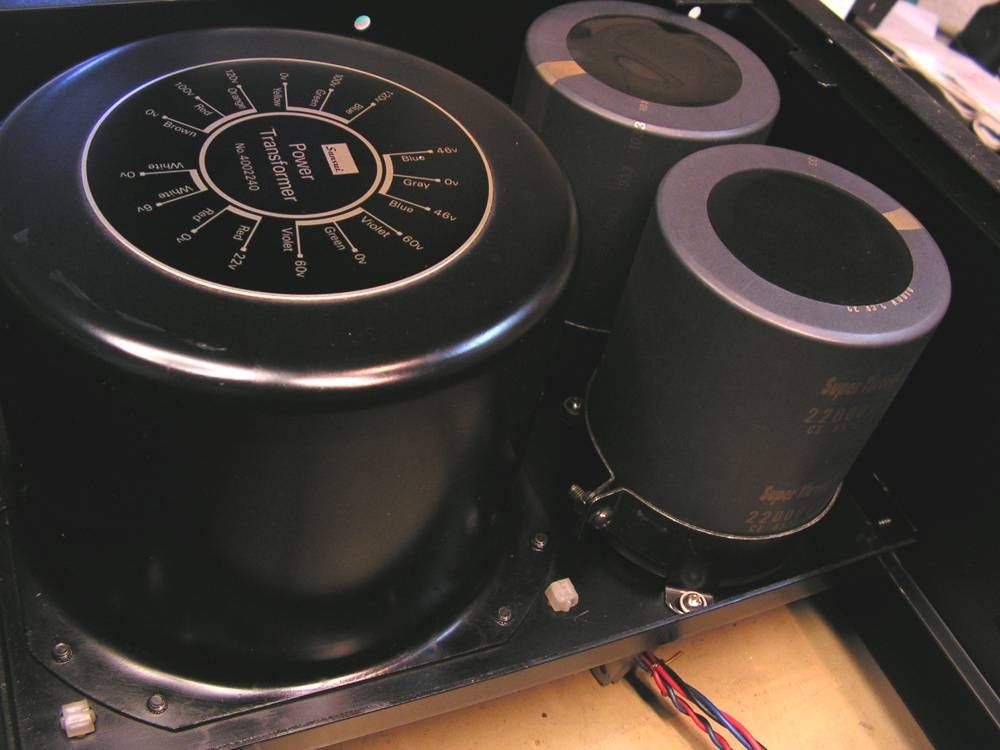
one look at all
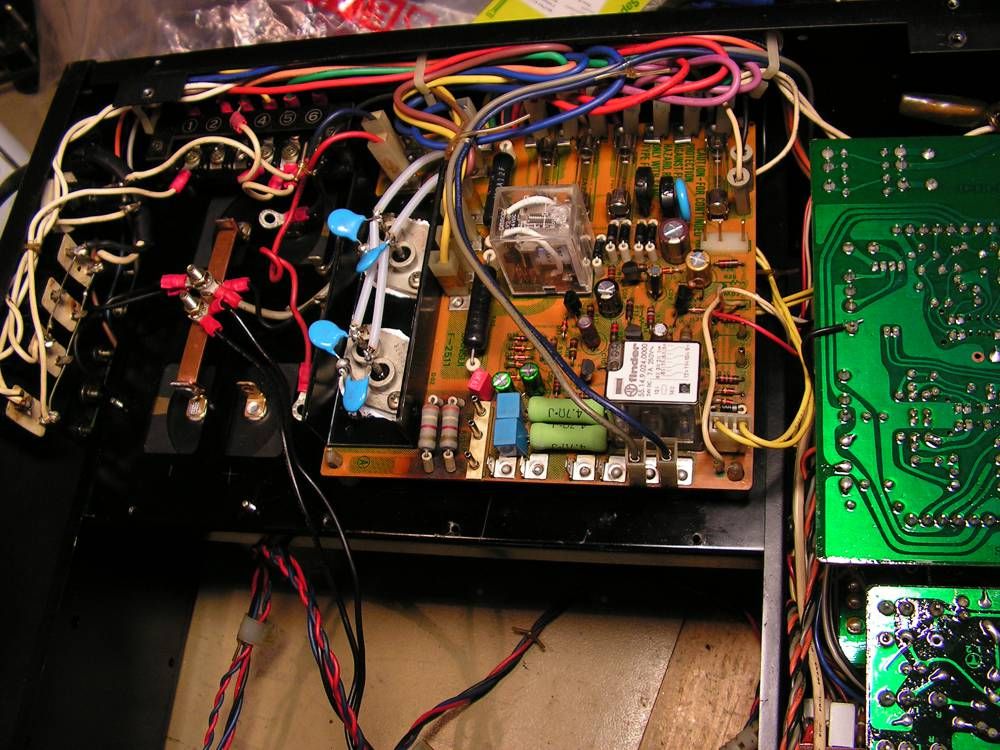
My choice for that amp (and for BA3000) is Nichicon 22000uF 80V KG Super Through. This is very good capacitor, and with exact the same dimensions as old ones... but they are solder lug (for soldering wires), and old capacitors has contacts by screw and nut... so we have to adopt type of connections...
Old connection
New ground connection
New capacitors
one look at all


AweDeOh
Long Live Vinyl!
Kale,
Thank you for taking the time to post this restoration. To say your work is impressive is understatement. I can't imagine the time it must take to disassemble, clean, repair and reassemble the individual components as you've done in this restoration. I'm also curious how much you spend on contact cleaner! ; - )
You are a true craftsman and it's a priviledge to see your work.
Mark B...
Thank you for taking the time to post this restoration. To say your work is impressive is understatement. I can't imagine the time it must take to disassemble, clean, repair and reassemble the individual components as you've done in this restoration. I'm also curious how much you spend on contact cleaner! ; - )
You are a true craftsman and it's a priviledge to see your work.
Mark B...

kevzep
Its all about the Music
I hope you enjoyed... until some next interesting restoration, I wish you all the best all of you :thmbsp:
Yes, I and I imagine everyone who sees this thread will enjoy it....
Thank you so much for taking the time during the restoration to document this very thorough and detailed job.....
Was this for a customer, or is it your own amplifier?
Either way, it has been brought back to a very near new condition.....
All the best Kale.....and thanks again for sharing this..:thmbsp:

Deubi
Active Member
...What would this Sansui-Forum be without our Technicians-threads...:scratch2:
...Thank you , Kale for sharing all of Your know-how & Craftmanship - love to see another Sansui - beauty which appears Better than new....
...especially one of Professional / Definition - series....:thmbsp:
...Thank you , Kale for sharing all of Your know-how & Craftmanship - love to see another Sansui - beauty which appears Better than new....
...especially one of Professional / Definition - series....:thmbsp:
Kale
Super Member
Kale,
I can't imagine the time it must take to disassemble, clean, repair and reassemble the individual components as you've done in this restoration. I'm also curious how much you spend on contact cleaner! ; - )
Mark, I have worked on that amp about 3 months, but with brakes when had to go to my duty, so I cant tell you how much time I spent working just only on that amp.
About contact cleaner, I am not using just only one liquid for cleaning those units, I have three types of contact cleaners plus two types of thinner.
Last edited:
Kale
Super Member
Was this for a customer, or is it your own amplifier?
I have enough Sansuies (two G22000, one G901DB, one AUX1, one BA3000, one SR838, and one SR222mk5)... that amp I restored for one gentleman from Croatia
Kale
Super Member
And as last picture in that thread I wish to show you the next picture

For those vintage units it is very important to keep original state as much as you can. So I have found that nylon "string" to keep wires together just as Sansui did (details 1, 2 and 3).
Detail 4 shows you how I conected plus and minus wires to main capacitor.
So, the main purpose of that my thread is to show you how is very hard to get "like new" condition. You cant get like new condition, because there are so many electronic parts which are not changed in that restoration, but that job is very close what we have to do... again, I checked all small signal transistors by checking theirs hfe, because sometime it can pass diode test, but still it ca be out of parameters.
For those vintage units it is very important to keep original state as much as you can. So I have found that nylon "string" to keep wires together just as Sansui did (details 1, 2 and 3).
Detail 4 shows you how I conected plus and minus wires to main capacitor.
So, the main purpose of that my thread is to show you how is very hard to get "like new" condition. You cant get like new condition, because there are so many electronic parts which are not changed in that restoration, but that job is very close what we have to do... again, I checked all small signal transistors by checking theirs hfe, because sometime it can pass diode test, but still it ca be out of parameters.
Last edited:


Glenz75
Sansui and Pioneer Freak
Kale - your patience and attention to detail is superb and I shudder to think of how many hours you've put into this.
I know when I overhauled my AU20000 a few years ago it took a lot of time. The worst part is those driver boards being hard-wired in and socketed.
Mine too was absolute basket case and looking at your photos reminded me of it in so many ways :yes:
I'm glad that you resoldered the solder thru-holes on the those heat sink mounting boards as mine had a real nasty problem that was make it go DC intermittently when first turned on from cold and ended up being bad solder joints on those double sided connections. That was the worst part of the whole repair as it tended to blow the outputs if you weren't quick enough!
I think this thread deserves to be a sticky for future reference as all these AU20000's are aging and will indefinitely ending up needing repairs of some kind.
Great stuff! Keep it up :yes: :thmbsp:
Cheers Glen.
I know when I overhauled my AU20000 a few years ago it took a lot of time. The worst part is those driver boards being hard-wired in and socketed.
Mine too was absolute basket case and looking at your photos reminded me of it in so many ways :yes:
I'm glad that you resoldered the solder thru-holes on the those heat sink mounting boards as mine had a real nasty problem that was make it go DC intermittently when first turned on from cold and ended up being bad solder joints on those double sided connections. That was the worst part of the whole repair as it tended to blow the outputs if you weren't quick enough!
I think this thread deserves to be a sticky for future reference as all these AU20000's are aging and will indefinitely ending up needing repairs of some kind.
Great stuff! Keep it up :yes: :thmbsp:
Cheers Glen.
Last edited:

aidynphoenix
Super Member
I really enjoyed reading through this thread, you do amazing work!
i have two questions if you dont mind.
what kinds of cleaners did you use on the boards, and what kinds were used on the contacts and potentimeters.
Also, i noticed that you used a variety of different kinds of capacitors in this restoration. how does one decide on what type of capacitor is best for what location?
It truly seems amazing, being able to look at boards like those and know what each component's job is.
:ntwrthy:
I want to learn how to do this!
i have two questions if you dont mind.
what kinds of cleaners did you use on the boards, and what kinds were used on the contacts and potentimeters.
Also, i noticed that you used a variety of different kinds of capacitors in this restoration. how does one decide on what type of capacitor is best for what location?
It truly seems amazing, being able to look at boards like those and know what each component's job is.
:ntwrthy:
I want to learn how to do this!
Kale
Super Member
I'm glad that you resoldered the solder thru-holes on the those heat sink mounting boards as mine had a real nasty problem that was make it go DC intermittently when first turned on from cold and ended up being bad solder joints on those double sided connections. That was the worst part of the whole repair as it tended to blow the outputs if you weren't quick enough!
Yes, I know about that... that is, I think, the first generation of double side printed circuit board. That kind of circuit board has CA3000 too!
But, during testing of that amp, please take a look what I have found :grumpy:
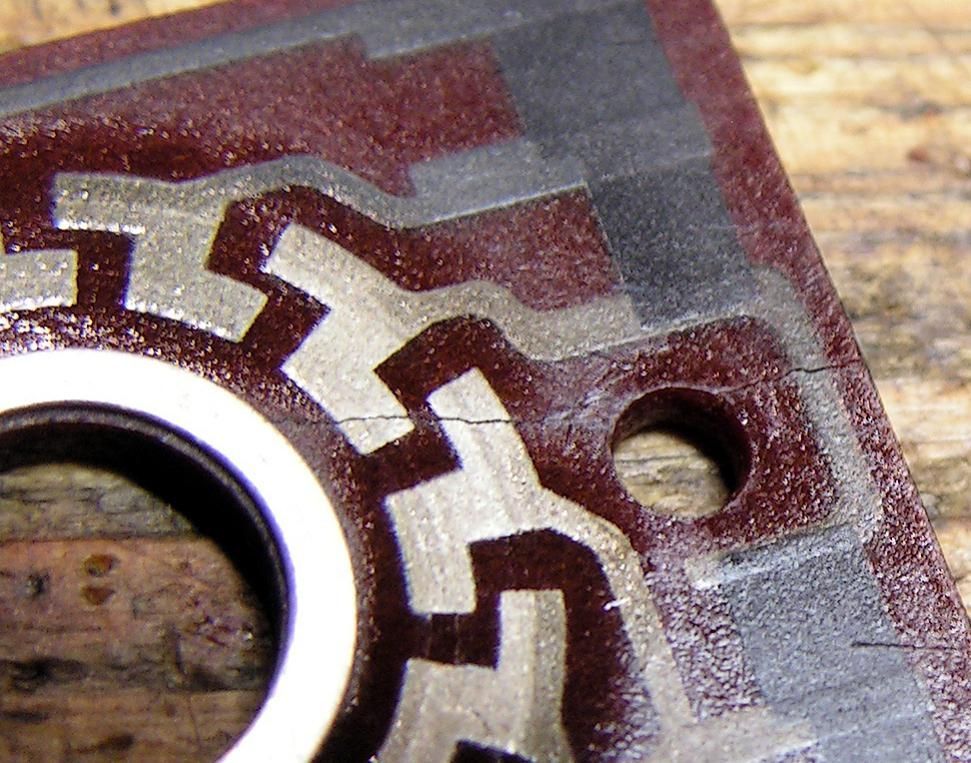
That is one part of Bass potentiometer. During testing of that amp, I have noticed that lower frequency has different level between two channels, but only if it is tone-controls "on", if I switch on defeat position, the level of lower frequency becomes the same on the both channels.
Step by step, I have found that something on Bass potentiometer is wrong... and I found that small crack.
I replaced them with one the same new part...
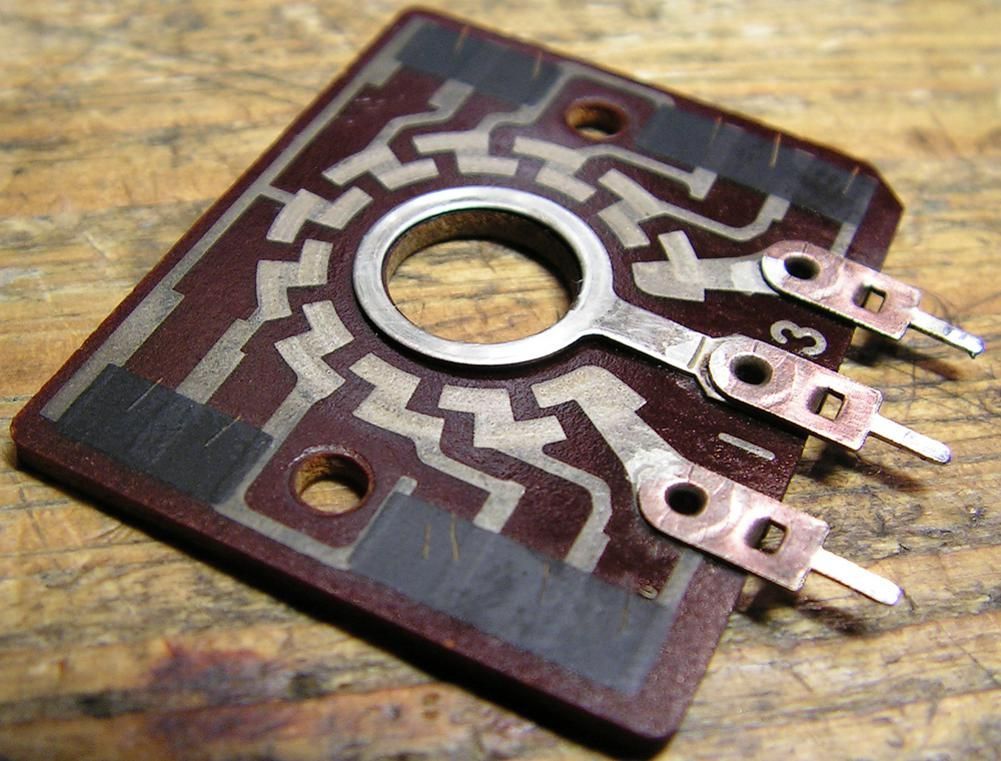
and now it works as it should...
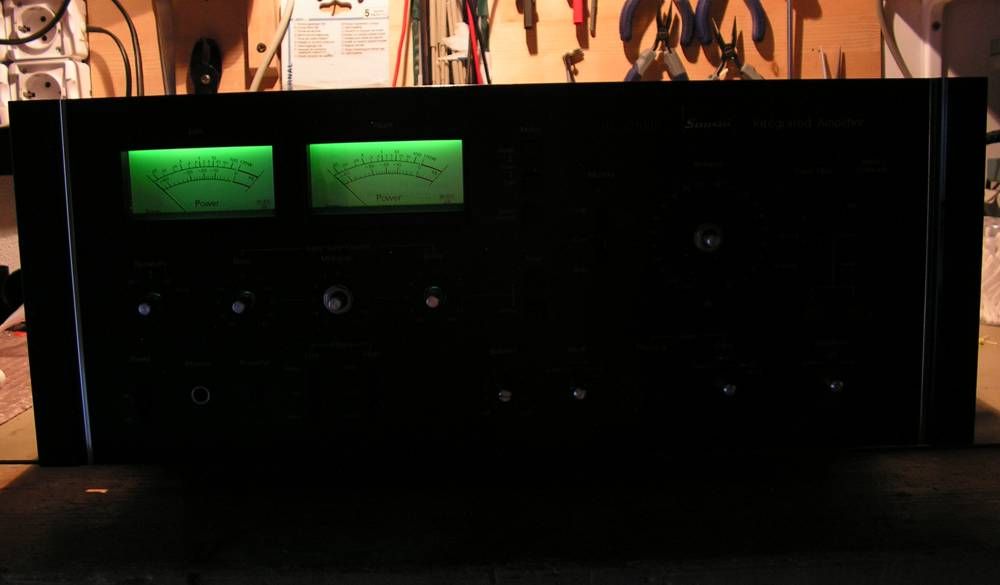
One picture during testing

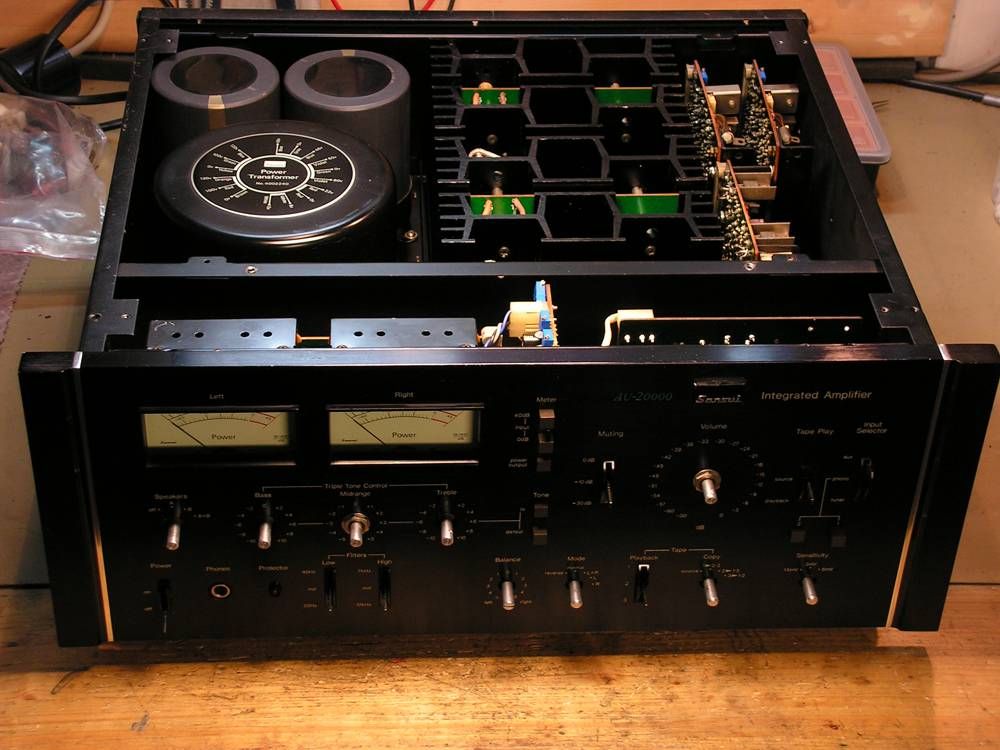
And final picture

Kale
Super Member
i have two questions if you dont mind.
what kinds of cleaners did you use on the boards, and what kinds were used on the contacts and potentimeters.
I am using 4 types of contact cleaners, but those contact cleaners you can buy in Europe, I dont know can you bay them at States...
1. Kontakt60 for deoxidation
2. KontaktWL for cleaning dirt and grease
3. Kontakt61 for protection of cleaned contacts
4. Kontact TUNER for cleaning tuners parts
I know that at newer Sansui amplifier, you can find Elna Silmic capacitors, so at audio path, I like to use ELNA Silmic and Nichicon MUSE (FG and KZ series) capacitors (if I dont have Silmic), for bipolar electrolytic capacitors, I like to use Nichicon ES capacitors...Also, i noticed that you used a variety of different kinds of capacitors in this restoration. how does one decide on what type of capacitor is best for what location?
