• The move to the new server is done. There are some software and database maintenance updates in process. This has us passing the hat around to help out. We appreciate any donations. Seriously, even a dollar helps. The payment page may be found here - https://www.audiokarma.org/support.html

Record Bin From single 4 x 8 Sheet of Plywood - Plans

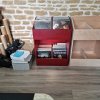
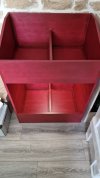
Taking the knowledge I gained building the LP bin, I built myself a singles bin for my 7” collection. Has anyone else done this? It was super easy and I used 1/2” plywood, but I think I’d use 3/4” if I do another one.

View attachment 2805869

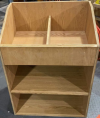
I did one for a friend. Here’s a photo
 

Attachments

  • D935113A-9BAE-4025-BDC5-35ECF7ECFC8B.jpeg
    D935113A-9BAE-4025-BDC5-35ECF7ECFC8B.jpeg
    133.6 KB · Views: 91
  • 22D54398-3E6C-4900-931E-05D84BA2787A.jpeg
    22D54398-3E6C-4900-931E-05D84BA2787A.jpeg
    162.9 KB · Views: 86
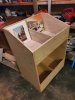
I just built these.
Another member built one of these and I needed something to occupy my mind a bit. So I mocked one up in Solidworks to see what I could come up with. All in all it is a simple and nice looking bin.

It will hold between 500 and 600 records, currently modeled with 125 per section. (assuming 1/8" thick record sleeve.) so 500 is a conservative estimate. Top of record in the top bin will be @ 39" above the floor, a nice easy browsing height.

I have not built this yet, it is winter and I'm not sure I'd have the room. It was mainly done to see what I could get out of a sheet of plywood. Were I to build it I'd glue every seam and use nails / or screw to assemble. A solid glued seam will be strong as an ox once it drys. Below is Chimpkin's original post that inspired me to think on this, followed by my images and the cut drawing. If anyone builds from these plans, post a pic, I'd love to see it done in reality. Thanks to Chimpkin for the inspiration.


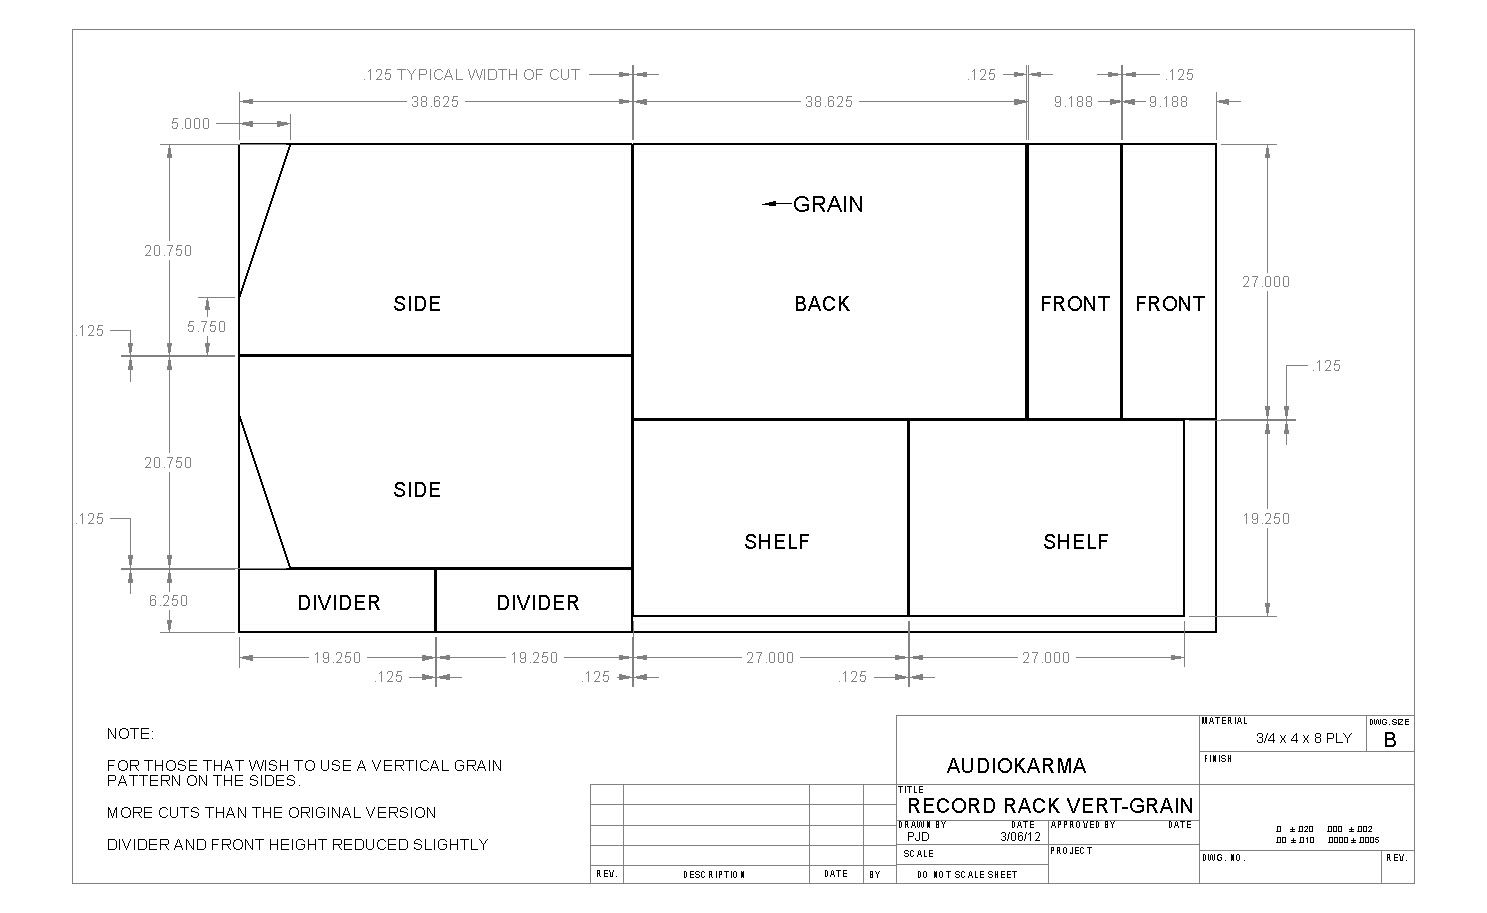
Cut List: (Thumbnail)


Additional Images: See Post #8 in this thread for the first build :)


V2 Has Casters (easily added to V1) rated at 90 lbs per corner for a total of 360 lb capacity. 600 180g records weigh 240 lbs.
Caster: http://www.mcmaster.com/#catalog/116/1329/=agjps5
V2 also has a simpler cut list which results in deeper bins. I personally prefer the look of the shallower bin so I've posted both cut sheets.


V3:Vertical Grain Thanks go to Doc Zinger for this version.
Assembly and optional casters still apply. See other drawings for caster part number and assembly.
For those that want to have the grain running vertically and don't mine a few extra cuts.
The front shelf pannels are 1/16" shorter and the dividers are 1-3/4 inches shorter.
Other than that the over all dimensions have not changed.
You also must be a bit more careful to get the shelf cuts correct as they no longer
share the cut to get the same width.


Assembly Tips, Tips and Variations.
Links point to specific posts in this thread.

Staining Hard Woods from member : timie1

Draws added for storage from member x2turbo


Yet another version. 3 sheets of 3/4" plywood to make 2 bins with 3 shelves per bin. Each should hold @ 600 records. I appoligize if the images are suddenly huge, photobucket no longer offers a thumbnail option as far as I can see. That was the main reason I used the service back when I used it.

Budabel came up with this version. You can find a photo of his finished racks and a PDF of all the below drawings here:

http://www.audiokarma.org/forums/showpost.php?p=8365434&postcount=282

323CUTSHEET1-2.jpg


323ASSMBLY.jpg


323CUTSHEET3.jpg
 

Attachments

  • 20230426_005450.jpg
    20230426_005450.jpg
    133.7 KB · Views: 81
Interesting that this thread got a little addition to bump it for me.

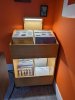
Just this past Sunday my son (who built both of my storage racks) came over with the birch lighting holder that I asked him to make for me.

I had bought 4 of these 120v LED light fixtures to illuminate my records because after refurbishing my listening room the racks would be in corners of the room, and not well-lit.

Not a problem anymore! :)
Right_side_rack-lighted.jpg
Room_View_04-29-23.jpg
 
Last edited:
Has anyone attempted a version consisting of the top shelf for display and bottom shelf for vertical storage? Something long the lines of what is shown below? If so, care to share the plans? Thank you.Test.png
 

Attachments

  • Test.png
    Test.png
    568.9 KB · Views: 9
Has anyone attempted a version consisting of the top shelf for display and bottom shelf for vertical storage? Something long the lines of what is shown below? If so, care to share the plans? Thank you.View attachment 2910382
My only suggestion here would be to install some short partitions about 13"-14" back on both lower shelves to keep your vertically stored LP's lined up square at the front of the cabinet. Also I think, unless I'm mistaken, you have to make the side panels longer for a taller cabinet to allow for the thickness of the center shelf and two rows of records.
 
Depending on your level of skill, you can assemble this in many different ways. I chose to use a tongue in groove method, that allowed me to only use grooves on the shelves. Makes it very strong and hides the joinery better, but honestly its not necessary. If you are new to building things with wood I highly suggest getting a Kreg jig and practicing making pocket holes. It WILL be significantly stronger if you add glue to the pocket-holed joints. I have lots of experience trying it both ways. The glue squeeze out is a bit of a pain to deal with, but worth it for the much increased strength in my opinion. Also, guys should look into the iron-on edge banding. It's cheap, easy to apply, and hides the ugly plywood end grain before you paint or stain.
 
I used glue and biscuits for mine. I did run 3 screws on each side for top shelf just to add strength and then I covered the screw heads. Its solid as a rock.
 
The Kreg high angle drilling jig gets you the ability to fasten the front, back, and sides together really tight so the glue never gives up. The kit provides wood plugs to hide the holes, but on the back it wasn't needed.
 

Attachments

  • Kreg_jig-holes.jpg
    Kreg_jig-holes.jpg
    63.1 KB · Views: 47
Thanks for your reply. I was initially planning to use only glue. I'll add screws, with a countersink to hide them a bit.
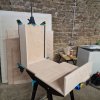
I'm waiting for the glue to set.

It was a bit a mess to get the work started.
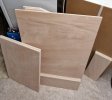
I had to get the tools : circular saw, router, eccentric sander, then a work table. After that, I saw that the wood is really expensive today, at least in France. It costs me near $190 one sheet of plywood. :banana:
And I needed 2...
The first hardware store didn't cut the sheet. So I headed to another one. But they didn't want to make 3 cuts whithout switching from the price of the sheet to m² pricing, which is 30% to 40% more expensive. I had to call a friend who has a more bigger car trunk because mine wasn't big enough for 5 centimeters...
But it's on its way. I'm happy so far, I've only 1-2mm too much on the dividers and 2-3mm less on the shelves.
 

Attachments

  • 20230804_160133.jpg
    20230804_160133.jpg
    61.1 KB · Views: 48
  • 20230805_175644.jpg
    20230805_175644.jpg
    120.7 KB · Views: 49
The Kreg high angle drilling jig gets you the ability to fasten the front, back, and sides together really tight so the glue never gives up. The kit provides wood plugs to hide the holes, but on the back it wasn't needed.
I didn’t have the Kreg jig at the time I built mine but I do now and it’s great!
 
Interesting that this thread got a little addition to bump it for me.

Just this past Sunday my son (who built both of my storage racks) came over with the birch lighting holder that I asked him to make for me.

I had bought 4 of these 120v LED light fixtures to illuminate my records because after refurbishing my listening room the racks would be in corners of the room, and not well-lit.

Not a problem anymore! :)
View attachment 2875688
View attachment 2875690
Can you tell me what you used for casters and how do you have them bolted on?
 
Awesome. I grew up (Well through my 20's) seeing that band live. Looked for that EP for Years....

All, This is also on the front page but here is the cut list/assembly drawing w/ casters and updated cuts:

V2 Has Casters (easily added to V1) rated at 90 lbs per corner for a total of 360 lb capacity. 600 180g records weigh 240 lbs.
Caster: http://www.mcmaster.com/#catalog/116/1329/=agjps5
V2 also has a simpler cut list which results in deeper bins. I personally prefer the look of the shallower bin so I've posted both cut sheets.

 
Back
Top Bottom