

You are using an out of date browser. It may not display this or other websites correctly.
You should upgrade or use an alternative browser.
You should upgrade or use an alternative browser.
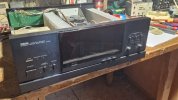
Yamaha M-65 thread
- Thread starter satpaul
- Start date


Register to hide this ad


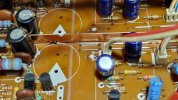
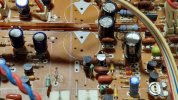
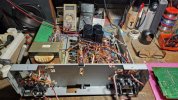
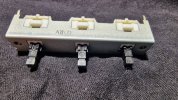

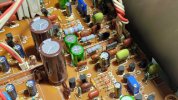
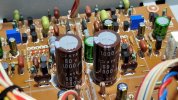
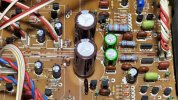
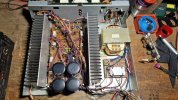

You have a friend ?A friend brought

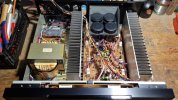
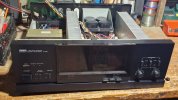
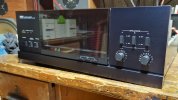
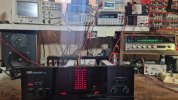

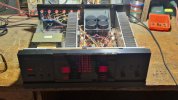
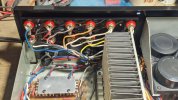
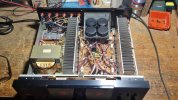
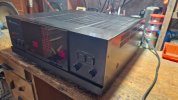

Hello avionics. Yes I do and I'm glad I have them.You have a friend ?

Pavel
Yes, always original unusable.Did you replace the relay and the trimmers? I do whether needed or not.

Pavel


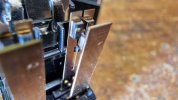
looks like they sent you the instructions, which must have been nice.New Speaker Terminals...
View attachment 3470774
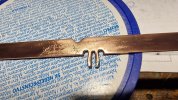
And the completion...
View attachment 3470775View attachment 3470776View attachment 3470779View attachment 3470780
DONE!
It works beautifully. I recommend it to everyone. If anyone has any questions about maintenance, please ask.
Pavel
i didn't hear back from them for 5 days during which time i had to completely disassemble them to remove the wires(unleaded solder) and come up with a plan for installation.
by the time i heard from them, they were already installed. they stated that they must have forgotten to email them. it's like, they have 5 worthless pics of them on their website. one of those pics could have been a diagram of installation. AND for the price they charge, why couldn't they include instructions in the package?
i honestly thought that they had sent me the wrong part and i was not going to wait to return it and get the right one.
i will still buy their terminals but they did leave a bad taste in my mouth.
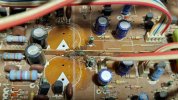
you should pop the top and take a look at the glue and see if it is near those 2 resistors...i think r151/2 but can't be sure.I always wanted to know what the inside of mine looked like. It has been in the bedroom system for 13 years and still sounds great. Thanks for all the great pics.
clean up the glue, replace the resistors and get rid of those black gates before they swell.
No, they didn't send me instructions, I connected it according to the original.looks like they sent you the instructions, which must have been nice.
i didn't hear back from them for 5 days during which time i had to completely disassemble them to remove the wires(unleaded solder) and come up with a plan for installation.
by the time i heard from them, they were already installed. they stated that they must have forgotten to email them. it's like, they have 5 worthless pics of them on their website. one of those pics could have been a diagram of installation. AND for the price they charge, why couldn't they include instructions in the package?
i honestly thought that they had sent me the wrong part and i was not going to wait to return it and get the right one.
i will still buy their terminals but they did leave a bad taste in my mouth.
Pavel
i had no urge of tracing out the signal pathNo, they didn't send me instructions, I connected it according to the original.
Pavel

me too. i guess it made a lot more sense to you than it did to me.I only ordered a bare terminal.


